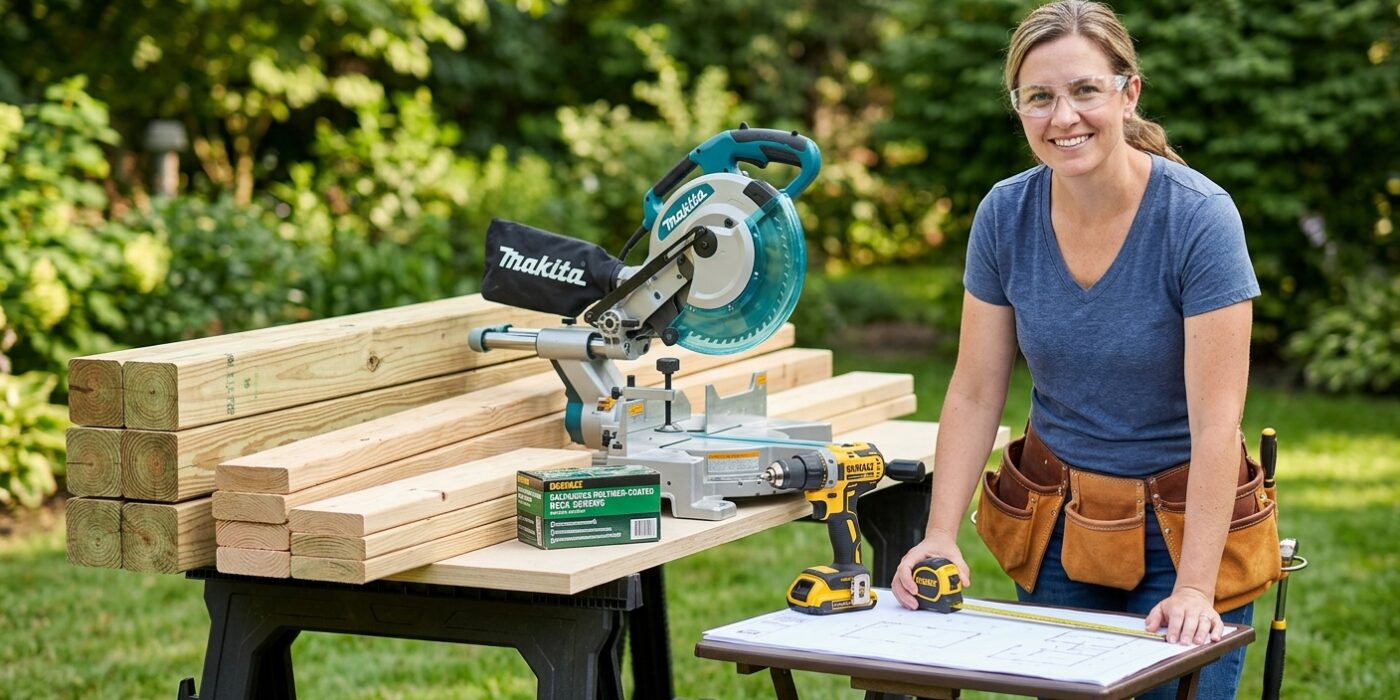
Project Shopping List
A pergola is one of the highest-value outdoor projects you can build. It creates a defined outdoor room, provides shade, supports climbing plants, and dramatically improves the usability of a patio or deck. A 12×12-foot pergola typically takes two people a weekend to build and costs $500 to $1,500 in materials — a fraction of what a contractor charges for the same structure. With a solid foundation and quality lumber, a pergola will last 20 to 30 years.
Planning and Permits
Most municipalities require a permit for a freestanding pergola over a certain size or value. Check with your building department before starting. Pull a permit if required — inspections protect you and ensure the structure is safe. Locate the pergola at least 5 feet from property lines in most jurisdictions, but verify local setback rules. Plan on a 12×12-foot structure for this guide, which can be scaled up or down.
Tools You Will Need
- Post hole digger or rented 9-inch power auger
- Circular saw and miter saw
- Drill and impact driver
- 4-foot level and long string line
- Speed square and combination square
- Clamps, four or more
- Tape measure and chalk line
- Safety glasses and work gloves
Materials for a 12×12 Pergola
- Four 6×6 pressure-treated posts, 12 feet long
- Two 2×8 or 2×10 beams at 14 feet long (these span post to post and overhang each end)
- Six to eight 2×6 rafters at 14 feet long
- Decorative beam and rafter end cuts are optional but greatly improve appearance
- 4×4 braces cut at 45 degrees for post-to-beam connections
- 3/8-inch carriage bolts, 5-inch long, four per beam connection
- 3-inch and 2-inch exterior structural screws
- Concrete mix, two to three 60-pound bags per post
- Post base hardware if setting on existing concrete patio
Step 1 — Layout the Post Locations
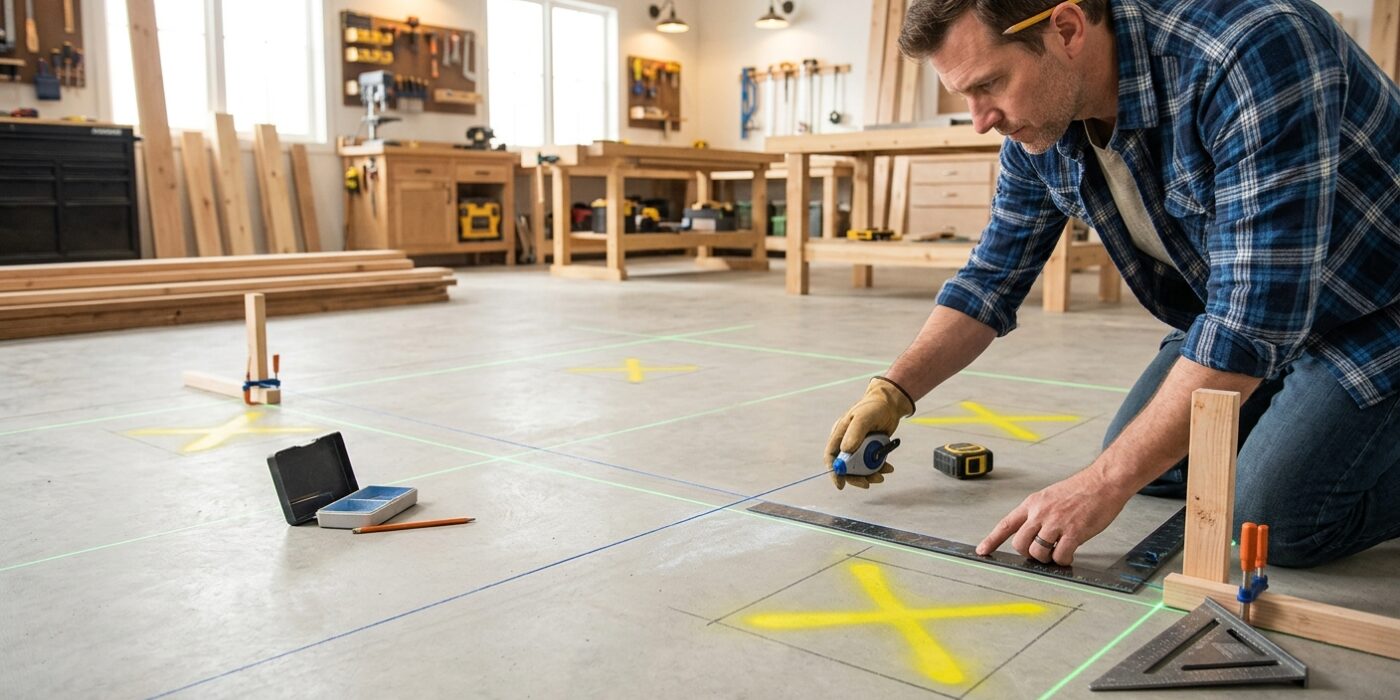
Before you break ground, you must ensure your pergola footprint is perfectly square. Even a slight error here will make it impossible to attach your roof beams later. Start by driving four stakes into the ground to mark your 12-foot by 12-foot perimeter. To ensure your corners are exactly 90 degrees, use the 3-4-5 triangle method: measure 3 feet along one side and 4 feet along the adjacent side. If the diagonal distance between those two points is exactly 5 feet, your corner is perfectly square. Finally, measure the two long diagonals from corner to corner across the entire square; if both measurements are identical, your layout is accurate.
Beginner Tip: Do not rely solely on your tape measure for squareness. It is incredibly easy for a tape to bend or sag over 12 feet, which can lead to a crooked structure. Always double-check your diagonal measurements twice before you start digging.
Alternative Method: If the 3-4-5 method feels confusing, use a large framing square or a simple piece of plywood cut to a perfect 90-degree angle. Place the corner of the wood against your string lines to verify they meet cleanly before securing your post locations.
Pro Tip: Instead of using just stakes, run mason’s string between them to create a visible grid. This allows you to see exactly where your posts will sit, making it much easier to visualize the final structure and ensure the lines are perfectly straight from every angle.
Step 2 — Dig and Set Posts
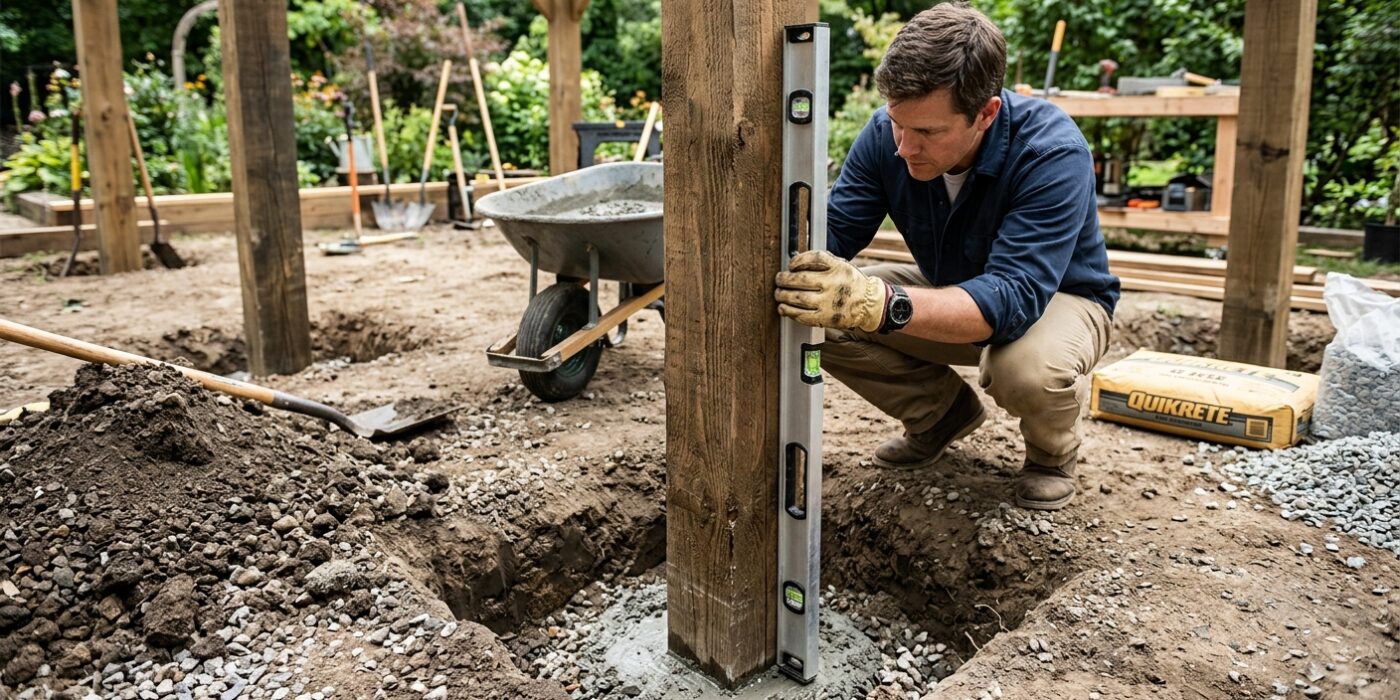
Now that your layout is marked, it is time to anchor your pergola. Dig each hole 4 feet deep, or at least 6 inches below your local frost line to ensure the structure doesn’t heave when the ground freezes. Once the hole is ready, place your 4×4 or 6×6 post inside. Use a spirit level against two adjacent (perpendicular) faces of the post to ensure it is perfectly vertical, or “plumb.” Once level, drive 2×4 stakes into the ground at a 45-degree angle and screw them to the post to hold it steady. Pour your concrete mix, adding water as directed on the bag, and use a long stick or shovel handle to poke into the wet concrete. This removes air pockets, ensuring a solid, rock-hard foundation.
Beginner Tip: A common mistake is rushing the curing process. Even if the concrete feels hard to the touch after a few hours, it hasn’t reached its structural strength yet. Please wait a minimum of 48 hours before attaching any beams or weight to the posts, or you risk shifting them and ruining your perfectly level work.
Pro Tip: To keep your post perfectly plumb without constantly checking the level, attach a “post level” tool to the corner of the wood. This handy, inexpensive device straps to the post and shows you the vertical status of two sides simultaneously, allowing you to make hands-free adjustments while you brace it.
Step 3 — Cut Post Tops
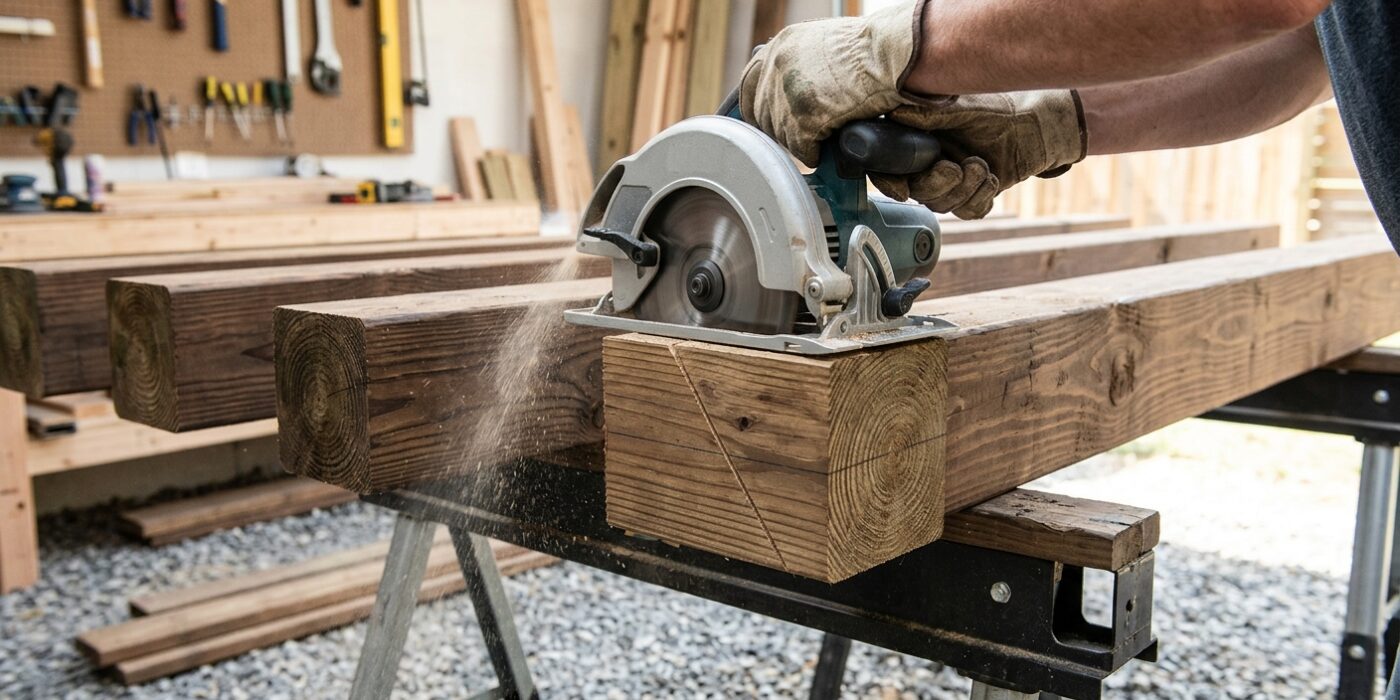
Now that your concrete is fully cured, it is time to cut your posts to their final, uniform height. Achieving a precise, level top is vital because your support beams will rest directly on these surfaces. First, decide on your desired height – typically 8 to 9 feet from the patio – and measure this distance on each post. Use a chalk line to snap a level guide around the perimeter of each post. A circular saw is the perfect tool for this; by using a speed square as a fence, you can keep your blade perfectly perpendicular to the wood for a clean, flat cut that ensures your structure stays square.
Beginner Tip: Never rely on measuring from the ground up for every post. Patios are rarely perfectly level, which can result in uneven post heights even if your measurements look correct. Always use a long level or a laser level to ensure your chalk line is consistent across all four posts, regardless of slight variations in the ground below.
Alternative Method: If you do not own a circular saw, you can achieve a professional result using a sharp hand saw and a miter box or a guide block. Simply clamp a straight piece of scrap wood along your chalk line to act as a physical ledge for your saw blade, which will keep your cut straight as you work through the post.
Pro Tip: Before making the final cut, wrap a piece of painter’s tape around the entire perimeter of your cut line. This helps hold the wood fibers in place as the saw blade exits, which significantly prevents the wood from splintering and gives you a factory-smooth finish.
Step 4 — Install the Beams
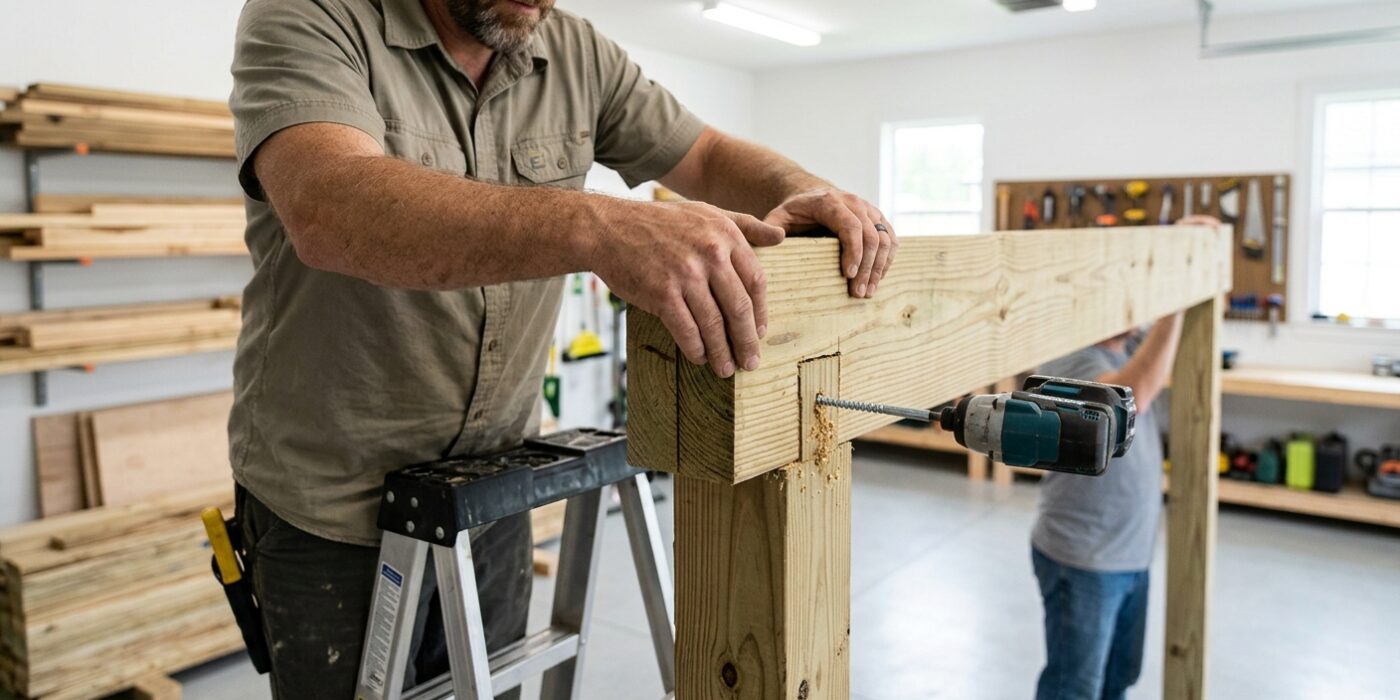
Now that your posts are standing, it is time to install the two main beams. These beams support the weight of your pergola’s roof, so precision is key. With two helpers, lift a beam onto the tops of your posts, ensuring it overhangs each end by 12 to 18 inches for a balanced, architectural look. Once positioned, use a carpenter’s clamp to hold the beam snugly against the post.
To secure them, drill two 3/8-inch holes through both the beam and the post. Insert your carriage bolts, add a washer and nut to each, and tighten them firmly with a wrench. Finally, attach 45-degree knee braces between the post and the underside of the beam. These braces aren’t just for looks; they prevent the structure from swaying in the wind.
Beginner Tip: A common mistake is drilling holes that aren’t perfectly aligned, making it impossible to slide the bolts through. Use a piece of scrap wood to practice your drilling technique first, and always keep your drill perfectly level to ensure a straight path through both pieces of timber.
Pro Tip: Before you tighten the nuts, place a spirit level on top of the beam to make sure it is perfectly horizontal. If it is slightly off, tap the beam gently with a rubber mallet until the bubble is centered, then tighten your bolts completely to lock it in place.
Step 5 — Install the Rafters
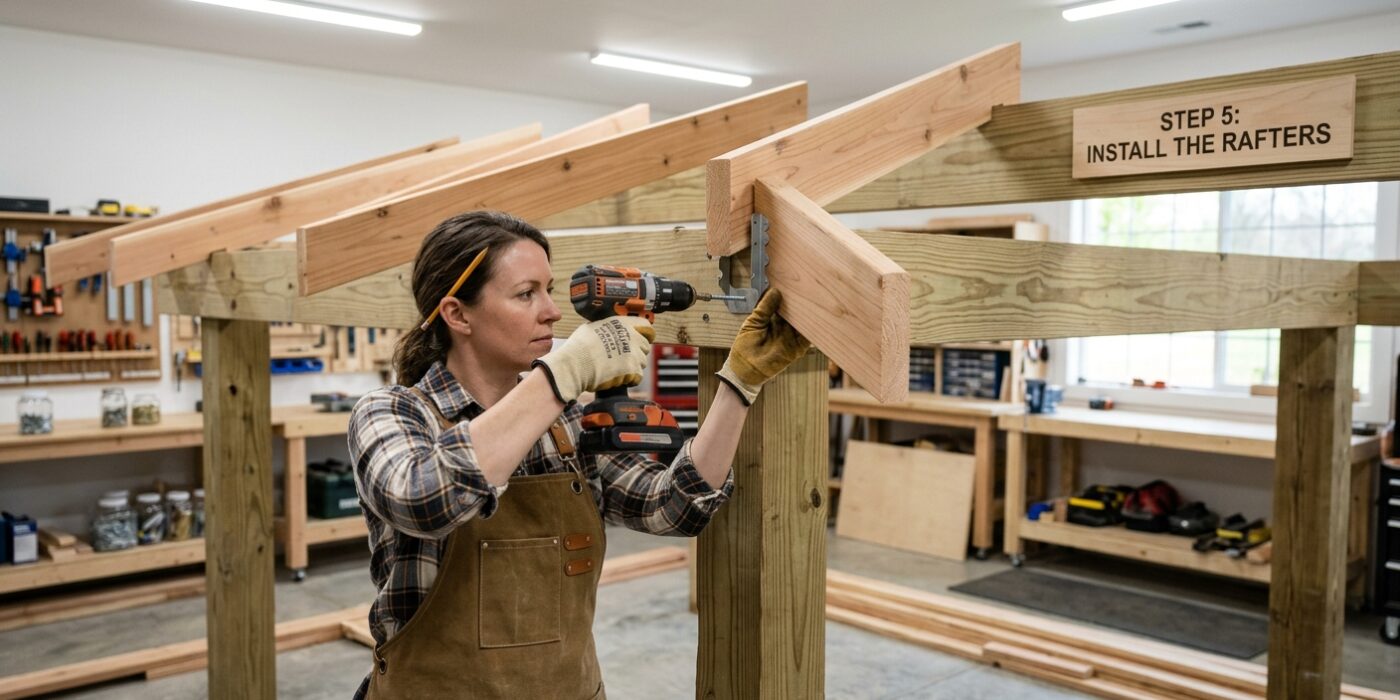
Now that your support beams are secure, it is time to install the rafters. These are the boards that sit perpendicularly across your beams, providing the structure for your pergola’s shade and aesthetic. To get started, measure and mark your beam every 16 to 24 inches; keeping this spacing consistent is the secret to a professional, symmetrical look. Before hoisting them up, consider cutting a decorative tail on the ends of your rafters. A simple 45-degree angle cut on the bottom corner adds a polished, craftsman-style finish. Once positioned, verify each rafter is perfectly vertical, or “plumb,” before securing it. You can use structural rafter ties for a sturdy, hidden connection, or “toenail” the boards by driving galvanized nails at an angle through the side of the rafter and into the beam.
Beginner Tip: A common mistake is forgetting to account for the thickness of the rafter when marking your layout. If you want exactly 24 inches between the boards, remember to measure from the edge of one rafter to the edge of the next, rather than just marking the beam at 24-inch intervals.
Pro Tip: To keep your rafters perfectly spaced without measuring every single board, cut a scrap piece of lumber to your desired gap width (like 16 or 24 inches). Use this “spacer block” to set the distance between rafters as you install them; it saves time and ensures your spacing is dead-on every time.
Step 6 — Optional Top Slats
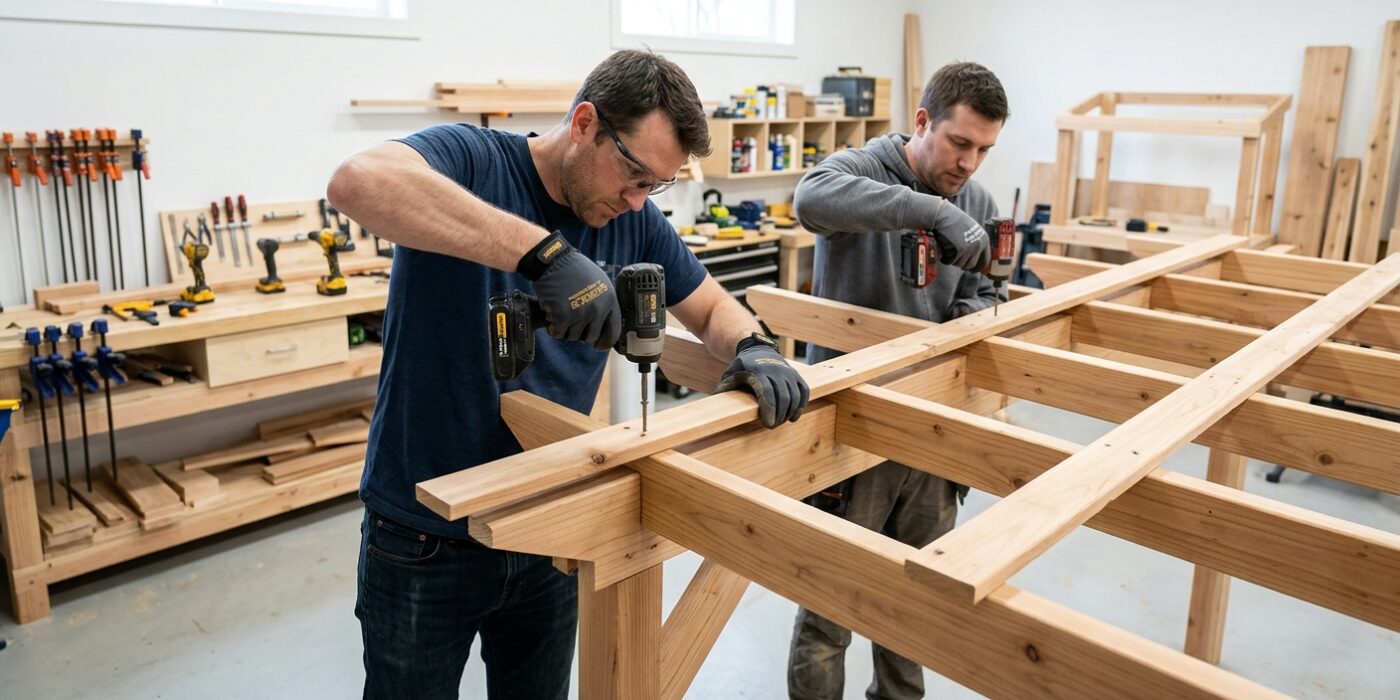
Adding top slats is the final flourish that turns your pergola into a true oasis. These thin boards, typically 2×2 or 1×4 lumber, run perpendicular across your main rafters. Beyond adding a classic, finished aesthetic, they provide essential shade and create a perfect trellis for climbing plants like wisteria or jasmine. Measure and cut your slats so they overhang the outer rafters by about 6 to 12 inches for a balanced look. Space them 4 to 6 inches apart, then secure each one using a single 2-inch exterior screw at every point where the slat meets a rafter. Before you wrap up, lightly sand any rough ends to prevent splinters and apply your chosen stain or exterior paint to protect the wood from the elements.
Beginner Tip: Don’t try to measure and mark every single gap individually. Instead, cut a small scrap piece of wood to your desired 4 or 6-inch spacing and use it as a “spacer block.” Simply place the block between the slat you just installed and the one you are positioning. This ensures perfect, consistent gaps across the entire roof without the risk of measurement errors.
Pro Tip: To achieve a professional, uniform look across the top, start by installing the two outermost slats first. Once those are fixed in place, run a string line between them across the tops of the rafters. This gives you a straight reference guide to ensure every middle slat remains perfectly aligned, even if your rafters have minor variations.