Project Shopping List
Taping and mudding drywall transforms a room of raw panels into a smooth, paintable surface. It is a multi-coat process: paper tape embedded in the first coat of joint compound fills and bridges the joints; subsequent coats feather out wide and thin to hide the tape and bring the surface flush. Most problems come from going too thick too fast or sanding between coats when the compound is still damp. Patience and thin coats are the keys to a professional result.
Plan for three days minimum: one day to hang tape, one day for the fill coat, one day for the final coat. Allow each coat to dry completely before applying the next.
What You’ll Need
Tools
- 6-inch, 10-inch, and 12-inch drywall knives (taping and finishing knives)
- Corner knife (for inside corners)
- Mud pan
- Mixing paddle and drill (for pre-mixed compound)
- Sanding sponge and 120-grit drywall sandpaper
- Dust mask and safety glasses
- Bright work light or portable LED panel
Materials
- Paper drywall tape (not mesh – mesh tape is only for crack repairs, not for taping new joints)
- All-purpose joint compound (pre-mixed bucket)
- Setting compound (powdered, for hot mud first coat on large gaps)
- Corner bead (already installed)
Step 1: Apply the Taping Coat (First Coat)
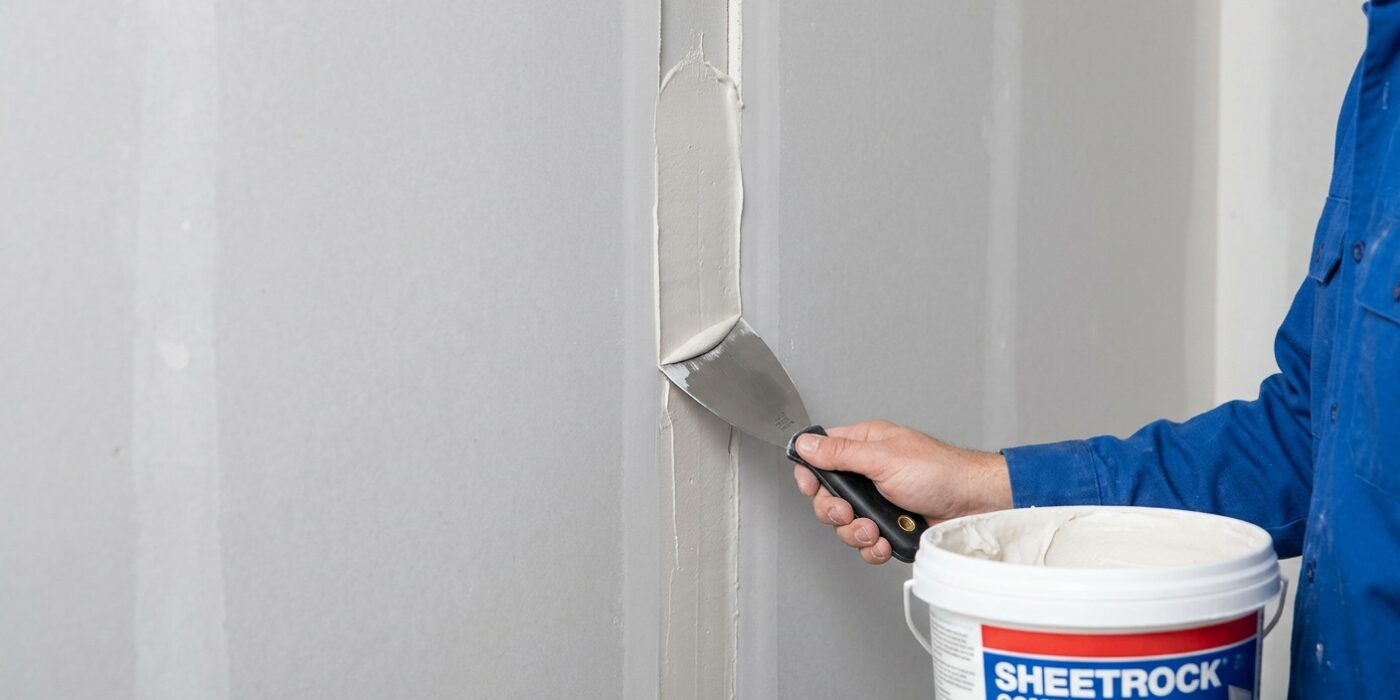
Start by scooping a small amount of pre-mixed all-purpose compound into your mud pan. Using your 6-inch taping knife, spread a thin, consistent layer of mud into the recessed “V” shape where two drywall panels meet. The goal here is to create a “bed” for your paper tape. Firmly press a strip of paper tape directly into the center of this wet compound. Hold the end of the tape in place with one finger, then drag your knife over it at a 45-degree angle. Apply just enough pressure to squeeze out the excess mud – if you press too hard, the tape will tear or wrinkle; too light, and you will leave air pockets that cause bubbles later.
Beginner Tip: Avoid the urge to leave a thick layer of mud under the tape. This is a common mistake that creates a bulky, raised joint that is impossible to hide later. You want to see the texture of the paper through the thin film of compound, meaning the tape is perfectly seated against the drywall.
Pro Tip: Before applying the tape, lightly fold it down the center crease with your fingers. This gives the tape a natural “memory” to stay centered in your joint, preventing it from wandering as you smooth it down the wall.
Continue this process for every seam and screw dimple. Once finished, walk away and let the compound dry for a full 24 hours. Patience is your best friend here, as mud shrinks as it dries; a completely dry surface ensures your next coat goes on smooth and flat.
Step 2: Apply the Fill Coat (Second Coat)
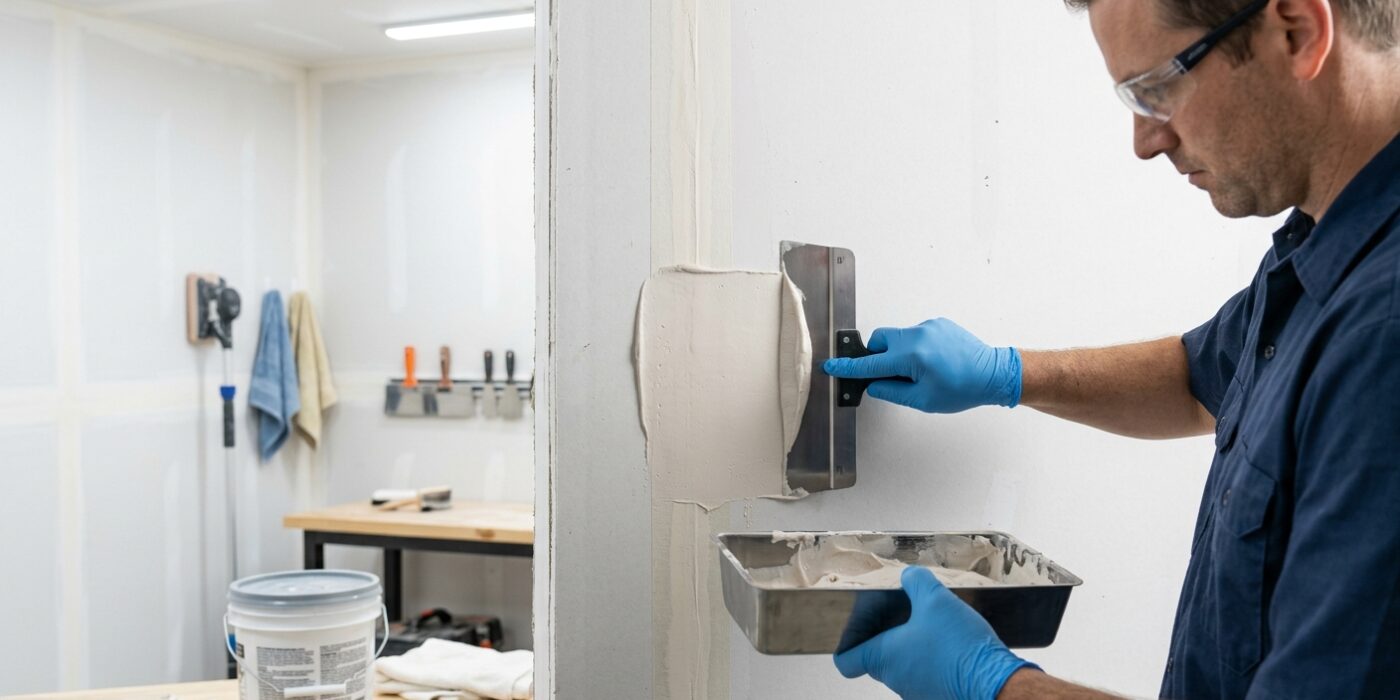
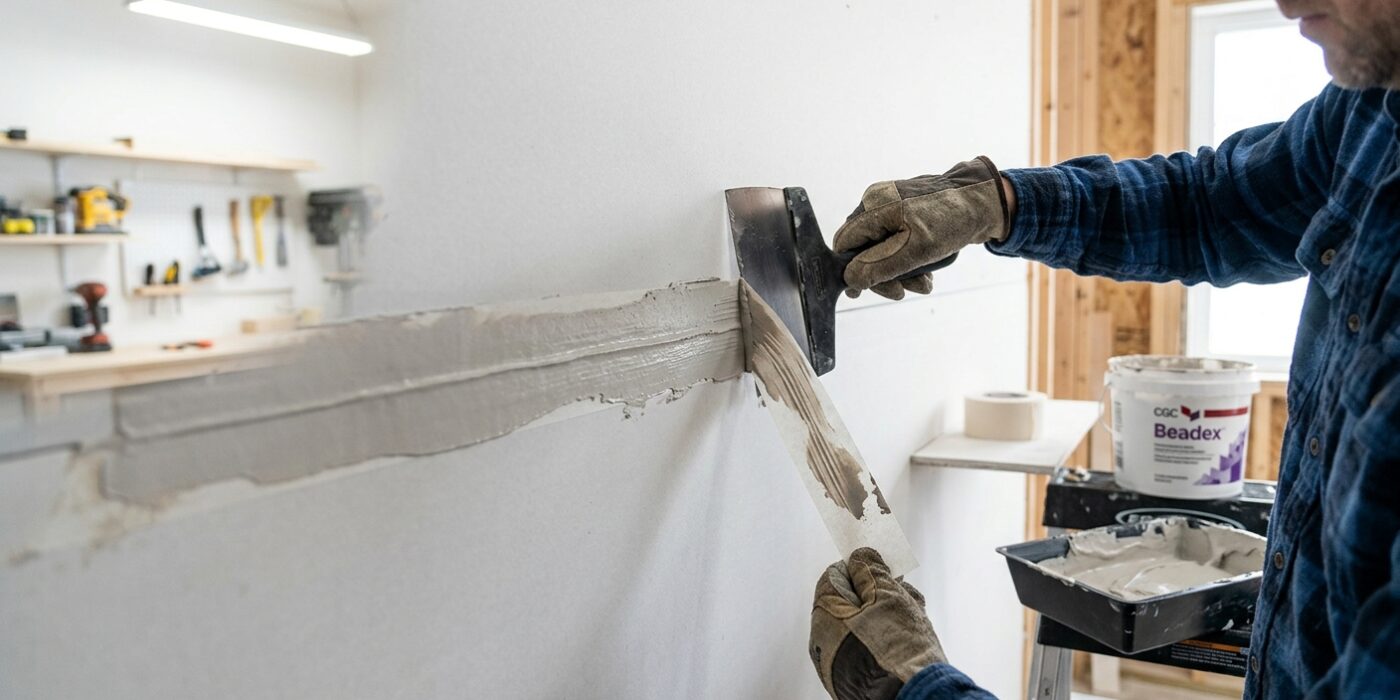
Now that your tape is set, it is time to build up the surface. Switch to your 10-inch or 12-inch drywall knife. Mix your all-purpose compound with a tiny splash of water until it reaches the consistency of creamy peanut butter; this helps it flow smoothly off the blade. Apply the compound over your joints using a steady, sweeping motion. You want to extend this layer 4 to 6 inches beyond your original tape line on both sides. The goal here is to “feather” the edges, meaning the compound should get thinner and thinner as it reaches the wall, creating a gentle slope rather than a sharp hump.
For your screw dimples, use your smaller 6-inch knife to swipe a dab of compound directly over the hole. Do not worry about achieving a glass-smooth finish right now. Your main objective is to add bulk and fill the recessed areas. If you see ridges or small lines left by the knife, leave them be for now; you will address those during the final sanding stage.
Beginner Tip: Avoid the temptation to overwork the mud. If you keep swiping over the same spot, you will actually pull the compound off the wall and create thin, uneven patches. Apply it, smooth it once, and move on. Trust the process – the next coat will handle the rest.
Pro Tip: Keep a bucket of clean water and a sponge nearby. If you get a bit of mud where you do not want it, wipe it off immediately while it is still wet. Removing excess mud now is significantly easier than sanding it off tomorrow.
Step 3: Light Sand Between Coats
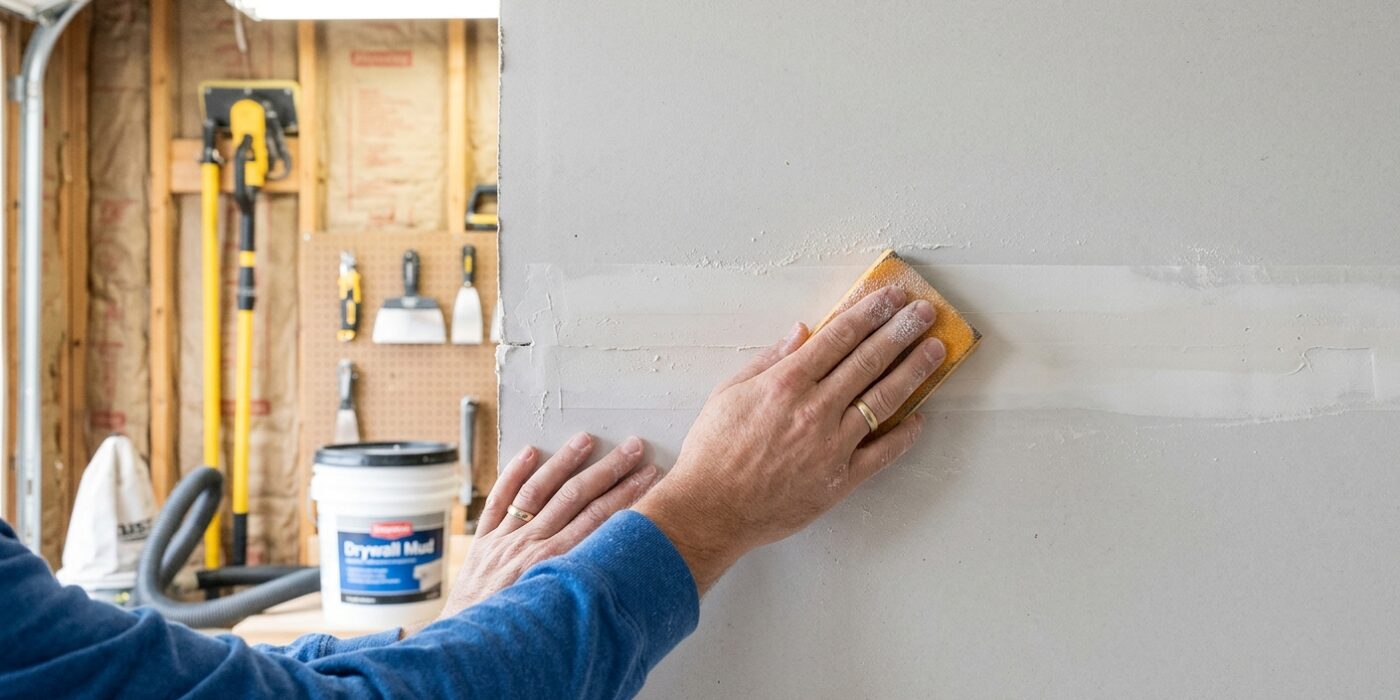
Once your compound has dried completely – it should look chalky white with no dark, damp patches – it is time to smooth the surface. Use a sanding block or a pole sander fitted with 120-grit drywall sandpaper. The goal here is not to remove the compound, but to gently knock down any sharp ridges or stray “burrs” left by your taping knife. Hold your sander flat against the wall, applying very light, even pressure. Move in a circular motion, overlapping your strokes slightly. Be careful to avoid aggressive scrubbing; if you sand too deeply, you might accidentally expose the paper tape beneath, which will cause it to fray and ruin your smooth finish. Once finished, use a slightly damp microfiber cloth to gently wipe away the fine dust, as leaving residue behind will prevent your next coat from sticking properly.
Beginner Tip: A common mistake is pressing too hard with the sander. You want the sandpaper to do the work for you. If you feel like you are having to muscle through the compound, your sandpaper is likely clogged with dust. Simply tap the sanding block against your palm to dislodge the build-up, and you will find it glides much more easily.
Pro Tip: To see exactly where you need to sand, shine a bright work light at a sharp, low angle against the wall. This is called “raking light.” The shadows created by the beam will instantly highlight every little ridge, bump, or imperfection that you might have missed in standard overhead lighting.
Step 4: Apply the Finish Coat (Third Coat)
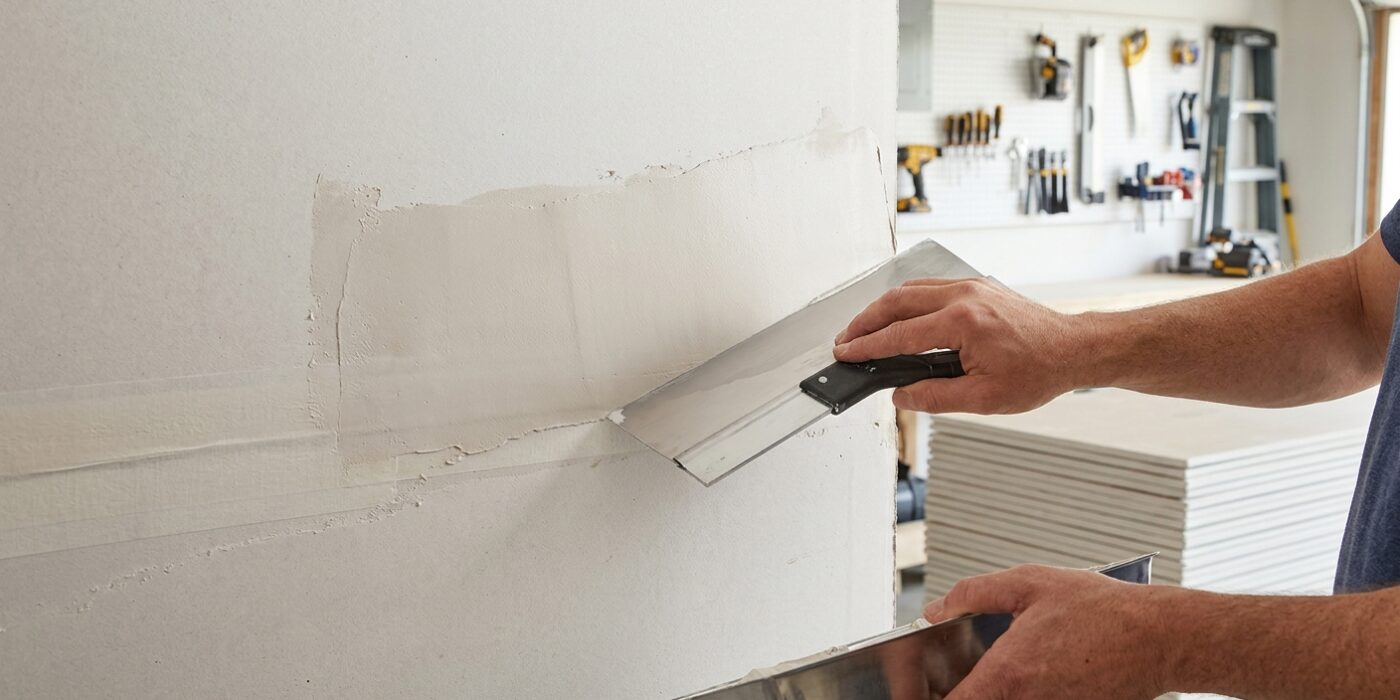
Now it is time for the final touch. The finish coat is all about smoothing out imperfections and hiding the joint so perfectly that it disappears once painted. For this step, mix a small amount of water into your joint compound until it has a yogurt-like consistency. This makes it easier to spread smoothly.
Using your 12-inch finishing knife, apply a very thin layer over the previous coat. Your goal is to “feather” the edges, which means gradually thinning the compound out as you move away from the center. Aim to extend the compound 8 to 10 inches beyond the center of the joint. For inside corners, use a specialized corner knife to press the mud into the crease, feathering both sides in a single, fluid motion. For outside corners protected by a metal bead, apply compound directly over the nose and spread it out 8 to 10 inches on either side to blend it into the wall. Once finished, let the compound dry completely; it should look flat and seamless.
Beginner Tip: Do not overwork the mud. If you keep running your knife over the same spot, you will actually pull compound off the wall or create ridges. Apply, smooth once or twice, and then move on.
Pro Tip: Before applying this coat, use your knife to scrape away any dried “nibs” or lumps left over from your second coat. A clean, smooth base is the secret to a professional-looking finish.
Step 5: Final Sand
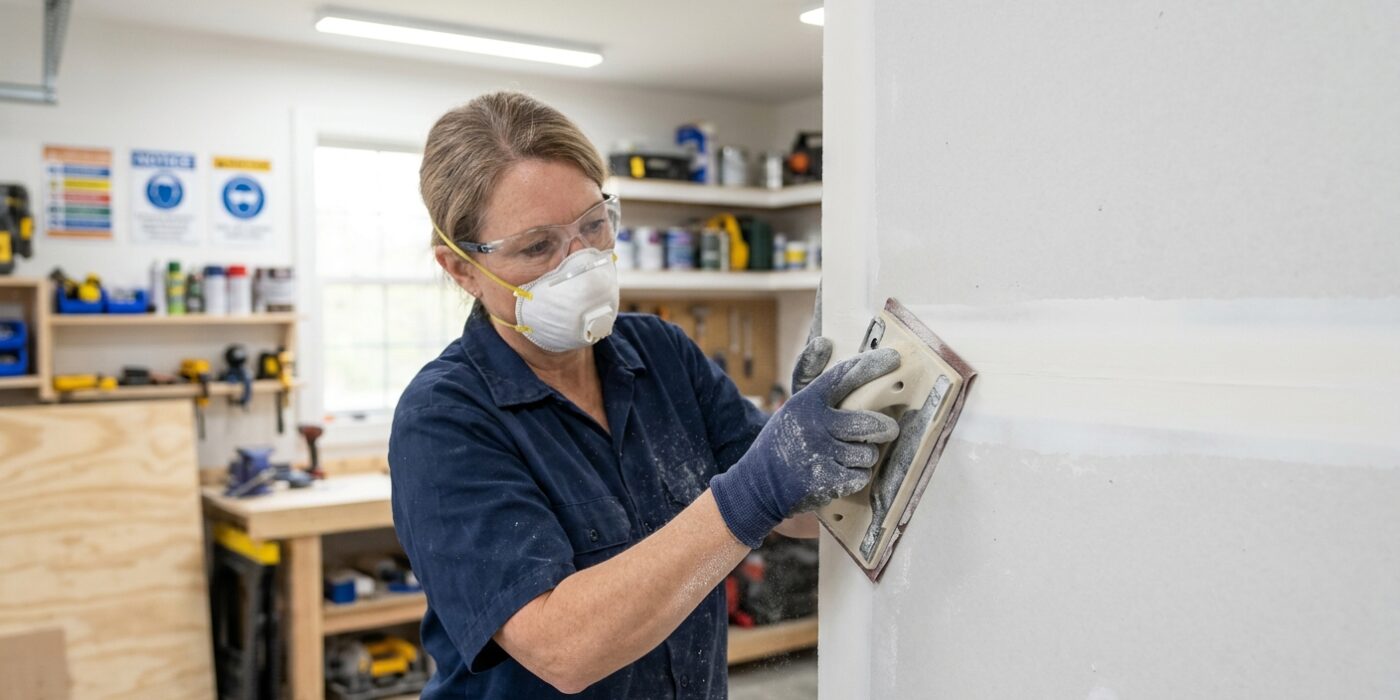
Now that your final coat is bone-dry and bright white, it is time to reveal a perfectly smooth wall. Start by lightly sanding the entire surface with 120-grit sandpaper to knock down high spots, then switch to 150-grit paper for a final pass to smooth out any scratches. The secret to professional results is a technique called “raking light.” Hold a bright work light or flashlight against the wall at a sharp, shallow angle. This casts long shadows that instantly highlight ridges, humps, or tiny pits you might otherwise miss. If you find imperfections, sand them gently using a back-and-forth motion, ensuring you “feather” the edges by tapering your pressure so the transition to the surrounding drywall is seamless.
Beginner Tip: Avoid the urge to press down hard while sanding. If you push too forcefully, you will easily sand through the compound and scuff the paper face of the drywall underneath, which creates a fuzzy, damaged surface that is very difficult to hide with paint.
Alternative Method: If you are worried about the massive amount of fine white dust sanding creates, use a drywall sanding sponge dampened slightly with water. Gently buff the surface in a circular motion; this “wet sanding” keeps the dust contained while creating a glass-smooth finish ready for primer.
Pro Tip: Always keep a clean, damp cloth or a dry microfiber dusting mitt nearby to wipe away dust between sanding passes. If you sand over dust, you are essentially grinding grit into your finish, which can leave annoying swirl marks behind.