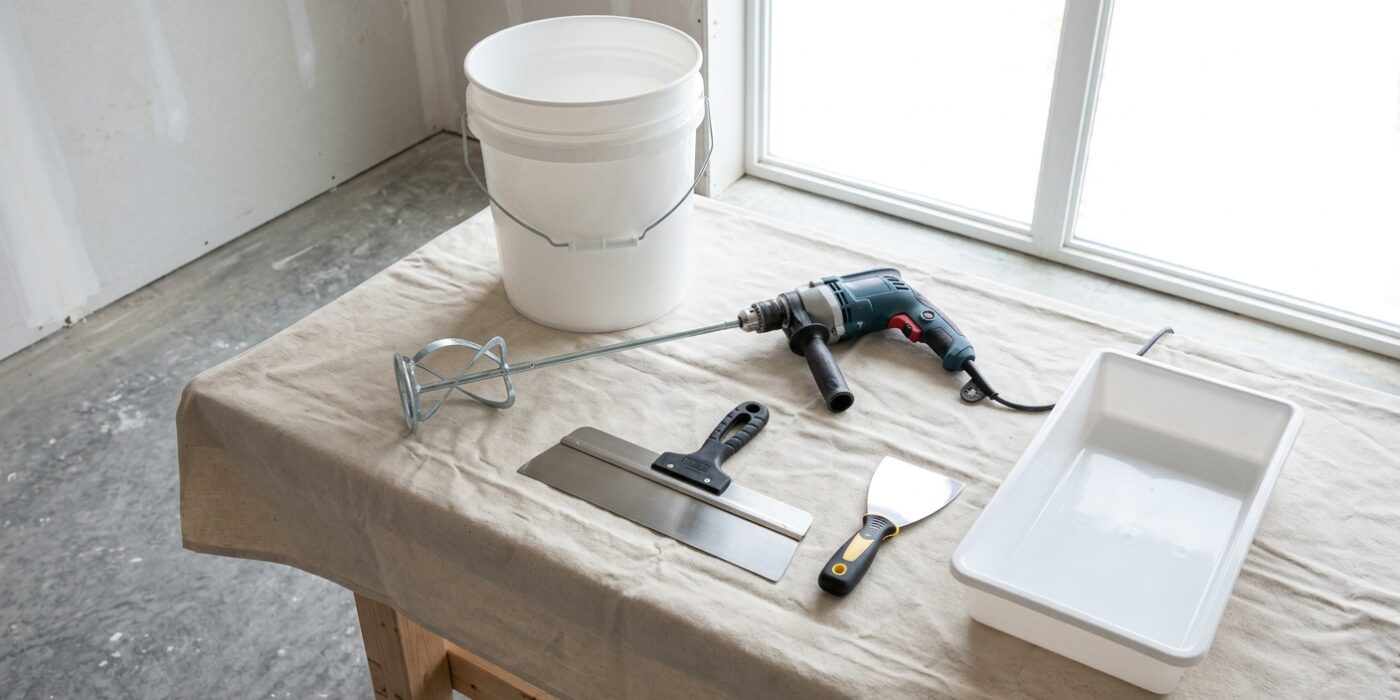
Project Shopping List
Skim coating is the process of applying one or two very thin layers of joint compound over an entire wall surface to create a perfectly smooth, flat finish. It is the standard technique for resurfacing walls that have been painted multiple times and have a rough, orange-peel texture that cannot be removed by sanding alone, for covering walls that had wallpaper removed and now have a rough or damaged surface, or for walls that need to be flattened before a high-gloss paint or smooth plaster finish. Skim coating takes practice, but the technique is learnable by any patient DIYer.
What You’ll Need
Tools
- 12-inch drywall finishing knife
- 16-inch drywall knife or pool trowel (for large areas)
- Mud pan or hawk
- Mixing paddle and drill
- Paint roller with 3/8-inch nap (for rolling compound onto large areas)
- Bright work light
- Sanding sponge and 150-grit drywall paper
Materials
- Topping compound or all-purpose joint compound (thinned to a heavy cream consistency)
- PVA drywall primer (to prime before skim coat)
- Fine-grit sanding sponge
Step 1: Prepare the Surface
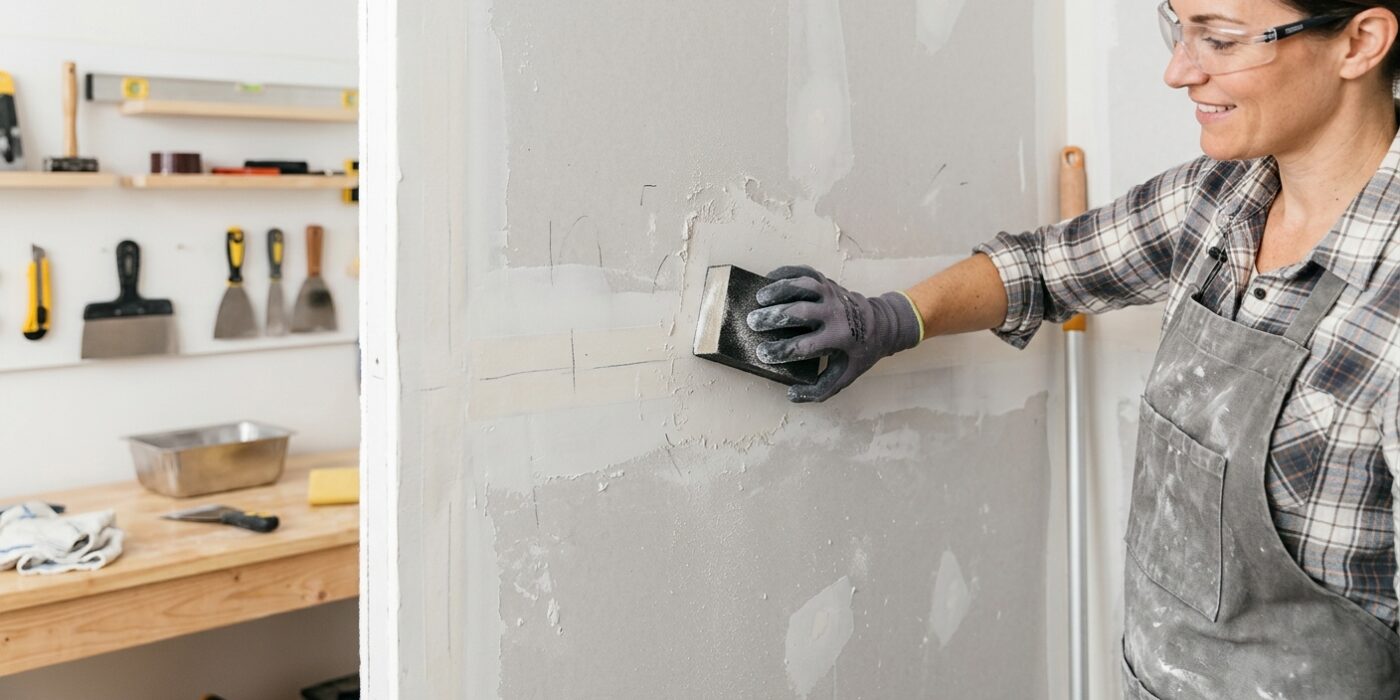
Before you begin, think of your wall as a canvas that needs the right texture to hold your new finish. If your wall is currently painted with a glossy or semi-gloss finish, your skim coat will slide right off. Use a piece of 100-grit sandpaper to gently scuff the surface until it looks dull and flat; you aren’t trying to remove the paint, just create “teeth” for the compound to grab onto. Next, clean the wall thoroughly with a TSP (Trisodium Phosphate) solution to wipe away dust and grease that could block adhesion.
Once clean, fill any deep gouges with a setting-type joint compound. Unlike pre-mixed tubs, setting compound hardens through a chemical reaction, making it perfect for filling holes without shrinking. Finally, roll on a coat of PVA drywall primer. This acts as a sealer, stopping the porous drywall from soaking up the moisture in your skim coat too quickly, which prevents those pesky hairline cracks later on.
Beginner Tip: Don’t skip the sanding step just because your arm gets tired! If the surface remains shiny, your skim coat will likely peel or bubble in patches, forcing you to do the work twice.
Pro Tip: When applying your PVA primer, use a high-nap roller cover. The extra fluff helps push the primer into the subtle texture of the wall, ensuring a uniform, sealed surface that makes spreading your skim coat feel as smooth as gliding a knife through softened butter.
Step 2: Mix the Compound
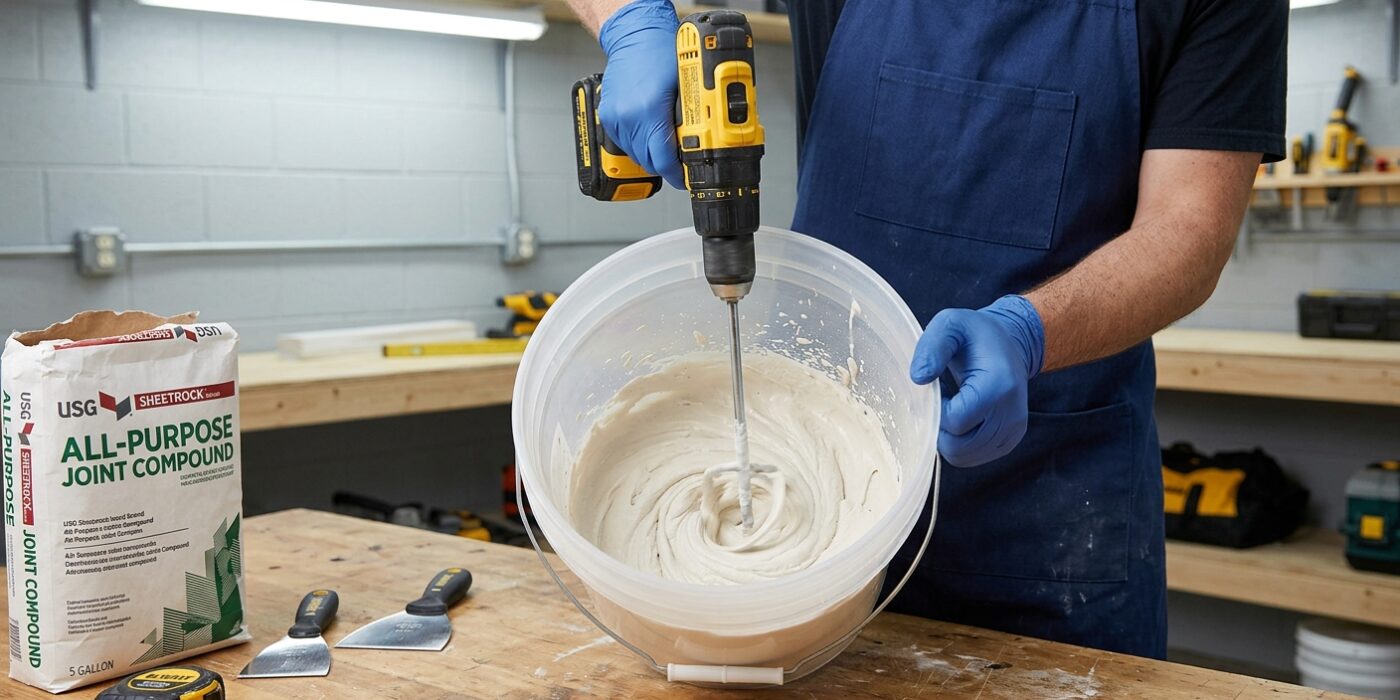
Now that your wall is prepped, it is time to prepare your joint compound. Open your bucket and add about half a cup of clean water to the mixture. Using a drill equipped with a mixing paddle, blend the compound on a low speed setting to avoid whipping too much air into it. Your goal is a smooth, heavy cream consistency, similar to thick pancake batter. It should glide off your putty knife in a smooth, continuous sheet without clumping or dripping rapidly. If it drags across the surface, add a tiny splash more water; if it runs down the wall like liquid, it is too thin and needs a bit more compound.
Beginner Tip: The biggest mistake new DIYers make is adding too much water at once. You can always add more water to thin it out, but you cannot easily thicken it back up without adding more compound. Start small – add your water in tablespoon increments until you reach that perfect, spreadable texture.
Alternative Method: If you do not own a drill with a mixing paddle, you can use a sturdy paint stirrer or a heavy-duty kitchen spatula. You will need to put in a little extra “elbow grease” to work the lumps out by hand against the side of the bucket, but it is perfectly effective for smaller wall areas.
Pro Tip: To keep your mixture consistent, always use a clean bucket and clean water. Dried bits of old compound from a dirty bucket will create annoying streaks or scratches in your smooth finish as you pull the knife across the wall.
Step 3: Apply the First Skim Coat
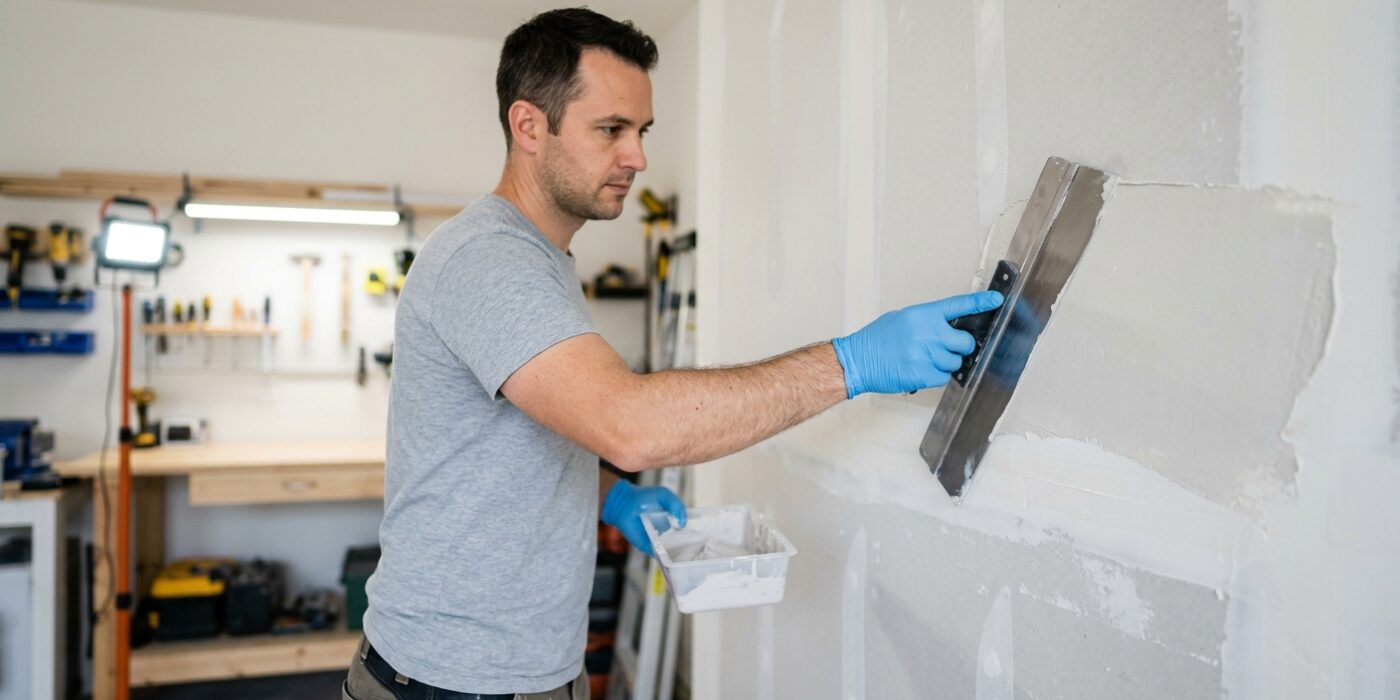
Now it is time to cover your wall. Using a paint roller with a 3/8-inch nap, apply your thinned joint compound to a 4-by-4-foot section of the wall. Think of this like painting; you want a consistent, thin layer of mud covering the surface. Working in small sections prevents the compound from drying out before you have a chance to smooth it.
Immediately after rolling, take your 12-inch finishing knife. Hold the blade at a shallow, 30-degree angle to the wall. Using long, vertical strokes, gently glide the knife over the wet compound to flatten it. Do not press hard; imagine you are frosting a cake rather than scraping paint. The goal is to level the mud, not remove it entirely. As you move across the wall, overlap each stroke slightly with the previous one to avoid visible ridges. It is perfectly normal for this first layer to look slightly uneven or textured – you are simply creating a smooth foundation for the next coat.
Beginner Tip: The most common mistake is overworking the compound. If you find yourself passing the knife over the same spot more than twice, stop. You will likely just create more streaks or pull the material off the wall. If it is not perfect, leave it; the next coat will fix it.
Pro Tip: Keep a bucket of clean water and a damp rag nearby. Periodically wipe the edges of your finishing knife clean. Dried bits of compound on the blade create deep, ugly scratches in your fresh finish.
Step 4: Sand and Apply the Second Coat
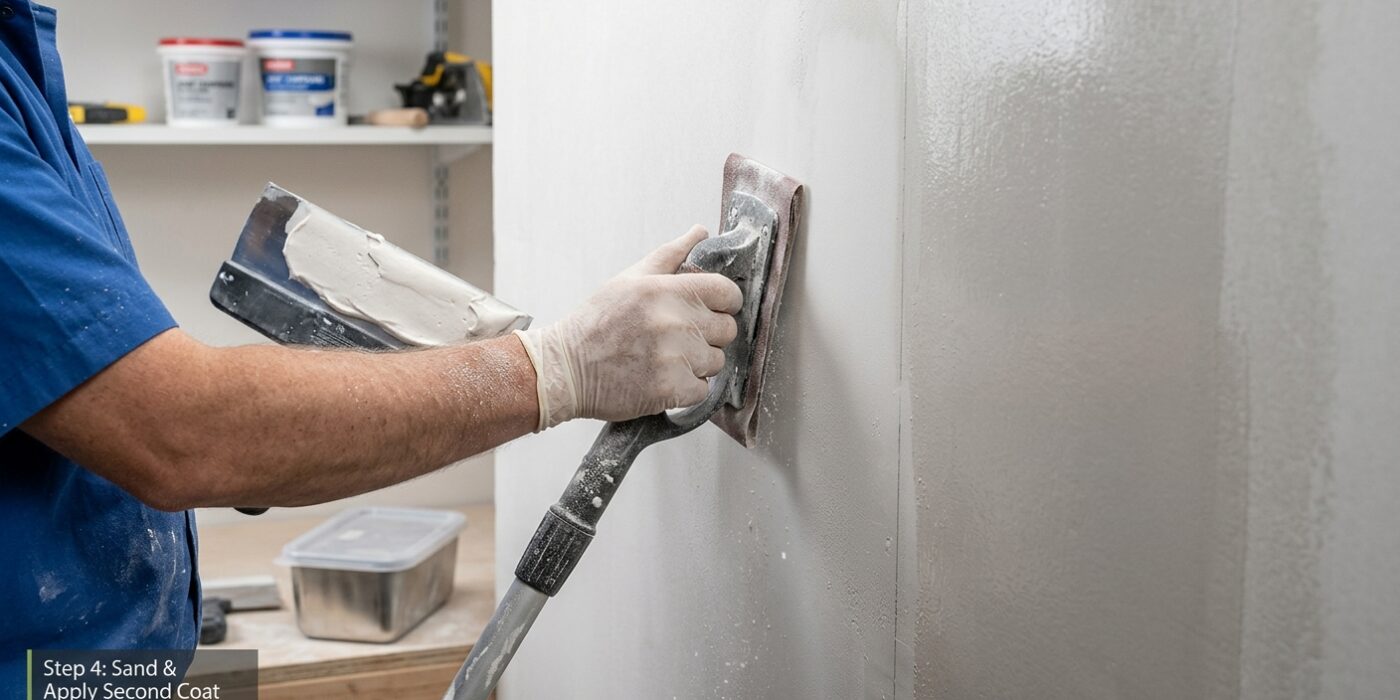
Once your first coat is completely dry – indicated by a consistent, bone-white appearance – it is time to refine the finish. Start by using a fine-grit (150 to 180) sanding sponge. Gently rub the surface in circular motions to remove any ridges or high spots. You aren’t trying to remove the compound, just smoothing the texture. After sanding, use a slightly damp cloth or a microfiber tack cloth to wipe away every speck of dust, as leftover grit will ruin your next layer. Apply the second coat exactly like the first, using a thin, consistent layer. Aim to hold your drywall knife at a 30-degree angle to the wall; this allows the blade to skim over the surface without gouging your progress.
Beginner Tip: The most common mistake is over-sanding. If you see the original wall color peeking through, you have gone too deep. Remember, you are only trying to “knock down” the sharpest imperfections, not level the entire wall to the drywall paper.
Pro Tip: Always place a bright work light on the floor or a table and point it toward the wall at a sharp, side-facing angle. This is called a “raking light.” It creates deep shadows behind every tiny bump or trough, making it impossible to miss uneven spots while you work. It is the secret to achieving that perfect, mirror-like glass finish.
Step 5: Final Sand
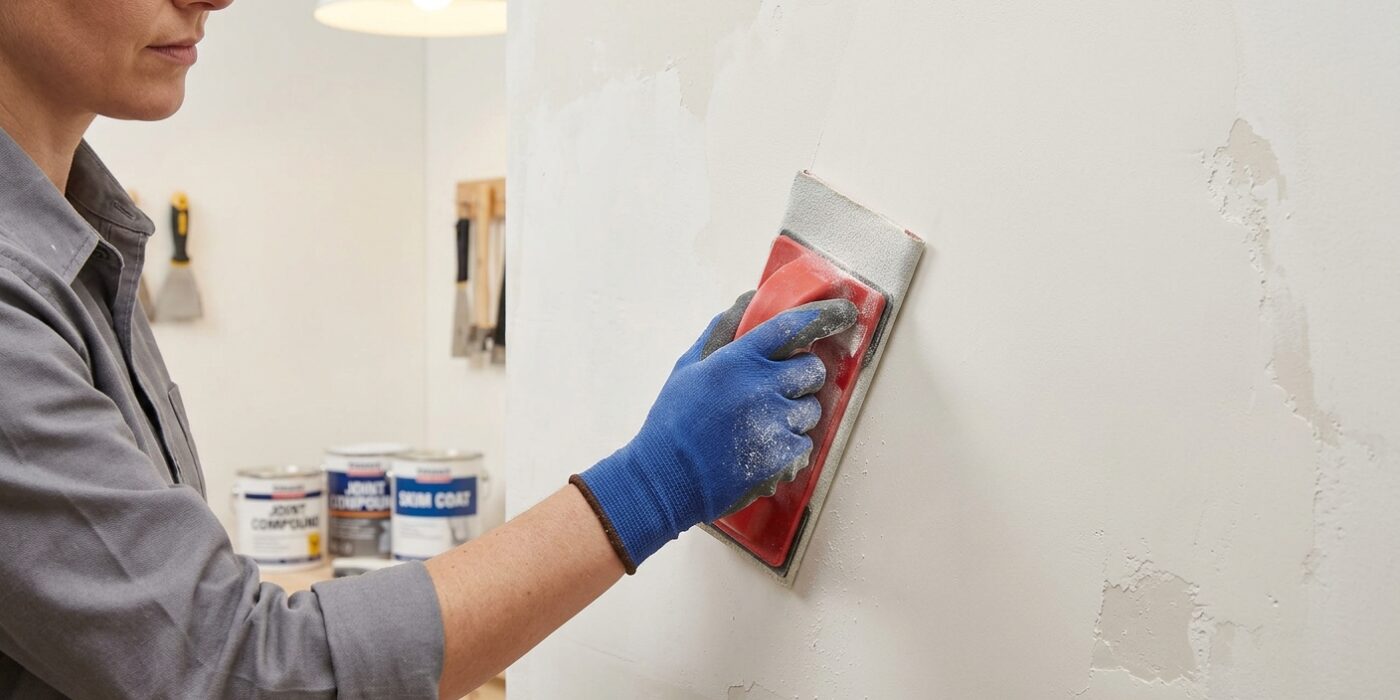
Once your final coat is completely dry – usually after 24 hours – it is time to reveal that smooth, professional finish. You will need 150-grit drywall sandpaper, which is fine enough to smooth the compound without leaving deep scratches. For the main wall, attach your sandpaper to a pole sander; this gives you the leverage to maintain a flat, even plane. Gently glide the sander over the wall in overlapping circular motions to level out any bumps. Switch to a hand sanding sponge for corners and tight edges, where a pole sander might gouge the drywall paper.
After circling, finish with light, straight vertical strokes to erase any lingering swirl marks. Use a bright flashlight held against the wall at a sharp, low angle – this is called “raking light” – to highlight shadows cast by remaining ridges or dips. If you spot any imperfections, apply a thin “spot-skim” of compound just to those small areas, let them dry, and sand them smooth once more. Consistency is key, so take your time.
Beginner Tip: Avoid pressing too hard while sanding. You are trying to smooth the compound, not remove it entirely. If you see the white color of the drywall paper beneath the gray compound, you have sanded too far and created a “burn-through” that will need to be patched.
Pro Tip: When using your raking light, hold it flush against the wall and move it slowly across the surface. This creates long shadows that act like a map, exposing tiny imperfections you would never see under standard room lighting.
Step 6: Prime Before Painting
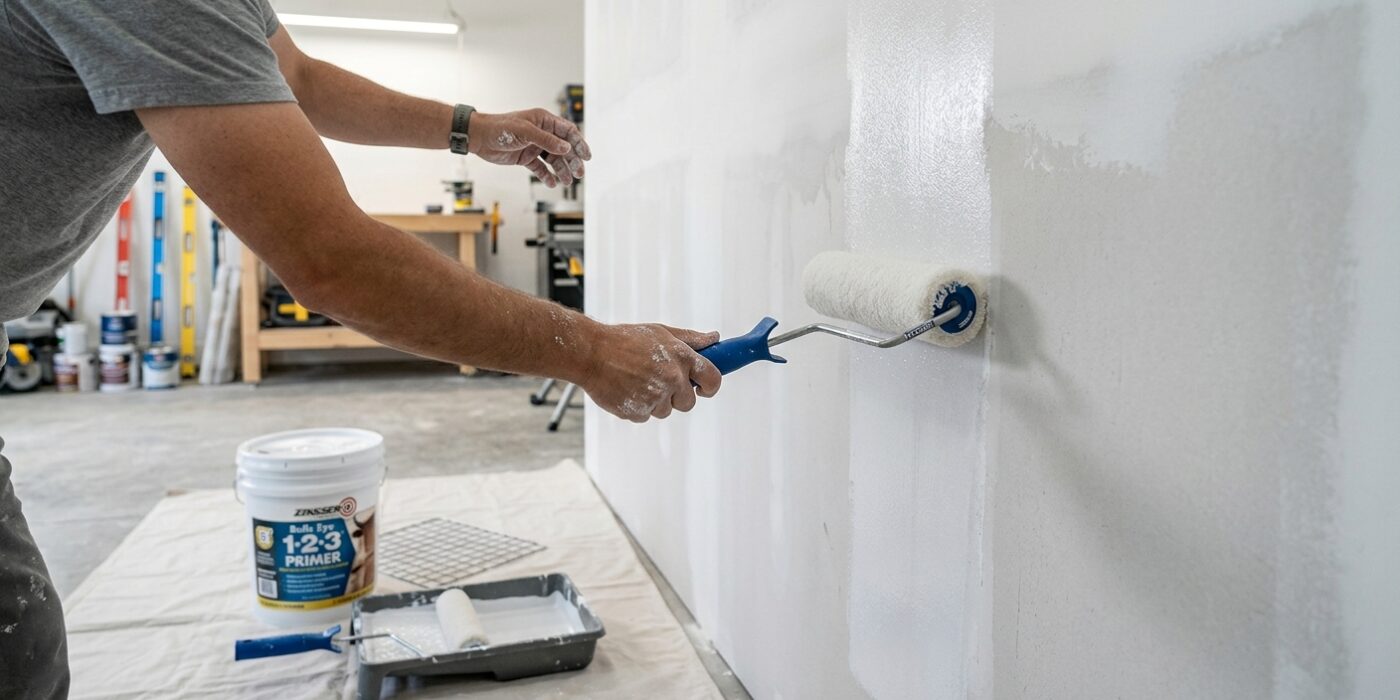
Even though your wall looks smooth, you aren’t quite ready for the finish paint yet. Skim-coated surfaces are highly porous, meaning they will soak up paint like a sponge. If you skip this step, your paint will dry unevenly, leading to a frustrating, splotchy finish known as “flashing.” To prevent this, apply one full coat of high-quality drywall primer using a 3/8-inch nap roller. Work in a “W” pattern to ensure even coverage, and let the primer dry completely according to the manufacturer’s instructions. Once dry, run your hand over the surface; if you feel any rough “nap” or fuzz raised by the moisture, sand it down very lightly with 220-grit sandpaper. Wipe away the fine dust with a damp cloth, and your wall is finally ready for your color.
Beginner Tip: Avoid the temptation to press down hard on the roller. Many beginners push until the roller stops spinning, which forces excess primer into the edges and creates thick “bead” lines. Use light, even pressure, and let the roller sleeve do the work for you.
Alternative Method: If you don’t have a roller frame, you can use a high-quality wide nylon brush. While slower, it allows for excellent control around corners and outlets. Just be sure to lay the primer off with long, vertical strokes to minimize brush marks.
Pro Tip: Tint your primer! If you are painting the wall a dark or deep color, ask the staff at your paint store to tint the primer toward the final shade. This helps the topcoat hide the skim coat much faster and requires fewer overall layers.