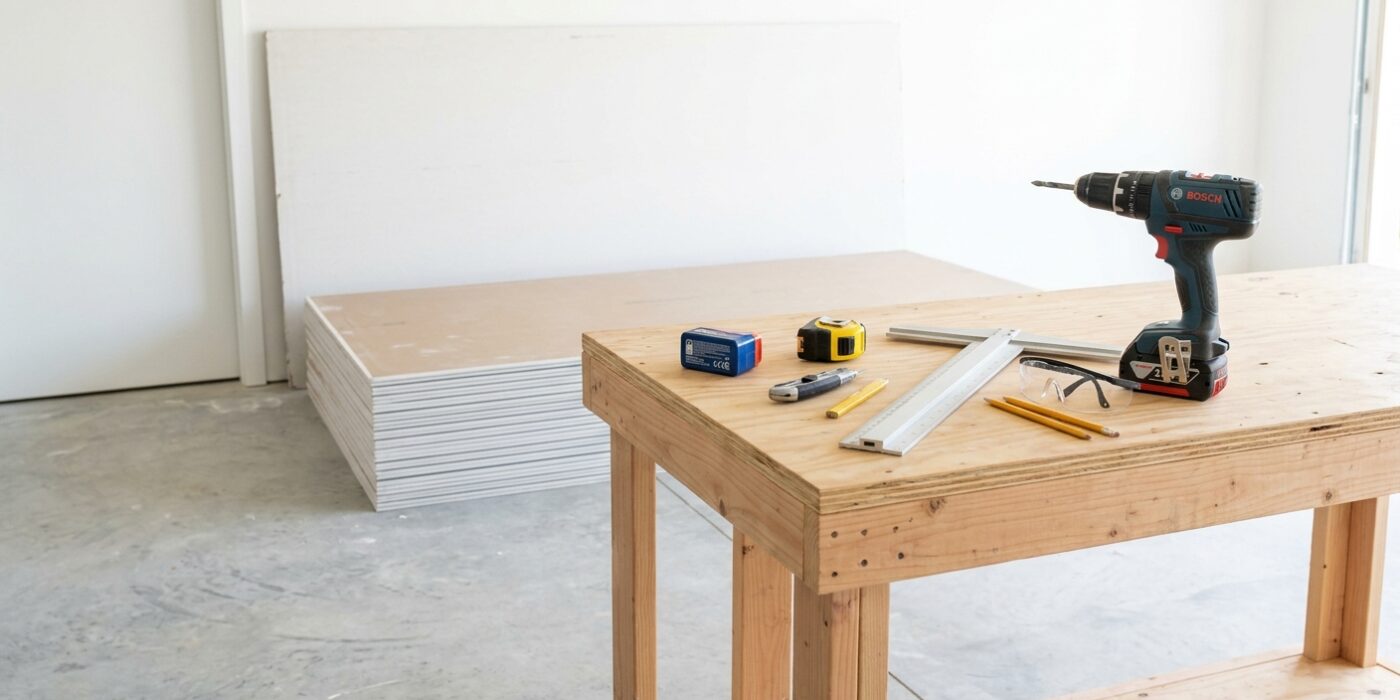
Project Shopping List
Hanging drywall on a ceiling is the hardest part of a drywall job. Panels are heavy, awkward, and must be held overhead while you fasten them. A rented drywall lift takes most of the physical difficulty out of the job and makes it a realistic one- or two-person project. This guide covers hanging drywall on a flat ceiling with a lift, including how to plan the layout, handle butt joints, and deal with light fixtures and recessed can cutouts.
Rent a drywall lift if you are doing more than one or two ceiling panels. The rental cost is modest and the lift pays for itself in reduced physical strain alone.
What You’ll Need
Tools
- Drywall lift (rented)
- Tape measure and chalk line
- T-square
- Utility knife
- Drywall saw (jab saw)
- Drill with drywall screw bit
- Stud finder
- Pencil
Materials
- 5/8-inch Type X drywall (for fire-rated ceilings or between floors) or 1/2-inch drywall for standard ceiling application
- 1-5/8-inch coarse-thread drywall screws
- Blocking lumber (2×4 or 2×6) for panel edges that land between joists
Step 1: Locate and Mark the Joists
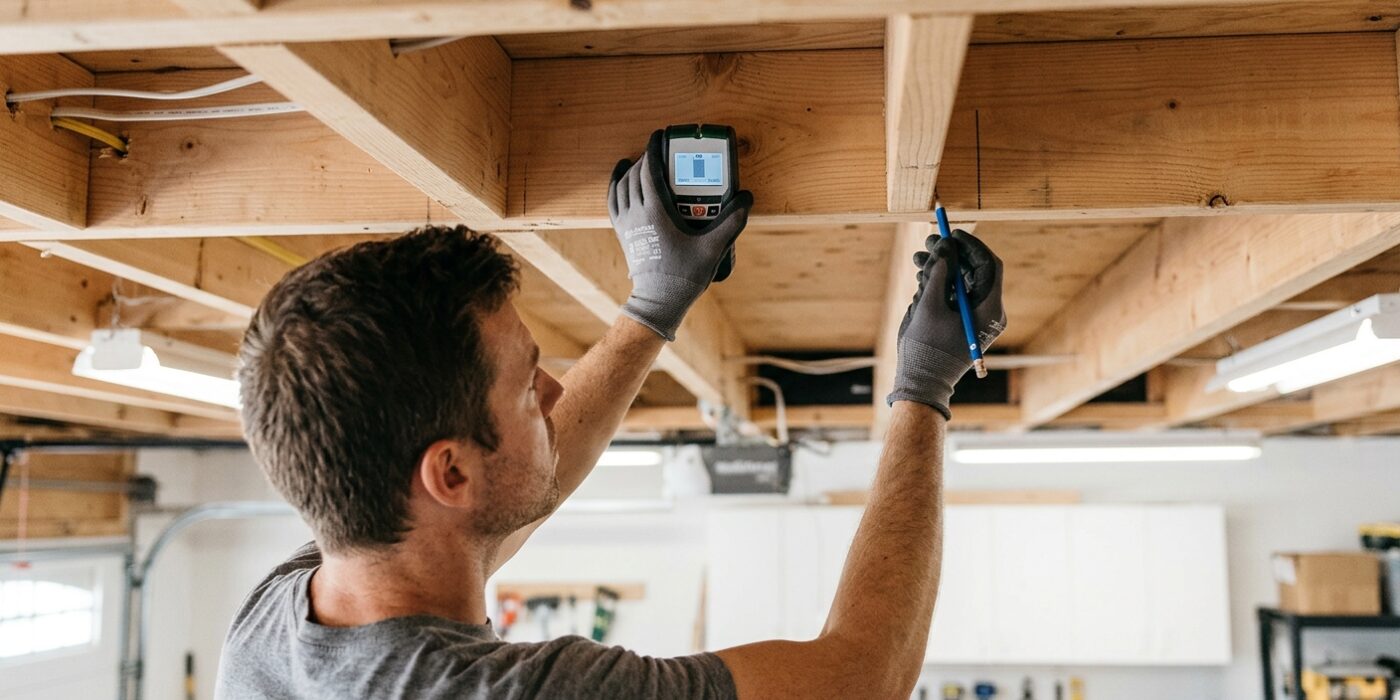
Before you lift that heavy drywall, you need a map. Your ceiling joists – the sturdy wooden beams hidden above your drywall – are the only places where your screws will actually grip. If you miss a joist, your screw will just spin in thin air, creating a hole you’ll have to patch later.
Start by using a stud finder to locate every ceiling joist. Once you find the center of a joist, make a mark on the wall at the top of the room so you don’t lose track. Do this on both opposite walls. Next, grab a chalk line, hook it onto your first mark, and stretch it tight to the corresponding mark on the opposite wall. Pull the string taut, lift it slightly in the middle, and let it snap. This leaves a perfectly straight line across your ceiling. Repeat this for every joist. These lines are your roadmap; when the drywall is pressed against the ceiling, you will use these lines to ensure your screws bite securely into the wood.
Beginner Tip: Don’t rely solely on the stud finder’s lights. Double-check your marks by drilling a tiny “test hole” with a small finish nail to confirm you actually hit the center of the wood before you commit to the full board.
Pro Tip: Place a small piece of painter’s tape on the wall right above each chalk line. Once the drywall is up and hiding your lines, these tape flags will act as visual reminders of exactly where your joists are located.
Step 2: Install Blocking at Panel Edges
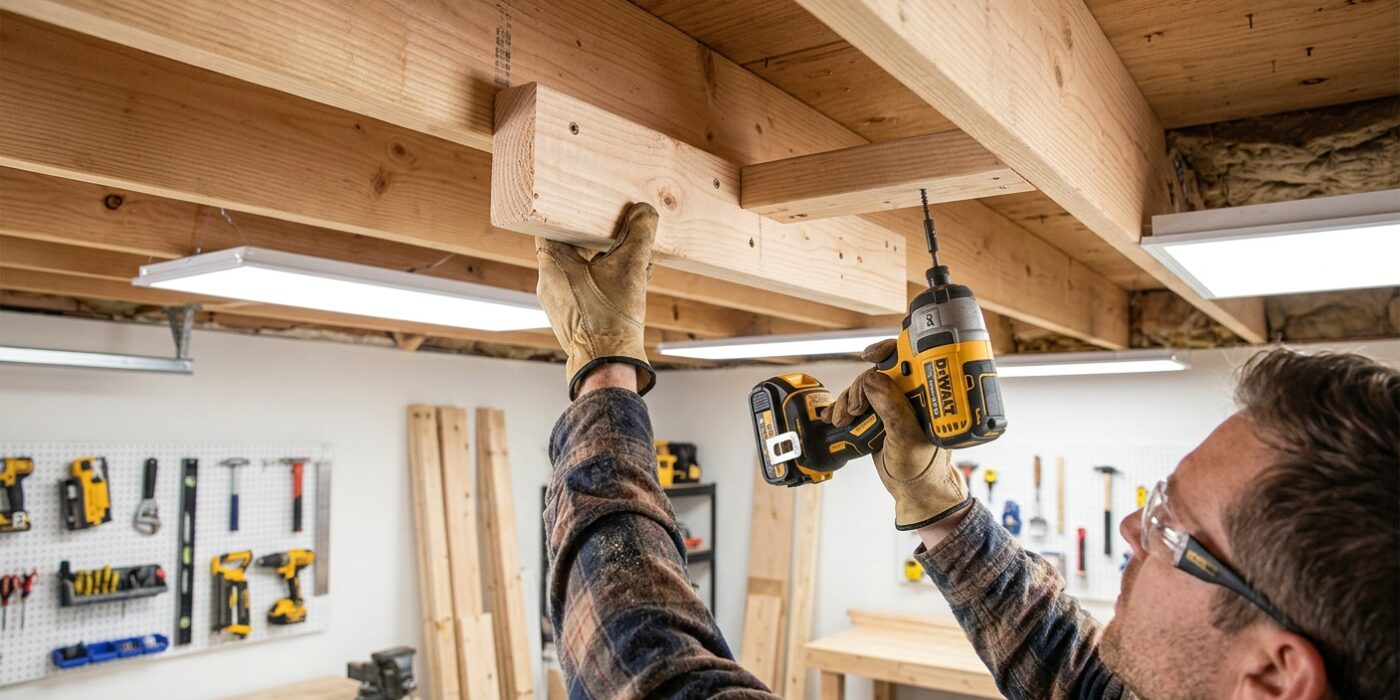
Drywall panels are heavy and brittle; if an edge hangs in the open air without support, it will crack and sag over time. To fix this, you need to create a solid “shelf” for every seam. If your drywall layout shows a seam falling between your ceiling joists, you must install “blocking” – small pieces of 2×4 lumber – to bridge the gap.
First, measure the exact distance between your joists and cut a 2×4 to fit snugly. Position this board so its bottom face is perfectly flush with the bottom of the joists. Use a straight edge or a level held across the joists to ensure the blocking doesn’t stick out, as even a quarter-inch bump will make your drywall look wavy. Secure the blocking by “toenailing” – driving 3-inch framing nails or screws through the side of the 2×4 into the joist at a 45-degree angle.
Beginner Tip: Avoid the mistake of making your blocking too tight. If you have to hammer the board in with excessive force, you might accidentally push the joists apart, which ruins your layout. Cut the board just a hair shorter than the measured space so it slides in easily.
Alternative Method: If you struggle with toenailing, use metal joist hangers. These small steel brackets hold the board in place for you, allowing you to simply drive screws straight into the joist without worrying about tricky angles.
Pro Tip: Before you screw the blocking in, drive one screw into the center of the board first to act as a “handle” while you hold it in place. This gives you a better grip and keeps your fingers safely away from the hammer.
Step 3: Plan the Panel Layout
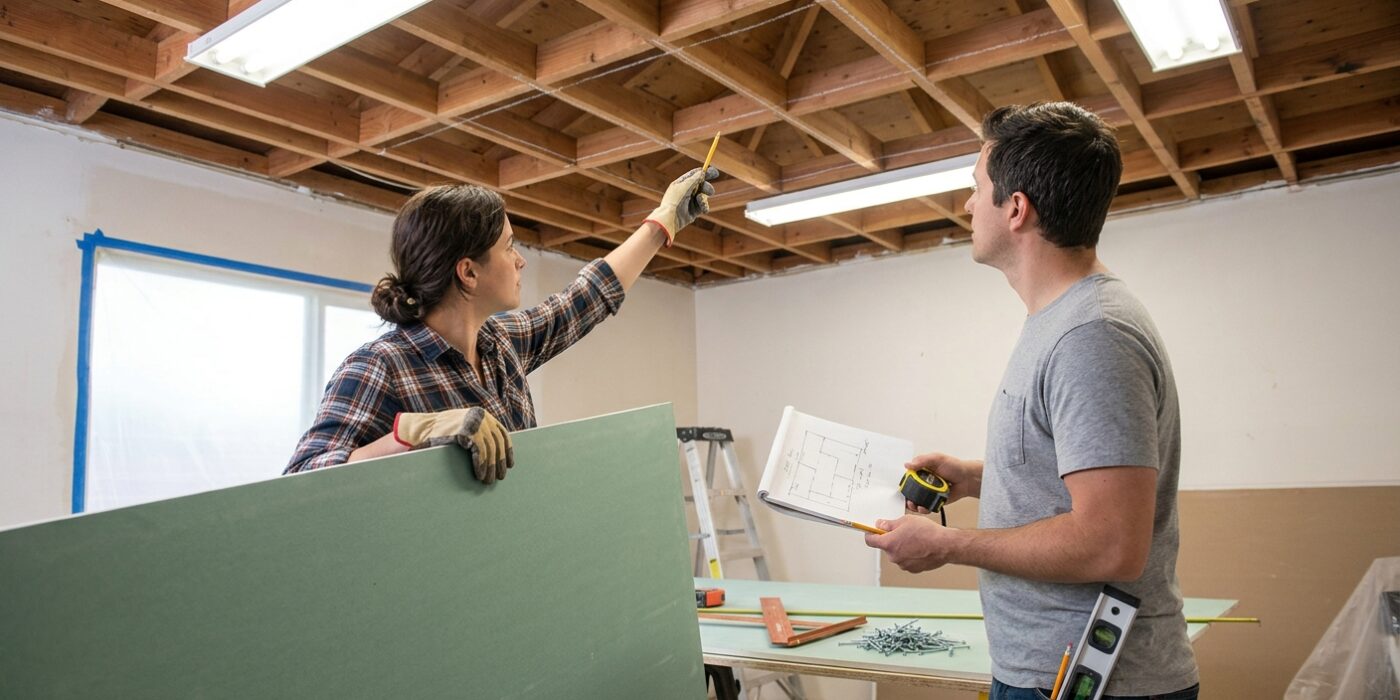
Before you lift a single board, you need to map out your plan. Always install drywall panels perpendicular to your ceiling joists – meaning the long edges of the panel should cross over the joists like a bridge. This orientation provides much better structural support and prevents the drywall from sagging over time. Start hanging your sheets along the longest wall and work your way across the room.
The most important rule here is to stagger your butt joints. A butt joint is the non-tapered end of a panel where two pieces meet. If you line these joints up in a straight, continuous row, you will create a visible “hump” in your ceiling that is notoriously difficult to hide with joint compound. By offsetting the joints in adjacent rows, you spread out the thickness, making the final finish look smooth and flat.
Beginner Tip: Avoid the mistake of letting a panel end fall between two joists. Every single edge of your drywall must be supported by a solid wooden joist. If you measure and realize a panel ends in empty air, cut the panel back so the edge lands exactly in the center of the nearest joist.
Pro Tip: Use a chalk line to mark the center of your ceiling joists on the wall studs before you start. Since the joists will be covered by drywall, having these marks visible on the wall helps you quickly locate exactly where to drive your screws without guessing or accidentally missing the wood.
Step 4: Cut and Load the Lift
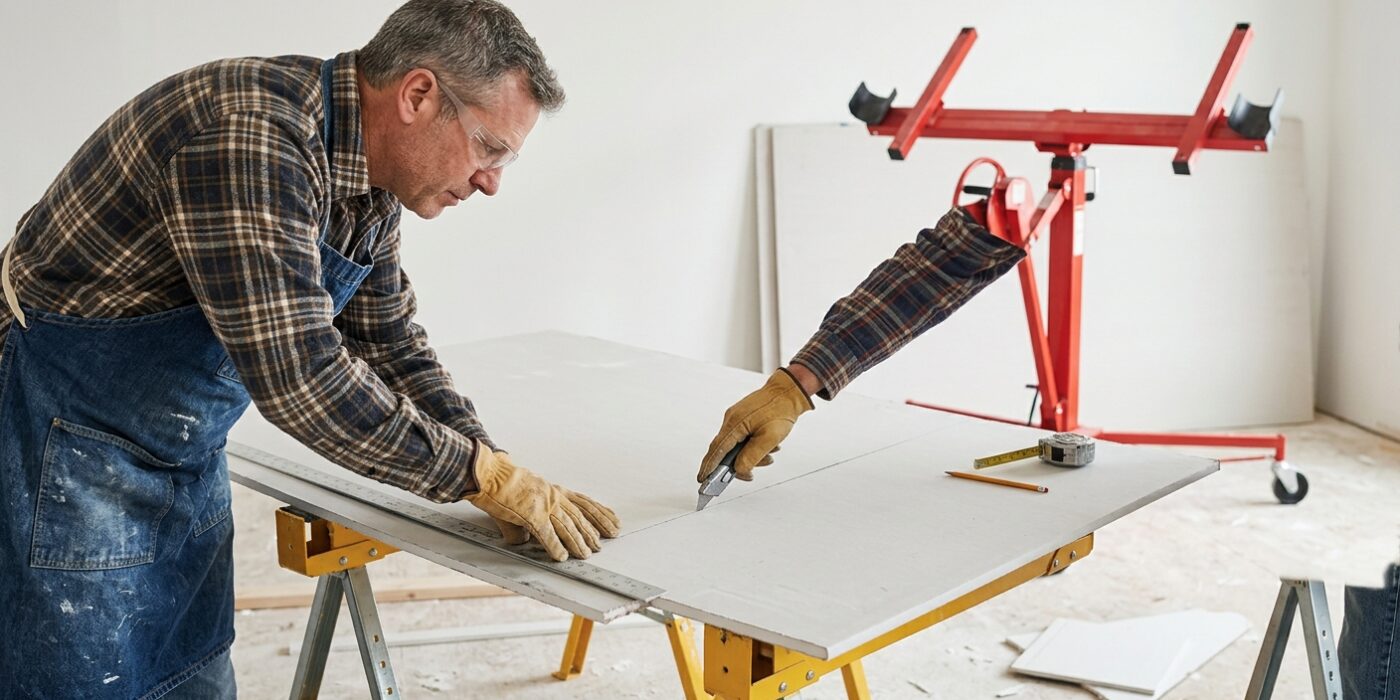
Before you lift your drywall, you must prepare it on the floor. First, measure and cut your panel to the required length. If you have recessed lights or ceiling boxes, use a tape measure to find the exact center of the fixture relative to two nearby walls. Transfer these measurements onto the front of your drywall sheet. Using a jab saw, cut the opening slightly smaller than the fixture to ensure a snug fit. Cutting while the board is flat on the ground is much safer and more accurate than trying to work over your head while on a ladder.
Once your cuts are finished, center the panel face-down on the drywall lift’s cradle. Use the lift’s handles to crank the panel slowly toward the ceiling. As it rises, watch carefully to ensure it stays balanced. Position the lift so the edge of the panel aligns perfectly with your layout lines on the ceiling joists.
Beginner Tip: A common mistake is cutting your holes too large. If you are nervous about your measurements, cut the hole slightly smaller than necessary; it is much easier to trim away a little extra drywall with your jab saw once the panel is held in place than it is to patch a gap that is too wide.
Pro Tip: Before raising the lift, mark the center of your ceiling joists on the wall near the ceiling line. This gives you a clear visual guide, so when you are standing underneath the lift, you know exactly where to screw the panel into the wooden framing.
Step 5: Raise and Fasten
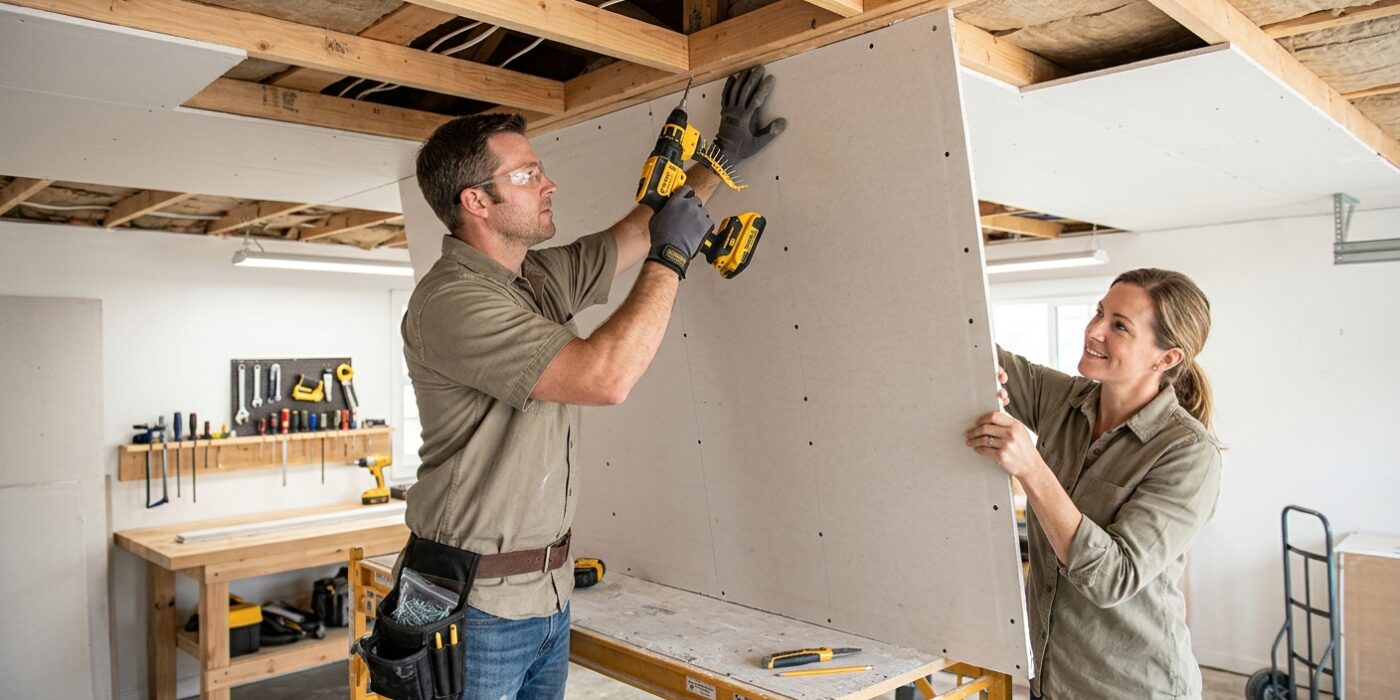
With your drywall panel securely loaded onto the lift, slowly turn the crank to raise it until it is pressed firmly and evenly against the ceiling joists. Before grabbing your drill, take a moment to ensure the long edge of the panel is perfectly centered along the joist; if it is off-center, you won’t have enough wood to anchor the next sheet. Once aligned, use a drywall screw gun or a drill with a dimpler bit to secure the panel. Drive screws every 12 inches along each joist the panel crosses, and every 8 inches along the perimeter edges. Aim to set each screw head just below the surface of the paper – a technique known as “dimpling” – without breaking the paper skin, as this maintains the structural integrity of the board. Always work from the center of the panel outward, which forces any slight curvature against the joists for a flat, professional finish.
Beginner Tip: A common mistake is driving the screw too deep. If the screw head pierces through the paper, it loses almost all of its holding power. If you accidentally tear the paper, drive a new screw about an inch away and leave the original one in place to avoid a weak spot.
Alternative Method: If you don’t have a drywall lift, you will need two sturdy T-braces made from 2×4 lumber. Build these to be about a half-inch longer than your floor-to-ceiling height so they wedge the panel tightly against the joists while you work.
Pro Tip: Use a magnetic screw-holding bit or a small piece of painter’s tape to hold the screw onto your drill bit before you start. This allows you to drive the fastener with one hand while keeping your other hand free to steady the board.
Step 6: Handle Butt Joints
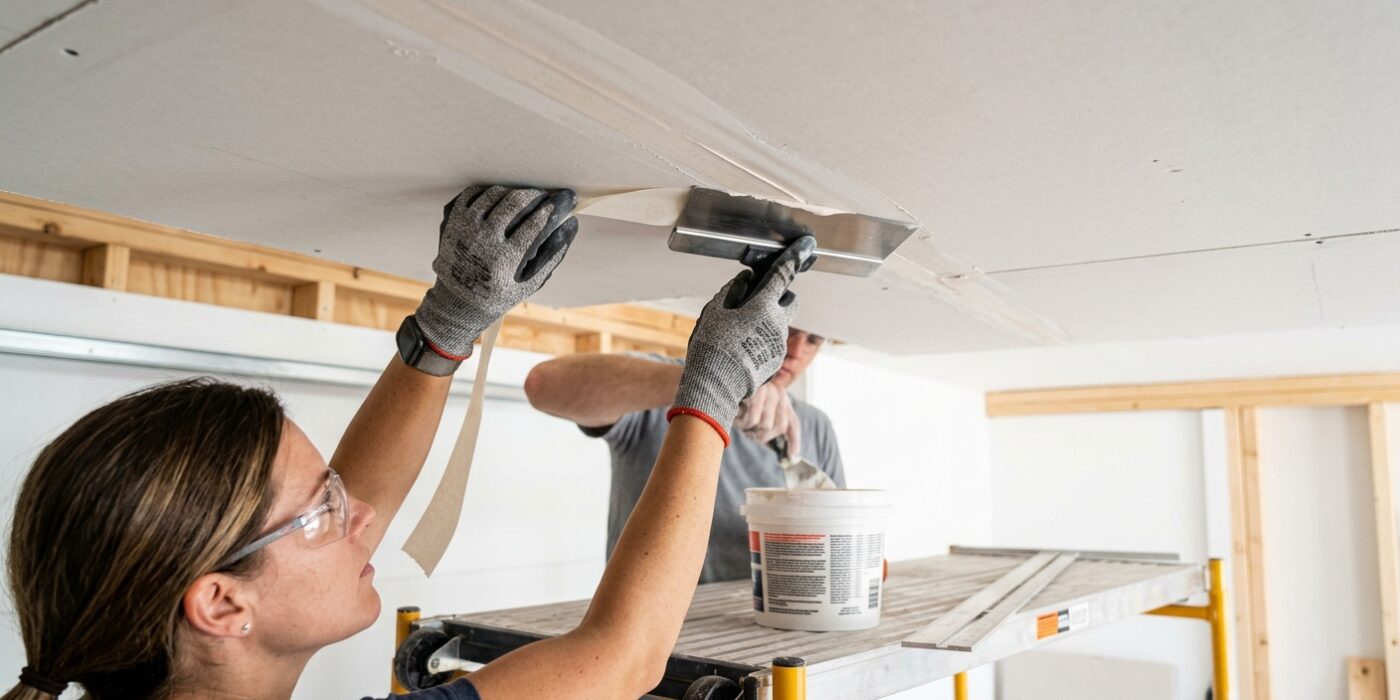
Butt joints occur where the non-tapered, factory-cut ends of your drywall panels meet. Because these ends are flat, they create a slight hump when taped. To create a seamless finish, you need to trick the eye by spreading the transition over a wide area. Before you hang the boards, use a drywall rasp to shave a 5-degree angle along the edge of each butt end. When the two boards meet, they will form a shallow “V” groove. This gives your joint compound a recessed space to sit in, preventing a bulky mound from forming.
When it comes time to tape, don’t worry about getting it perfect on the first pass. Apply your compound and then use a wide 12-inch taping knife to “feather” the edges outward, extending 14 to 16 inches on each side of the seam. This gradual slope makes the joint nearly invisible once painted.
Beginner Tip: The most common mistake is trying to hide the joint by adding too much compound in one thick layer. This usually leads to a rounded, obvious hump. It is much better to apply three thin, smooth coats, allowing each to dry fully and sanding lightly between layers.
Pro Tip: Use a bright work light to cast shadows across your seams before you start taping. By holding the light at a low, grazing angle against the ceiling, you will see every tiny misalignment or screw head that is sticking out too far. It is infinitely easier to adjust a panel now than to fix a bump in a finished, painted ceiling.