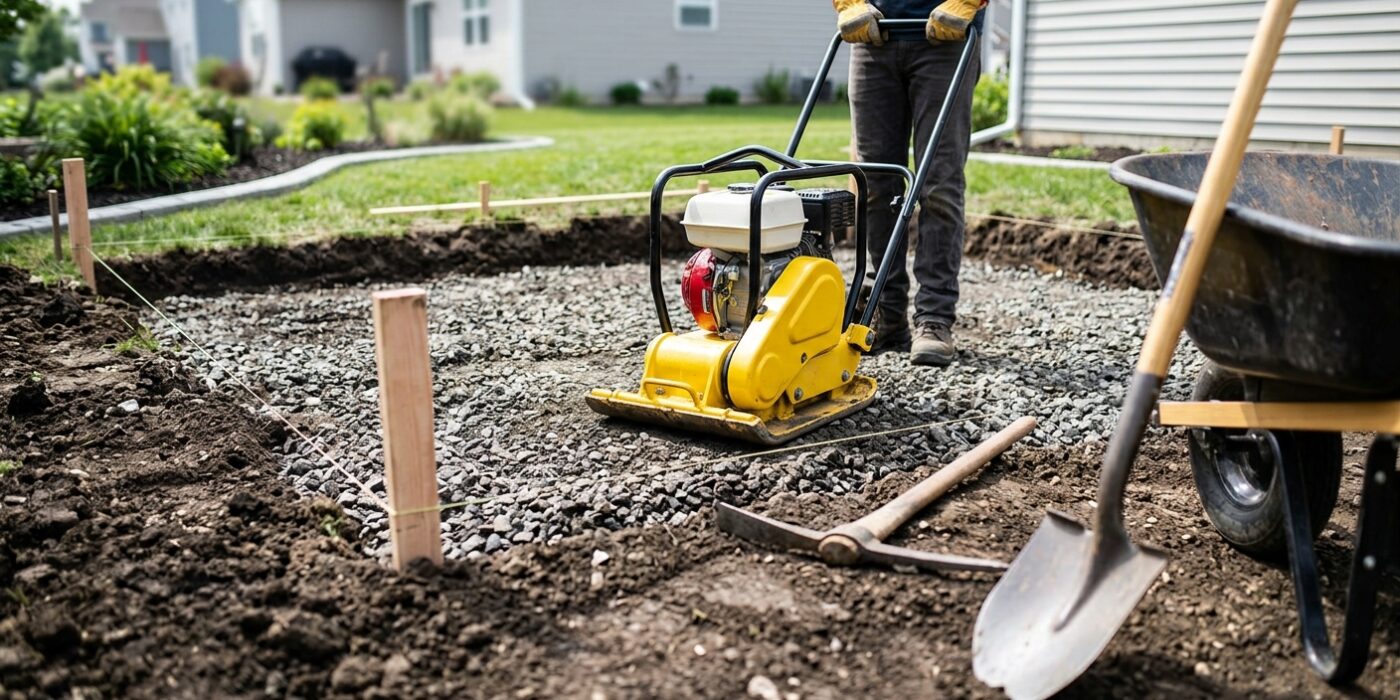
Project Shopping List
A paver patio adds usable living space to any backyard, improves drainage compared to a solid concrete slab, and looks far better than a simple poured surface. Pavers can be replaced individually if one cracks or stains, and the surface can be extended later without visible seams. This guide walks you through every step from excavation to the final sweep of polymeric sand.
Planning and Calculating Materials
Measure your planned patio area in square feet. For pavers: divide total square feet by the square footage of your paver choice and add 10 percent for cuts and waste. For base material: you need 4 inches of crushed stone and 1 inch of sand bedding. For a 200-square-foot patio, that is roughly 2.5 cubic yards of crushed stone and about 50 bags of paver sand. Mark your patio outline on the ground with spray paint.
Tools You Will Need
- Sod cutter or flat spade
- Plate compactor, rented
- Wheelbarrow
- Rubber mallet
- Level and long straightedge
- Tape measure and chalk line
- Wet saw or chisel and hammer for cuts
- Safety glasses and gloves
Materials
- Concrete pavers in your chosen style and color
- 4 to 6 inches of crushed stone base material
- 1 inch of coarse paver sand for bedding
- Plastic edge restraints with spikes
- Polymeric sand to fill joints
Step 1 — Excavate
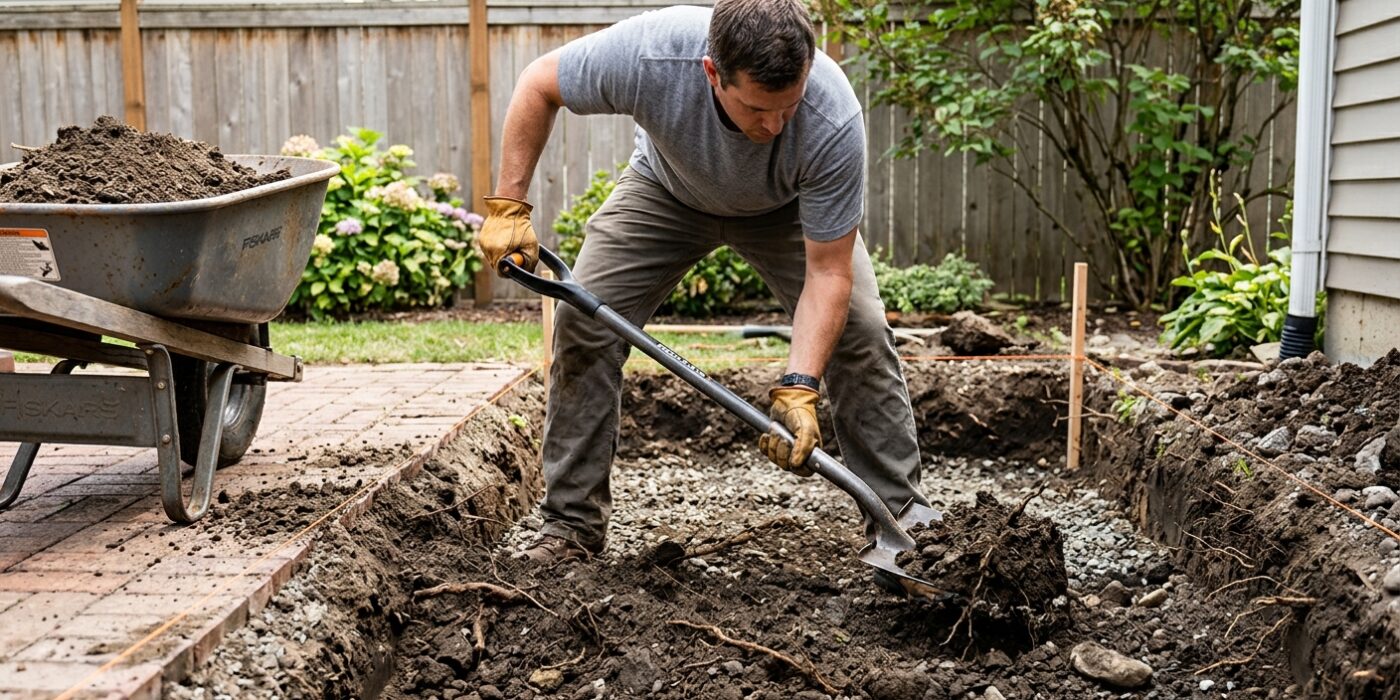
Before you lay a single stone, you must create a solid foundation. You are aiming to dig out your patio area to a total depth of 7 to 8 inches below where you want the final patio surface to sit. This depth accounts for three essential layers: 4 to 6 inches of crushed stone for stability, 1 inch of sand for bedding, and the 2-inch thickness of the pavers themselves. Use a shovel to remove all grass, roots, and soft topsoil until you reach firm, undisturbed ground; this prevents your patio from sinking or shifting over time.
Crucially, as you dig, you must create a slight slope. The bottom of your excavation should drop 1/8 inch for every foot of distance away from your house. This ensures that rainwater flows away from your foundation rather than pooling against it.
Beginner Tip: Do not skip the “firm subsoil” requirement. If you dig too deep and have to fill parts back in with loose dirt, that soil will settle unevenly later, causing your pavers to become wobbly. If you accidentally dig too deep, fill it back with crushed stone and compact it thoroughly rather than using loose soil.
Pro Tip: To keep your slope consistent, drive a wooden stake at the start and end of your patio area. Tie a string line between them, using a string level to ensure the far end is lower by the correct ratio. Measure down from this string as you dig to keep your depth and grade perfectly uniform.
Step 2 — Compact the Subgrade
Now that your area is excavated, it is time to firm up the ground. Think of your subgrade as the foundation of a house; if the base is soft, everything built on top will eventually shift. Using a gas-powered plate compactor, move slowly back and forth across the entire excavated area. Make overlapping passes – covering about a third of your previous path – to ensure no spots are missed. You are looking for a surface that feels solid, like a packed dirt road. If you jump up and down and notice any significant “give” or springiness in the soil, keep running the compactor over that section until it feels rock-hard.
Beginner Tip: A common mistake is trying to compact soil that is soaking wet. If your ground is muddy or saturated, the compactor will simply sink or churn the dirt into a soup rather than firming it up. If you notice the ground rippling like waves under the machine, stop immediately and let the area dry out for a day or two before trying again.
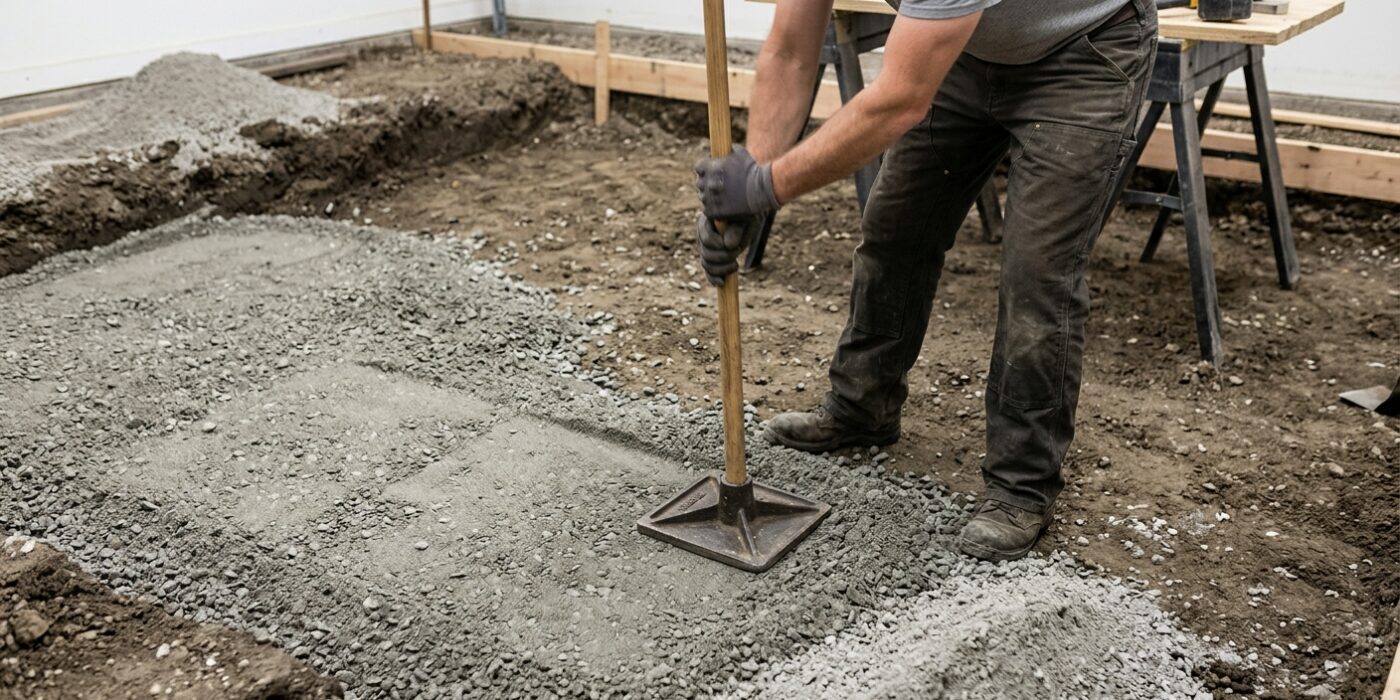
Alternative Method: If renting a heavy plate compactor feels like overkill for a small project, you can use a hand tamper. This is a heavy steel plate on a long handle that you lift and slam onto the soil repeatedly. It is physically demanding, so focus on steady, rhythmic strikes, ensuring you overlap your footwork to cover every square inch of the base.
Pro Tip: To get a professional finish, lightly mist the soil with a garden hose before compacting. Just a little bit of moisture acts like a glue that helps the soil particles lock together tightly, creating a much more stable base than dry, loose dirt ever could.
Step 3 — Add and Compact the Crushed Stone Base
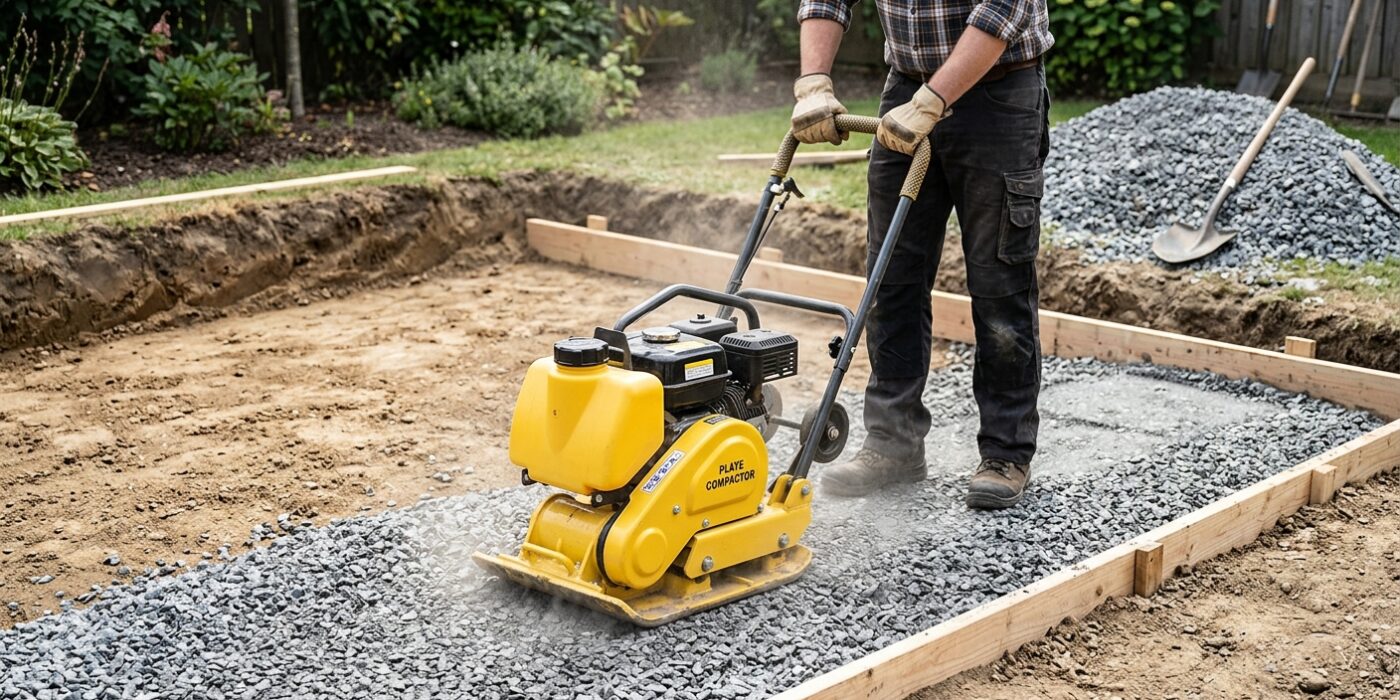
Now that your ground is prepped, it is time to build your foundation. A solid base is the secret to a patio that stays level for years rather than sinking or shifting. You will be using “crushed stone” or “gravel base” (typically 3/4-inch minus). Aim for a 4-inch deep base, which you will build in two 2-inch layers. Pour the first 2 inches of stone into your excavated area and use a garden rake to spread it until it is perfectly even. Run a plate compactor over the surface until the stones are locked tightly together. Repeat this process for the second 2-inch layer.
As you work, place a long level on the surface. To ensure rainwater drains away from your home, you need a slight slope – known as “pitch” – of about 1/8 inch for every foot of distance. If your patio extends 10 feet from the house, the far edge should be 1.25 inches lower than the edge closest to the wall.
Beginner Tip: A common mistake is skipping the compaction of the first layer, thinking the second layer will push it down. Always compact every single layer; otherwise, your patio may develop dips and soft spots once the weight of the pavers is added.
Pro Tip: Before you start, spray the crushed stone lightly with a garden hose. The slight moisture acts like a glue, helping the stone particles bind together more effectively and reducing dust while you run the compactor.
Step 4 — Screed the Sand Bedding Layer
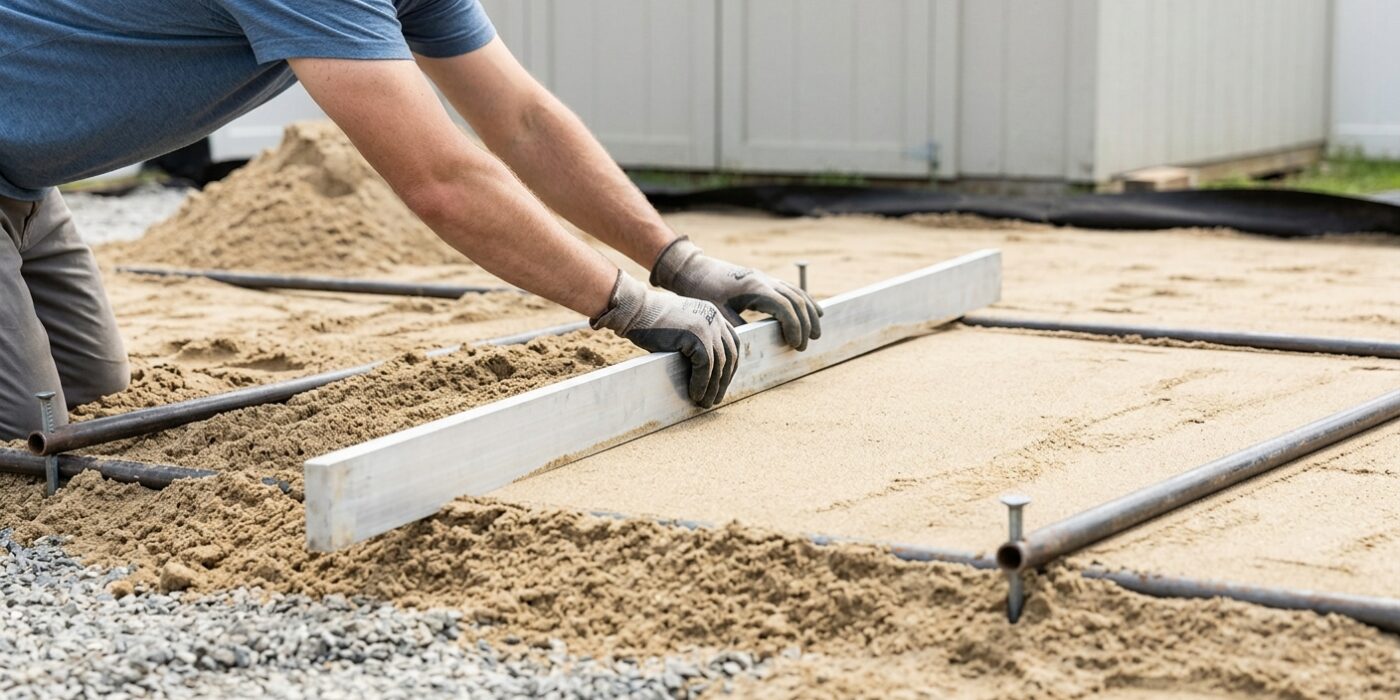
Now that your stone base is solid, it is time to create the perfect foundation for your pavers. You need to spread exactly 1 inch of coarse, washed concrete sand over your base. This sand layer acts as a bedding plane that allows you to level the pavers perfectly. To get this depth consistent, place two lengths of 1-inch diameter metal electrical conduit (or PVC pipe) parallel to each other across your patio area, spaced about 4 feet apart. Dump your sand between them and use a long, straight 2×4 board to bridge the gap. Rest the board on the pipes and pull it toward you in a smooth, sawing motion. This creates a perfectly level, 1-inch thick bed. Once the section is level, carefully lift the pipes. You will be left with two trenches; gently fill these with a small handful of sand and smooth them out by hand, being careful not to disturb the surrounding screeded surface.
Beginner Tip: The most common mistake is walking on the sand after it has been screeded. Once you have leveled a section, do not step on it! If you accidentally leave a footprint, your pavers will be uneven. Work your way backward so you are always stepping on the un-screeded area or directly on the finished pavers.
Pro Tip: To keep your screed board from rocking or bouncing, make sure your pipes are completely free of debris. Wipe the tops of your pipes with a rag before every pass. If even a tiny pebble gets stuck under your 2×4, it will create a visible ridge in your sand bed that will haunt you once the pavers are laid.
Step 5 — Lay the Pavers
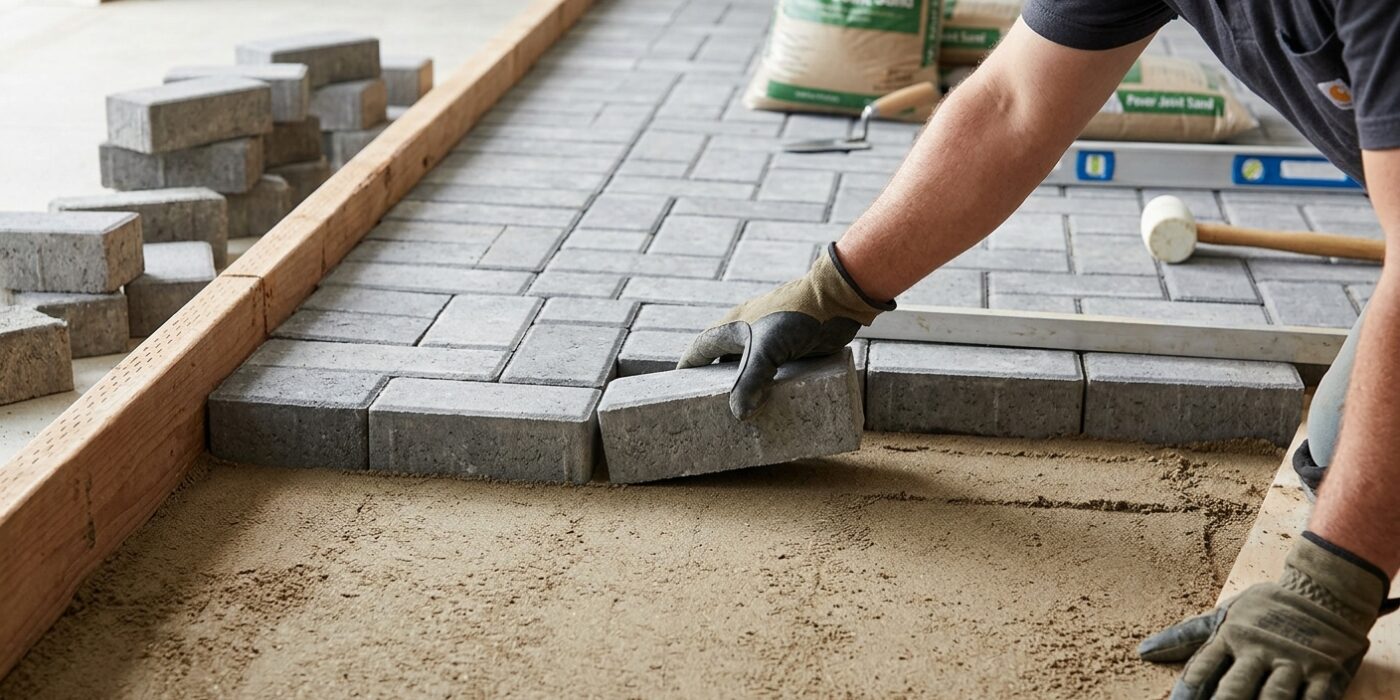
Now for the most satisfying part: bringing your design to life. Start in a corner or along the longest straight edge of your patio, moving outward in one direction. This creates a solid foundation that prevents your pattern from shifting. Carefully lower each paver directly onto your leveled sand bed; avoid sliding them, as this creates small mounds of sand underneath that will make your pavers wobbly or uneven later. Once placed, tap the paver firmly with a rubber mallet to settle it into the sand.
Use a long straightedge or a level every few feet to ensure the entire surface remains flat. If you are creating a border, use plastic spacers to keep the gaps uniform, which helps when it comes time to fill the joints with sand. For the edges, you will likely need to trim your pavers. Use a rented paver splitter for clean, dust-free edges, or a wet saw if you need complex cuts around curves.
Beginner Tip: Never walk on your prepared sand bed once it is leveled. If you accidentally step on it, use a small hand trowel or a piece of wood to carefully smooth the surface again before laying the next paver. A footprint left behind will cause a noticeable dip in your finished patio.
Pro Tip: Before laying everything permanently, dry-lay a row of pavers across the entire span of your project. This helps you confirm your spacing and ensures you won’t end up with an awkward, tiny sliver of stone at the very edge.
Step 6 — Install Edge Restraints
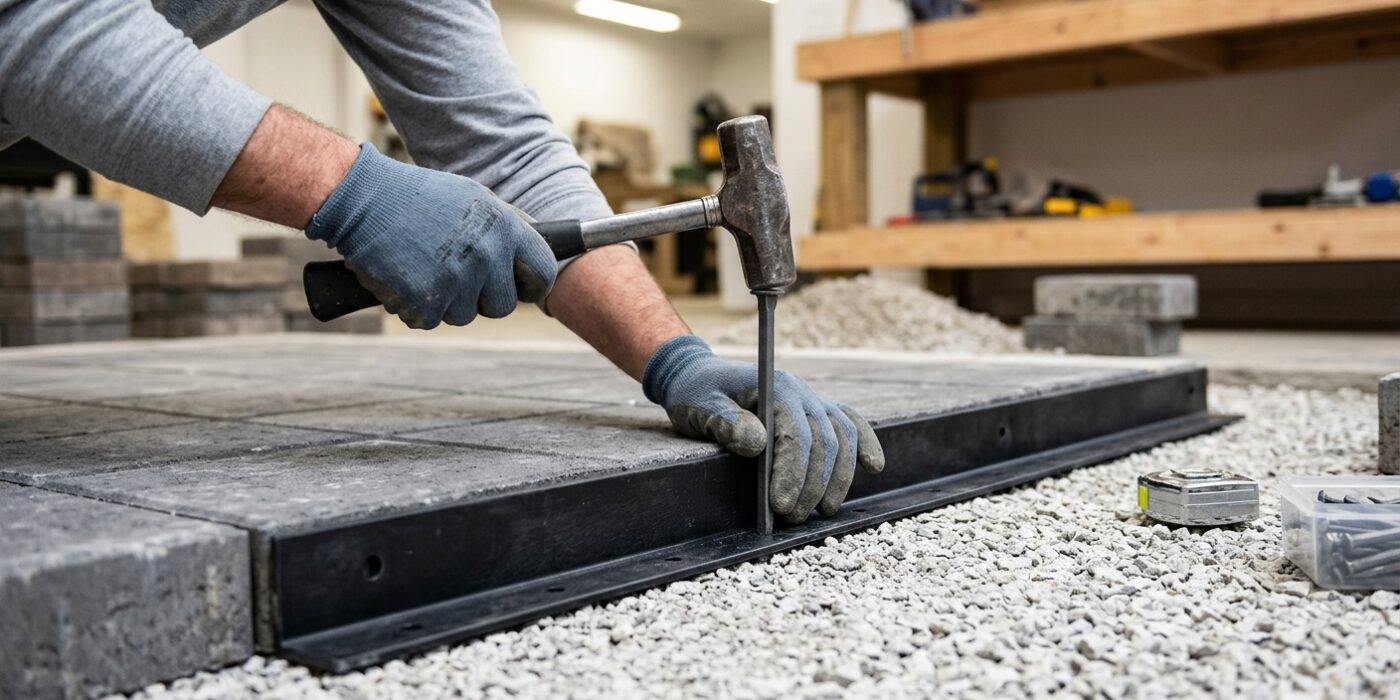
Now that your patio base is solid, it is time to install the edge restraints. Think of these as a permanent frame for your project; they act like a wall that keeps your pavers locked tightly in place. Without them, the weight of people walking on the patio will cause the outer edges to shift outward over time, resulting in gaps and a messy, uneven look.
To install them, place the plastic edge restraint pieces flush against the outer edge of your pavers. Use a rubber mallet or hammer to drive the provided steel spikes through the holes in the restraint and deep into the crushed stone base. Aim to place a spike every 12 inches to ensure a secure, uniform hold. Make sure the restraint is held firmly against the pavers before you drive the spike home, as this prevents the edge from “creeping” when you eventually fill the gaps with sand.
Beginner Tip: A common mistake is leaving a gap between the restraint and the pavers. If the restraint is even a quarter-inch away, the pavers will still wiggle. Take your time to push the restraint tightly against the stone, ensuring there is no wiggle room before you drive in your first spike.
Pro Tip: If the ground is particularly stubborn or rocky, use a block of scrap wood as a buffer between your hammer and the plastic. This protects the restraint from cracking or deforming while you hammer the spikes into the compacted base.
Step 7 — Compact and Fill Joints
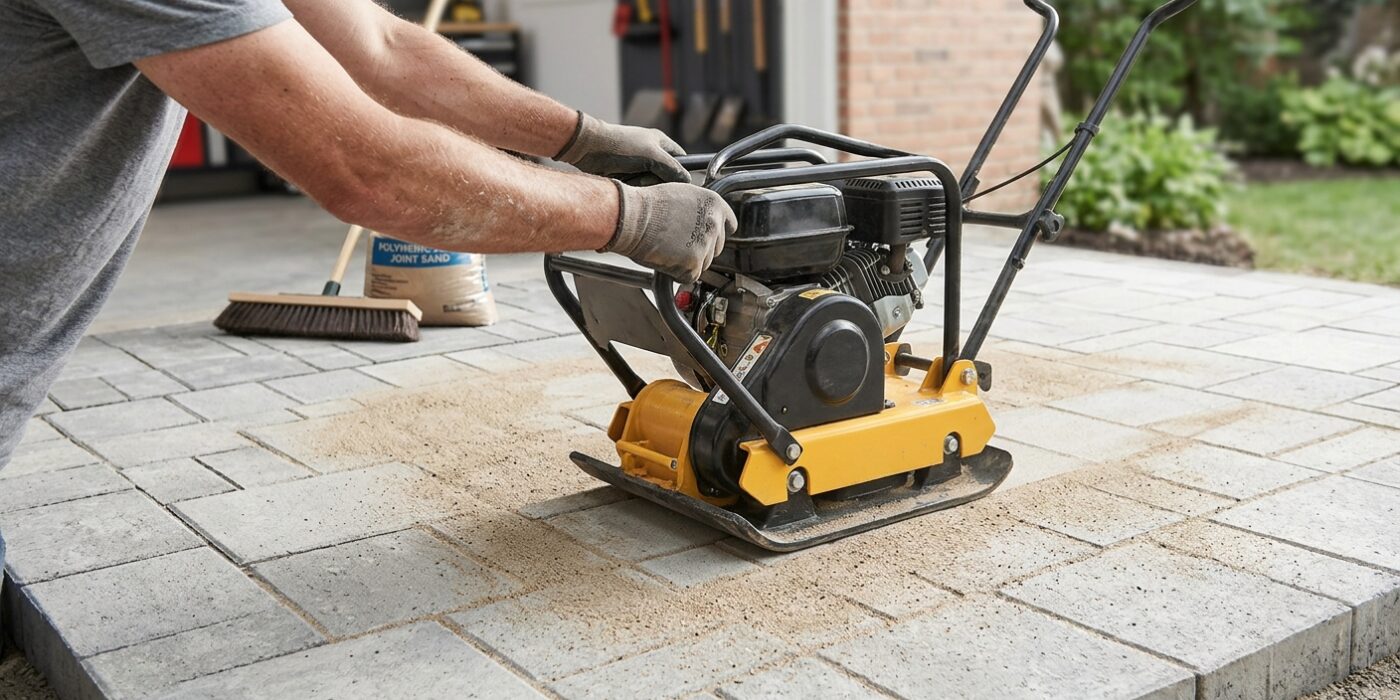
Now that your pavers are in place, it is time to lock them into their final home. First, use a plate compactor to seat the stones firmly into the sand bedding. To protect your pavers from surface scratches, always lay a sheet of plywood down between the compactor and the stone. Once compacted, spread polymeric sand over the patio. Use a push broom to sweep the sand back and forth until every joint is filled to the top. Carefully blow or sweep off any excess sand left on the surface, as any remaining dust can stain your pavers once wet. Finally, use a garden hose set to a fine mist to dampen the joints. This activates the binders in the sand, which harden to keep your patio stable and free from weeds or ants. Let the surface sit undisturbed for 24 hours to ensure a rock-solid finish.
Beginner Tip: Avoid saturating the sand with too much water. If you use a heavy spray instead of a fine mist, you will wash the binders out of the joints, which prevents them from hardening correctly and leaves you with loose, messy sand.
Alternative Method: If you cannot rent a plate compactor, you can use a rubber mallet and a short piece of 2×4 lumber. Place the board over the paver and tap it firmly with the mallet to settle the stone into the sand bed. This is significantly slower but highly effective for smaller patio projects.
Pro Tip: Before misting, use a leaf blower on its lowest setting to clear every last speck of sand from the surface of the stones. Any sand left on top will “haze” over once the polymers activate, creating a stubborn film that is very difficult to remove later.