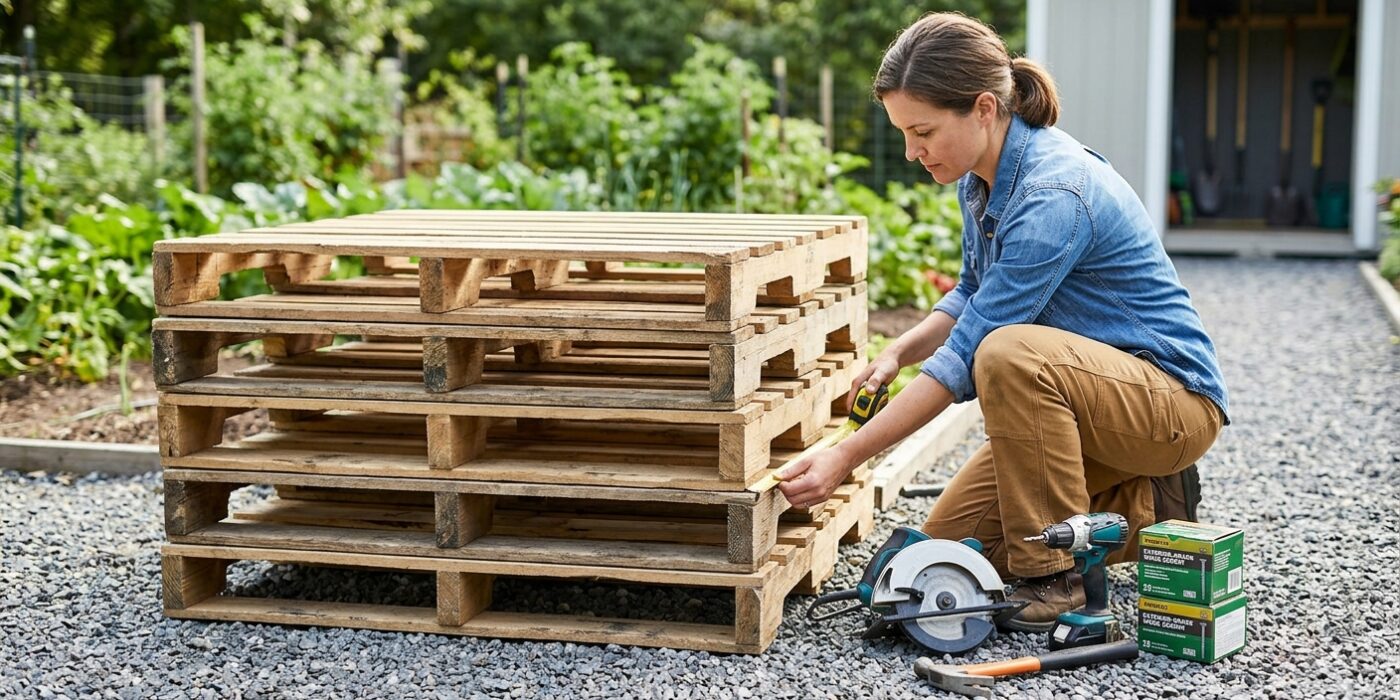
Project Shopping List
Building a compost bin from pallets is one of the most practical free projects you can do in an afternoon. Pallets are available free behind grocery stores, hardware stores, and furniture retailers. A three-bin pallet system lets you maintain one active bin receiving fresh material, one bin resting and breaking down, and one bin holding finished compost ready to use. This structured approach produces far more finished compost than a single pile and keeps your garden looking organized.
Getting the Right Pallets
Not all pallets are safe for composting food waste or garden use. Look for pallets stamped HT, which means heat-treated. Avoid pallets stamped MB, which means they were treated with methyl bromide, a fumigant you do not want leaching into your garden soil. Standard HT pallets are safe, free, and widely available. You will need seven pallets total for a three-bin system — four for the back and dividers, three for the front panels that you can open for turning.
Tools You Will Need
- Drill and bits
- Wire cutters or bolt cutters
- Measuring tape
- Heavy-duty zip ties or galvanized wire
- Gloves — pallets have rough edges and splinters
Materials
- Seven pallets, matching size is ideal but not required
- Heavy-duty zip ties or 16-gauge galvanized wire
- Four metal fence posts or rebar stakes, 4 feet long (optional, for anchoring corners)
- Hinges and hooks for front panels, optional upgrade
Step 1 — Choose Your Location
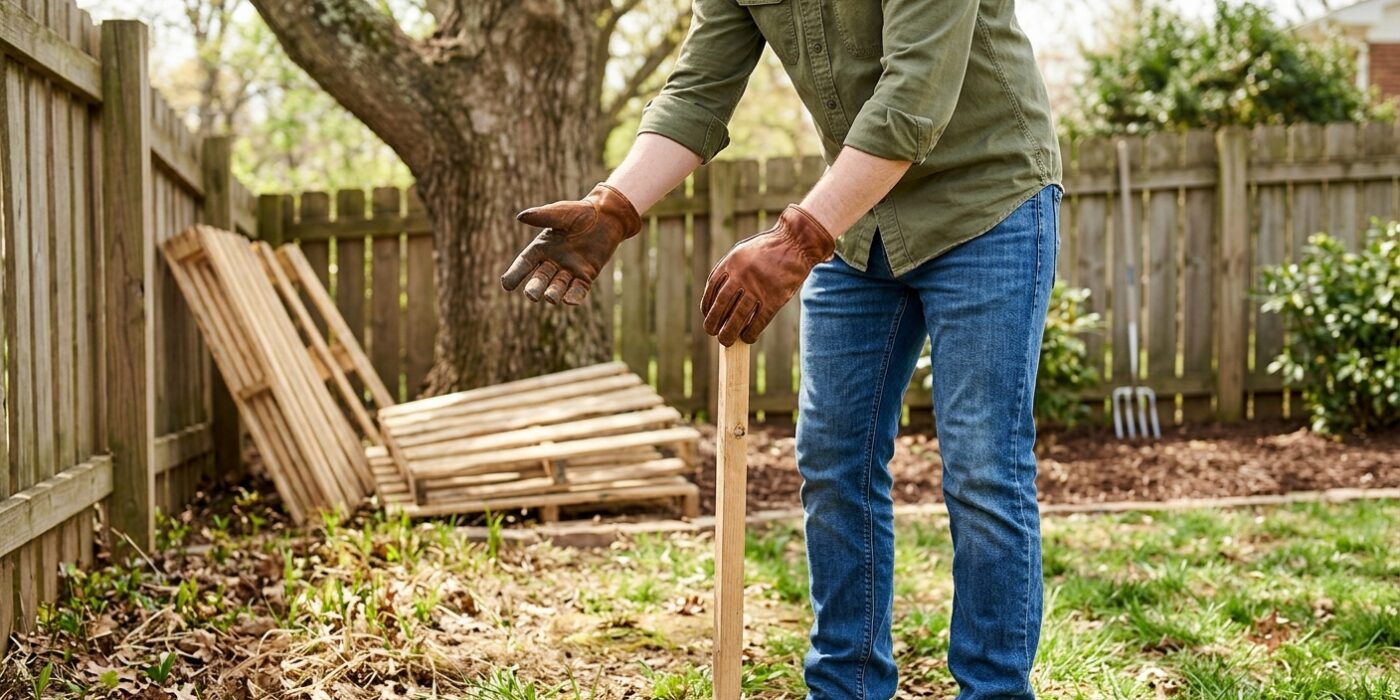
Before you begin building, finding the right home for your compost bin is the most important step for success. You want a site that is level, well-drained, and receives partial shade. Avoid placing the bin directly on concrete or asphalt, as you want the beneficial worms and microorganisms in the soil to access your compost pile. Level ground ensures your structure stays square and stable once assembled.
Ideally, choose a spot that is easily accessible from your house or garden. If you have to trek across the lawn with a heavy wheelbarrow, you are less likely to add your scraps. Aim for a location within twenty feet of a water source, such as a spigot or rain barrel. Compost needs to be roughly as damp as a wrung-out sponge to break down efficiently, and having a hose nearby makes keeping that moisture level consistent much easier during dry summer months.
Beginner Tip: A common mistake is placing the bin in a low-lying area where rainwater pools. If the bin sits in a puddle, the bottom layer of your compost will become waterlogged and smell like rotten eggs. Always ensure the ground is slightly elevated or drains well to prevent a soggy, anaerobic mess.
Pro Tip: Place your bin directly over a patch of grass or garden soil rather than putting it on top of a tarp or landscape fabric. This allows worms and microbes to travel up into your pile, which drastically speeds up the composting process and creates much richer “black gold” for your garden.
Step 2 — Lay Out the Back Wall
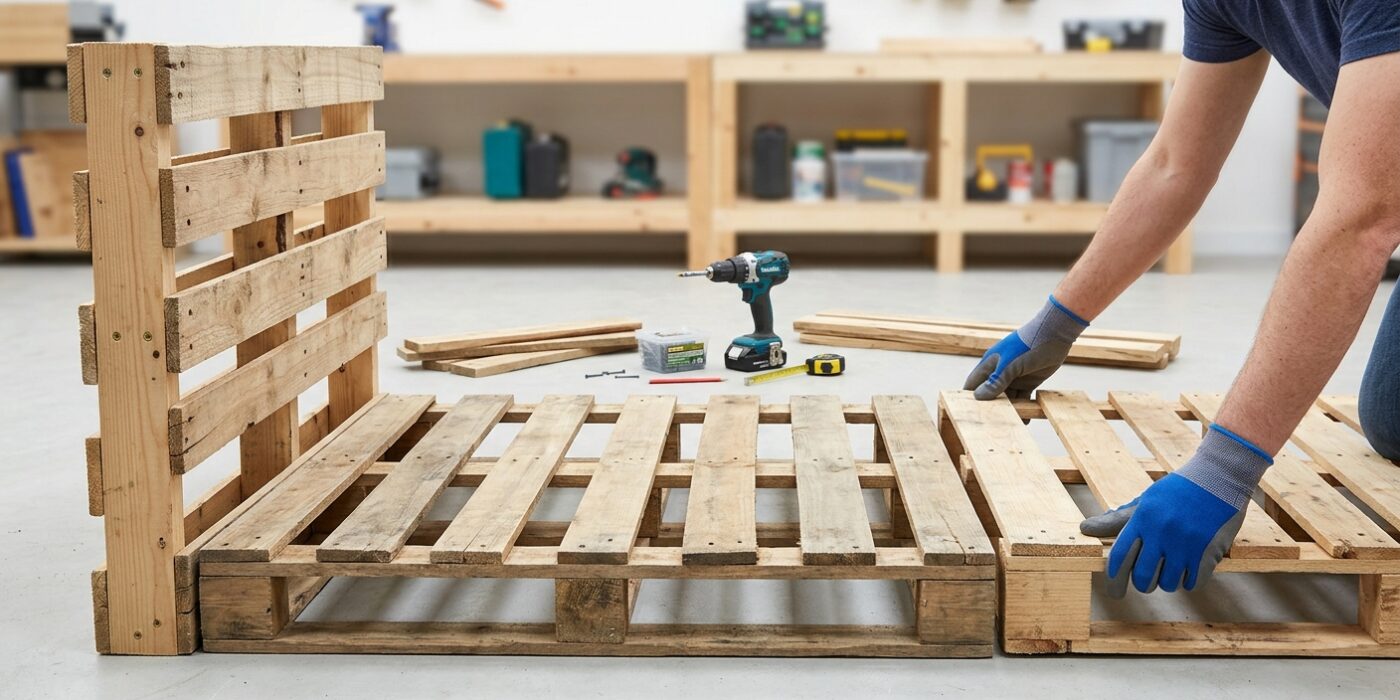
Now that you have cleared a flat space in your yard, it is time to form the skeleton of your project. Stand two of your wooden pallets vertically on their long edges, placing them side-by-side to create a continuous 8-foot back wall. Using two large pallets creates a generous footprint that allows you to divide your finished bin into three distinct sections: one for fresh scraps, one for active composting, and one for finished soil.
Why start here? The back wall acts as the anchor for the entire structure. By setting this wall first, you establish a straight line that ensures the rest of your bin remains square. If your pallets are slightly different sizes, prioritize using the two that are the most similar in height and width. This consistency prevents gaps between your dividers later, which keeps your compost pile neat and contained.
Beginner Tip: The most common mistake is placing the pallets on soft, uneven soil. If the ground is sloped, your bin will lean, making it difficult to attach the side walls. Use a basic bubble level or simply place a long, straight board across the bottom to check that your pallets are sitting perfectly flat. Adjust the dirt underneath until they stop wobbling.
Pro Tip: To keep these heavy pallets from falling over while you work, drive a tall wooden stake or a piece of rebar into the ground behind each pallet. You can then use a piece of heavy-duty twine or a bungee cord to temporarily lash the pallet to the stake, leaving your hands free to measure and align the structure.
Step 3 — Add the Corner and Divider Panels
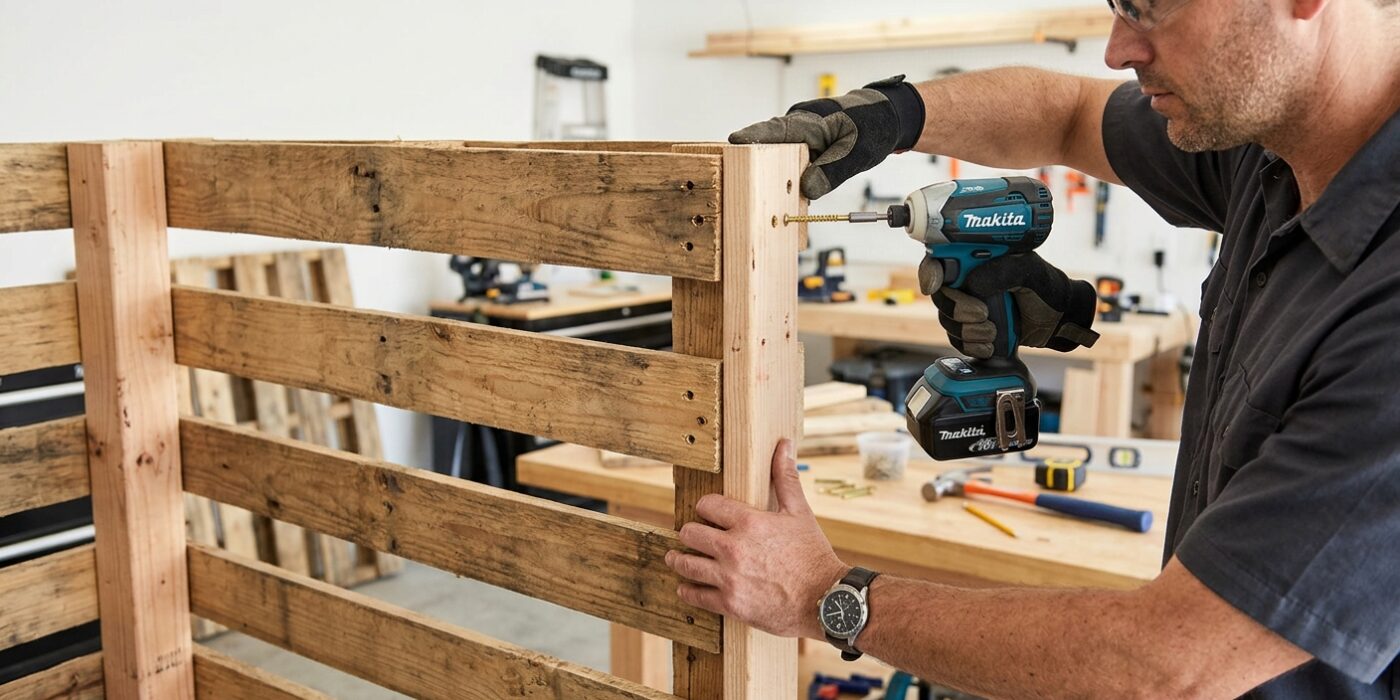
Now that your back wall is standing, it is time to build the structure’s “ribs.” You will be creating three distinct composting bays by attaching side panels and interior dividers. Position one pallet perpendicular to the far-left edge of your back wall, forming a 90-degree angle. This creates the left outer wall. Repeat this on the right side. Next, place your final two pallets as interior dividers, spacing them evenly between the sides. Your goal is to have three equal-sized sections, which allows you to rotate your compost as it breaks down.
To secure these, use heavy-duty zip ties to lash the pallets together at the top and bottom of each joint. Wrap them firmly so the pallets pull snugly against one another; a tighter joint means a sturdier bin that won’t wiggle under the weight of wet garden waste.
Beginner Tip: Avoid the mistake of tightening your zip ties until they are fully locked before you have checked the alignment. Keep them slightly loose while you position the pallet, stand back to ensure it is square and vertical, and only then pull them tight. This saves you from having to cut off zip ties and restart if the structure is crooked.
Pro Tip: Recruit a friend or neighbor to act as a “human clamp.” Having someone hold the heavy pallet in place while you apply the zip ties makes this step exponentially faster and prevents the pallets from tipping over while you work.
Step 4 — Set Corner Stakes
Now that your pallets are positioned, it is time to anchor them securely to the earth. Think of this step as building the foundation for your compost factory; without it, the weight of decomposing organic matter can cause your bin to bulge or tip over. Drive a 4-foot metal fence post or a sturdy piece of rebar into the ground at each outer corner and at every point where a divider meets the back wall. Aim for a depth of at least 12 to 18 inches to ensure a solid grip. Once the posts are driven in, use galvanized wire to bind the pallet frame tightly to the metal stake. By creating these rigid vertical anchors, you ensure your bin remains upright, sturdy, and ready to hold heavy layers of yard waste for years to come.
Beginner Tip: A common mistake is driving your stake at an angle. Use a carpenter’s level or simply have a friend stand a few feet away to check that the stake is perfectly vertical before you start hammering. If the stake leans, the pallet attached to it will also lean, creating a crooked bin that is difficult to secure.
Alternative Method: If you do not own a post driver or sledgehammer, use a heavy rubber mallet and a block of scrap wood. Place the wood block on top of the rebar to protect the metal from mushrooming as you strike it, allowing you to drive the stake down with controlled, manageable hits.
Pro Tip: To keep your structure rock-solid, wrap the wire in a figure-eight pattern between the pallet slats and the stake. This prevents the pallet from sliding up or down the post over time, keeping your bin walls perfectly level even as the ground softens during rainy seasons.
Step 5 — Add Front Panels
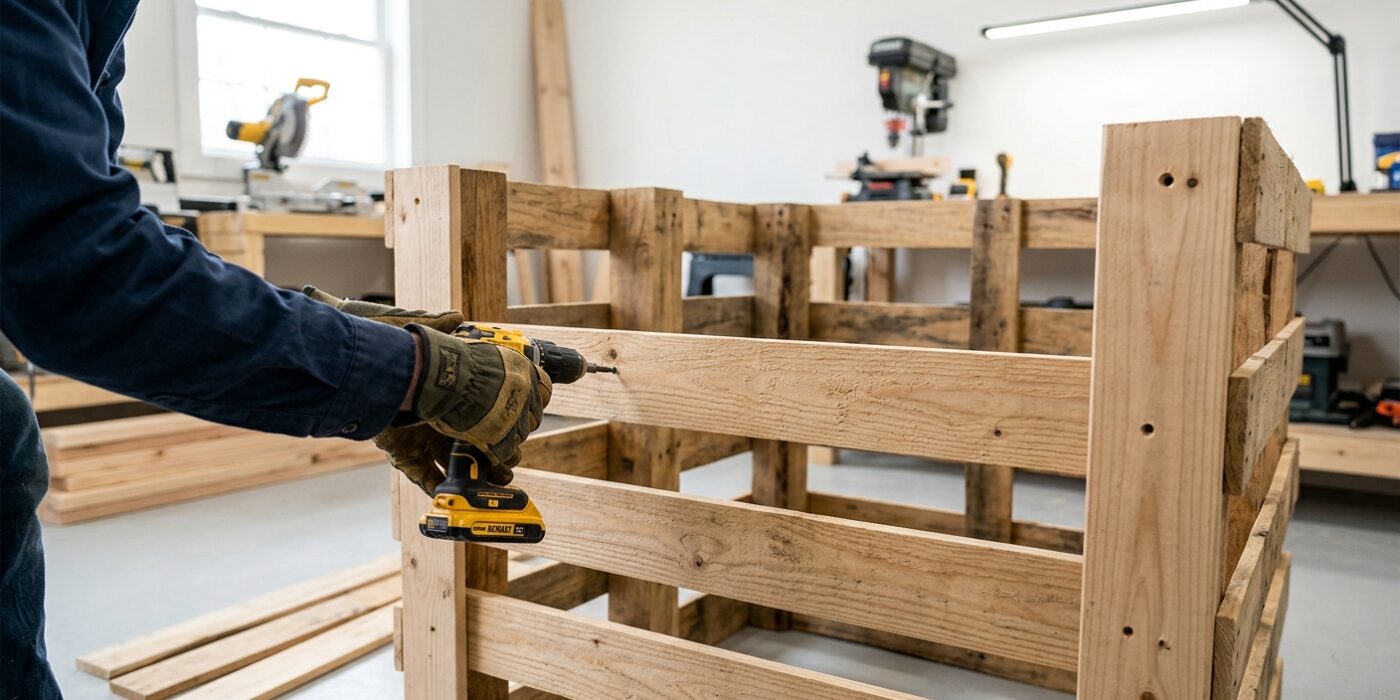
Now that your frame is sturdy, it is time to enclose the front. These front panels hold your composting material in place while keeping the pile tidy. For the easiest approach, simply lean an extra pallet against the open front of each bin section. This “slip-in” method allows you to lift the pallet away whenever you need to turn or harvest your compost, making it accessible even if you don’t own power tools.
Beginner Tip: Ensure your pallets are slightly shorter than your bin’s total height. If they are too tall, they will be heavy and awkward to lift, which makes the regular maintenance of your compost pile feel like a chore rather than a simple gardening task.
Alternative Method: If you prefer a more permanent structure, use heavy-duty gate hinges to attach one side of the front pallet to your main frame. Secure the other side using a simple hook-and-eye latch. This allows the front panel to swing open like a door, saving your back from lifting heavy wooden pallets while you work.
Pro Tip: Before you finalize the front panels, clear a small, level patch of dirt or place a few bricks where the bottom of the pallet will rest. This prevents the wood from sinking into soft ground, ensuring that your door or lean-to panel stays perfectly aligned and easy to open throughout the changing seasons.