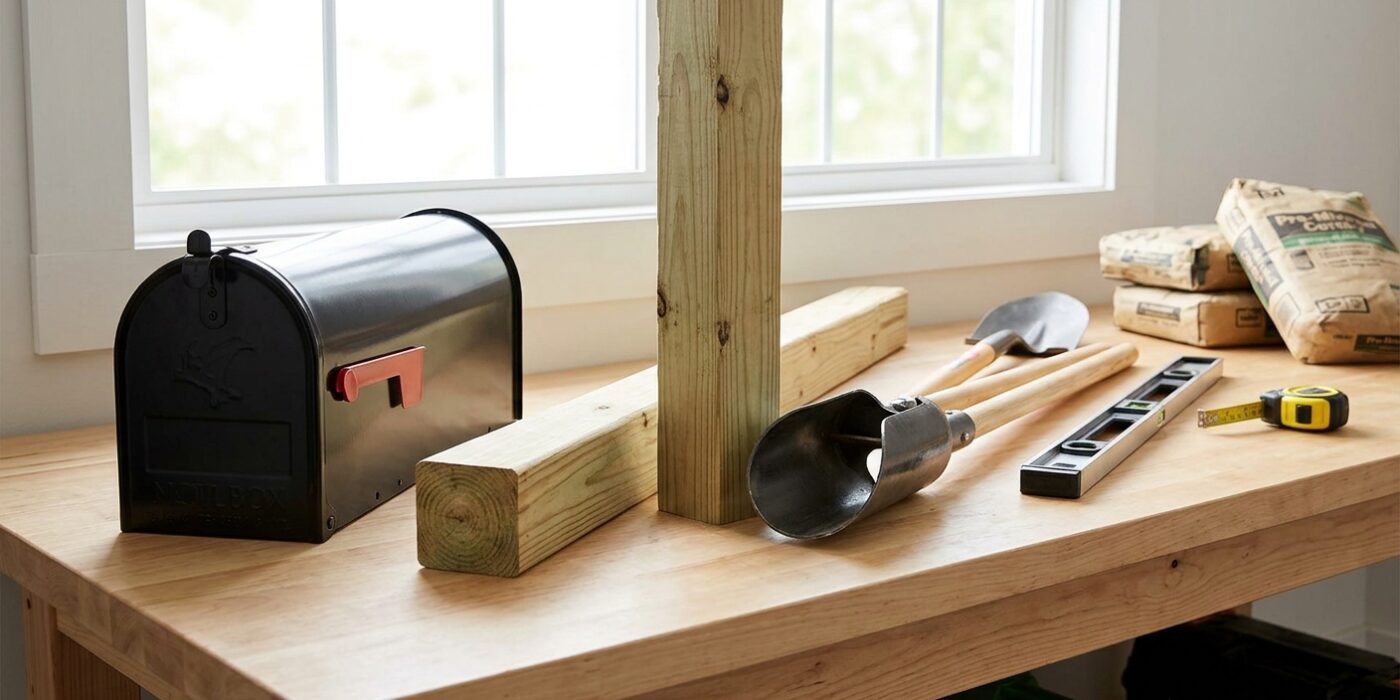
Project Shopping List
A crooked or rotting mailbox post is an eyesore and can result in missed deliveries if the mailbox becomes inaccessible. Replacing one is a simple afternoon project that costs less than $120 in materials and requires no special skills. This guide covers removing the old post, digging the new hole, setting the post in concrete, and mounting the mailbox at the correct USPS-specified height.
USPS Mailbox Placement Requirements
The United States Postal Service specifies that mailboxes must be installed so the bottom of the mailbox opening is 41 to 45 inches above the road surface. The face of the mailbox should be 6 to 8 inches back from the edge of the road surface, or per the direction of your local postmaster. Mailboxes must be on the right side of the road in the direction of carrier travel. Before installing, confirm the exact placement rules with your local post office if you are in a new location.
Tools You Will Need
- Post hole digger or rented power auger
- Shovel
- Level
- Drill and bits
- Adjustable wrench
- Tape measure
- Safety glasses and gloves
Materials
- 4×4 pressure-treated post, 8 feet long
- One 60-pound bag of quick-setting concrete mix
- Mailbox hardware (mounting bracket or U-bolts)
- New mailbox, USPS-approved
- Exterior wood screws for mounting
- Gravel for drainage at hole bottom
Step 1 — Remove the Old Post
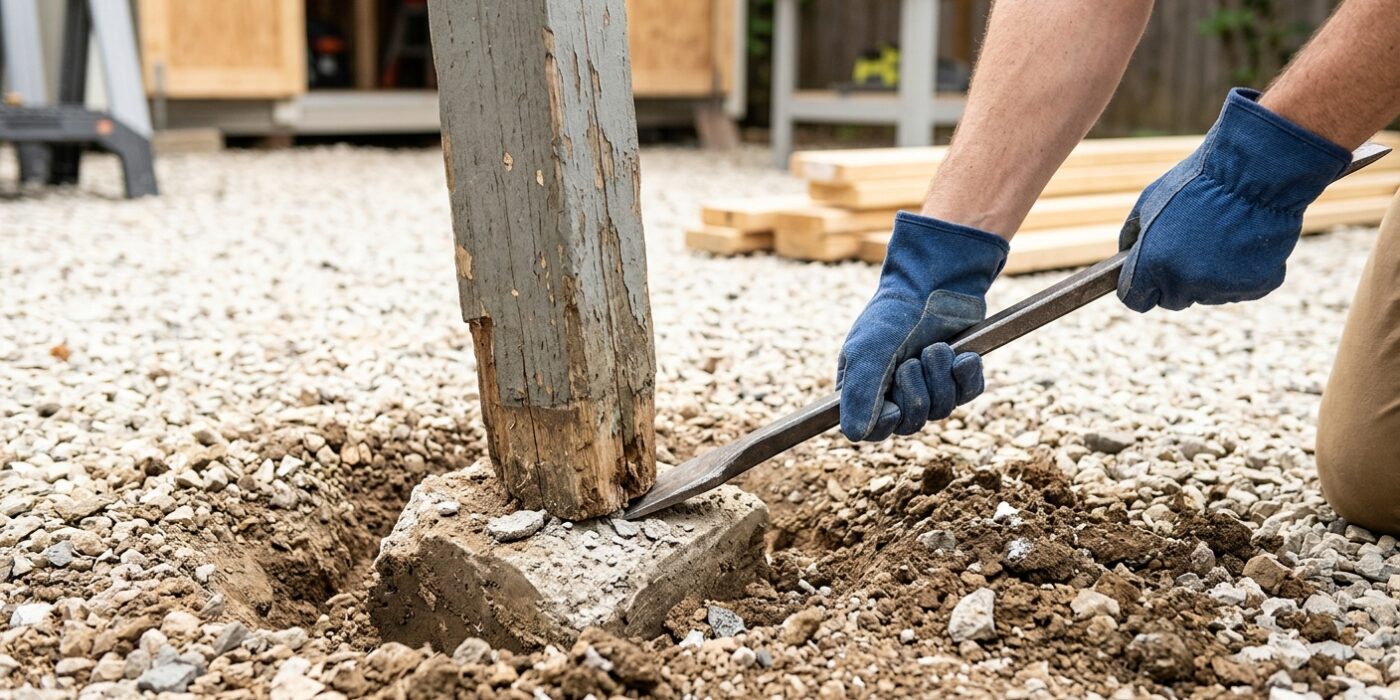
Before you can install your beautiful new mailbox, we need to clear the way. If your current post is set in concrete, the most effective approach is to remove the entire concrete anchor along with the post. Start by using a pointed shovel to dig a hole about 12 inches wide around the concrete base. Once you have cleared enough soil to expose the sides of the block, insert a long steel pry bar – often called a digging bar – under the edge of the concrete. Use a sturdy rock or a thick piece of scrap wood as a fulcrum to gain leverage, then push down on the handle to rock the block upward. Work your way around all four sides, gently prying until the suction of the soil breaks and the entire mass pops free.
Beginner Tip: Avoid the temptation to just yank on the post itself. If the wood is old or rotted, it will likely snap off, leaving the heavy concrete block trapped deep underground where it is much harder to reach. Always use the pry bar to lift from the base.
Pro Tip: If the concrete is stubborn, pour a few buckets of water into the hole you have dug around the base. Let it soak for 20 minutes; this softens the surrounding soil and reduces friction, making it significantly easier to lever the block out of the ground.
Step 2 — Dig the New Hole
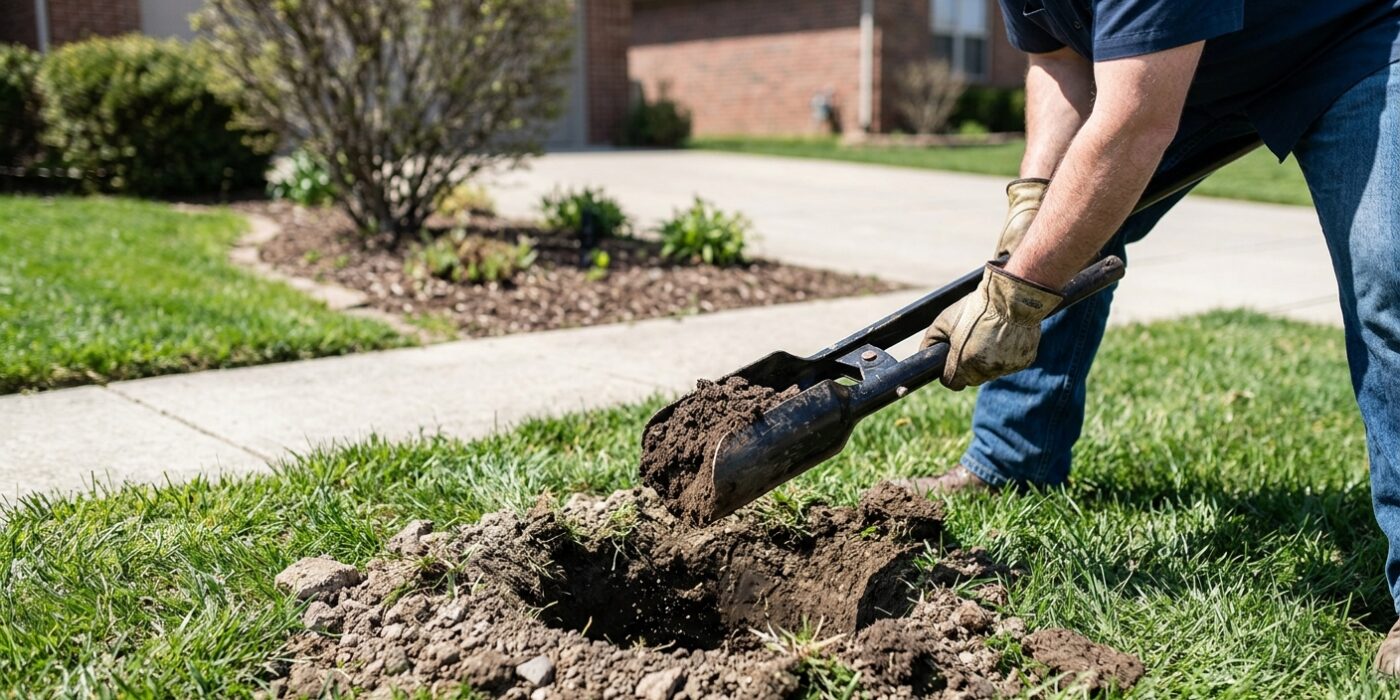
Now it is time to dig your hole. You will need a post-hole digger to create a hole that is 24 to 30 inches deep and approximately 6 inches in diameter. Aim to keep the sides of the hole as straight as possible, rather than funnel-shaped, to ensure the post remains sturdy. Once you have reached the target depth, pour 3 inches of gravel into the bottom. This layer is vital because it prevents water from pooling around the base of your post; keeping the wood dry helps it resist rot and significantly extends the life of your project, even if you are using pressure-treated lumber. The depth is equally important, as it provides the stability needed to keep your mailbox upright when you open the door to retrieve your mail.
Beginner Tip: Before you start digging, call 811 or your local utility provider to have your underground utility lines marked. Hitting a water, gas, or electrical line is a dangerous and expensive mistake that is easily avoided with a quick, free phone call.
Pro Tip: To get your depth perfect every time, mark the 30-inch point on the handle of your post-hole digger with a piece of bright electrical tape. As you dig, simply lower the tool into the hole; once the tape hits the ground level, you know exactly when to stop digging.
Step 3 — Set the Post Height
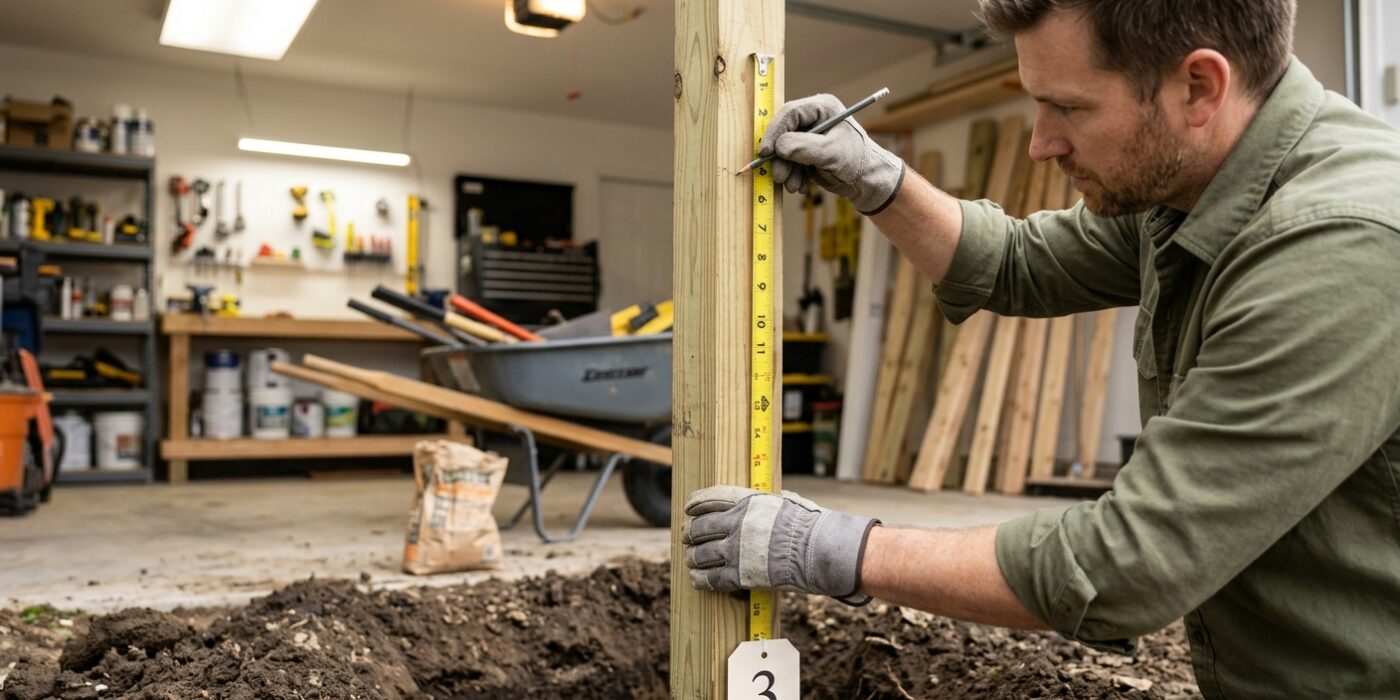
Before you dig, you need to ensure your mailbox sits at the perfect height. The United States Postal Service requires the bottom of your mailbox to be between 41 and 45 inches above the surface of the road. This standard ensures your mail carrier can reach your box without exiting their vehicle.
To calculate your depth, first determine where the mailbox will attach to the post. If you plan to mount the mailbox 40 inches up from the bottom of the post, you must account for the gravel layer at the bottom of your hole. Aim to bury your post at least 24 to 30 inches deep to keep it sturdy against wind and snow. Add an extra 3 inches of depth for a gravel base, which acts as a drainage layer to prevent the bottom of your wood post from rotting prematurely in damp soil.
Beginner Tip: Avoid the mistake of measuring from the grassy shoulder of the road. Surfaces are rarely perfectly level, so always place your measuring tape on the actual pavement or the curb where the mail truck pulls up. Measuring from uneven dirt will cause your mailbox to end up at the wrong height.
Pro Tip: Use a scrap piece of lumber as a temporary spacer while you are digging. By marking your target depth on a long board, you can quickly drop it into the hole to verify your progress without having to move the heavy main post repeatedly.
Step 4 — Place and Plumb the Post
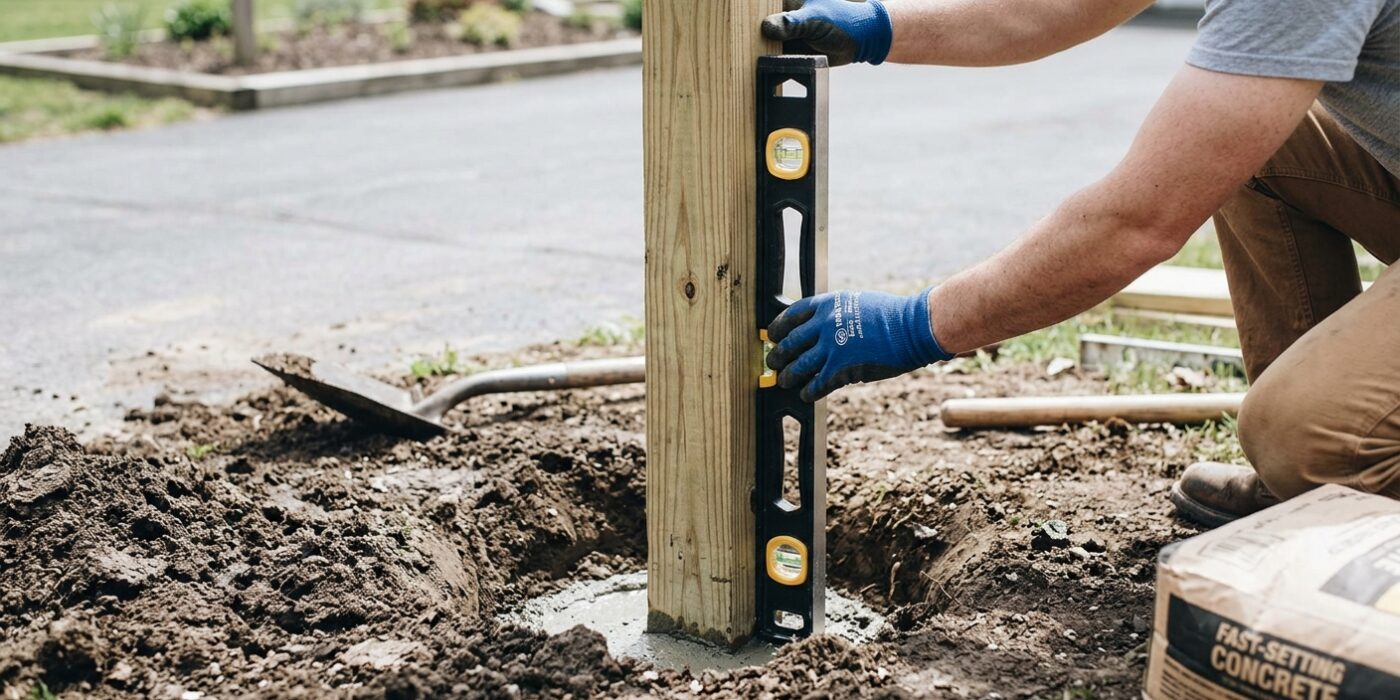
Now that your hole is ready, gently lower your mailbox post onto the gravel base. Because your post needs to stand perfectly straight to look professional and function correctly, you must ensure it is “plumb,” which is the construction term for perfectly vertical. Place your level against the front face of the post and adjust it until the bubble is centered between the lines. Then, rotate your level to a side face and repeat the process. Ensuring the post is plumb on two adjacent sides is essential because it guarantees the post isn’t leaning in any direction.
Beginner Tip: The most common mistake is assuming the post is straight just by “eyeballing” it. Even a slight lean will become very obvious once the concrete cures and the mailbox is attached, so trust your level over your eyes every single time.
Alternative Method: If you don’t have a helper to hold the post, you can use two scrap pieces of wood as temporary braces. Drive two stakes into the ground about two feet away from the hole. Screw one end of a board to the stake and the other end to the post at a 45-degree angle. By adjusting the length of these braces, you can “lock” the post into a perfectly plumb position, freeing your hands to pour the concrete.
Pro Tip: Before you finalize the position, check your local postal regulations for the required distance from the road. Generally, the front of the mailbox should be set back six to eight inches from the curb to ensure it is accessible for the carrier but safely away from passing traffic.
Step 5 — Pour Concrete
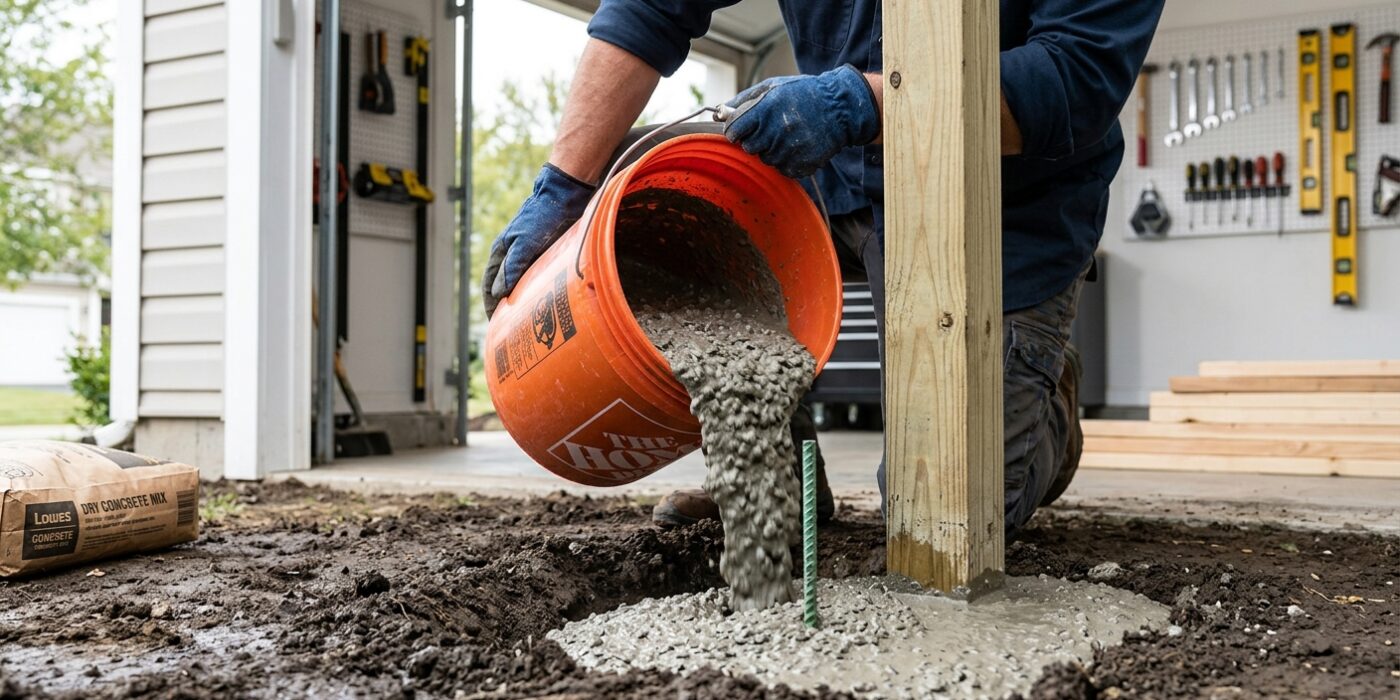
Now it is time to anchor your post permanently. With your post braced perfectly straight, pour your quick-set concrete mix directly into the hole. Fill it until you are about three to four inches below ground level. Because quick-set concrete is designed to activate with moisture, you do not need to pre-mix it in a wheelbarrow. Instead, slowly pour the exact amount of water specified on your bag’s instructions over the dry powder, letting it soak down through the layers. Use a long, sturdy stick or a scrap piece of lumber to gently poke into the mix, moving it around the perimeter to release trapped air pockets. These pockets can weaken the foundation, so be thorough. Once settled, use your trowel to smooth the top, mounding the concrete slightly above the surrounding soil level so that rainwater slopes away from your post. Finally, check your level one last time; quick-set concrete begins to harden in roughly 20 to 40 minutes, so you have a small window to make final adjustments.
Beginner Tip: Resist the urge to shake or wiggle the post once you have poured the water. Disturbing the mix while it begins to set will weaken the bond and make it difficult to achieve a rock-solid, plumb finish.
Pro Tip: To keep your post perfectly plumb without holding it, use three wooden stakes and scrap boards to create a tripod-like brace. Nail the boards to the post and the stakes in the ground; this leaves your hands free to focus entirely on pouring and smoothing the concrete.
Step 6 — Mount the Mailbox
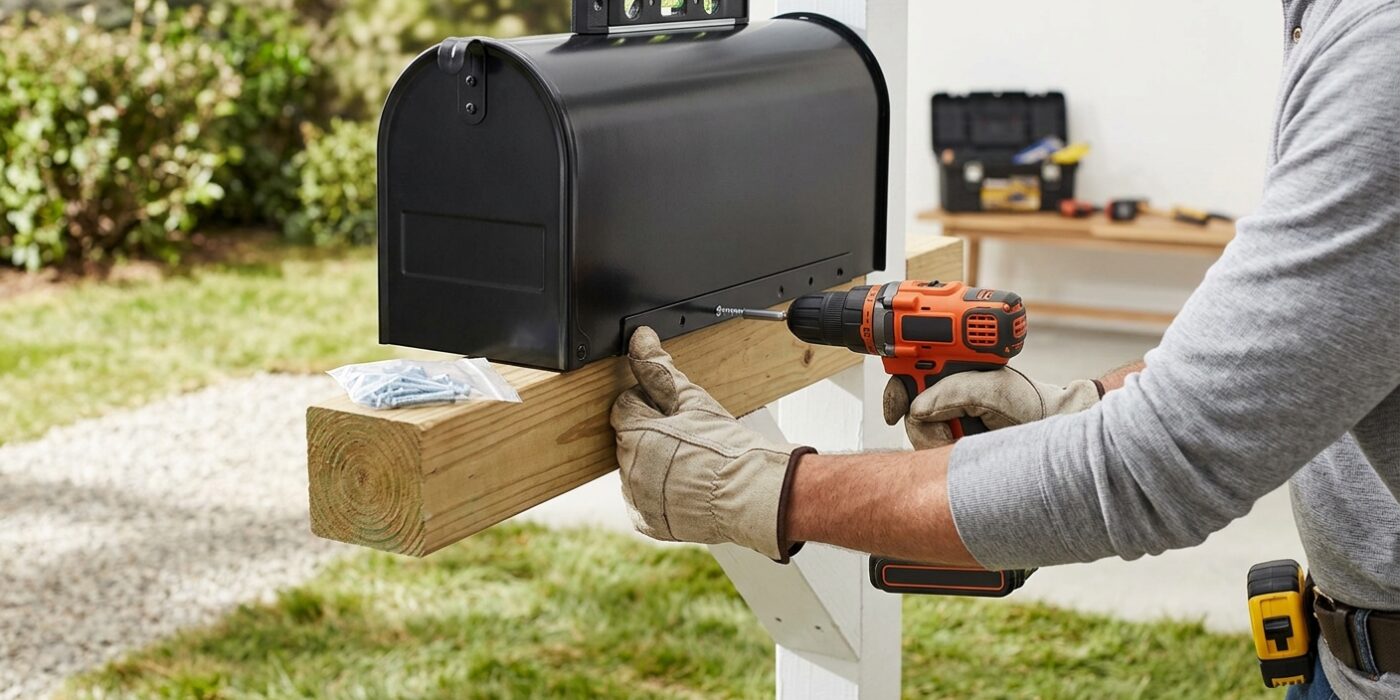
Once your concrete has cured for a full 24 hours, it is time to give your mailbox its new home. Start by centering your mounting bracket or the mailbox base onto the post. Most kits come with pre-drilled holes, but if yours does not, use a drill to create pilot holes before driving in your screws. This prevents the wood from splitting. According to United States Postal Service (USPS) guidelines, the bottom of your mailbox should sit between 41 and 45 inches above the road surface. Ensure the door faces the street squarely and that the signal flag can move freely without obstruction. A secure, level mount ensures your mail stays dry and your delivery person can reach it easily without having to step out of their vehicle.
Beginner Tip: Do not overtighten your screws. If you are using a power drill, use a low torque setting. Driving screws in too aggressively can strip the wood fibers, causing the mount to become loose or wobbly over time. “Snug” is usually tight enough.
Pro Tip: Before you drive any screws, use a carpenter’s level to check the orientation of your bracket. If the bracket is tilted, your mailbox will look crooked forever. Placing a small level on the bracket ensures everything is perfectly horizontal before you commit to those permanent pilot holes.