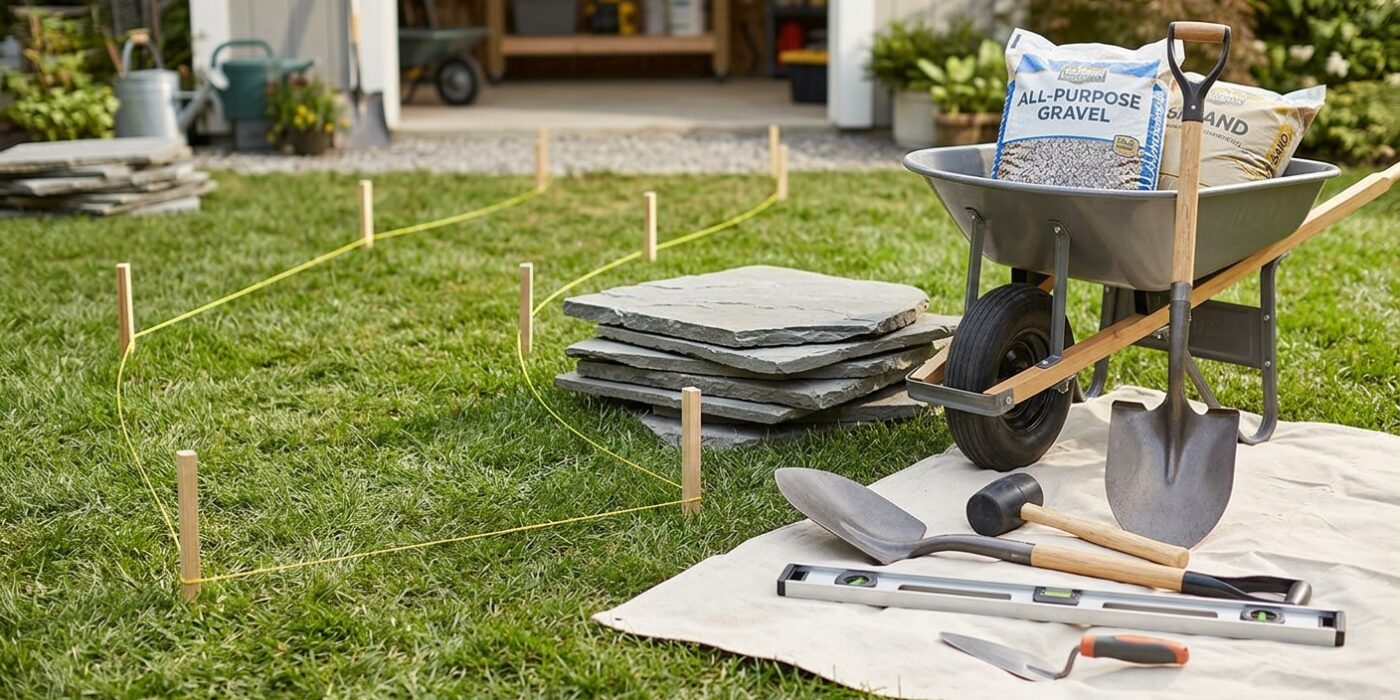
Project Shopping List
A stepping stone path is one of the most rewarding weekend projects in the yard. It solves the muddy-shortcut problem, guides foot traffic away from garden beds, and adds a natural, intentional look to any landscape. Whether you use cast concrete steppers, natural flagstone, or large pavers, the installation method is the same: set each stone level, firm, and spaced for comfortable walking.
This guide covers laying a simple stepping stone path through lawn or mulched areas using pre-cast concrete steppers or natural flagstone. Expect to spend a Saturday morning on a 20- to 30-foot path once you have your materials.
What You’ll Need
Tools
- Flat spade or half-moon edger
- Garden trowel
- Rubber mallet
- Level (2-foot)
- Garden hose or rope (for layout)
- Wheelbarrow
Materials
- Stepping stones (concrete steppers, flagstone, or large pavers)
- Coarse sand or leveling sand (1 to 2 inches deep)
- Landscape fabric (optional, for weed suppression under sand)
- Topsoil to backfill around stones
Step 1: Plan the Path and Spacing
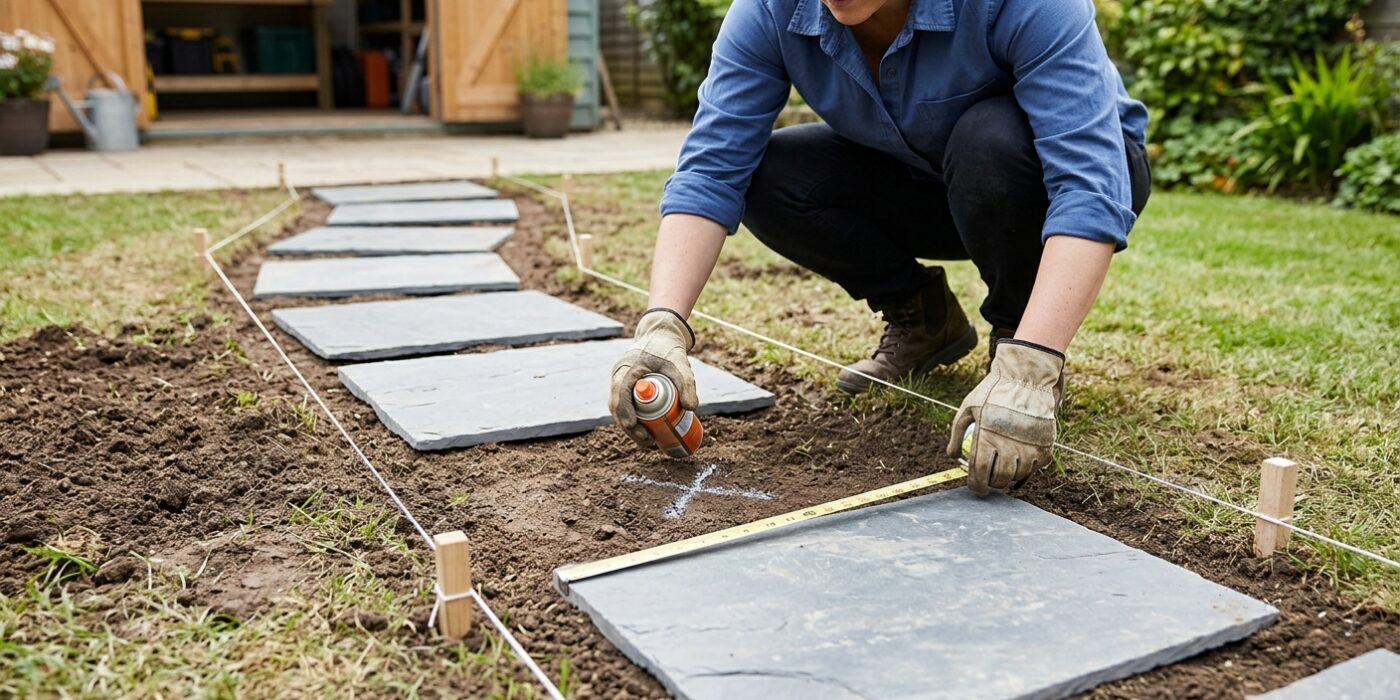
Before you purchase materials, you need to create a path that feels natural to walk on. Start by walking your intended route at a comfortable, relaxed pace. Have a friend place a small flag or a pile of sand exactly where your feet land. This measurement, known as your stride length, ensures your path isn’t awkward or forced. For most adults, a comfortable stride is between 18 and 24 inches, measured from the center of one stone to the center of the next. Once your markers are set, lay out a garden hose or a long piece of rope along both sides of your route. This visual guide helps you see the curves and flow of your path before you commit to digging.
Count your markers carefully to determine the total number of stones required. It is wise to add an extra 10 percent to this number to account for stones that might arrive cracked or need to be trimmed to fit a specific curve.
Beginner Tip: Avoid the mistake of making the path perfectly straight. Paths look more natural and inviting when they have gentle, flowing curves. When laying out your hose or rope, step back periodically to look at the path from your house or porch to ensure the shape complements your yard’s existing layout.
Pro Tip: To get the spacing perfect every time, cut a piece of scrap wood to exactly 24 inches long. Use this as a physical “spacer” between your stones to ensure consistency throughout the entire project.
Step 2: Choose and Source Your Stones
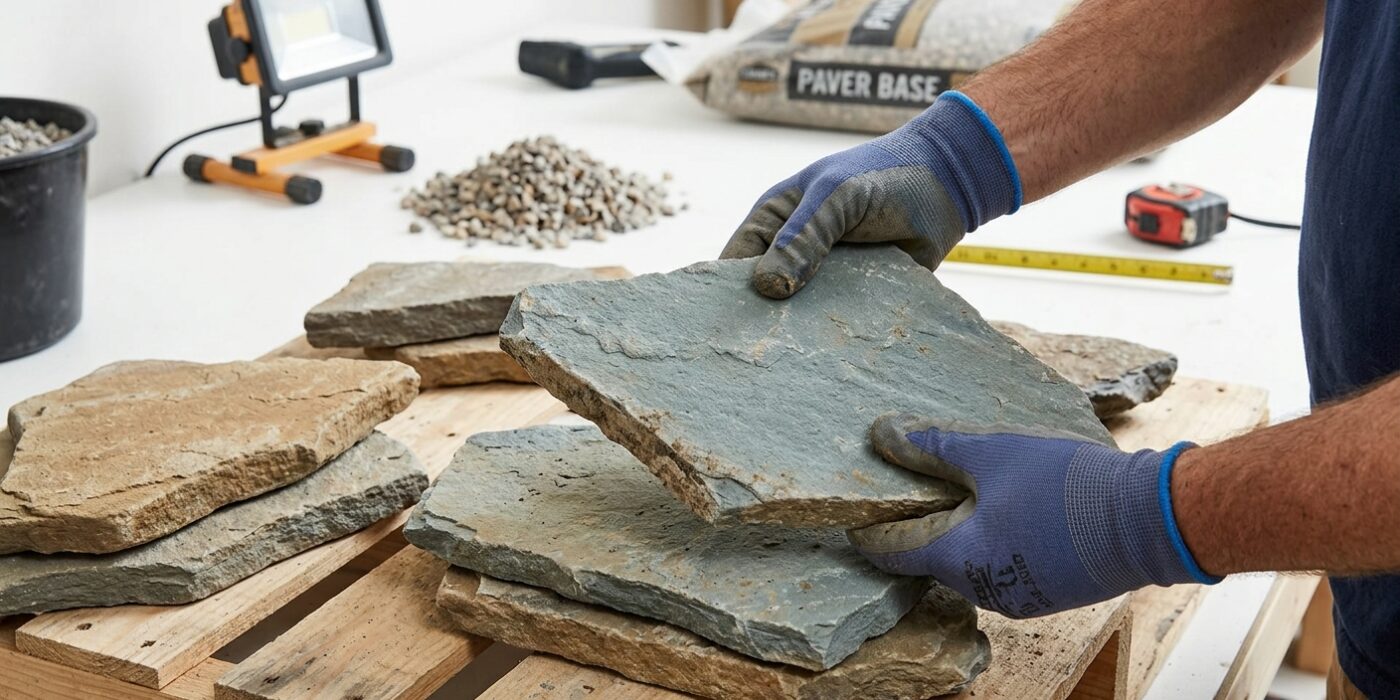
Now that you have your path layout planned, it is time to choose your material. Think of your stones as the personality of your garden. Pre-cast concrete pavers are the gold standard for beginners because their uniform shape and flat surface make leveling a breeze. If you prefer a rustic, woodland aesthetic, look for flagstone. Just be aware that because natural stone varies in thickness, you will need to spend extra time adjusting the soil beneath each piece to prevent wobbling.
Regardless of the style you choose, thickness is the secret to a long-lasting path. Always select stones that are at least 1.5 inches thick. Anything thinner is prone to cracking when stepped on, especially if the ground underneath shifts over time. When buying, remember to add an extra 10% to your total count to account for potential breakage or stones that just don’t fit your aesthetic vision once you lay them out.
Beginner Tip: A common mistake is buying stones that are too heavy to transport or move comfortably. Before you fill your cart, lift one stone to ensure you can handle it easily. If you are working alone, stick to smaller 12-inch or 16-inch pavers rather than large slabs that require two people to carry.
Pro Tip: To get the best selection, visit a local landscape supply yard rather than a big-box store. The staff can help you calculate exact quantities, and you can often hand-pick stones from the pallet to ensure you get the shapes and colors you love most.
Step 3: Mark and Cut the Outlines
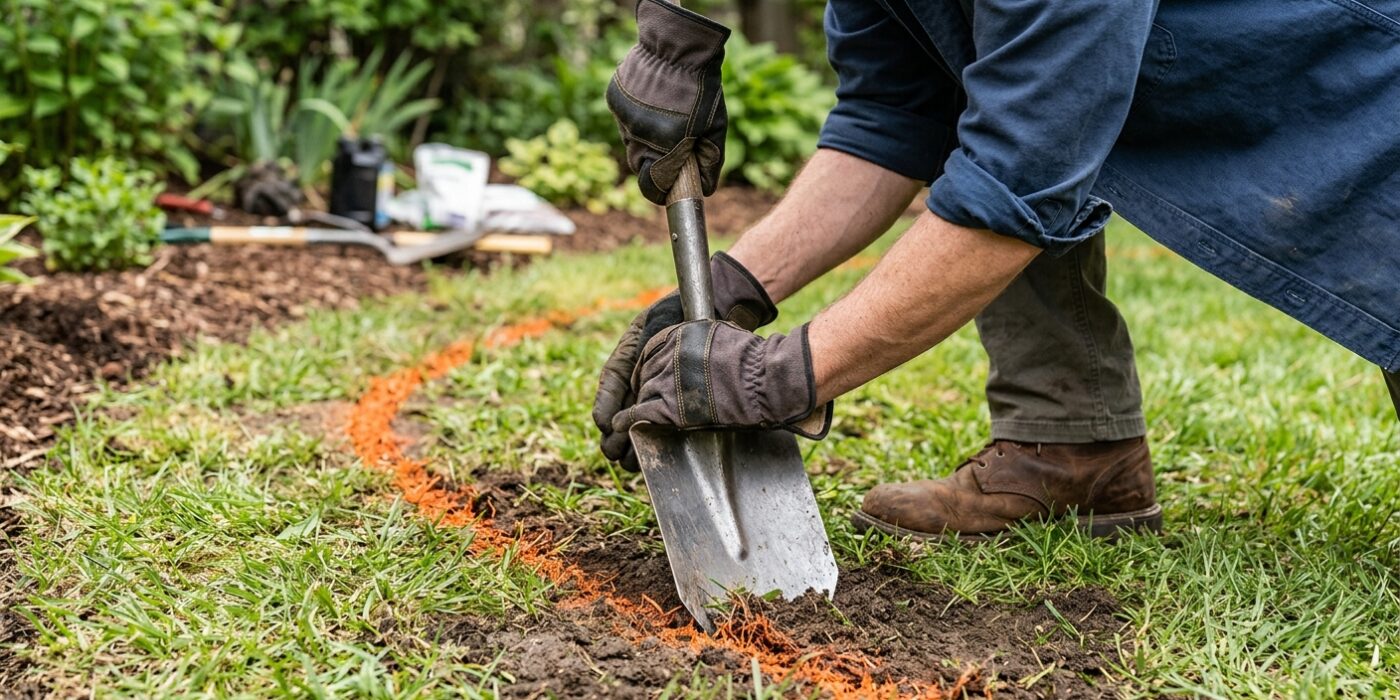
Now that your stepping stones are spaced out exactly how you want them, it is time to create the “mold” for each one in the earth. Take your flat-edged spade and hold it perfectly vertical – at a 90-degree angle to the ground – so you aren’t cutting underneath your stone. Carefully press the blade into the soil all the way around the perimeter of the stone to create a clean, crisp outline. After lifting the stone away, use your spade to scoop out the soil inside your cut lines. You need to dig down to a total depth equal to your stone’s thickness plus 1 or 2 inches for a layer of sand. For example, if your stepper is 2 inches thick and you want a 1-inch sand base, aim for a 3-inch deep hole. Keep that extra soil nearby; you will use it to backfill the gaps around the edges once the stones are set.
Beginner Tip: Don’t dig the hole too wide. Try to keep your cuts as tight to the stone as possible. If you make the hole significantly larger than the stone, you will have wide, unsightly gaps that can lead to wobbly stepping stones later on.
Pro Tip: If you find the ground is too hard to dig, give the area a light soak with a garden hose about an hour before you start. Moist soil is much softer and easier to work with, allowing you to get those clean, sharp edges without breaking a sweat.
Step 4: Add the Sand Bed
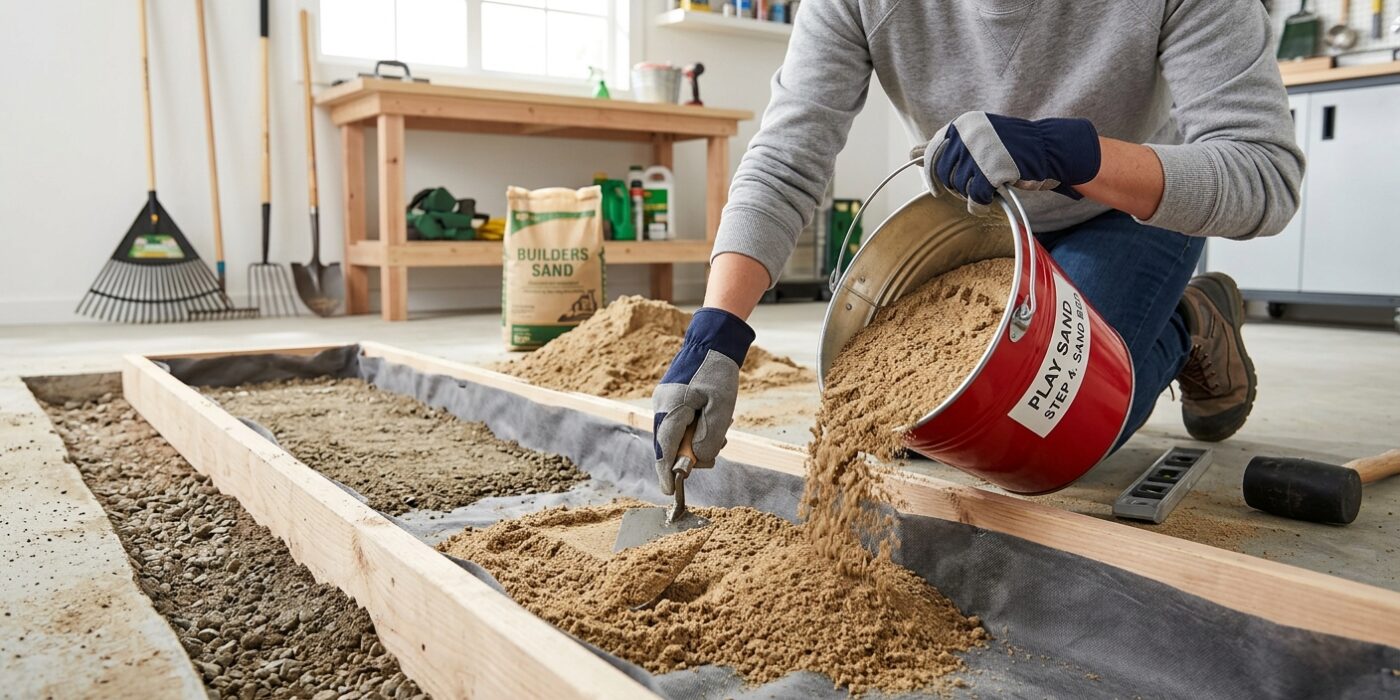
Now that your holes are dug, it is time to create the foundation. Pour about 1 to 2 inches of coarse builder’s sand into the bottom of each excavated pocket. This layer is crucial because it acts as a shock absorber for your stones, preventing them from cracking over time and allowing you to adjust their height easily. Avoid using fine, powdery play sand, as it doesn’t pack well and can wash away; look for “coarse” or “paver base” sand at your local hardware store.
Once the sand is in, take a short piece of scrap wood – anything with a straight edge will work – and drag it across the surface of the sand in a back-and-forth sawing motion. This process, called “screeding,” ensures your sand bed is perfectly flat and level before you place your stone on top.
Beginner Tip: A common mistake is using too much sand. If the sand bed is deeper than two inches, your stepping stones will wobble or sink unevenly over time as the sand settles. Keep the layer thin and firm to ensure your path stays stable for years to come.
Pro Tip: To get a professional result without specialized tools, use a small hand level placed on top of your scrap board while screeding. By checking the bubble on your level as you smooth the sand, you can guarantee that every individual stone in your path sits perfectly flat, preventing any awkward tripping hazards.
Step 5: Set Each Stone
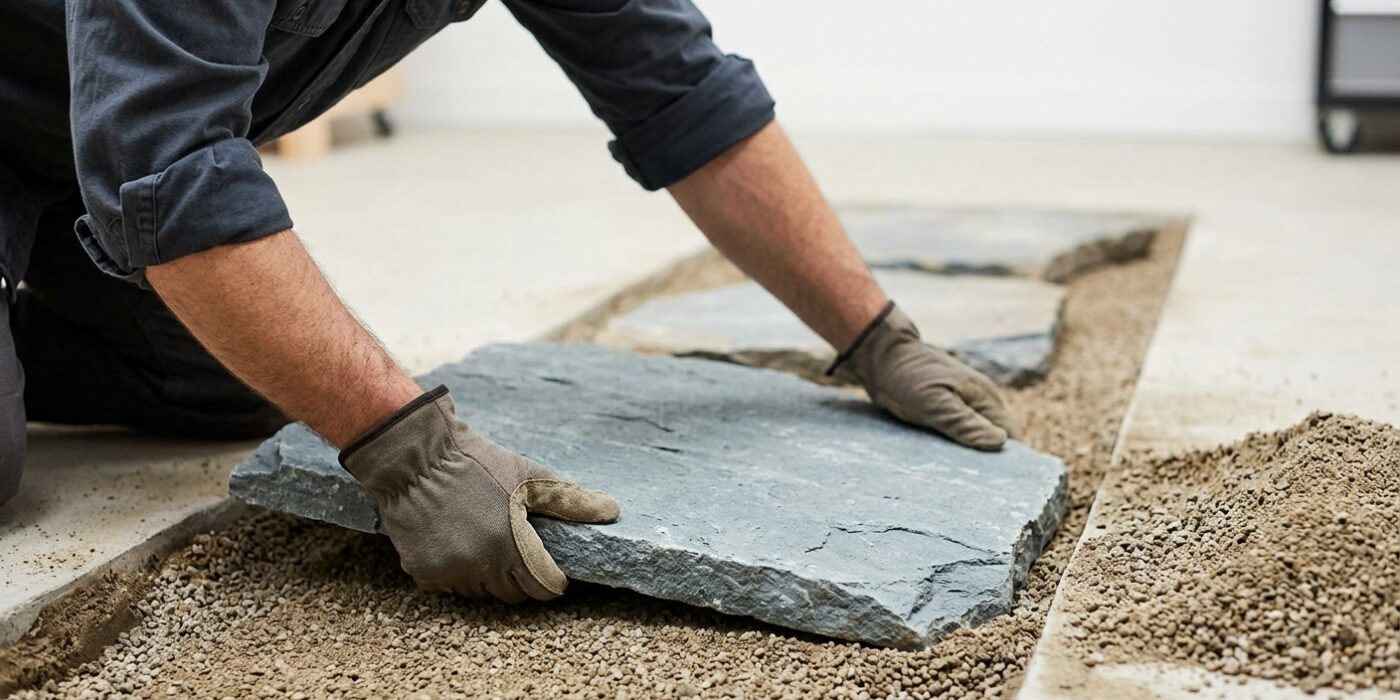
Now it is time to bring your path to life. Take your stone and gently place it onto the sand bed, pressing down firmly with both hands to ensure it is seated. Place a carpenter’s level across the center of the stone. First, check it horizontally from left to right, then rotate your level ninety degrees to check it from front to back. The stone needs to be perfectly flat so it doesn’t wobble when stepped on.
If the stone rocks or leans, lift it up and add or remove a small amount of sand underneath until it sits flush. If it is sitting too high, use a rubber mallet to tap it deeper into the sand. You want the surface of the stone to sit about a quarter-inch above the surrounding lawn. This precise height – called being “proud” of the grass – ensures that rainwater drains away and keeps your lawnmower blades from snagging on the stone edges.
Beginner Tip: Avoid the temptation to use a metal hammer if you do not have a rubber mallet. A metal hammer can easily crack or chip your beautiful new stones. If you do not have a rubber mallet, wrap a thick rag or a scrap piece of carpet around a regular hammer to create a soft buffer before tapping.
Pro Tip: To get a perfectly stable base, lift the stone back out once you have leveled it, spray the sand underneath with a very light mist of water, and then put the stone back. The moisture helps the sand particles lock together, creating a rock-solid foundation that prevents your path from sinking over time.
Step 6: Backfill and Finish
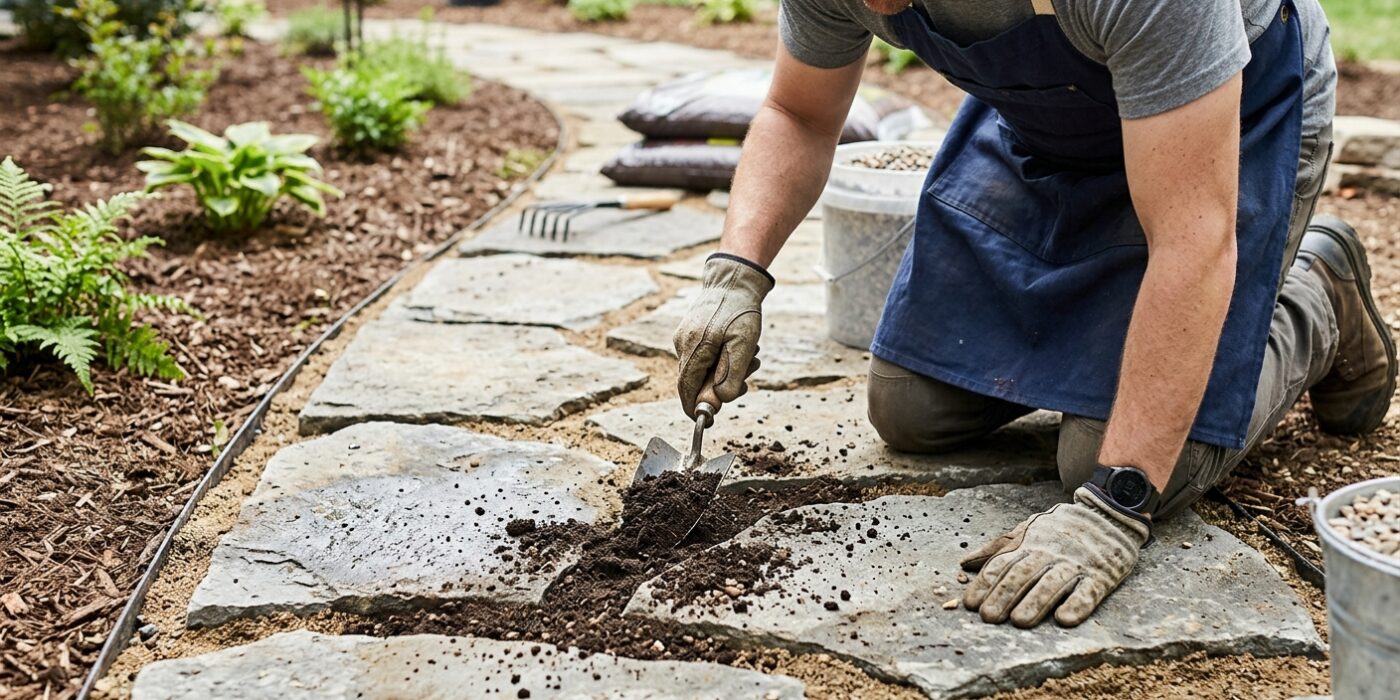
Now that your stones are perfectly positioned, it is time to secure them so they don’t shift underfoot. Take your leftover topsoil and fill the gaps around the perimeter of each stone. Use your hands or the back of a shovel to pack this soil firmly against the stone’s edges. Your goal is to create a seamless transition between the stone and the ground, eliminating any tripping hazards. Once filled, give the path a gentle misting with a garden hose; this helps the soil particles settle into place naturally. If you are working within a lawn, the grass will soon creep right up to the edge of the stone, creating a polished, established look within a few weeks.
Beginner Tip: Avoid mounding too much soil on top of the stones. You want the soil flush with the surface, not covering it, as burying the stone makes it slippery when wet and harder to find during lawn maintenance.
Pro Tip: Before you lock the stones in with soil, perform a “walk test.” Step firmly on every corner of every stone. If you feel even a slight wobble or rock, lift the stone, add a small handful of sand underneath, and reset it. Doing this now saves you from having to dig it up later!
Alternative Method: If you don’t have a specialized tamping tool, you can simply use your own body weight. Place a piece of scrap wood over the area and stand firmly on it to compress the soil evenly without marking the surface of your beautiful new path.