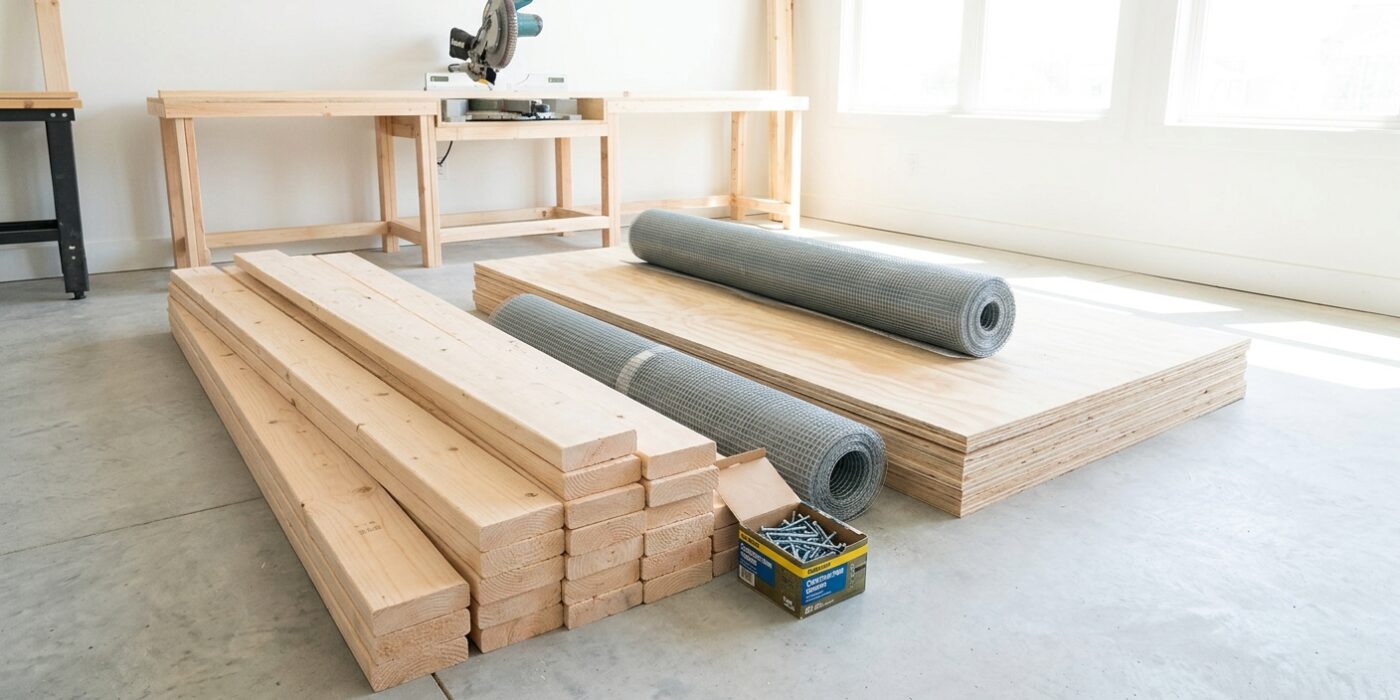
Project Shopping List
Raising backyard chickens starts with building a safe, comfortable coop. Chickens need protection from predators, proper ventilation, nesting boxes for laying, roosting bars for sleeping, and a dry floor that is easy to clean. A well-built coop for 4 to 6 hens can be constructed for $300 to $700 in materials over a long weekend. This guide covers every component from the framing to the final hardware cloth installation.
How Much Space Do Chickens Need
The general rule is 4 square feet of indoor coop space per hen and 10 square feet of outdoor run space per hen. For a flock of 6 hens, that means a minimum 6×4-foot coop interior and a 60-square-foot run. Overcrowding causes stress, pecking, and disease. Give your flock more space than the minimum if you can — chickens given adequate space are healthier and lay more reliably.
Tools You Will Need
- Circular saw and miter saw
- Drill and impact driver
- Staple gun with 1/2-inch staples
- Framing square
- Level
- Tin snips for hardware cloth
- Tape measure and pencil
- Safety glasses and gloves
Materials for a 6×4 Foot Coop
- Pressure-treated 4×4 skids or blocks for the base, four pieces at 4 feet
- 2×4 lumber for floor frame, wall frames, and roof rafters
- 3/4-inch plywood for floor and walls
- Corrugated metal roofing or asphalt shingles
- Hardware cloth, 1/2-inch galvanized, for windows and run enclosure
- T-hinges and hasps for doors and access panels
- Nest box dividers from 1×6 lumber
- 2-inch exterior screws throughout
- Metal roofing screws with rubber washers
Step 1 — Build the Base
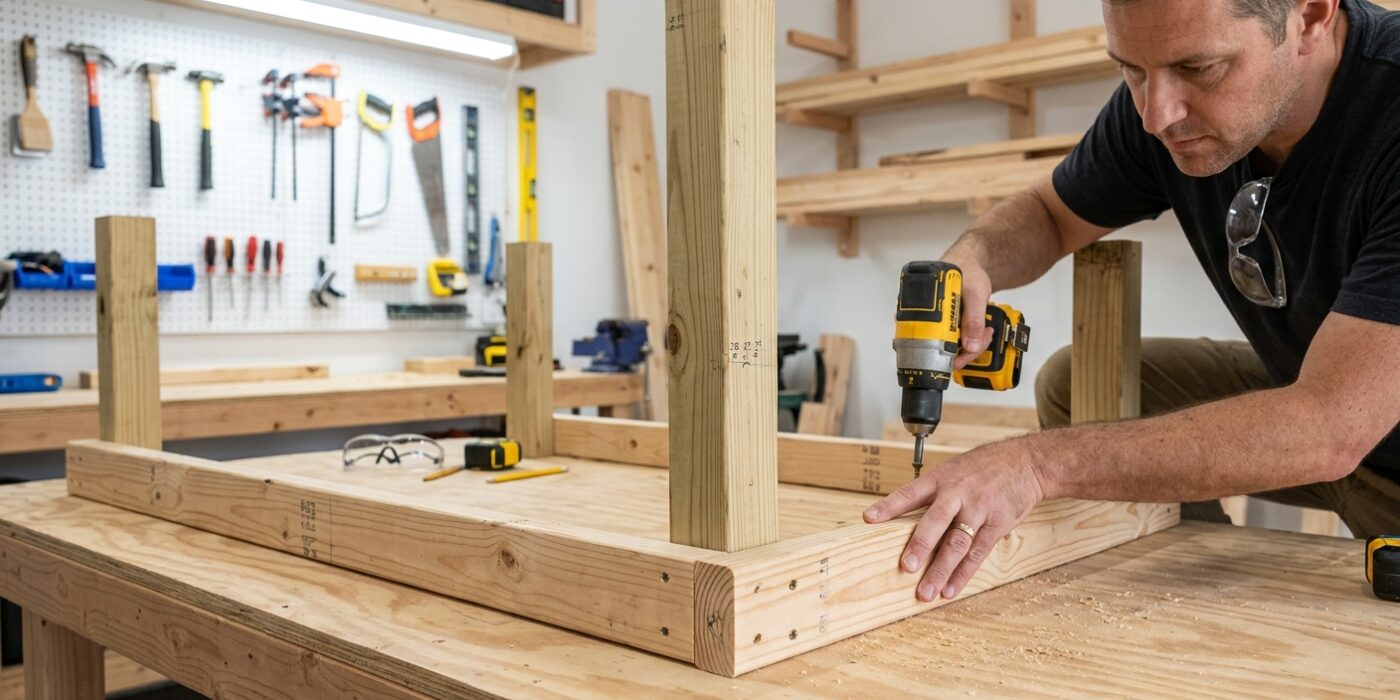
To begin your coop, construct a 6×4 foot rectangular frame using 2×4 lumber. This frame acts as the foundation for everything that follows, so accuracy here is vital. Cut two pieces to 72 inches and two pieces to 45 inches (to account for the thickness of the boards) to create your perimeter. Once the rectangle is secure, install internal support beams every 16 inches across the span; this spacing, known in construction as “on-center,” ensures your floor can easily support the weight of the chickens and bedding without sagging.
Mount this frame onto pressure-treated skids or leveled concrete blocks. Elevating the structure is essential because it keeps the wood away from damp soil, preventing rot and protecting your lumber. It also discourages rodents from tunneling beneath the coop and provides a cool, shaded retreat for your flock during the summer heat.
Beginner Tip: Ensure your frame is perfectly square by measuring diagonally from corner to corner. If the two diagonal measurements are identical, your frame is square. If they differ, nudge the frame until they match before driving in your final screws; failing to do this now will make attaching the wall panels much more difficult later.
Pro Tip: When joining your lumber, apply a bead of exterior-grade construction adhesive to the joints before driving your screws. This creates a much stronger, more rigid bond that will prevent the coop from swaying or loosening over time as it is exposed to the elements.
Step 2 — Frame the Walls
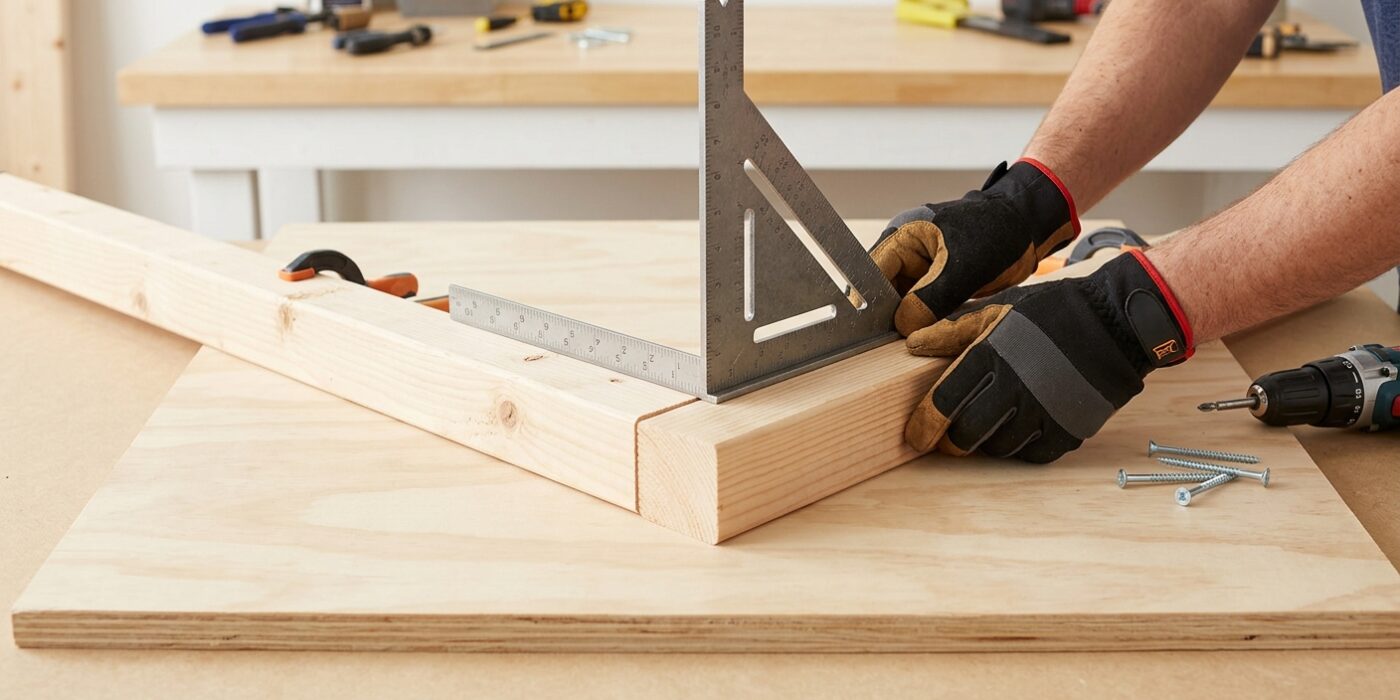
Now it is time to give your coop its structure. You will build four rectangular wall frames using 2×4 lumber. Lay your wood flat on a level surface, creating a perimeter, and then install vertical boards – called studs – spaced exactly 16 inches apart from center to center. This standard spacing provides the structural integrity needed to support the roof and siding. To create the sloped roof, build your front wall to 6 feet and your back wall to 4 feet; this 2-foot difference ensures rainwater sheds off the back of your coop.
As you build, frame out a 12×12-inch “pop door” at floor level for your chickens to enter and exit. Also, frame two window openings on opposite walls near the top; these are vital for cross-ventilation, which keeps your chickens healthy by venting moisture and ammonia. Once your frames are complete, stand them up on your base and secure them by driving 3-inch screws through the corner studs where the walls meet.
Beginner Tip: A common mistake is building the wall frames “out of square.” Before attaching your plywood or sheathing, measure diagonally from corner to corner. If the two diagonal measurements are identical, your frame is perfectly square.
Pro Tip: To keep your walls perfectly aligned while screwing the corners together, have a friend hold a level against the side of the wall. If you are working alone, use a scrap piece of wood as a temporary brace to hold the wall upright and steady before you drive your screws.
Step 3 — Sheath the Walls
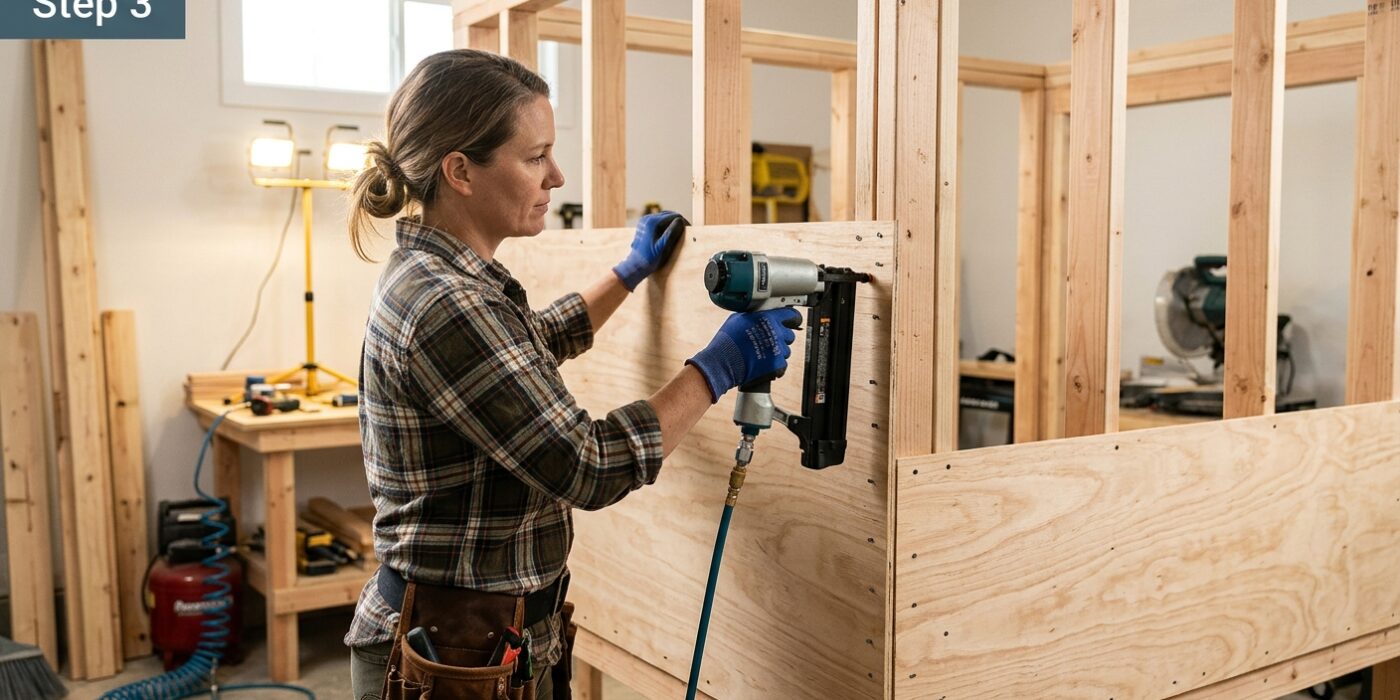
Now that your wall frames are sturdy, it is time to enclose them by attaching 3/4-inch plywood sheets. This “sheathing” provides structural strength and weather protection for your flock. Measure your plywood to match the height and width of each wall frame, then secure the sheets using 2-inch wood screws spaced every 8 inches along the studs. When you reach the window openings, simply trace the frame onto the plywood and cut it out with a jigsaw. For the interior, screw a 1×6 board horizontally across the studs 12 inches above the floor to act as a backing for your nesting boxes. Ensure you leave a portion of the wall framing open for the exterior-access door, which will allow you to collect fresh eggs easily without disturbing the hens.
Beginner Tip: A common mistake is driving screws too deep, causing them to punch through the plywood surface. Set your drill’s torque clutch to a lower setting so the screw head sits perfectly flush with the wood without crushing the fibers.
Alternative Method: If you don’t have a power saw, ask your local home improvement store to cut your plywood sheets to size for you. Provide them with your specific wall dimensions, and they can make precise, factory-square cuts on a panel saw before you even leave the store.
Pro Tip: Use a simple carpenter’s square to mark a perfectly straight vertical line across your plywood where your wall studs are located behind it. This ensures you drive your screws directly into the center of the studs every single time, rather than missing and hitting thin air.
Step 4 — Build and Install the Roof
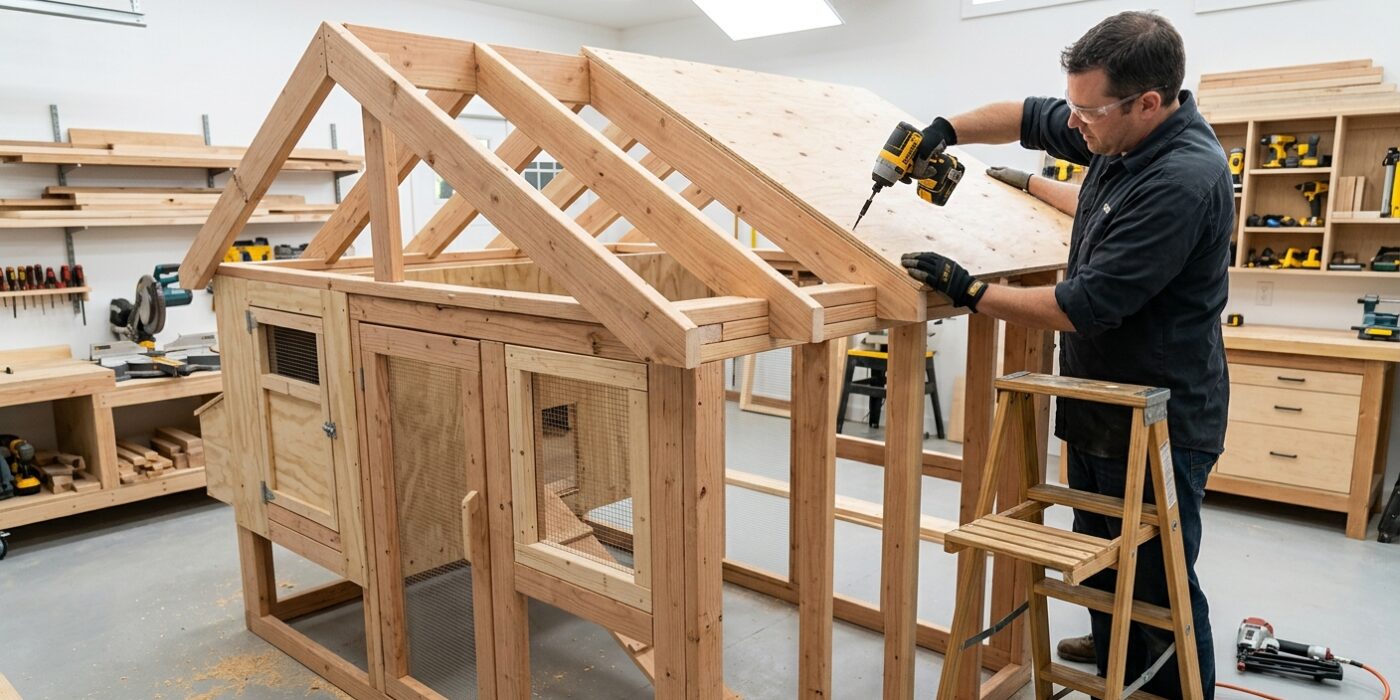
Now it is time to give your chickens a dry home. We are building a simple “shed-style” roof, which means it slopes in one direction to shed rainwater away from the coop entrance. First, cut your 2×4 rafters to length so they extend at least 6 inches past the front and back walls. This overhang is crucial; it acts like an umbrella for your coop walls, preventing rot and moisture buildup.
Space your rafters 16 inches apart, measuring from the center of one to the center of the next. Use metal rafter ties – these inexpensive steel brackets take the guesswork out of angles and ensure the roof stays securely attached to the wall frames. Once the rafters are locked in, screw down 1/2-inch plywood sheets to create a solid deck. Finally, apply your roofing material, such as asphalt shingles or corrugated metal. Always start at the bottom edge and work your way up so that each new layer overlaps the one below, keeping water running off the roof rather than under it.
Beginner Tip: Avoid walking on the roof while installing shingles if you aren’t comfortable with heights. You can reach the entire roof safely from a sturdy stepladder positioned around the perimeter of the coop.
Pro Tip: Before laying your plywood, snap a chalk line across the rafters. This simple line gives you a perfectly straight guide, ensuring your plywood sheets are square and aligned, which makes installing the final roofing material much faster.
Step 5 — Install Ventilation and Windows
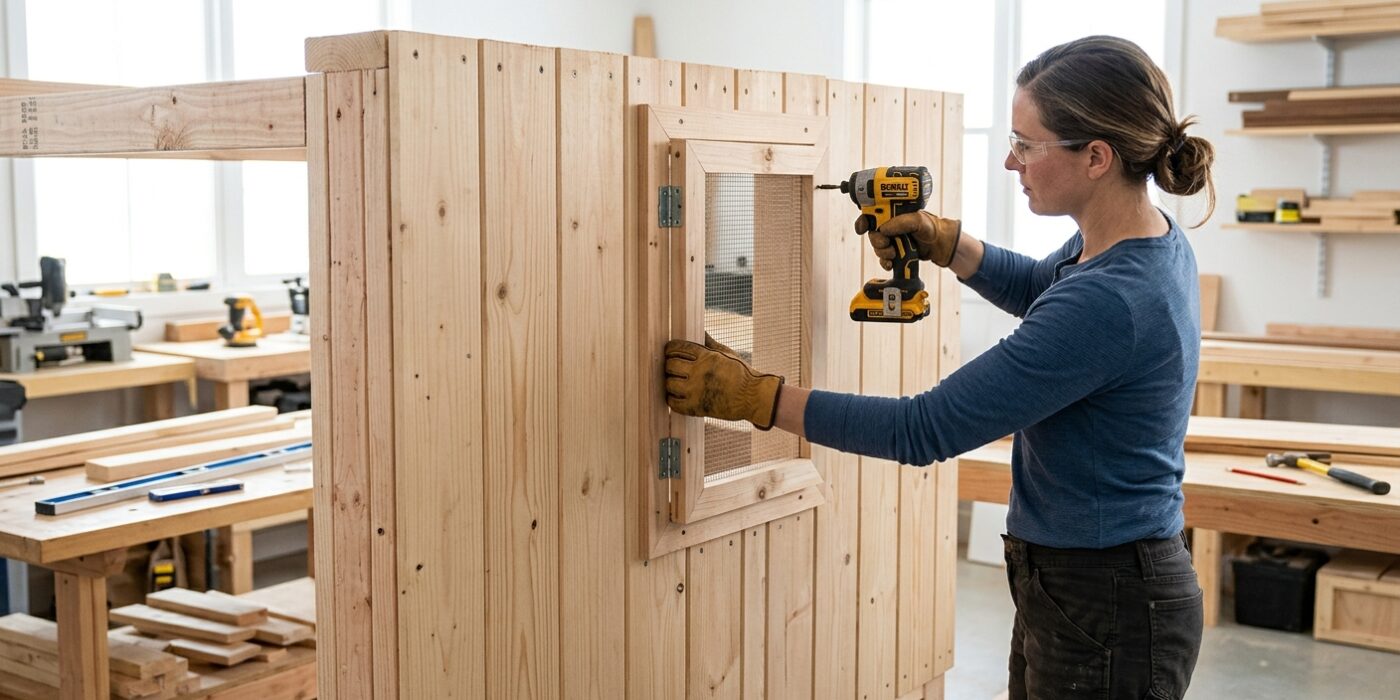
Proper airflow is the secret to a healthy flock. Chickens produce a lot of moisture through their breath, which can lead to respiratory issues if trapped inside. To start, cut your 1/2-inch hardware cloth so it extends at least two inches beyond the edges of each window frame. Staple the cloth securely to the wood using heavy-duty staples every two inches. To ensure total predator safety, place 1-inch wide wood strips (often called battens) over the edges of the mesh and screw them firmly into the frame. This creates a sandwich effect that makes it impossible for raccoons or foxes to pry the wire loose.
Next, install your plywood shutters. Attach them using exterior-grade hinges at the top of the window frame. By keeping the shutter propped open with a small hook-and-eye latch, you provide continuous airflow while keeping rain out. On freezing nights, simply drop the shutter to keep the coop cozy.
Beginner Tip: Never use chicken wire instead of hardware cloth. Chicken wire is designed to keep birds in, not predators out; a determined raccoon can easily tear right through it. Always choose the rigid, welded-square hardware cloth.
Pro Tip: To keep your hardware cloth perfectly flat while you staple it, start by stapling just the top edge. Then, pull the mesh downward firmly with a pair of pliers while you staple the bottom edge. This tension prevents the wire from bulging, making it much easier to attach your wood strips neatly.
Step 6 — Build Nesting Boxes
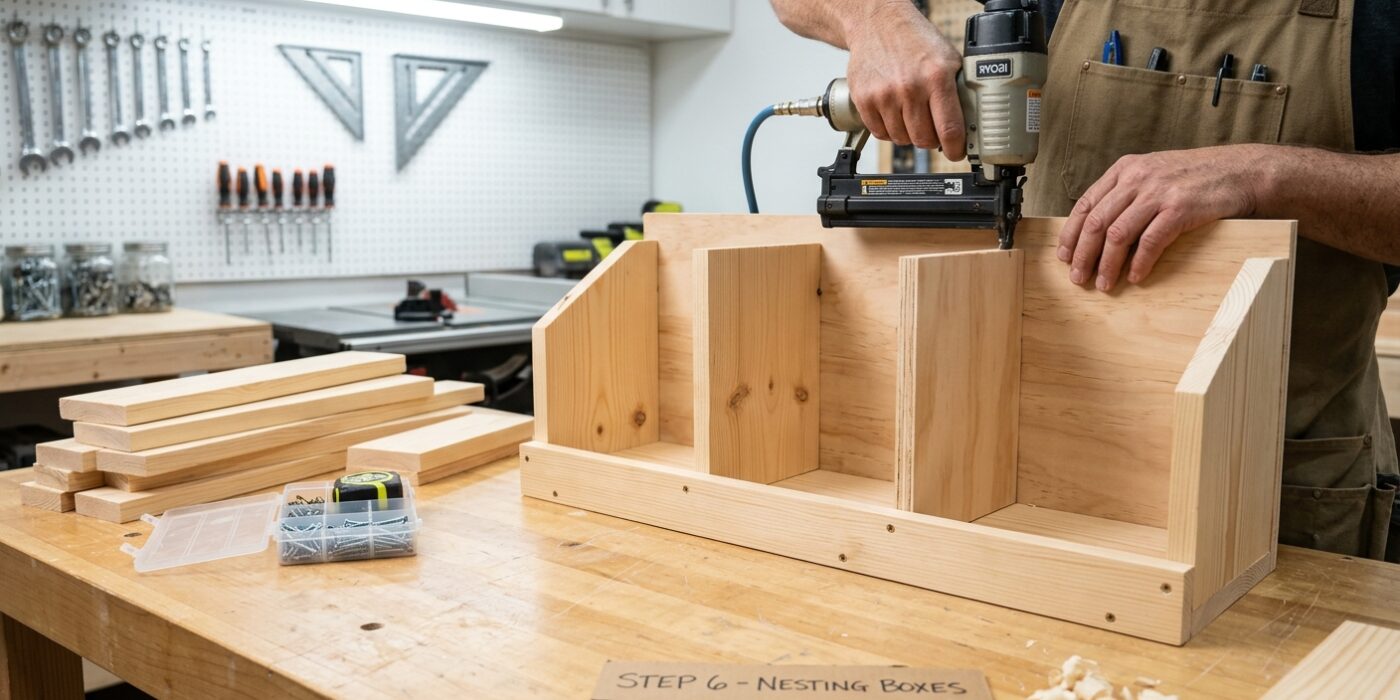
Your hens need a private, cozy spot to lay their eggs. For a healthy flock, plan for one nesting box for every three hens. Each box should measure exactly 12 inches wide, 12 inches deep, and 12 inches tall. You will build these as a simple wooden cubby system and mount them securely to the coop wall, positioned 12 to 18 inches off the floor. This height keeps the boxes clean and makes it easy for you to reach in and collect eggs.
Once the boxes are mounted, line the bottom of each with 3 to 4 inches of soft pine shavings or clean straw. To finish, attach a roof panel at a steep 45-degree angle slanting away from the wall. This slope is crucial; it prevents your hens from roosting on top of the boxes, which keeps their droppings out of the nesting material and keeps your eggs clean.
Beginner Tip: Avoid mounting your boxes directly under the main roosting bars. If the hens sleep above the nesting boxes, they will inevitably soil the bedding inside. Always place the boxes in a darker, quieter corner of the coop away from the high-traffic roosting area.
Alternative Method: If you are short on time or tools, you can use sturdy plastic storage bins or repurposed wooden crates instead of building custom boxes. Simply cut a hole in the front for access, secure them to the wall with heavy-duty screws, and add the sloped roof on top to prevent roosting.
Pro Tip: Install a small lip or a 2-inch tall wooden strip across the front opening of the box. This prevents the straw bedding and the eggs from rolling out onto the floor when your hens hop in and out.
Step 7 — Install Roosting Bars
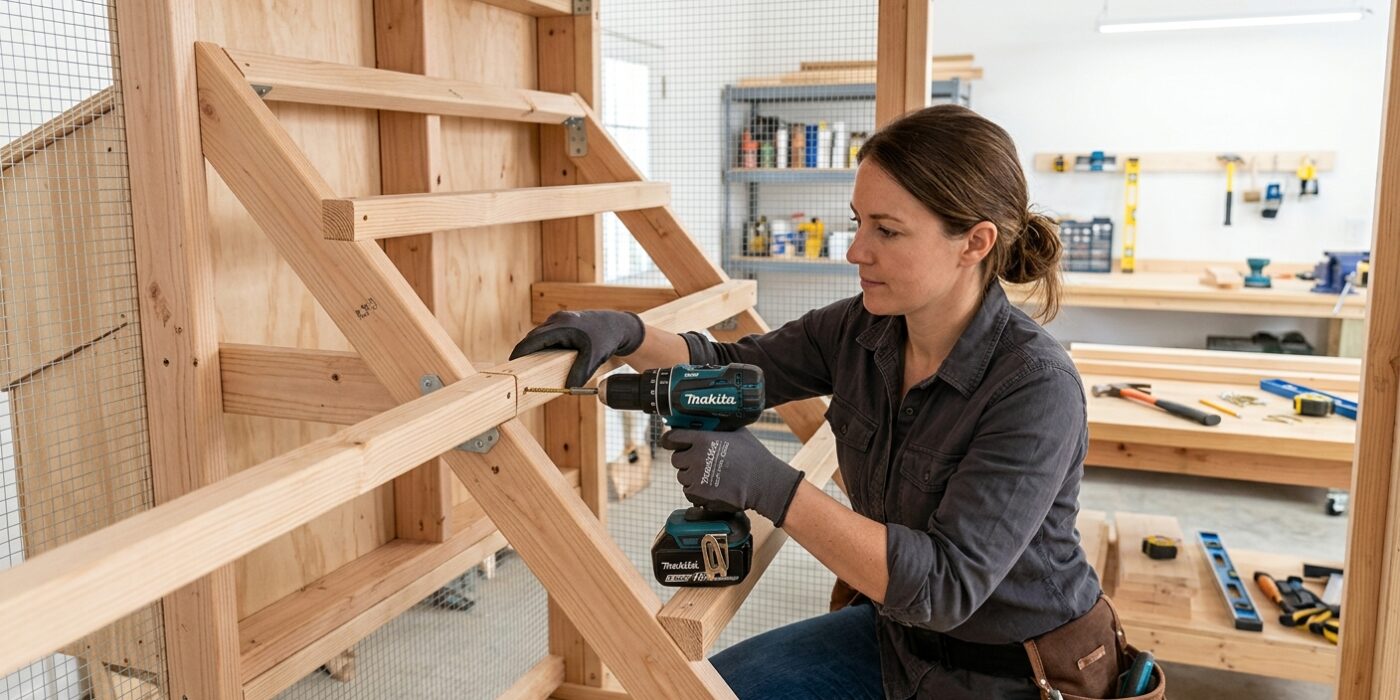
Now that your coop structure is secure, it is time to install the roosting bars. Chickens instinctively prefer to sleep on high perches to stay safe from predators. Install one or two 2×4 boards horizontally, ensuring the smooth, wide side faces upward so your hens can rest comfortably with their feet flat. Aim for a height of 2 to 3 feet off the coop floor, making sure these bars are positioned higher than your nesting boxes. This height difference is crucial; if the boxes are higher, your hens will likely choose to sleep inside them, which leads to dirty eggs. Plan for 8 to 10 inches of bar length for every hen in your flock to ensure everyone has personal space.
Beginner Tip: The most common mistake is using rounded branches or thin dowels. Chickens actually sleep better on a flat surface because it allows them to cover their feet with their breast feathers during winter, protecting their toes from frostbite. Stick to the 2×4 lumber for the healthiest, happiest hens.
Alternative Method: If you do not have a power drill, you can use “rafter ties” or metal joist hangers. These brackets can be nailed into the coop walls with a simple hammer, allowing the 2×4 bars to simply drop into place. This avoids the need to drill long screws at awkward angles into the studs.
Pro Tip: Before mounting the bars, take a piece of medium-grit sandpaper to the edges of the 2x4s to round them off slightly. This prevents splintering and makes the perch much more comfortable for your chickens’ feet.
Step 8 — Predator-Proof the Run
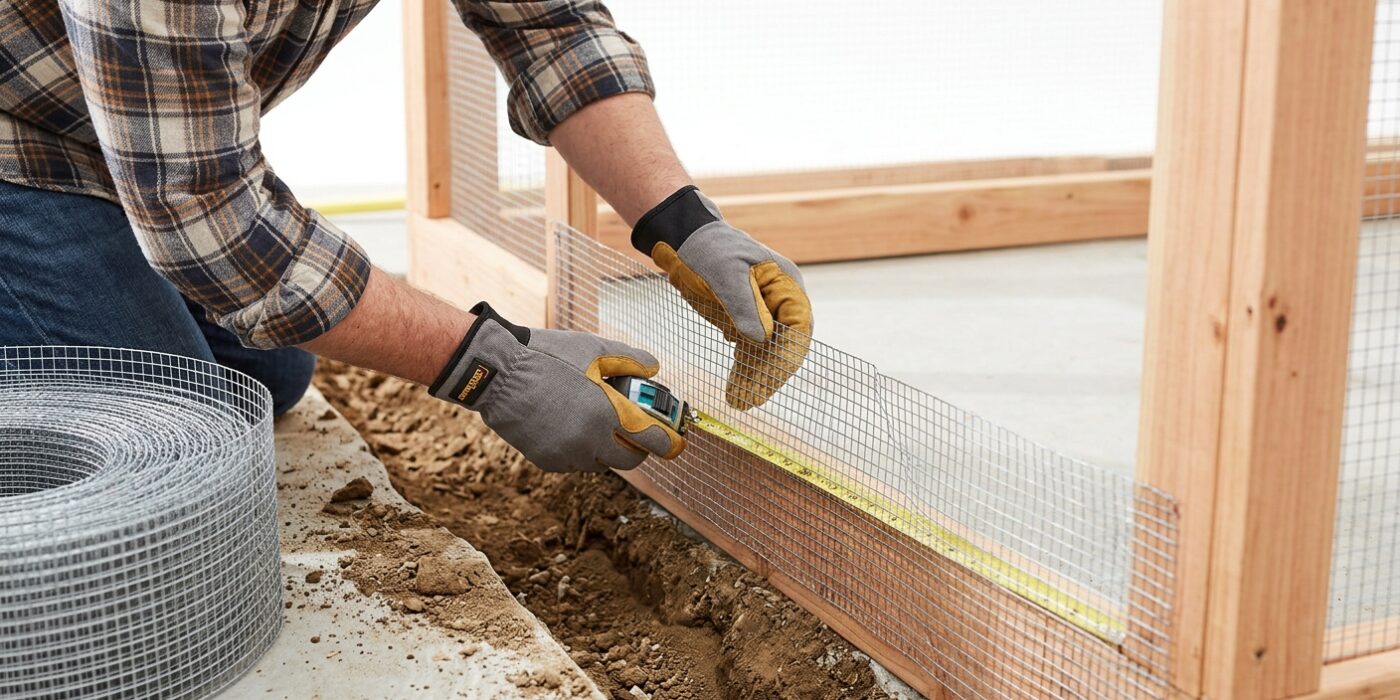
Your chickens need a secure outdoor space to roam, but they aren’t the only ones interested in your coop. To keep them safe, you must enclose the run using 1/2-inch hardware cloth rather than standard chicken wire. While chicken wire looks convenient, its thin gauge is easily ripped by raccoons, and its large holes are an open door for weasels. Hardware cloth is a sturdy metal mesh that provides a rigid, impenetrable barrier.
Start by wrapping the sides and top of the run, securing the mesh tightly to the wood frame with heavy-duty fence staples every two inches. To stop predators like foxes from digging underneath, dig a trench 12 inches deep around the entire perimeter. Place the hardware cloth into the trench and bend the bottom 12 inches outward at a 90-degree angle, creating an L-shape “apron.” Once you bury this flap, any animal trying to dig near the wall will hit the metal mesh and give up.
Beginner Tip: Avoid the mistake of using standard screws to hold the mesh in place. They can easily pull through the wire holes over time. Always use fence staples, which are U-shaped nails that straddle the wire, locking it securely against the wood.
Pro Tip: Use a pair of tin snips to cut your hardware cloth. To make the edges less sharp and dangerous for both you and your hens, fold over any raw, jagged wire edges once you have stapled them down to create a smooth, clean seam.