Project Shopping List
Installing drywall on a ceiling is the most physically demanding step in any drywall project. Sheets are heavy, the work position is awkward, and errors in fastening are harder to fix than on walls. A rented drywall lift makes ceiling installation manageable for one or two people and is worth every dollar of the rental cost. This guide covers the technique, layout, and special considerations for ceiling drywall that differ from wall installation.
What You Need
- 5/8-inch drywall (required by code for ceilings with 24-inch joist spacing)
- Drywall lift (rent from equipment rental stores)
- 1-5/8-inch drywall screws for ceiling
- Drywall screw gun
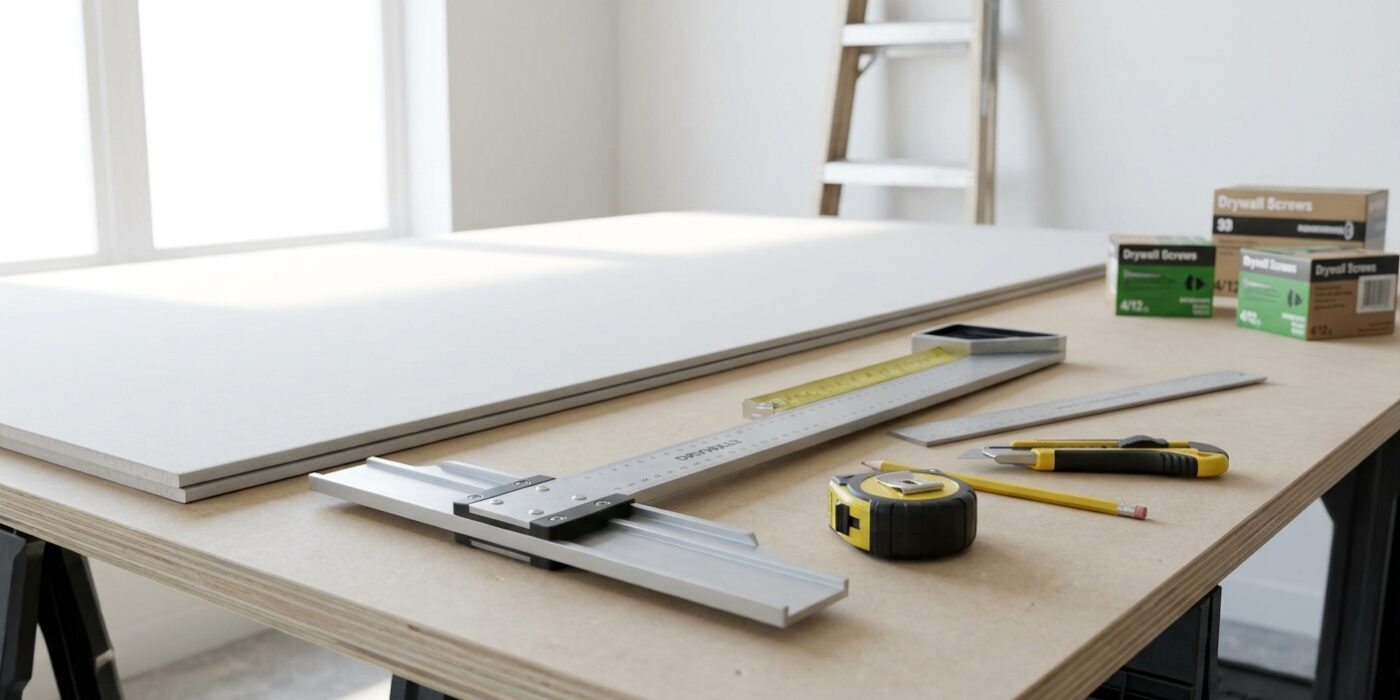
- Drywall T-square and utility knife
- Chalk line and stud finder
- Ladder or scaffold
Why Ceiling Drywall is Different
Ceiling drywall must resist gravity pulling it away from the framing over time — this is why 5/8-inch is the standard thickness for ceiling installations at 24-inch joist spacing, and why screw spacing is tighter (12 inches on center versus 16 inches for walls). Sagging ceiling drywall is a common failure in older construction where 1/2-inch drywall was installed on 24-inch spacing — the added weight of any texture finish and multiple paint coats causes the sheet to bow between fasteners over time.
Step-by-Step Instructions
Step 1: Mark Joist Locations
Use a stud finder to locate all ceiling joists. Snap chalk lines across the ceiling at each joist location — these lines remain visible through the drywall installation and guide your screw placement. Confirm the first joist from each wall and verify spacing is consistent. If joists are at 24-inch spacing, you must use 5/8-inch drywall. At 16-inch spacing, 1/2-inch is acceptable but 5/8-inch is still recommended for ceilings.
Step 2: Plan Sheet Layout
Plan the sheet layout so the first row of sheets runs perpendicular to the joists with the long dimension (8 feet) spanning multiple joists. Stagger sheet end joints between rows — end joints in the same line across the ceiling form a line that is very difficult to finish invisibly. Plan cuts so the smallest piece in any row is at least half a sheet — avoid thin strips at walls.
Step 3: Set Up the Drywall Lift
A drywall lift is a mechanically cranked cradle that holds a full sheet and elevates it against the ceiling at the correct position while you drive screws. Set the lift under the planned sheet position, load the sheet face-down onto the cradle (the face — the smooth white paper side — goes against the ceiling), and crank to raise the sheet against the joists. The lift holds the sheet in position hands-free while you fasten.
Step 4: Drive Screws at 12-Inch Intervals
Drive drywall screws at every joist the sheet contacts, 12 inches on center, starting from the center of the sheet and working outward. Do not start at the edges — starting at the center prevents the sheet from bowing and ensures uniform contact with the framing. Keep screws 3/8 inch from sheet edges. The screw head should dimple just below the paper surface — do not over-drive and break the paper.
Step 5: Handle the Butt Ends
Where the 4-foot ends of two sheets meet (butt joints — not tapered edges), both ends must land on a joist. If the layout does not work out to have butt joints on a joist, add blocking between joists at the joint location. Blocking is a 2×4 or 2×6 cut between joists to provide a nailing surface. Butt joints are the hardest joints to finish invisibly on ceilings — minimize them by using longer sheets where possible.
Step 6: Cut Holes for Fixtures
Mark fixture box locations on the ceiling before the sheet goes up — transfer measurements from walls using consistent reference points. Cut holes with a drywall saw or oscillating tool after the sheet is fastened. For recessed lights, use a hole saw at the specified diameter for the fixture. Check that all fixture holes are in the right location before fastening the sheet permanently — repositioning a hung ceiling sheet is difficult.
Pro Tips
- Apply a bead of acoustic sealant along the top plates of walls before hanging ceiling drywall — this sound-isolates the ceiling from wall framing and reduces noise transmission between floors.
- Never try to lift a ceiling sheet without a lift. “Dead men” (T-shaped props) and helpers can substitute for a lift but are dangerous and result in damaged sheets.
- Do ceiling drywall before wall drywall — ceiling sheets bear on the wall sheets, so wall sheets need to go up second to support the ceiling perimeter.
Frequently Asked Questions
How many screws do I need per ceiling sheet?
A standard 4×8 ceiling sheet at 16-inch joist spacing contacts 4 joists (both edges at the walls plus two intermediate joists). At 12 screws per joist, a single sheet needs about 30-40 screws. At 24-inch spacing, the sheet contacts 3 joists and needs slightly fewer. Always err on the side of more fasteners for ceiling installations.
Can I use nails for ceiling drywall?
Ring-shank drywall nails can be used for ceilings but require closer spacing (7 inches on center) than screws (12 inches), and they have higher rates of popping over time due to wood movement. Screws are the professional standard for ceilings and are strongly recommended over nails.