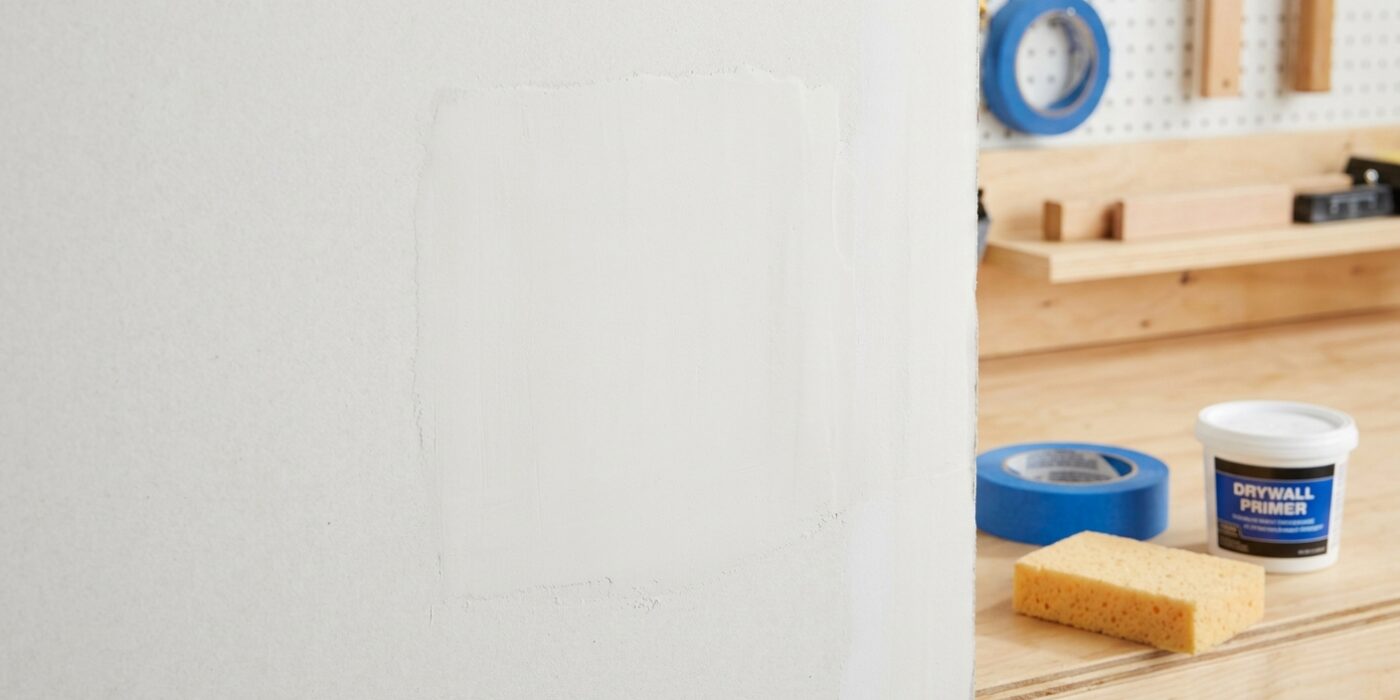
Project Shopping List
Textured walls are common in many homes – orange peel, knockdown, skip trowel, and popcorn ceilings are all variations of applied texture that hide drywall imperfections and add visual interest. If you are repairing a wall, adding texture to a new patch, or texturing a newly drywalled room, matching or applying wall texture is an important finishing skill. This guide covers the three most common residential wall textures: orange peel, knockdown, and skip trowel.
What You’ll Need
Tools
- Hopper sprayer (for orange peel and knockdown spray) or air compressor with hopper gun
- Drywall knife (6 to 10 inch) for knockdown and skip trowel
- Paint roller with 3/4-inch nap (for rolled orange peel)
- Trowel (for skip trowel)
- Spray bottle with water
- Drop cloths and masking tape
Materials
- Pre-mixed joint compound (thinned to the correct consistency for each technique)
- Texture spray compound (for spray applications)
- Drywall primer
Step 1: Prime the Surface
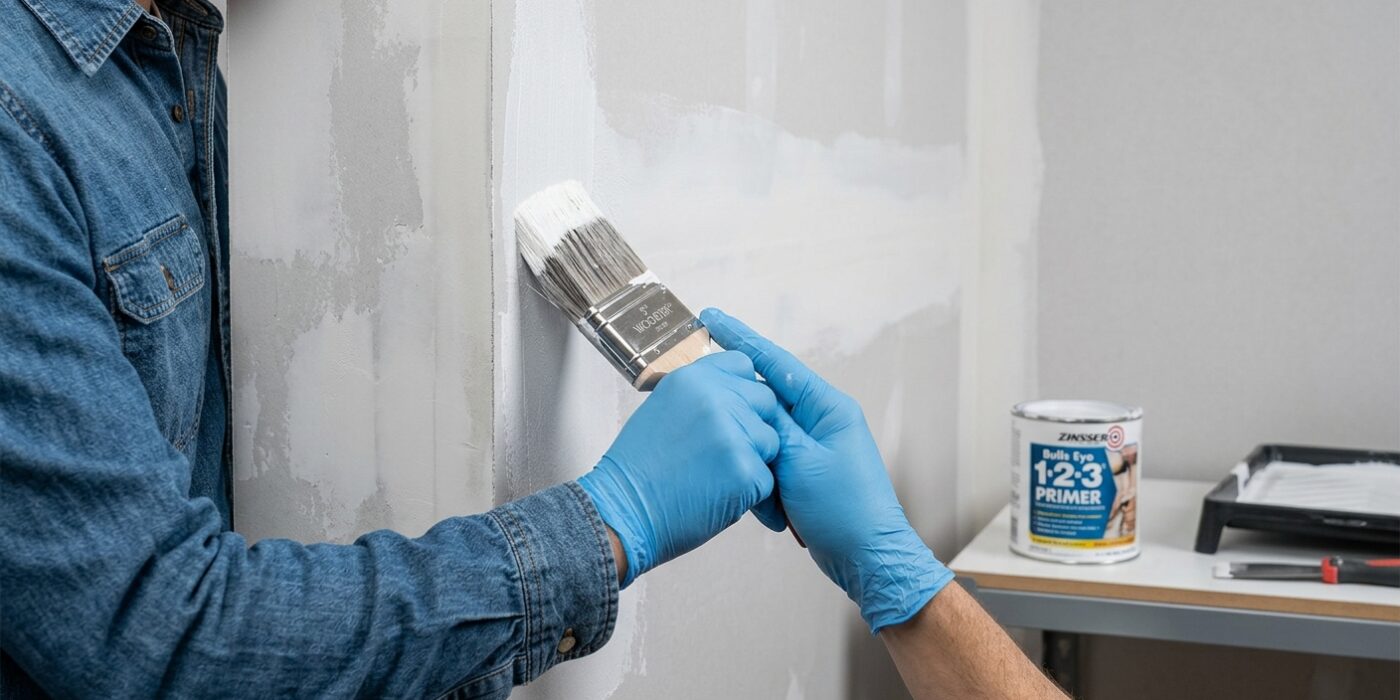
Before you begin texturing, you must coat your drywall in a high-quality PVA (polyvinyl acetate) primer. Think of your wall like a sponge; if you apply wet texture directly to raw drywall, the paper absorbs the moisture too quickly. This uneven drying leads to cracking or a patchy, blotchy finish that will show through your paint later. Using a standard 3/8-inch nap paint roller, apply an even coat over your entire workspace. If you are fixing a patch, make sure to extend your primer at least three to four inches past the edges of the repair. This “feathering” technique ensures that the texture adheres consistently across both the old wall and the new patch. Always allow the primer to dry completely – usually at least four hours – before you pick up your texture tools.
Beginner Tip: A common mistake is using leftover wall paint instead of PVA primer. Regular paint does not seal the drywall surface correctly. If you skip the dedicated primer, the texture will bond inconsistently and may eventually peel or flake away. Always check the label to ensure it specifically says “drywall primer” or “PVA sealer.”
Pro Tip: To get the best results, use a bright work light held at an angle against the wall while you prime. This raking light will reveal any missed spots or uneven ridges that would be invisible under normal room lighting, allowing you to touch them up before the texture stage begins.
Step 2: Orange Peel Texture
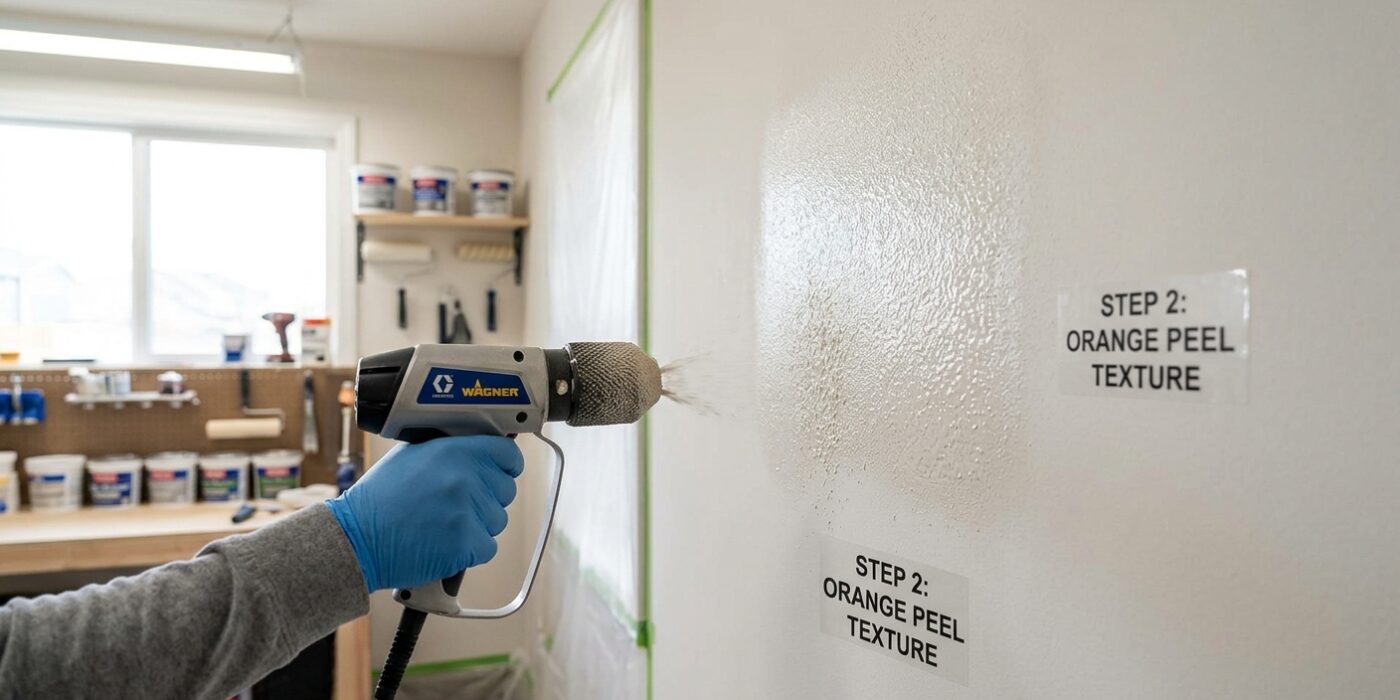
To create the perfect orange peel texture, you will use a hopper sprayer to apply a light, bumpy finish to your wall. Start by thinning your joint compound with water until it reaches the consistency of a thin milkshake; it needs to be fluid enough to flow easily through the sprayer without clogging. Set your air compressor to between 30 and 40 psi. Hold the sprayer nozzle 18 to 24 inches away from the surface and move your arm in smooth, continuous horizontal passes, much like you are spray-painting a large canvas.
The secret to the size of the “peel” lies in the settings: smaller nozzle openings and higher pressure create tiny, fine bumps, while larger openings and lower pressure produce a coarser, heavier texture. Always test your settings on a piece of scrap cardboard or drywall before aiming at your actual wall.
Beginner Tip: The most common mistake is applying too much compound in one spot, which causes drips or “sags.” Remember, light and even coverage is the goal. It is much easier to add another thin coat after the first has dried than it is to remove a thick, gloppy mess once it begins to set.
Alternative Method: If you do not want to rent a hopper sprayer, you can use a spray-texture can from the hardware store. It works exactly like a can of spray paint and is perfect for small wall repairs or patches where a large rig would be overkill.
Pro Tip: Keep a damp rag and a bucket of water nearby to keep your nozzle clean. If you notice the texture pattern changing or sputtering, stop immediately and clear the nozzle tip to maintain a consistent spray.
Step 3: Knockdown Texture
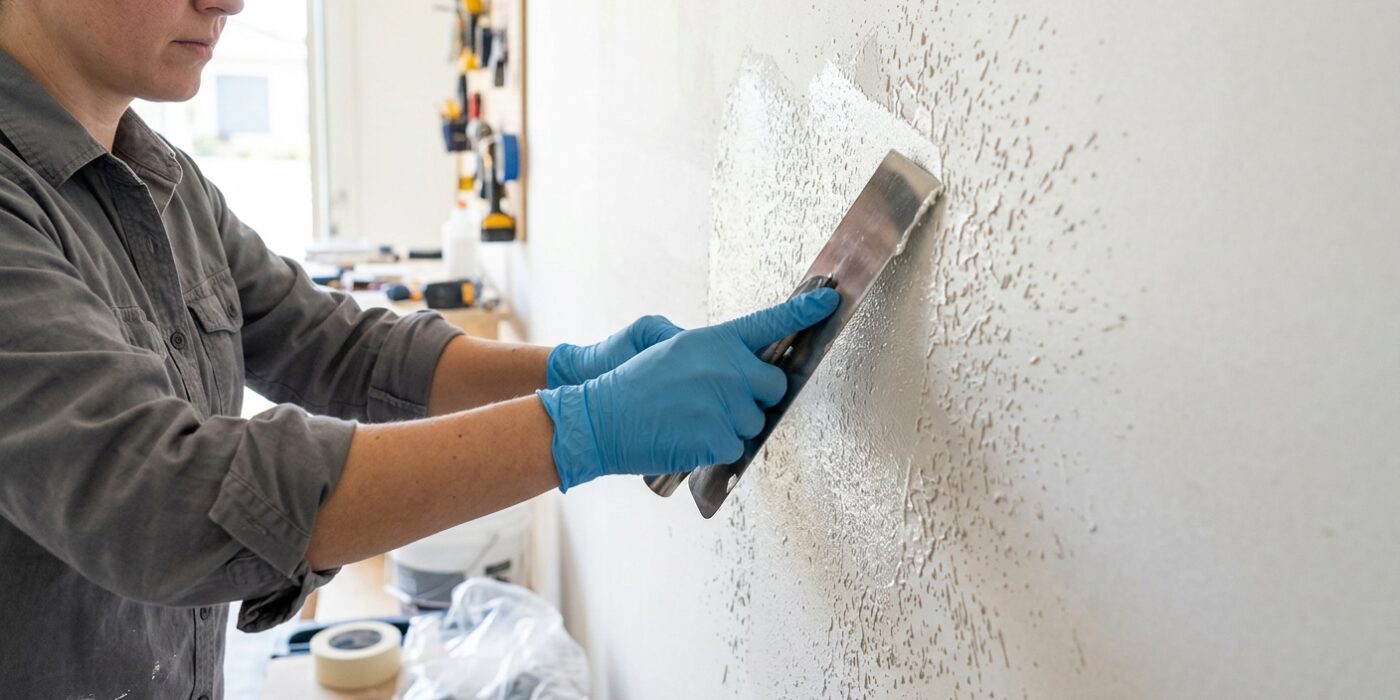
Now it is time to create the signature look of a knockdown texture. To achieve this, you need a slightly thicker mixture than the orange peel technique. Using a hopper gun with a larger nozzle, spray the wall in an overlapping, circular motion. You are aiming for irregular, heavy splotches rather than a fine mist. Once applied, wait 3 to 5 minutes. You will know it is time when the compound loses its wet, glossy sheen but still feels soft to the touch.
Take your 10-inch drywall knife and hold it at a very shallow 15-degree angle against the wall. Using gentle pressure, glide the blade across the surface. Your goal is to lightly “knock down” only the peaks of the wet splotches, turning them into flat, jagged plateaus while leaving the valleys untouched. Keep your movements fluid and avoid stopping mid-stroke, as this helps maintain a consistent, professional finish.
Beginner Tip: The most common mistake is pressing too hard with the knife. If you apply heavy pressure, you will smear the compound into a flat, ugly mess rather than leaving the desired texture. Imagine you are skimming a layer of butter off the top of the splotches, not scraping the wall clean.
Pro Tip: Keep a damp sponge and a clean rag nearby to constantly wipe your drywall knife blade. If dried compound builds up on the edge of your tool, it will create unwanted streaks and lines in your beautiful texture.
Step 4: Skip Trowel Texture
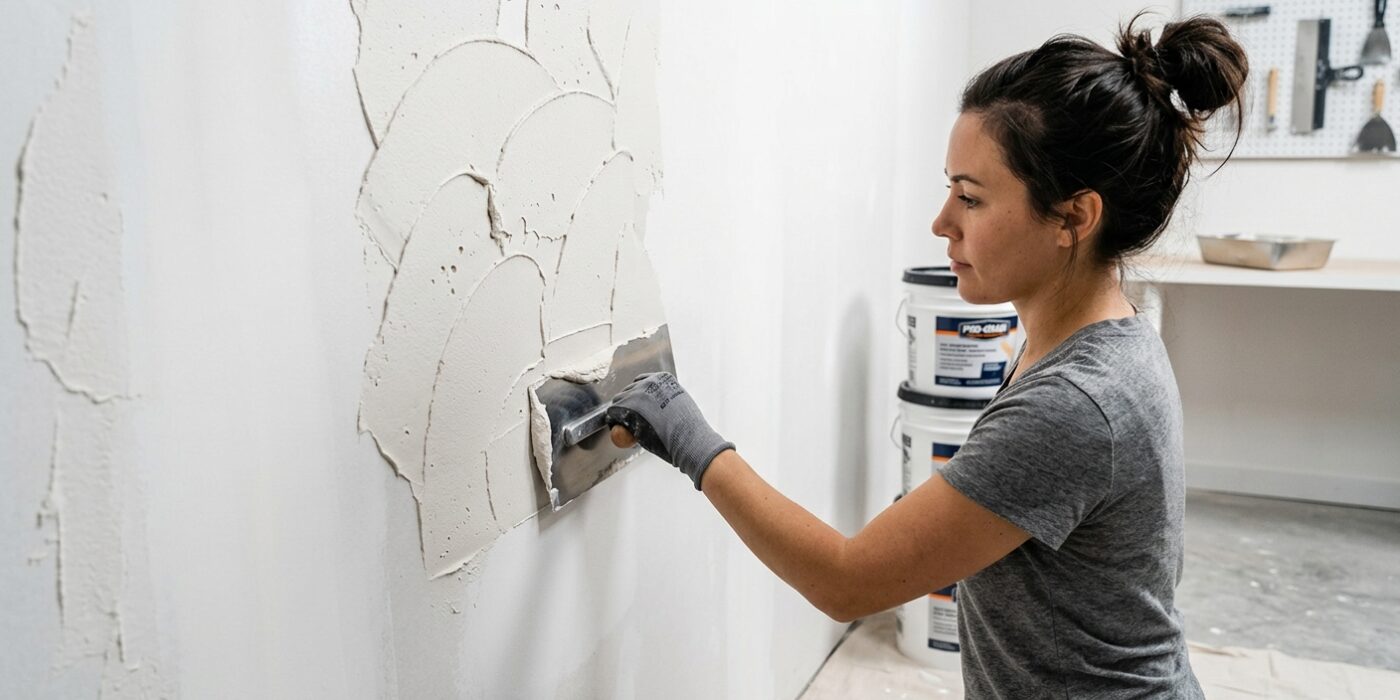
Now it is time to create that elegant, Old World texture. Begin by thinning your joint compound in a bucket with a small amount of water until it reaches the consistency of thick pancake batter or creamy peanut butter. If it is too stiff, it will be hard to spread; if it is too watery, it will drip down your wall.
Using a 6-inch drywall knife, scoop a dollop of compound onto the blade. Gently press the knife against the wall at a shallow 15-degree angle. Glide it across the surface, letting the knife "skip" over the wall rather than pressing it flat. You want to leave some areas bare while others are covered in a thin, feathered layer. Work in small sections, changing the direction of your wrist with each pass to avoid a repeating pattern. The goal is an organic, irregular look.
Beginner Tip: Avoid the temptation to overwork an area. If you keep going back over the same spot, you will smooth out the texture and lose the "skip" effect. If you do not like a section, scrape it off while wet and start fresh rather than trying to fix it once it begins to set.
Pro Tip: To get the best look, keep your drywall knife clean. Wipe the edge of your blade on a damp rag after every few passes. Dried bits of compound stuck to your knife will create unwanted streaks and unwanted lines in your beautiful, custom texture.
Step 5: Matching Existing Texture
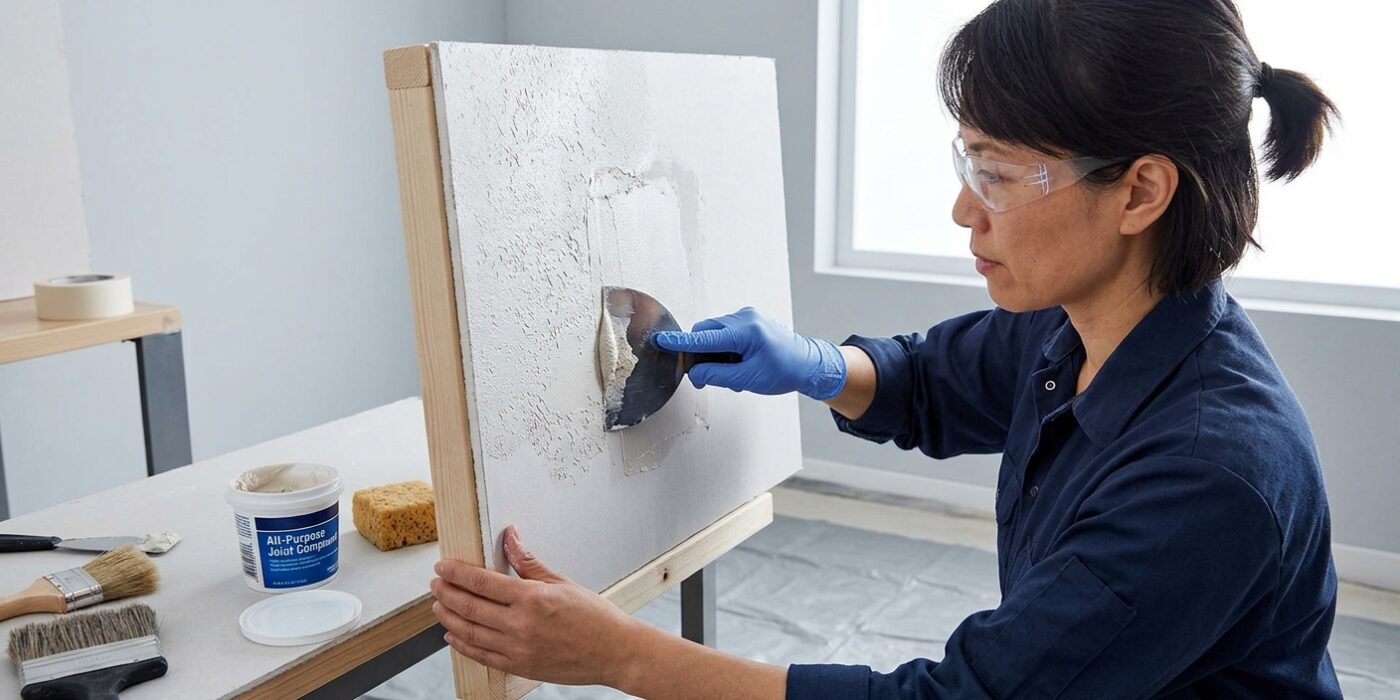
Matching an existing texture is truly the secret to a professional-looking repair. The goal is to make your new work “disappear” into the original wall. Start by holding a flashlight or work light at a shallow angle against the wall; this is called “raking light,” and it highlights the peaks and valleys of the texture. Observe whether the pattern looks like fine sand, heavy splatters, or flat, flattened ridges.
Before touching your wall, practice your technique on a scrap piece of drywall or a sturdy piece of cardboard. Adjust your sprayer nozzle or hand application pressure until the size and density of the droplets match your wall. When applying, work from the center of your patch outward. Lightly “feather” the edges by applying less material as you move toward the existing wall. You want a gradual taper rather than a thick, sudden stop, which creates a noticeable ridge.
Beginner Tip: A common mistake is trying to get a perfect match on the very first pass. Remember that you can always add more texture, but removing it once it begins to set is messy and difficult. Start light, step back to check your work against the raking light, and add a second, lighter coat if needed.
Alternative Method: If you are repairing a very small area and don’t want to rent a sprayer, use a stiff-bristled brush. Dip the tips of the bristles into joint compound and gently flick them toward the wall to replicate a fine “orange peel” texture. It is a slow process, but it gives you total control over the pattern.
Pro Tip: Always keep a damp sponge nearby while texturing. If you apply the compound and realize the pattern is wrong, wipe it off immediately while it is still wet, let the wall dry for a few minutes, and try again. It is much easier to clean a wet patch than to sand away a dried mistake.