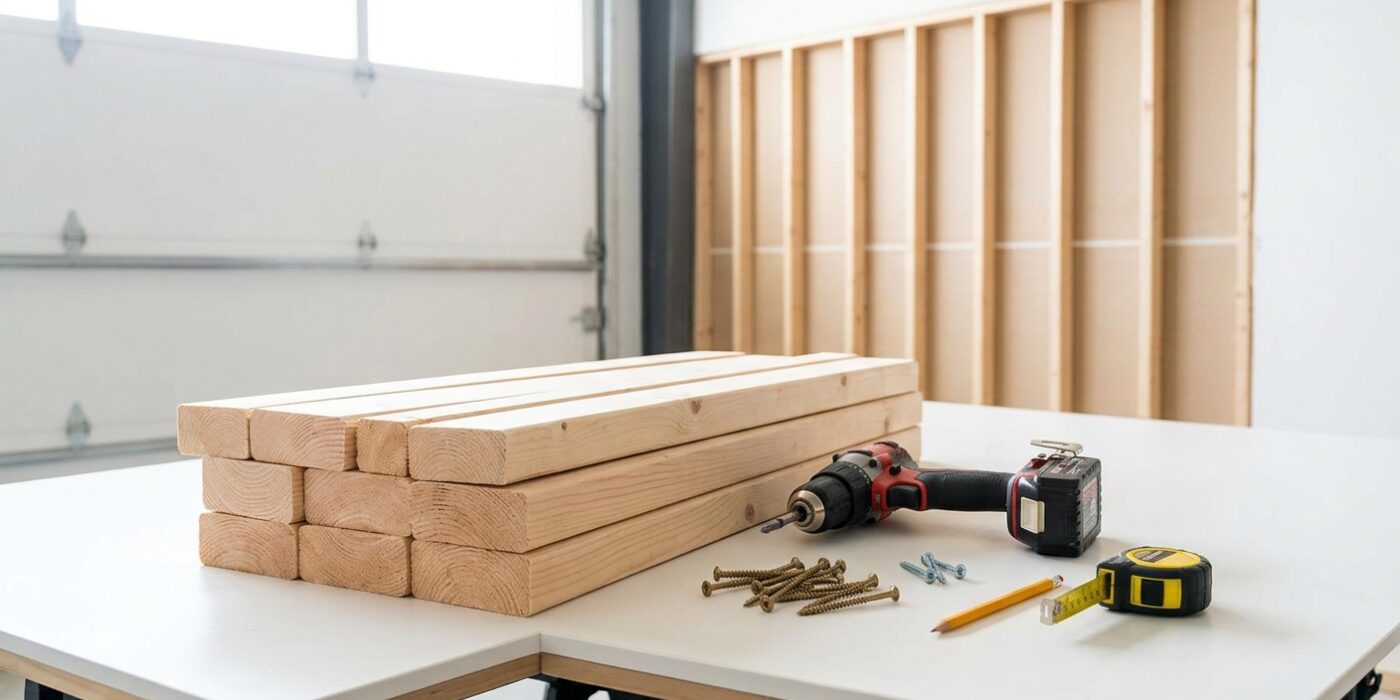
Project Shopping List
Drywall backing is blocking – extra framing material added between studs to support drywall edges, fixtures, and accessories that would otherwise have no solid surface to fasten to. It is one of the most overlooked and most important parts of a good drywall installation. Without proper backing, drywall edges sag and crack, heavy fixtures pull loose, and trim boards flex. This guide covers when and how to install drywall backing for common situations including panel edges, grab bars, heavy mirrors, cabinets, and curtain rods.
What You’ll Need
Tools
- Drill and driver
- Framing nailer or hammer
- Circular saw or miter saw
- Level and tape measure
- Stud finder
Materials
- 2×4 or 2×6 lumber (for blocking between studs)
- 3-inch framing screws or 16d framing nails
- Plywood (3/4-inch) for load-bearing blocking such as grab bars
Step 1: Plan Backing Before Drywalling
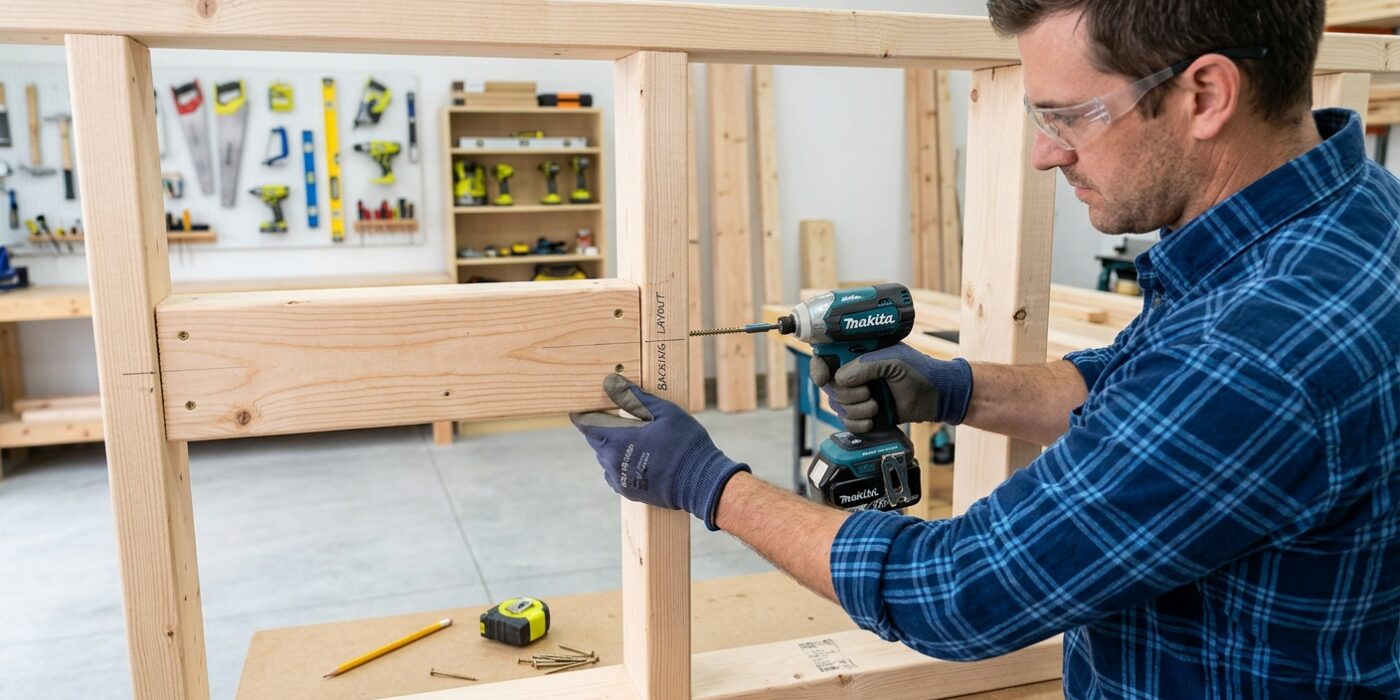
The secret to a stress-free renovation is installing solid wood “backing” between your wall studs before the drywall goes up. Think of drywall as a cosmetic skin; it isn’t strong enough to hold heavy items on its own. By installing horizontal 2×4 or 2×6 boards between your existing studs, you create a permanent, wood-filled anchor point behind the wall.
Walk your space and identify where you might want to hang items in the future. Prioritize these high-stress areas:
- Kitchen: Create a continuous block line where your upper cabinets will be mounted.
- Bathroom: Install backing for grab bars and towel racks.
- Living Areas: Add blocking for heavy wall-mounted televisions or floating shelves.
- Structural: Place backing behind any drywall seam that doesn’t fall directly on a stud to prevent future cracking.
Beginner Tip: A common mistake is installing your backing too deep. Ensure the face of your blocking is flush with the front of your wall studs. If the backing is recessed even a quarter-inch, your drywall will bow inward, making it impossible to get a smooth, flat finish.
Pro Tip: Use a scrap piece of wood as a depth gauge. Hold it across two studs and push the backing board against it while you screw it in place. This ensures every piece of backing is perfectly level with your framing, giving you a seamless surface for your drywall panels.
Step 2: Install Backing for Drywall Edges
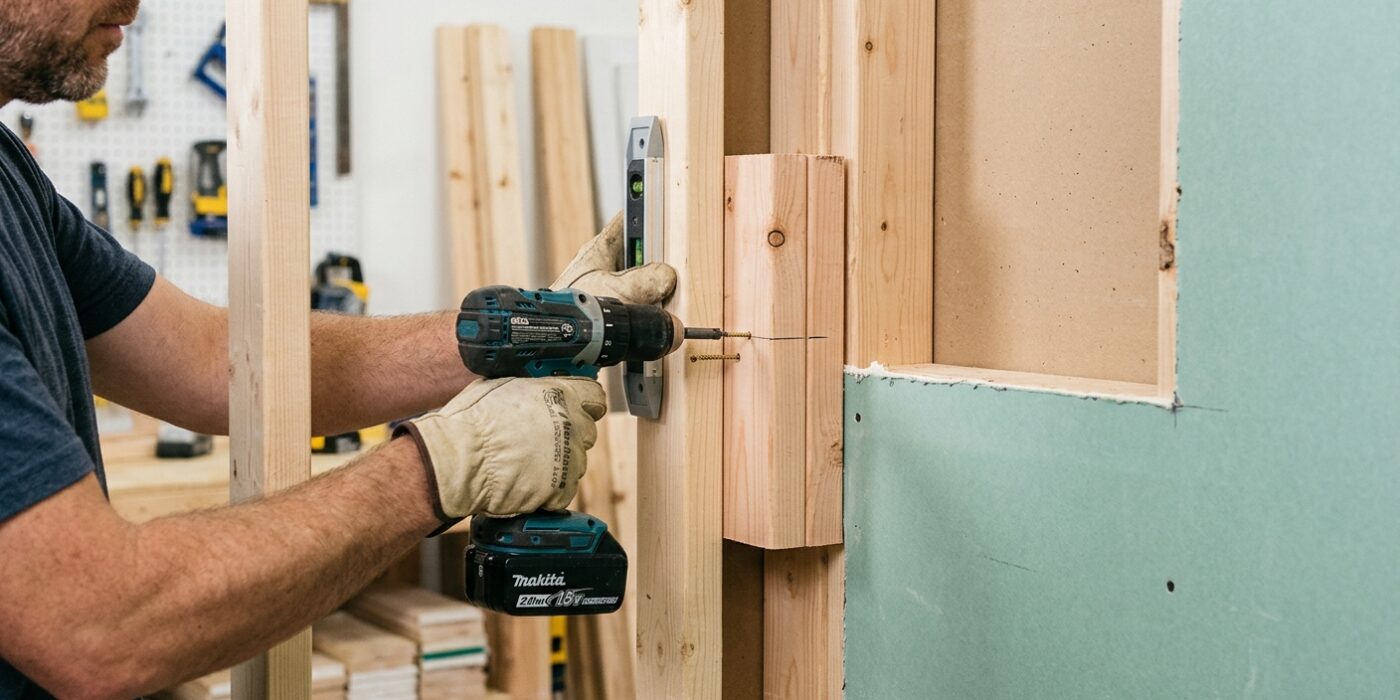
To ensure your wall is sturdy and crack-free, every single edge of your drywall panel must be screwed into solid wood. If a panel edge hangs in mid-air between two wall studs, it will eventually sag or crack. You need to create a “bridge” by installing a piece of lumber – usually a 2×4 – horizontally between those studs to act as a nailing surface.
Start by measuring the exact distance between your two existing wall studs. Cut your 2×4 to fit snugly in that space. Place the wood so that its face is perfectly flush with the front of the studs; you can hold it in place by pressing a long level or a straight board across the studs. Secure the block by driving two 3-inch wood screws through the side of the stud into the end of your block. Repeat this for every horizontal seam or patch edge where the drywall doesn’t meet a stud.
Beginner Tip: Avoid the urge to leave the block even slightly recessed. If the block is pushed too far back, your drywall will “dimple” inward when you drive your screws in, making the seam impossible to hide with tape and mud.
Pro Tip: To keep your backing perfectly flush without a helper, drive a single screw halfway into the center of your block first. Use that screw head as a handle to hold the board exactly where you want it while you drive the permanent screws through the studs.
Step 3: Install Backing for Grab Bars
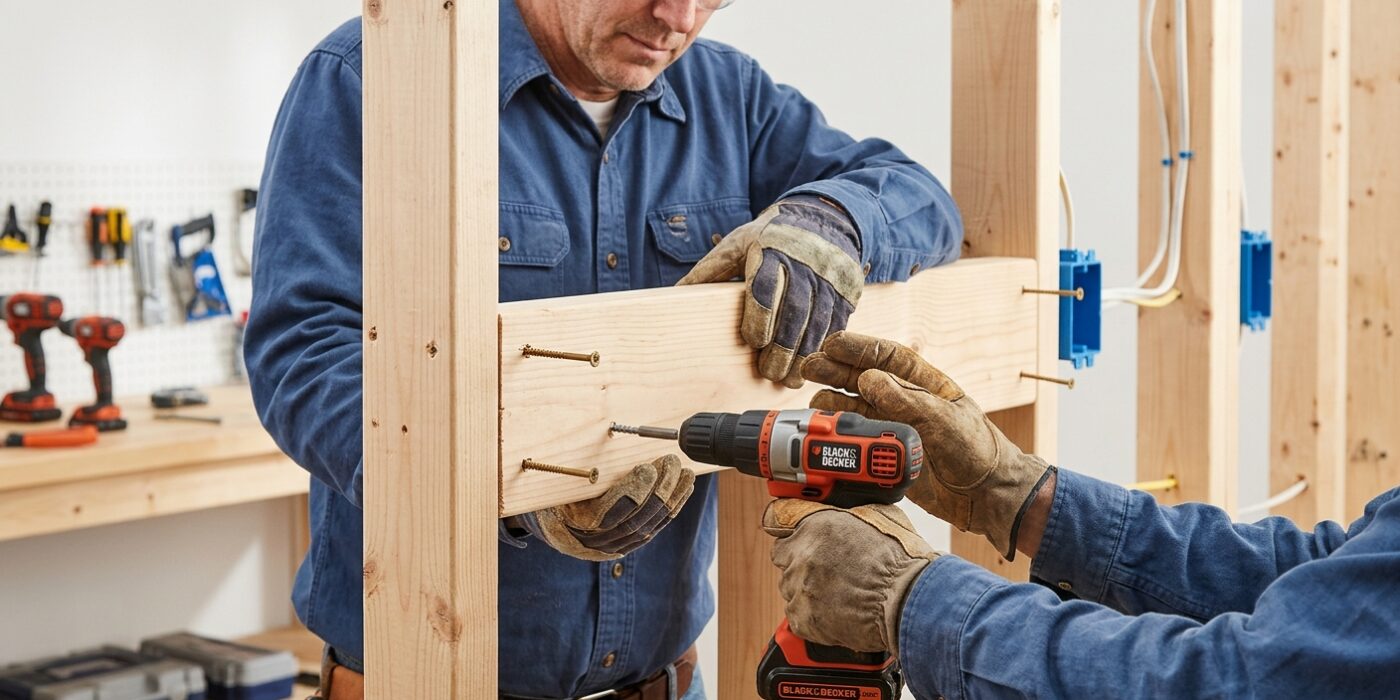
Grab bars are vital for safety, meaning they must withstand significant weight. Because standard wall studs are narrow, they don’t always align perfectly with where your bar needs to go. To create a rock-solid mounting surface, we install a 3/4-inch plywood backer between your studs. Cut a piece of plywood roughly 12 inches tall by 36 inches wide to span the gap. Position this so it sits flush against the back of your wall studs at the desired height for your grab bar. Secure the plywood by driving 3-inch screws through the studs and into the plywood, spacing them every 6 inches along the perimeter. This creates a large, reinforced “bridge” that distributes force across a wide area, ensuring the bar will never pull out of the wall.
Beginner Tip: A common mistake is using standard drywall screws to attach the plywood. These are brittle and can snap under pressure. Always use high-quality wood screws or construction screws specifically designed for heavy loads to ensure your safety gear stays securely anchored.
Pro Tip: Before screwing the plywood into place, apply a generous bead of construction adhesive to the edges of the studs where the plywood will sit. This “glues” the wood to the frame, which stops any annoying squeaking or movement behind the wall once the project is complete.
Step 4: Install Backing for Heavy Fixtures and Cabinets
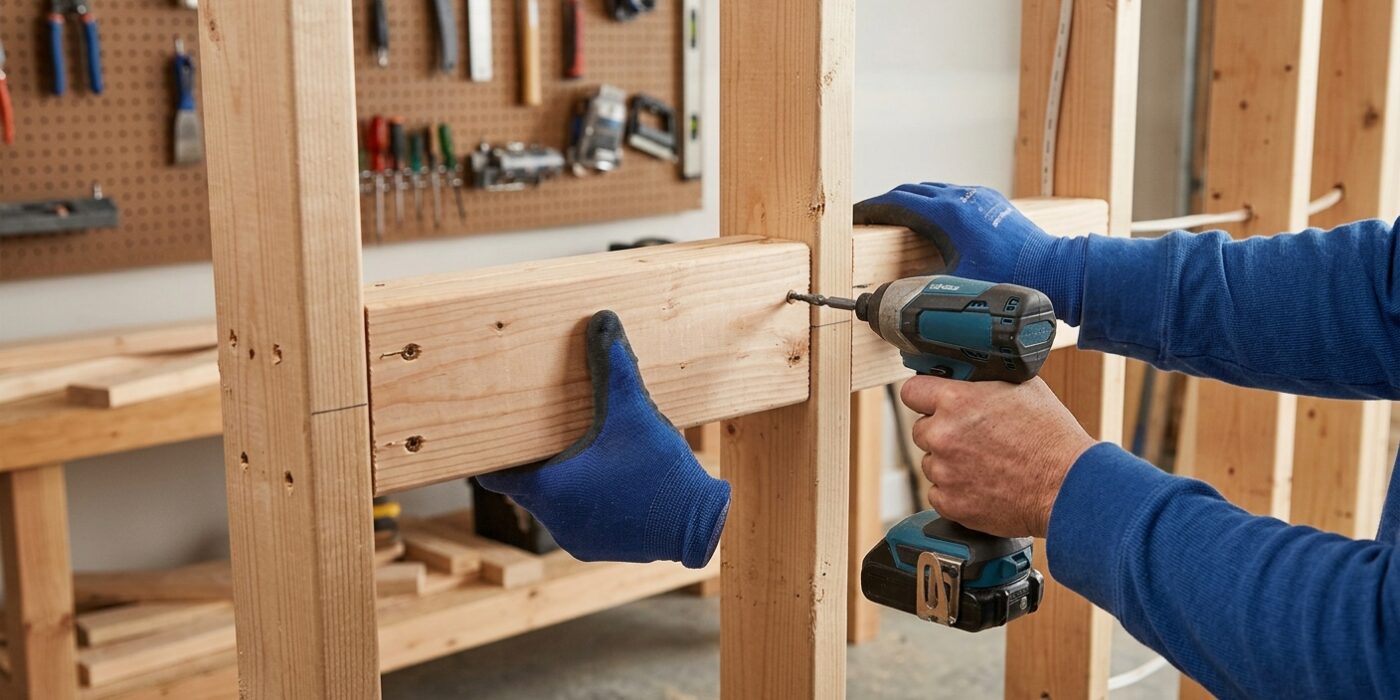
When hanging heavy items like kitchen cabinets or large televisions, drywall alone isn’t strong enough to hold the weight. You need to create a secure, structural attachment point inside the wall. For upper cabinets, install a 2×6 board horizontally between your studs at 54 inches above the floor. This “ledger” acts as a sturdy shelf for your cabinets to rest on while you secure them, ensuring they stay perfectly level. For TVs, secure a piece of 3/4-inch plywood between two studs in your desired location. Because this wood covers the space between the studs, you can mount your TV bracket anywhere on the board without worrying about hitting a specific stud.
Beginner Tip: Avoid the mistake of using standard drywall screws to secure your backing boards. These are designed to hold light material and are brittle; they can snap under heavy loads. Always use structural wood screws or 3-inch framing screws, which are designed to bite deep into the studs and hold significant tension.
Pro Tip: Before you close the wall back up, take a high-quality photo of your finished backing with a tape measure held up against the wall. This gives you a permanent visual record of exactly where your structural boards are located. Years later, when you want to hang a new shelf or a different mirror, you will know exactly where it is safe to drill without guessing or using expensive stud finders.
Step 5: Installing Backing After Drywall (Retrofit)
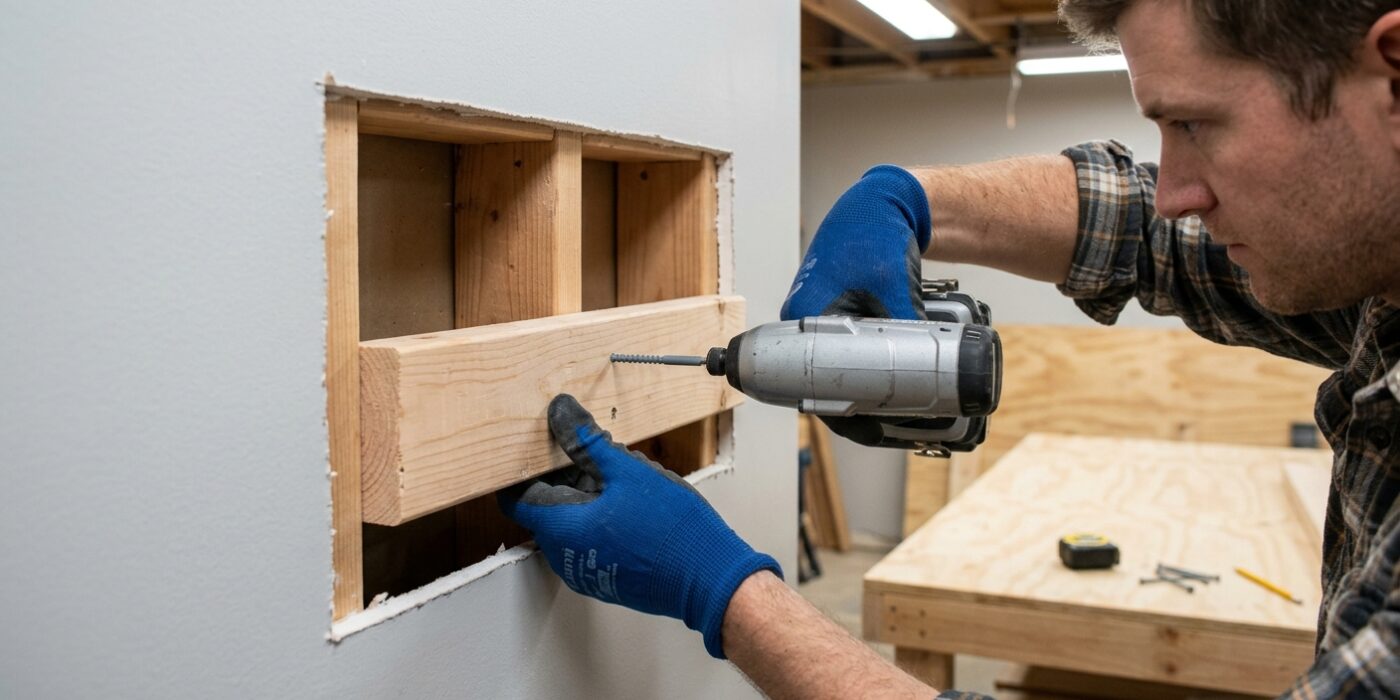
If you need to add support behind drywall that is already installed – such as for a towel bar or heavy shelf – you will perform a “retrofit.” First, use a stud finder to locate your studs. Carefully cut a rectangular hole in the drywall between them at the exact height where you need support. Slide a piece of 2×4 lumber into the hole, turning it so it sits flush against the back of the drywall. Secure it by driving drywall screws through the existing wallboard and into the ends of the 2×4. By creating this internal bridge, you provide a solid “anchor” for your future hardware, preventing it from pulling loose or cracking your paint.
Beginner Tip: When cutting your hole, set your utility knife or drywall saw to a shallow depth. You only want to cut through the half-inch thickness of the drywall, not into any hidden electrical wires or plumbing pipes that might be running inside the wall cavity.
Alternative Method: If you are nervous about cutting large holes in your wall, you can use heavy-duty toggle bolts. These special fasteners feature metal “wings” that spring open behind the drywall once inserted, creating a secure grip. While not as strong as a wood 2×4 block, they are perfectly sufficient for lightweight items and require only a small hole the size of the bolt itself.
Pro Tip: Keep the piece of drywall you cut out! You can use it to patch the hole later by screwing it onto the new backing you just installed, saving you from having to buy a whole new sheet of drywall for a tiny repair.