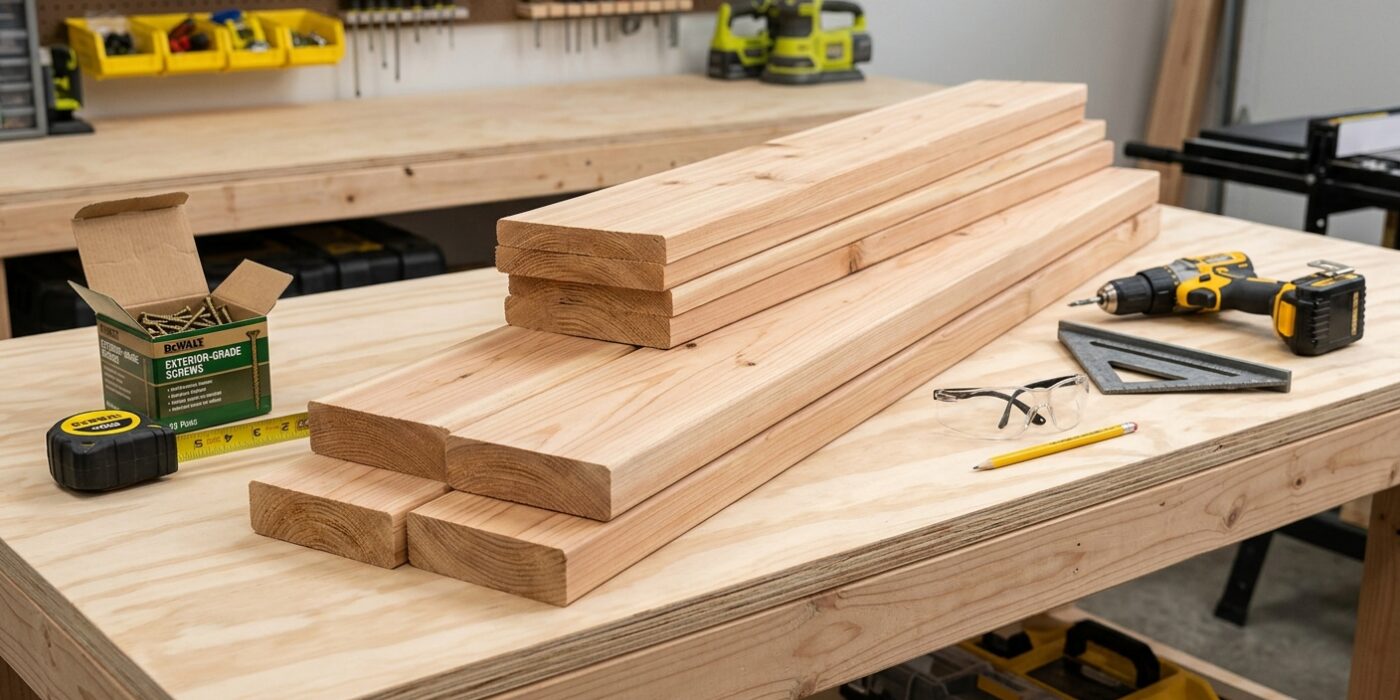
Project Shopping List
What You Will Build
A sturdy, rot-resistant raised garden bed that will last 10+ years. This project uses cedar boards for natural rot resistance and requires no special tools beyond a drill and saw.
Step 1: Cut Your Lumber
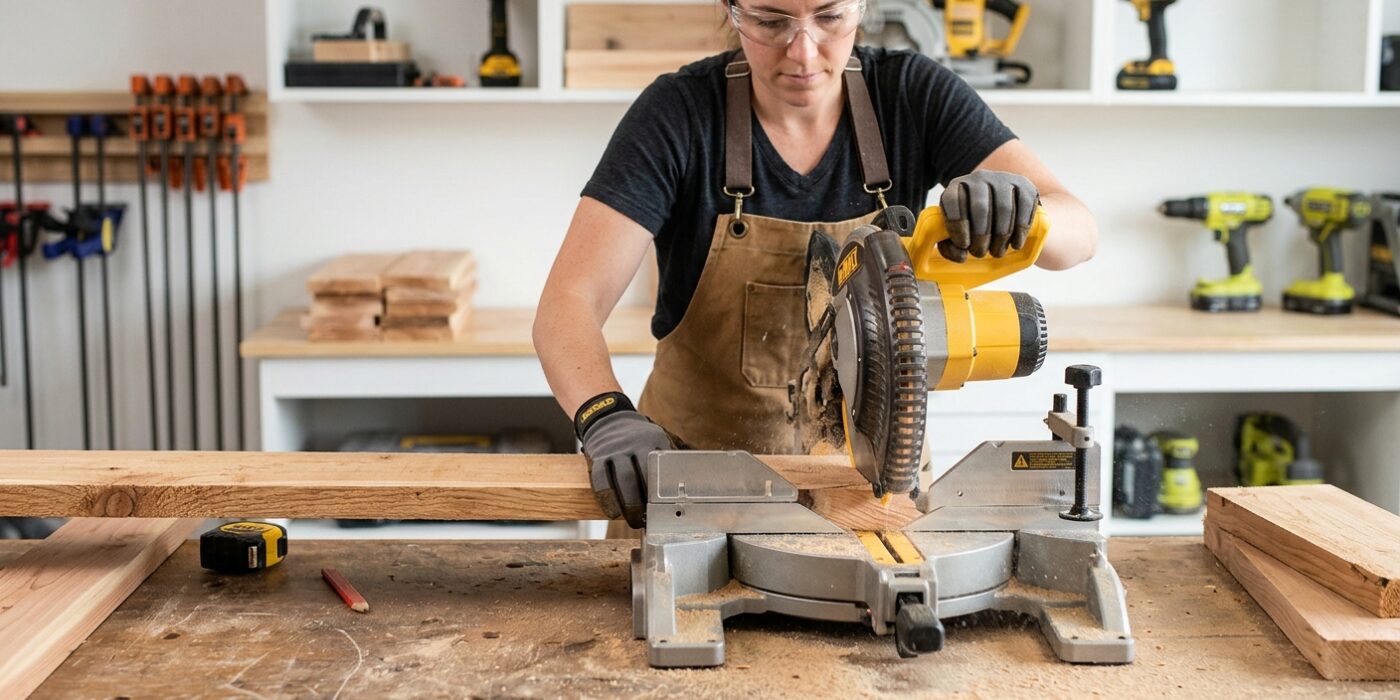
For your first step, we are going to cut your lumber to size. You will need four 8-foot cedar 2×8 boards for the long sides and four 4-foot boards for the ends. We choose cedar because it is naturally resistant to rot and insects, meaning you won’t have to worry about applying harsh chemical sealants. Plus, it smells incredible while you cut it! Using a miter saw, set your blade to a perfect 90-degree angle. Measure your boards carefully, mark your cut line with a pencil, and double-check your measurement before you pull the trigger. Precision here ensures your corners will fit together snugly later.
Beginner Tip: A common mistake is forgetting to account for the “kerf,” which is the width of the saw blade itself. If you mark your cut exactly at the 4-foot line and cut on the wrong side of that mark, your board will end up slightly shorter than you intended. Always align your blade so it cuts on the “waste side” of your pencil line, leaving your measurement intact.
Alternative Method: If you do not own a power miter saw, do not worry! Most home improvement stores offer a professional cutting service. Simply bring your lumber list to the store associate, and they can make these straight, accurate cuts for you for free or a very small fee. This ensures your boards are perfectly square without requiring you to buy or operate expensive machinery.
Pro Tip: To keep your cuts consistent, cut one board to the desired length first, then use it as a physical template to mark the other boards. Lining up the ends of the boards and tracing the template is much faster and more accurate than measuring each piece individually with a tape measure.
Step 2: Assemble the Frame
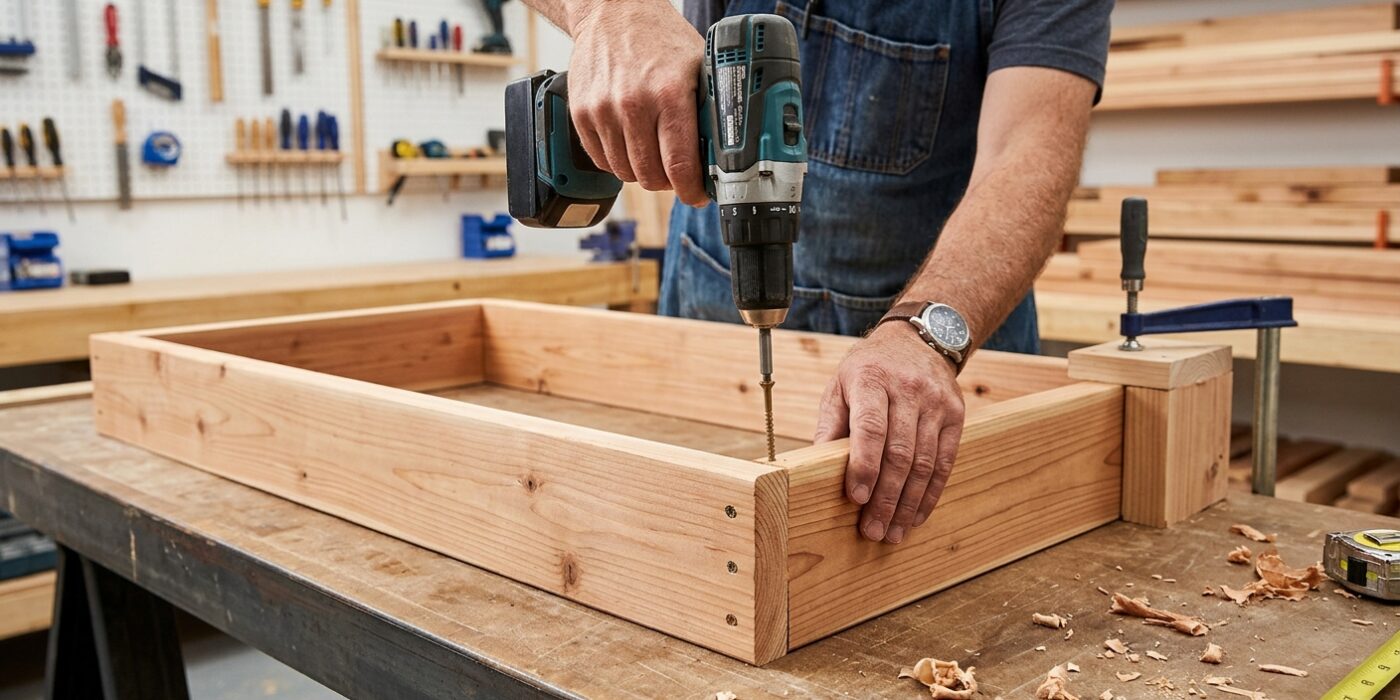
Now that your cedar boards are cut to size, it is time to build the frame. Start by standing two boards on their edges to form a 90-degree corner. Before driving your 3-inch exterior screws, use a drill bit slightly smaller than the screw shank to create two pilot holes at each joint. Pre-drilling is essential because it prevents the cedar from splitting under the pressure of the screw. Place the pilot holes about one inch from the top and bottom edges of the board.
As you attach each side, check that your corners are perfectly square. You can verify this by measuring diagonally from corner to corner; if the two diagonal measurements are equal, your frame is square. Secure each joint with two screws, ensuring they are driven flush with the wood surface.
Beginner Tip: Avoid over-tightening your screws. Cedar is a relatively soft wood, and if you use a powerful drill on the highest torque setting, you might accidentally strip the screw head or crack the wood. Stop driving the moment the screw head is flush with the surface.
Pro Tip: To keep your frame perfectly square while working alone, use a corner clamp. This tool acts like an extra set of hands, holding the boards firmly in place at a perfect 90-degree angle so you can focus on drilling your pilot holes without the wood slipping or shifting.
Step 3: Add Corner Posts
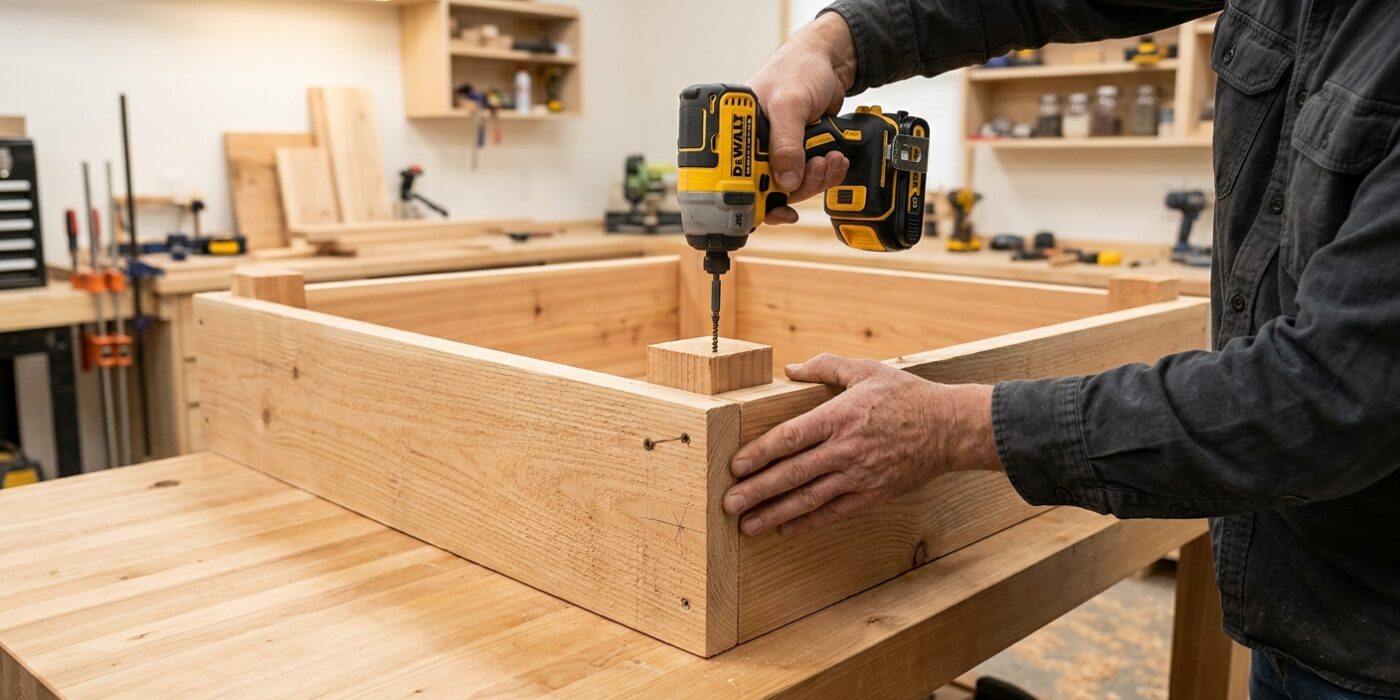
Now that your side boards are prepared, it is time to give your garden bed its structural backbone. You will need to cut four 12-inch sections from your 4×4 cedar lumber to serve as the corner posts. These posts act as the “bones” of your project, providing a solid anchor for your screws and ensuring the box remains square and sturdy against the pressure of heavy, wet soil.
Place one 4×4 post vertically into each inside corner of your frame. Align the outer faces of the boards so they are flush with the edges of your side walls. Using a drill with a screwdriver bit, drive three 3.5-inch exterior-grade deck screws through the side boards and directly into the center of the post at the top, middle, and bottom. Ensure the screws are driven deep enough so the heads sit flush with the wood surface.
Beginner Tip: A common mistake is splitting the wood by driving a screw too close to the edge. To prevent this, always pre-drill a “pilot hole” using a drill bit slightly smaller than the shank of your screw. This creates a clear path for the screw to follow and keeps your beautiful cedar from cracking.
Pro Tip: To ensure your frame is perfectly square before securing it, measure diagonally from one corner to the opposite corner. Adjust the frame until both diagonal measurements are exactly the same; once they match, your bed is perfectly square and ready to be locked in place.
Step 4: Place and Fill
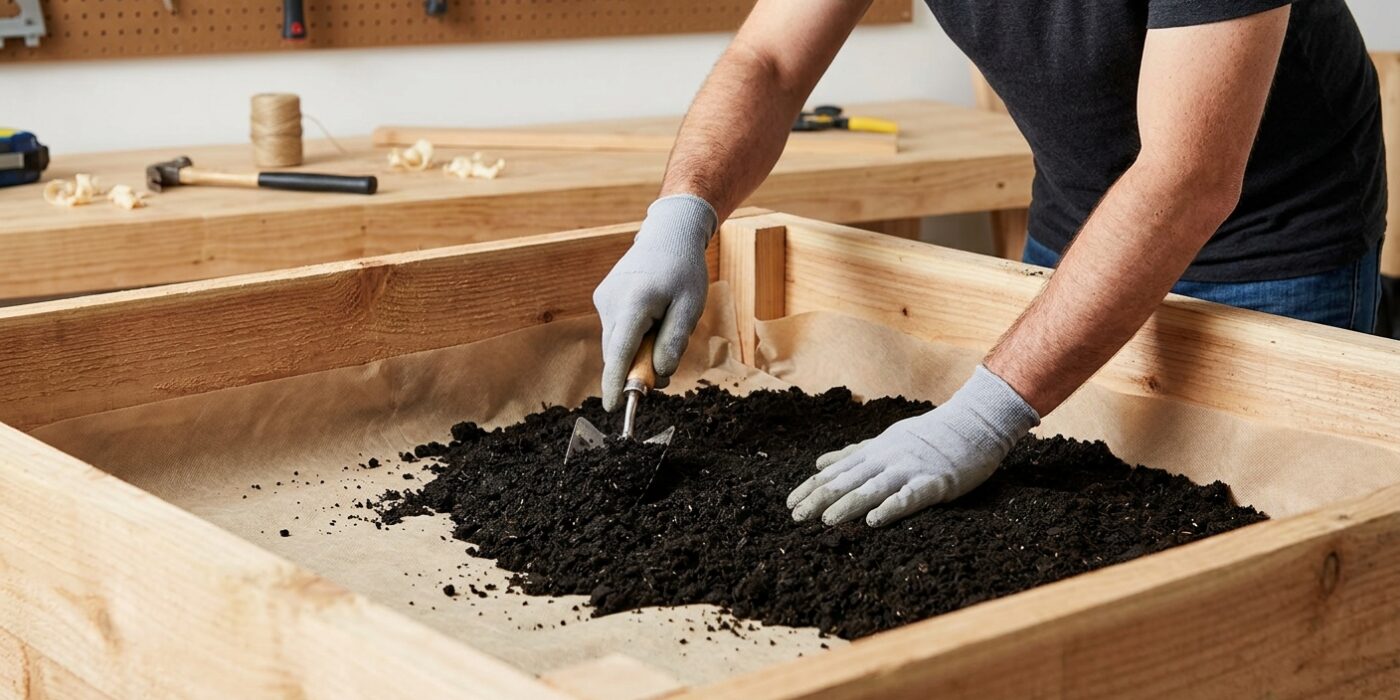
Now that your frame is assembled, it is time to move it to its permanent home. First, choose a level spot in your yard that receives at least six to eight hours of direct sunlight daily. If the ground is uneven, use a shovel to shave down high spots until your frame sits flat without wobbling. Before filling, line the entire bottom of the bed with a layer of plain, brown shipping cardboard. This simple step serves a vital purpose: it creates a barrier that smothers existing weeds and grass while eventually breaking down to enrich your soil.
Once the bed is positioned, fill it with a mixture of 60 percent high-quality topsoil and 40 percent organic compost. Aim to fill the bed to within two inches of the top rim to prevent soil from washing out during heavy rains. The nutrients in this blend provide the perfect foundation for your vegetables to thrive.
Beginner Tip: Avoid the mistake of compacting the soil as you add it. After you pour the dirt in, use a garden rake to gently level the surface rather than pressing it down with your feet. Loose soil allows roots to grow deeper and helps the bed drain properly.
Pro Tip: To make the filling process much easier on your back, place your bags of soil directly inside the empty frame before opening them. Once you slice the bags open, you can spread the soil outward, saving you from having to carry heavy loads across the yard.