Project Shopping List
A door that sticks is more than an inconvenience – in a fire or emergency, a door that won’t open freely is a hazard. Sticking happens for three distinct reasons: paint buildup, wood swelling from moisture, or hinge problems causing the door to sag and bind on the frame. Each requires a different fix, and applying the wrong one wastes time.
This guide walks you through diagnosing the cause first, then gives you the specific steps for each fix: light sanding for paint, planing or sanding for seasonal swelling, and hinge adjustment for sag. Most sticking doors are fixed in under two hours with basic tools.
What You’ll Need
Tools
- Hand plane or electric planer
- 80-grit and 120-grit sandpaper and sanding block
- Random orbital sander (optional, speeds up work)
- Screwdriver (Phillips and flathead)
- Utility knife
- Hammer and chisel (for hinge mortise work)
- Level
Materials
- Wood primer and matching paint or stain
- 3-inch #9 wood screws (for sagging hinge fix)
- Cardboard or playing cards (for shimming a hinge)
- Petroleum jelly or paste wax (for door edges)
Step 1: Identify Where It Sticks
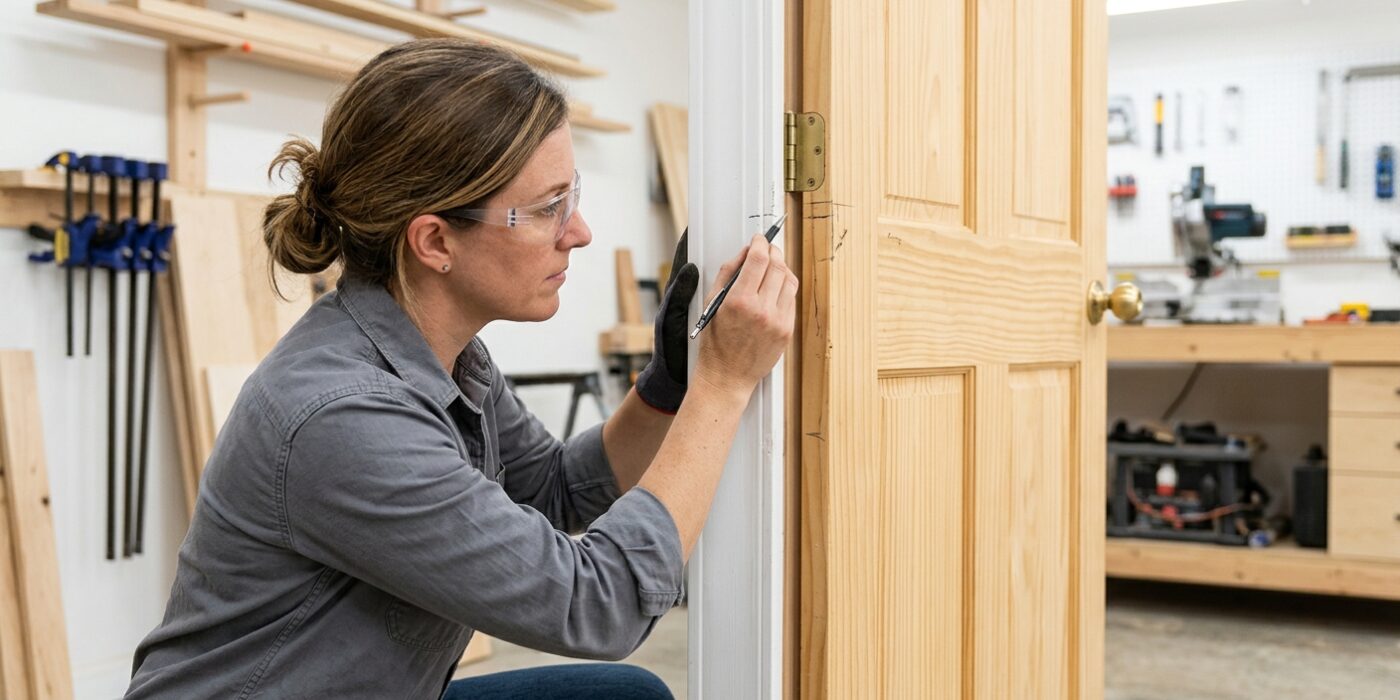
Before you pick up a single tool, you need to pinpoint the exact location of the friction. Start by slowly closing your door while watching the gap between the door and the frame. Often, the door will hit the jamb before it fully latches. To find the tighter areas you cannot see, take a standard piece of printer paper and slide it along the perimeter of the closed door. When the paper stops moving, you have found a binding spot. Use a pencil to draw a light line or an “X” directly on the door edge at these locations. Knowing exactly where the wood is rubbing prevents you from removing material where it isn’t needed, which keeps your door fitting snugly and prevents drafts.
Beginner Tip: Avoid the urge to grab your sandpaper or plane immediately. It is easy to accidentally remove too much wood, which creates an unsightly, permanent gap. Always start by marking your spots first; if you can’t see the marks clearly, you aren’t ready to start cutting.
Alternative Method: If you do not have paper handy, use a stick of white chalk. Rub the chalk along the inside edge of the door frame. When you close the door, the chalk will rub off onto the door edge exactly where the two surfaces are touching, leaving you with a perfect map of where to work.
Pro Tip: Check the hinges before you blame the door. Sometimes a door sticks simply because a hinge screw has loosened over time. Use a screwdriver to tighten every screw on the hinge plates first; you might find that the door realigns itself without needing any sanding at all.
Step 2: Check the Hinges
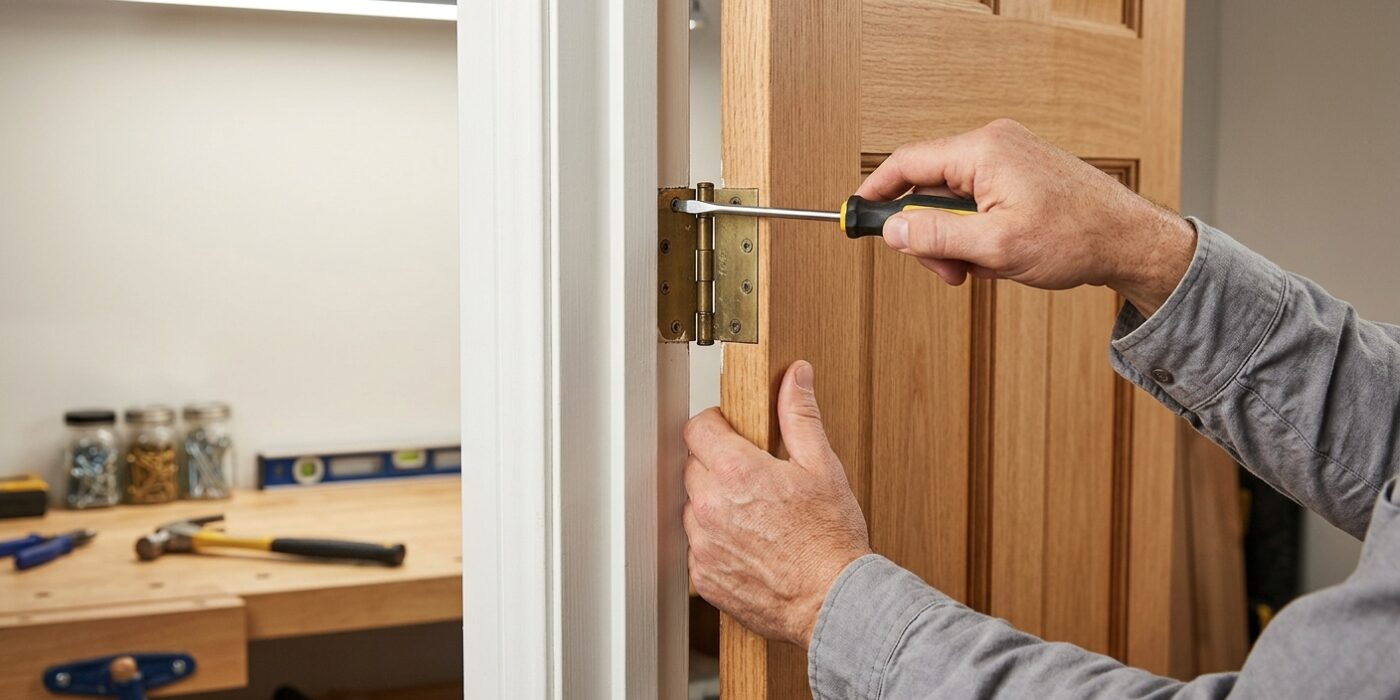
Before you start sanding or cutting your door, we need to make sure the problem isn’t just a loose connection. Open your door to a 90-degree angle and stand inside the frame. Look closely at the top hinge where the metal meets the wood. If you see a gap between the hinge plate and the door or the frame, your door has likely sagged over time.
Start by taking your screwdriver and tightening every screw on the top and middle hinges. Often, simply snugging these up will pull the door back into alignment and stop the sticking. If you find a screw that just spins in place without getting tight, it means the wood hole is “stripped.” To fix this, remove that screw and replace it with a 3-inch wood screw. The extra length allows the screw to bypass the door frame and bite into the solid structural stud behind it, pulling the door securely back into place.
Beginner Tip: Always use a manual screwdriver rather than a power drill for this step. It is very easy to accidentally strip the screw head or crack the wood frame if your drill is set to a high torque setting. Taking it slow by hand ensures the screw goes in straight and tight.
Pro Tip: If your door is still slightly sagging after tightening the screws, place a small wooden shim or a folded piece of cardboard behind the top hinge plate. This tiny adjustment pushes the top of the door out, effectively lifting the bottom corner away from the floor.
Step 3: Determine If It’s Paint Buildup
Before you commit to aggressive sanding or planing, it is important to check if your door is simply “stuck” on layers of dried paint. Over the years, repeated painting can turn a gap that used to be smooth into a thick, uneven ridge. Run your fingernail along the gap where the door meets the frame. If it feels bumpy or you see a thick lip of paint, you have found the culprit.
Start by using a utility knife to carefully score the line where the paint connects the door to the jamb. Hold the blade at a 45-degree angle, applying light pressure to cut through the paint “bridge.” Do this a few times until you see a clean line. Often, this is enough to let the door swing freely. If it still catches, wrap a piece of 80-grit sandpaper around a wooden block and gently sand the edge of the door, moving in smooth, long strokes to level out the high spots.
Beginner Tip: Avoid pressing too hard with your utility knife. You are trying to cut the paint, not carve a trench into the wood. Keep the blade flat against the edge of the door to ensure you do not accidentally gouge the surface.
Pro Tip: If you do not have a sanding block, wrap your sandpaper around a scrap piece of 2×4 lumber or even a sturdy plastic kitchen spatula. Using a flat, firm backing prevents your fingers from slipping and ensures you sand the door edge perfectly square rather than rounding it off.
Step 4: Address Seasonal Wood Swelling
If your door only struggles to close during humid summer months or rainy seasons, moisture is the culprit. Wood is a natural material that absorbs water from the air, causing it to physically expand and press against the door frame. The goal here is to create a tiny “breathing room” for the wood so it doesn’t rub, even at its most swollen state.
To fix this, identify the exact spot where the door binds by looking for scraped paint or scuff marks on the frame. Use a piece of 80-grit sandpaper wrapped around a small wooden block to keep your pressure even. Gently sand the high spot on the door’s edge, moving in long, smooth strokes. Your target is a consistent 1/8-inch gap – roughly the thickness of two stacked nickels – between the door and the frame. Sand a little, then close the door to check your progress. It is always better to sand away too little than too much!
Beginner Tip: Resist the urge to use a power sander for this job. Because the wood is only slightly swollen, a power tool will remove material much faster than you expect, potentially leaving you with an unsightly, permanent gap once the weather turns dry.
Pro Tip: Before you start sanding, run a piece of carbon paper or even a soft graphite pencil along the edge of the door. When you close the door, the binding area will leave a clear mark on the frame, showing you exactly where the friction is occurring so you don’t sand parts of the door that don’t need it.
Step 5: Plane the Door Edge (For Persistent Sticking)
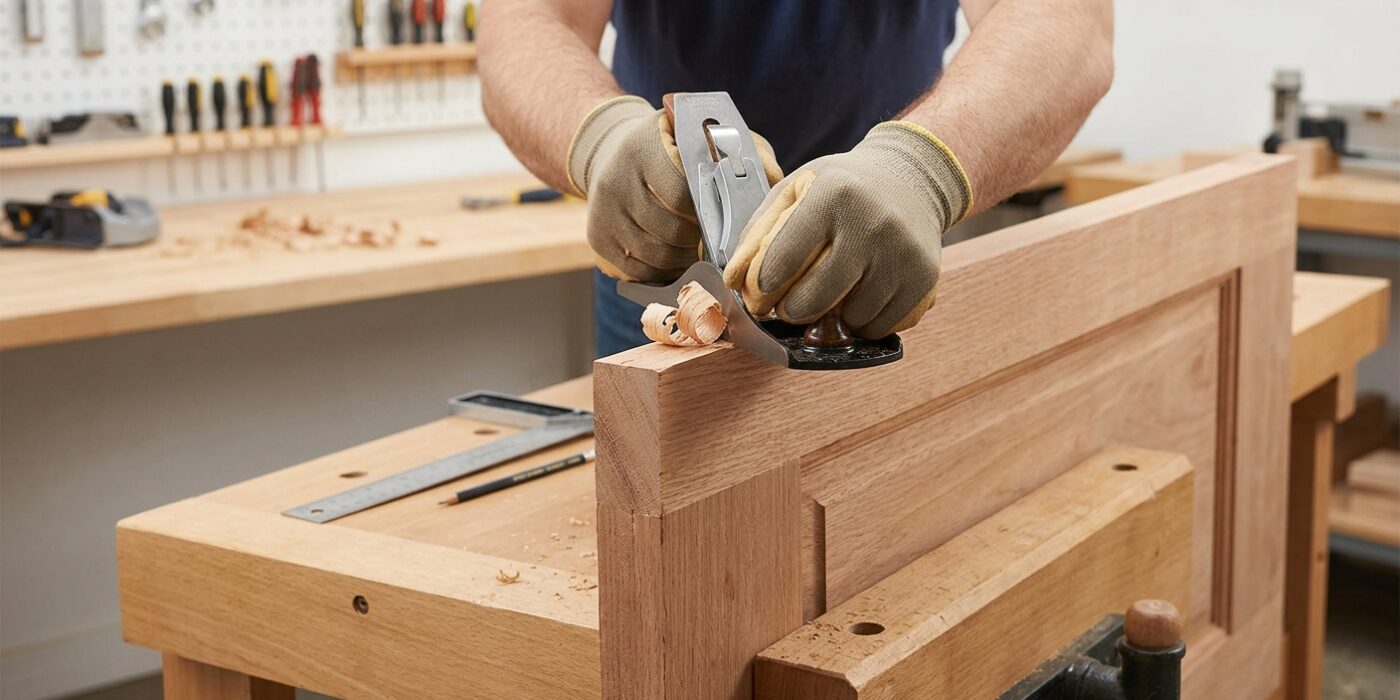
If your door still drags after checking the hinges, it is time to remove a tiny amount of material from the edge. Carefully tap out the hinge pins using a hammer and a nail set, then lay the door flat across two sturdy sawhorses. Using a hand plane, set the blade for a very shallow cut – no more than 1/64 of an inch. Work slowly, moving the plane along the wood grain to avoid splintering. The goal is a clean, uniform shave. After each pass, hold the door up to the frame to test the clearance. Always aim to remove less than you think you need; you can always shave off more, but putting wood back is nearly impossible. Once you achieve a smooth swing, apply a coat of primer to the raw edge immediately to seal it against humidity and prevent future swelling.
Beginner Tip: The most common mistake is planing too much at once. Take a single, light pass, test the fit, and repeat. It is better to make four thin passes than one thick one that leaves you with a unsightly gap between the door and the frame.
Alternative Method: If you do not own a plane, use a sanding block wrapped in 80-grit sandpaper. It takes more physical effort and time, but it offers excellent control and is much harder to “over-cut” than a power planer, making it perfect for smaller adjustments.
Pro Tip: To see exactly where the door is sticking, rub a piece of blackboard chalk along the edge of the door frame. When you close the door, the chalk will transfer to the high spots on the door edge, showing you exactly where you need to plane.
Step 6: Fix a Hinge That’s Set Too Deep (Over-Mortised)
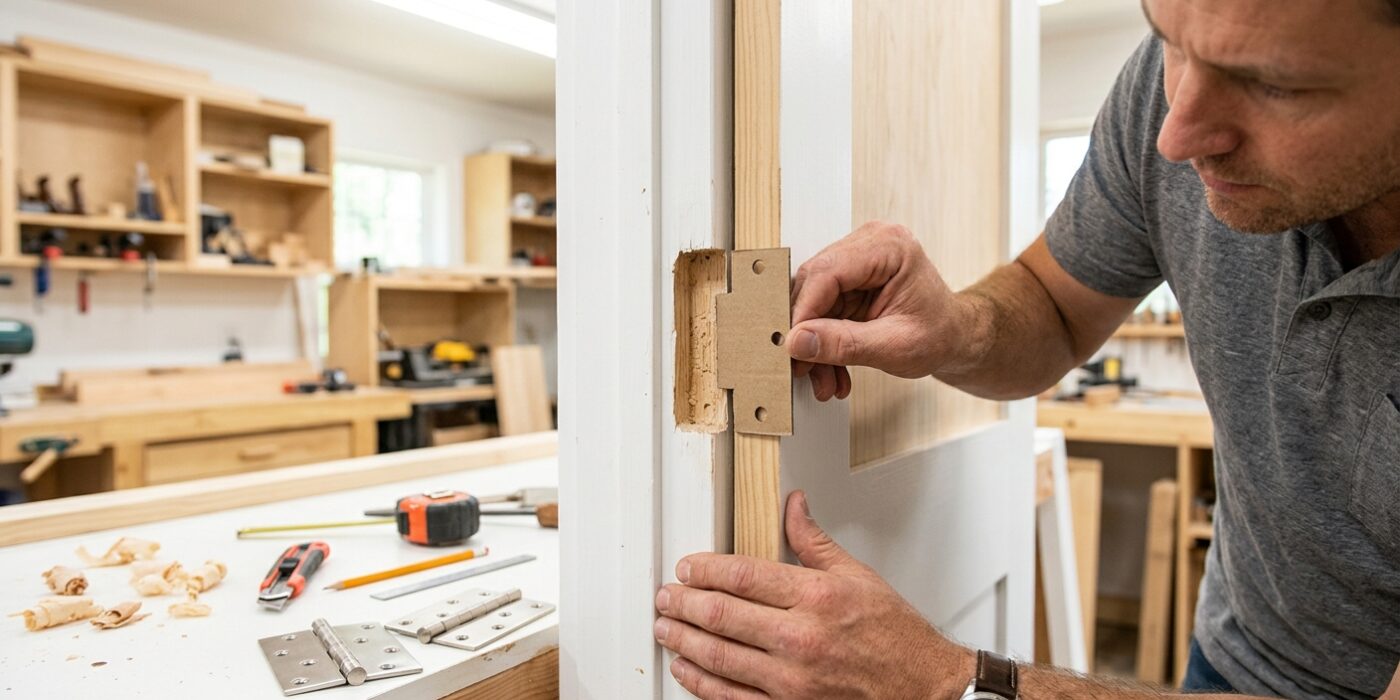
If your door is rubbing against the frame on the hinge side, the culprit is likely an “over-mortised” hinge. This means the rectangular cutout (the mortise) in the door frame is too deep, causing the metal hinge to sink in too far and pull the door tightly against the wood. To fix this, we need to create a simple spacer or “shim” to push the hinge back out to the correct position.
Start by unscrewing the hinge leaf from the door frame while supporting the weight of the door. Cut a piece of stiff cardboard – an old playing card or a cereal box works perfectly – to match the size and shape of the hinge plate. Place this shim into the mortise, then line the hinge back up over the holes and drive your screws back in. If the door is still rubbing, you may need to add a second layer, but ensure the hinge sits perfectly flush with the door frame surface when you are finished.
Beginner Tip: Do not overtighten the screws when reattaching the hinge. If the wood feels “mushy” or the screw just spins in place, the hole has been stripped. Simply remove the screw, insert a few wooden toothpicks dipped in wood glue into the hole, snap them off flush, and then re-drive the screw for a tight, secure hold.
Pro Tip: To keep your door aligned, only add shims to the top hinge first. If the door still binds, move down to the middle and bottom hinges, adding slightly thinner cardboard to those if necessary. Adding the bulk of your shim material to the top hinge often helps nudge the entire door away from the jamb without needing to tinker with every single hinge.
Step 7: Prime and Paint the Edges
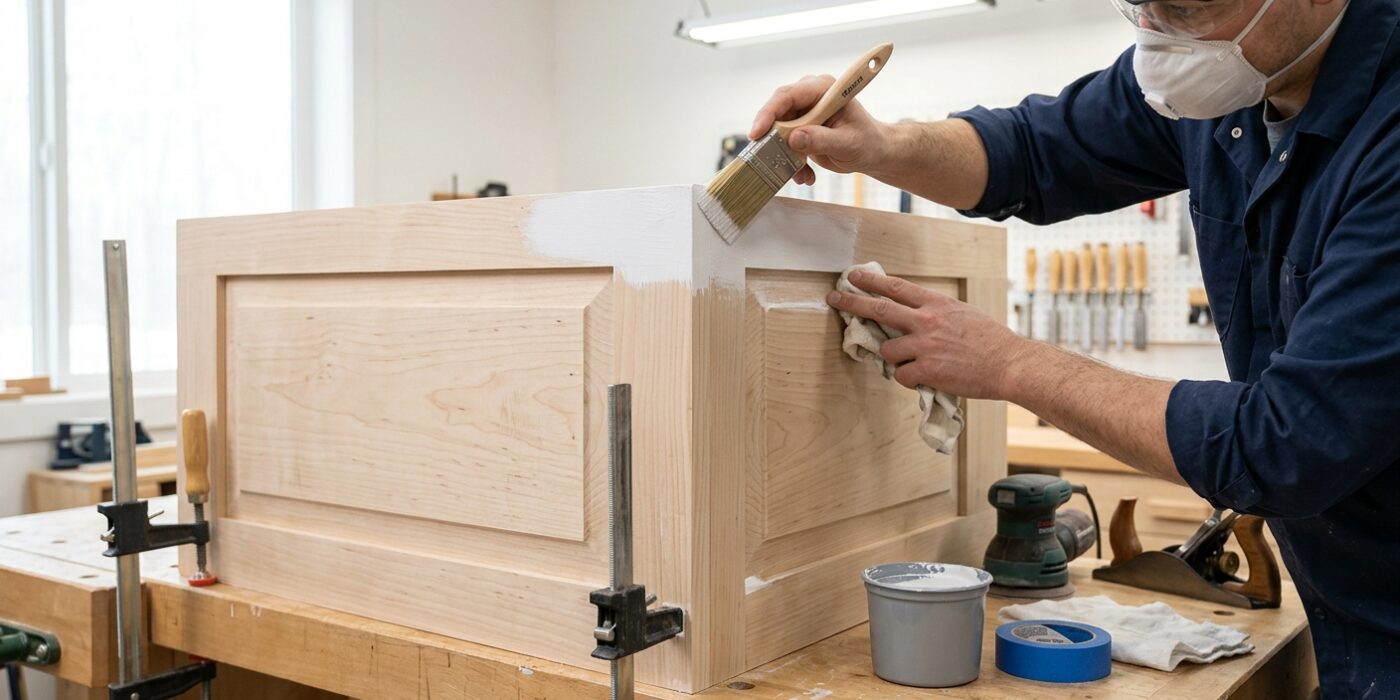
Now that your door fits perfectly, you need to seal it. When you sand or plane away wood, you expose raw, porous fibers that act like a sponge, soaking up humidity and causing the door to swell and stick all over again. To prevent this, apply a thin coat of oil-based primer to all sanded surfaces immediately. Once the primer is dry to the touch, follow up with a high-quality topcoat that matches your existing door color. Make sure to paint the top and bottom edges, too; these areas are often forgotten, yet they are the most vulnerable points for moisture to seep into the wood grain.
Beginner Tip: A common mistake is applying the paint too thick, which can lead to unsightly drips on the side of the door. Use a small, high-density foam roller or a narrow trim brush, and apply two thin coats rather than one heavy glob. This creates a much smoother finish and prevents the paint from creating a gummy “lip” that might cause the door to stick once it dries.
Alternative Method: If you do not have space to spread out a drop cloth or do not want to deal with messy liquid paint, you can use a high-quality, oil-based spray primer and paint. Use long, sweeping motions to keep the finish even, and be sure to use painter’s tape to protect the door hardware and the surrounding wall from overspray.
Pro Tip: Before you begin painting, run a piece of fine-grit sandpaper (220-grit) lightly over the area you just planed. This knocks down any stray wood fibers, ensuring the surface is silky smooth so your paint job looks professional rather than rough.