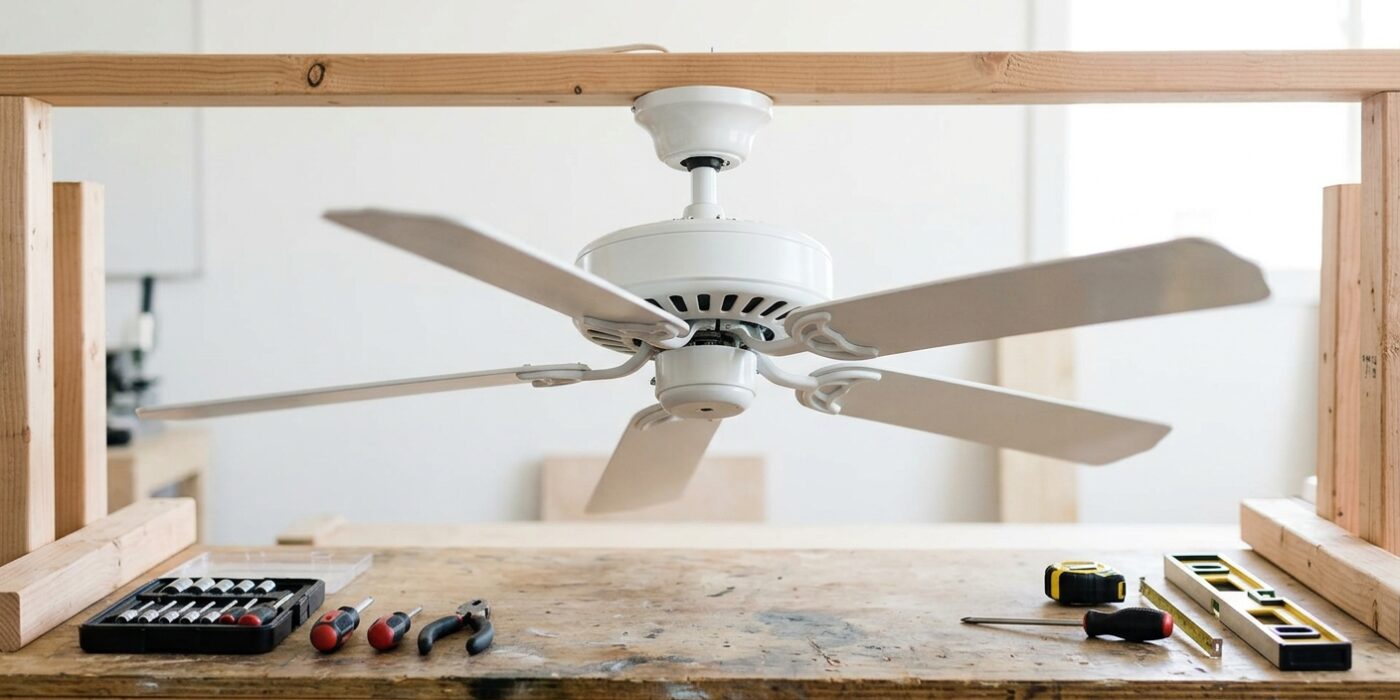
Project Shopping List
A wobbling ceiling fan is both annoying and potentially unsafe – an unbalanced fan creates stress on the mounting box and the fan motor over time. The wobble almost always has a simple mechanical cause: a loose mounting, a bent blade bracket, or uneven blade weight. It rarely means the fan itself is defective. Most wobbles are fixed in under 30 minutes without replacing any parts.
This guide walks through the three-step diagnostic process – check the mounting, check the blade brackets, then balance the blades – in order, which is the fastest way to find and fix the cause.
What You’ll Need
Tools
- Stepladder or step stool
- Phillips and flathead screwdrivers
- Nut driver or small adjustable wrench
- Tape measure or ruler
Materials
- Ceiling fan blade balancing kit (typically includes a plastic clip and adhesive weights) – usually $5–$8
- Replacement blade bracket (if one is bent) – specific to your fan model
- Loctite threadlocker Blue (for screw retention)
Step 1: Turn Off the Fan and Let It Stop
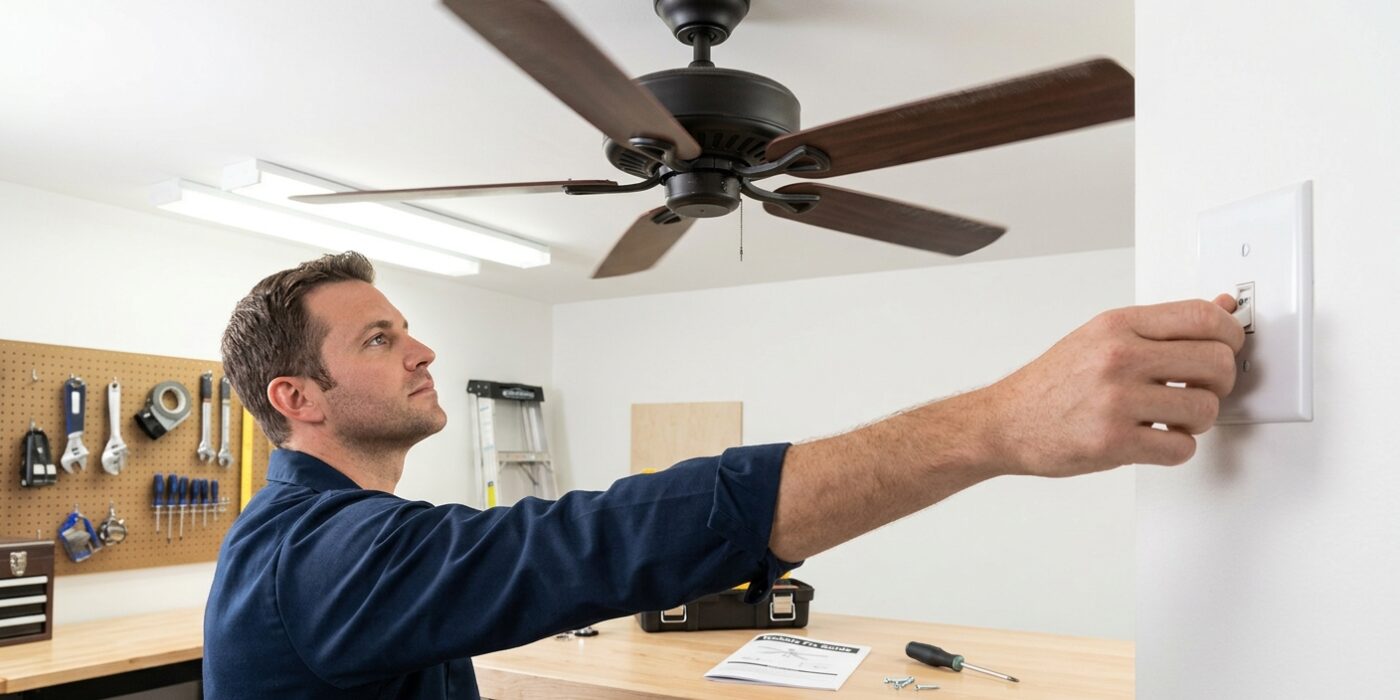
Before you climb that ladder, the most critical step is ensuring your ceiling fan is completely powered down and motionless. Start by flipping the wall switch to the off position or using your remote to kill the power. Once you do this, watch the blades carefully; they can coast for several minutes due to momentum. Wait until they have come to a total, absolute stop. If you plan on checking the electrical housing or tightening internal wiring, head to your home’s main service panel and flip the circuit breaker corresponding to the fan to the off position. This adds a vital layer of safety, ensuring no one accidentally flips the switch while your hands are near the internal components.
Beginner Tip: A common mistake is assuming that because the light on the fan is off, the motor is also off. Always double-check that the fan blades are stationary by looking at them from a side angle, as they can sometimes spin slowly enough to be deceptive from directly underneath.
Pro Tip: Place a piece of painter’s tape across the wall switch once you have turned off the circuit breaker. This simple visual cue acts as a reminder for family members not to flip the switch back on while you are mid-repair, keeping your workspace secure and helping you focus on the task at hand without any surprises.
Step 2: Check the Mounting Bracket
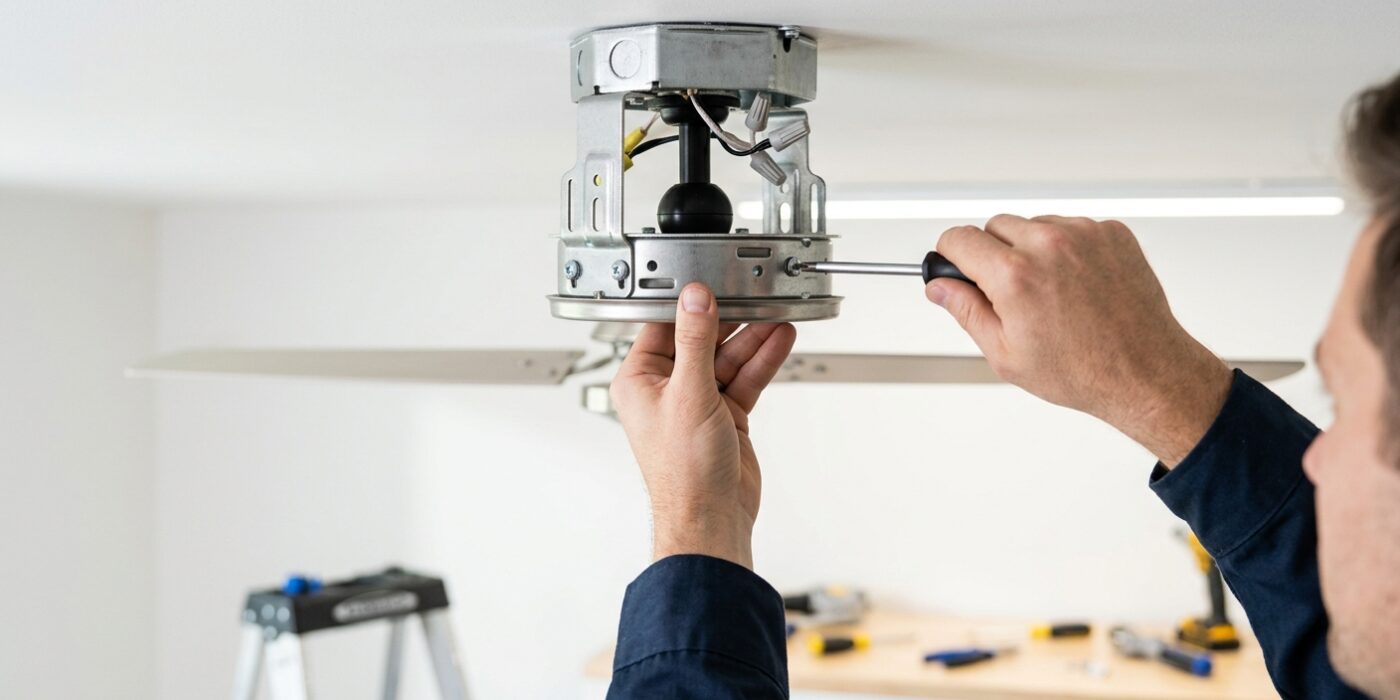
The mounting bracket is the metal plate anchored to your ceiling that holds the entire weight of the fan. Over time, the constant vibration of the motor can cause the screws securing this bracket to the ceiling box to back out just a fraction of an inch. Even a tiny gap here acts like a loose hinge, causing the whole fan to sway.
Start by sliding the decorative canopy cover down the fan pole to expose the bracket. Once you can see the screws, use a screwdriver to firmly tighten each one. If any screw feels like it is spinning without catching, check the mounting box inside the ceiling; it may be loose and require a sturdier connection. After tightening, apply a small drop of Loctite Blue to the threads. This semi-permanent adhesive acts like a liquid lock, preventing future vibrations from loosening the screws again while still allowing for easy removal if you ever need to replace the fan.
Beginner Tip: Avoid over-tightening the screws to the point of stripping the heads. You want them snug and flush against the bracket, but once you feel a firm resistance and the bracket no longer shifts, stop turning. Using too much force can damage the ceiling box or the screw threads.
Pro Tip: If you find it difficult to see the mounting screws behind the fan motor, use a smartphone camera or a small handheld inspection mirror to look at the bracket from underneath. It is much easier than standing on a ladder and craning your neck at an awkward angle.
Step 3: Check That the Electrical Box Is Rated for Fans
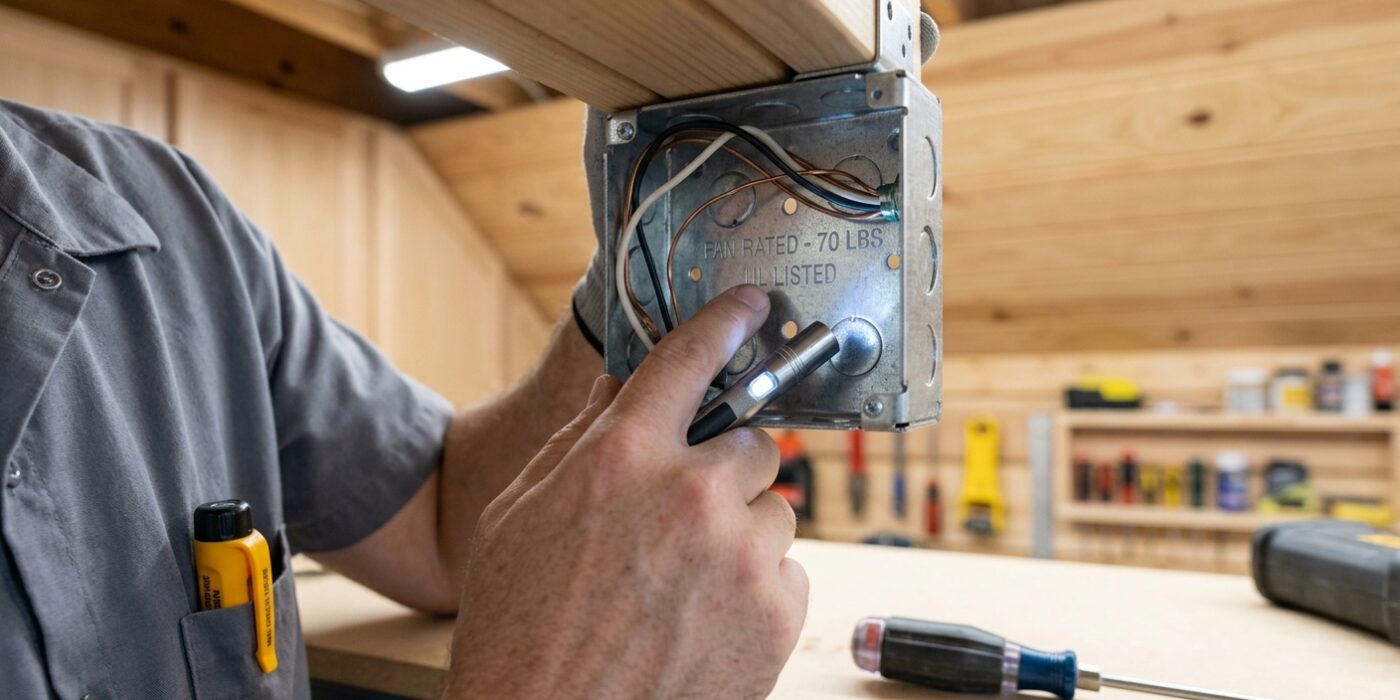
Your ceiling fan is heavy, and it moves constantly while spinning. If it is attached to a standard box meant for a lightweight light fixture, the box will flex and vibrate, causing that annoying wobble. To check your setup, gently remove the decorative canopy – the round cover against the ceiling – by unscrewing the small side screws. Once you look inside, you should see a sturdy, metal electrical box firmly attached to your ceiling joists.
Look closely for a stamp or sticker on the inside of the metal box that says, “Acceptable for Fan Support.” If you see thin plastic, small plastic tabs, or if the box feels loose when you give it a gentle wiggle, it is not rated for a fan. A fan-rated box is essential because it is built to handle the constant torque and weight of the motor. If your current box is not rated for fans, you will need to install a heavy-duty fan brace, which connects securely to the wooden beams in your ceiling.
Beginner Tip: Avoid the mistake of trying to “tighten” a non-rated plastic box by adding extra screws. Plastic boxes are brittle and simply cannot support the mechanical stress of a spinning fan; if it isn’t rated for a fan, the only safe option is to replace it entirely.
Pro Tip: If you are unsure what you are looking at, use your smartphone to take a clear, flash-enabled photo or video inside the canopy. It is much easier to zoom in on a screen and read the safety markings than it is to crane your neck and read tiny text while standing on a ladder.
Step 4: Check Every Blade Bracket Screw
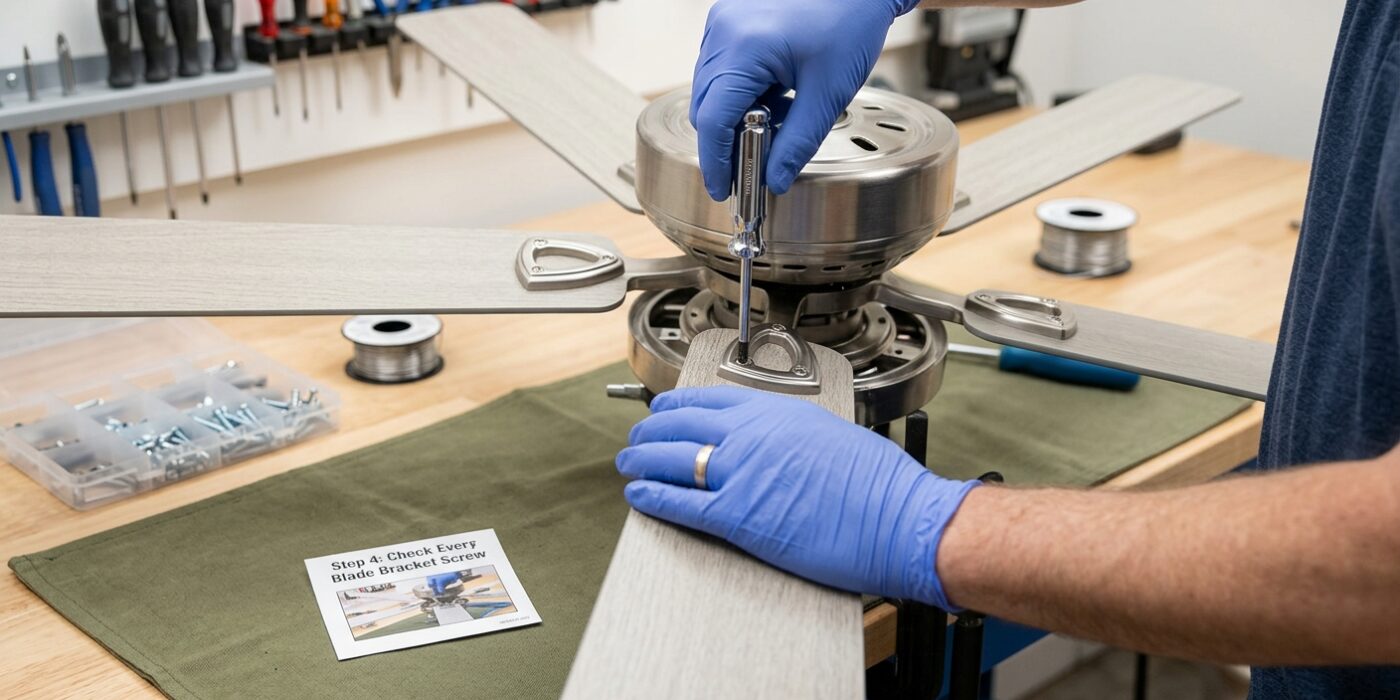
Now that you have confirmed the fan is turned off, it is time to check the hardware. Each blade is attached to a metal arm called a blade bracket, which then secures to the motor housing. Over time, the natural vibration of the spinning fan can cause these screws to work themselves loose, throwing the entire fan out of balance. Using a Phillips-head screwdriver, tighten every single screw you see at both connection points: where the blade meets the bracket and where the bracket meets the motor.
As you tighten, apply firm, steady downward pressure into the screw head while turning clockwise. You are aiming for a snug fit – do not over-tighten to the point of stripping the screw head or cracking the blade material. A firm “stop” is all you need.
Beginner Tip: A common mistake is using a screwdriver that is too small for the screw head. If the tool slips out of the groove, stop immediately. Using the wrong size can “strip” the metal, making it impossible to tighten or remove the screw later. Always ensure your screwdriver fits snugly into the cross-shaped slot before applying force.
Pro Tip: If you are struggling to reach the screws located on the top side of the motor, use a smartphone camera or a small handheld mirror. Holding these near the bracket allows you to see the screw heads clearly without needing to stand on your tiptoes or strain your neck at awkward angles.
Step 5: Check for Bent Blade Brackets
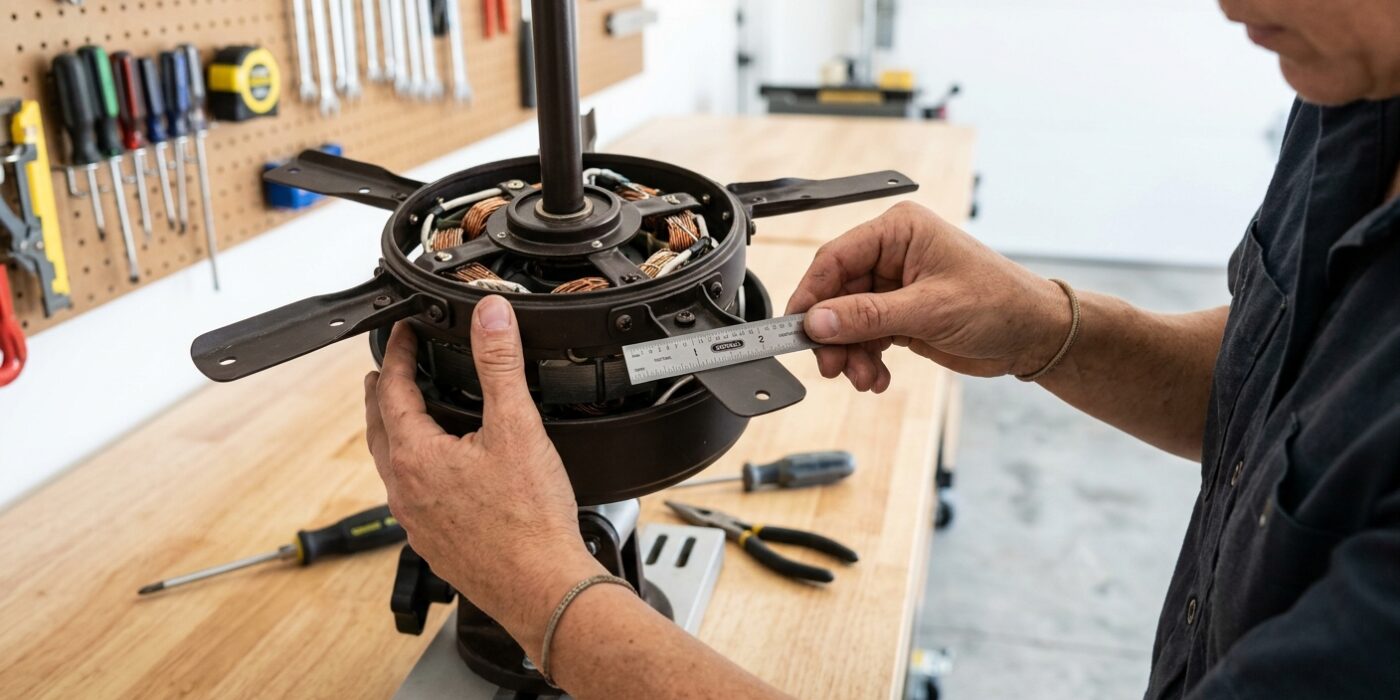
Now that you have confirmed your fan blades are securely tightened, it is time to check for any unevenness, which is a common cause of wobbling. Grab a ruler or tape measure and carefully stand on your ladder so your eyes are level with the fan blades. Measure the exact distance from the ceiling to the very tip of each blade. Every blade should sit at the same height, ideally within 1/8 of an inch of the others. If one blade is significantly higher or lower, the metal bracket holding it in place is likely bent.
To fix this, gently grip the metal bracket firmly and apply slow, steady pressure to nudge it back into alignment. If you notice any cracks in the metal or if the bracket feels too rigid to move, stop immediately. Attempting to force a steel bracket can cause it to snap; in this case, it is much safer to look up your fan’s model number online and order a replacement bracket instead.
Beginner Tip: Avoid measuring to the middle of the blade. Because the bracket is the pivot point, any slight tilt at the base becomes a much larger, more visible gap at the tip. Always measure to the outermost edge to get the most accurate reading.
Pro Tip: To get a perfectly level measurement without guessing, tape a pencil to the end of a long stick or yardstick so the lead just touches the top of a blade. Rotate the fan by hand and see if the pencil touches the other blades at the same spot; if it misses, you have found your culprit!
Step 6: Balance the Blades with a Balancing Kit
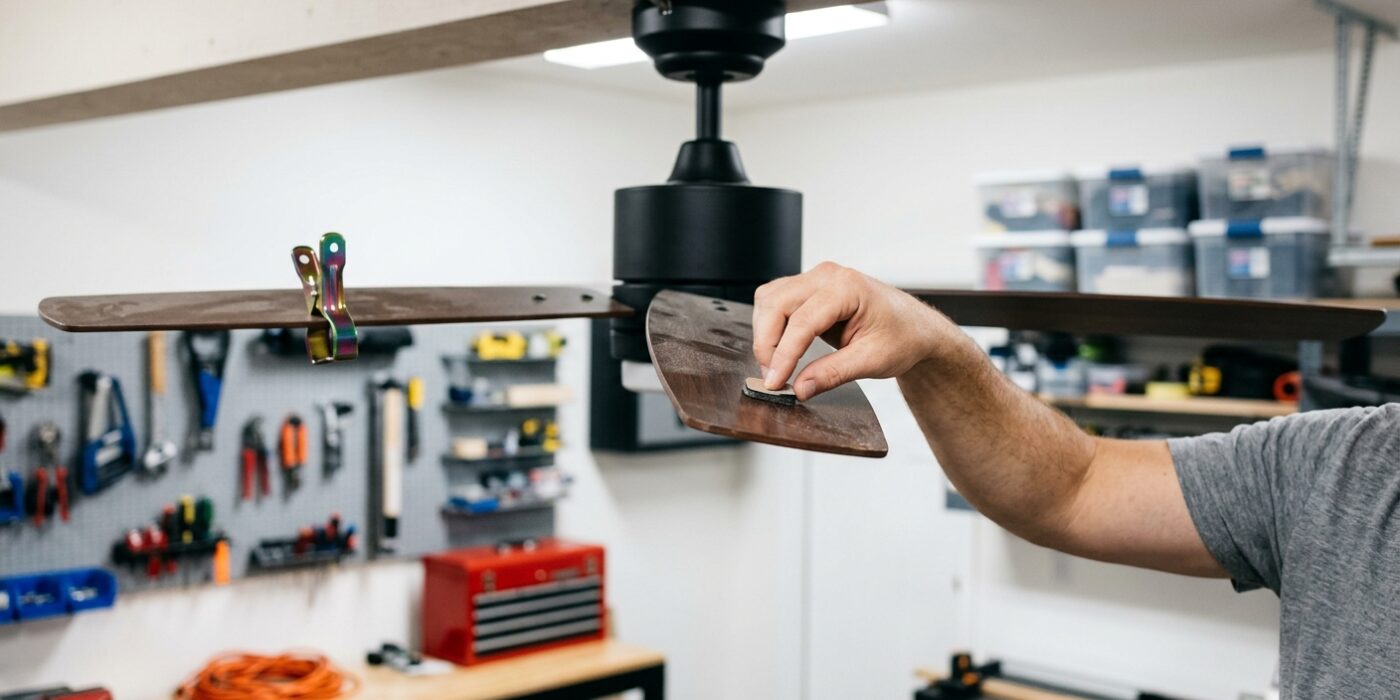
If your fan is securely mounted but still wobbles, a slight difference in weight between the blades is likely the culprit. To fix this, you will use a balancing kit, which includes a plastic clip and an adhesive-backed weight. First, run your fan on the highest speed and watch it from the side to identify the blade that seems to be dipping or lagging. Turn the fan off completely and wait for it to stop spinning. Slide the plastic clip onto the trailing edge of that blade, exactly at the midpoint. Turn the fan back on and observe; if the wobble persists, turn it off again and move the clip a few inches toward the tip or the hub. Continue this trial-and-error process until the fan runs smoothly. Once you find the perfect position, peel the backing off the provided adhesive weight and stick it firmly to the top surface of the blade, directly in line with where the clip was positioned. Remove the plastic clip, and your fan is perfectly balanced.
Beginner Tip: Never try to adjust the clip or tighten any hardware while the fan is in motion. It is tempting to make micro-adjustments while the motor is spinning, but this is dangerous and makes it impossible to accurately gauge the center of balance.
Pro Tip: Before you begin, give all the blades a thorough cleaning. A thick layer of dust on one side of a blade can act like a heavy weight, causing an imbalance that mimics a mechanical issue. Often, a simple dusting is all it takes to stop the wobble without needing the kit at all.