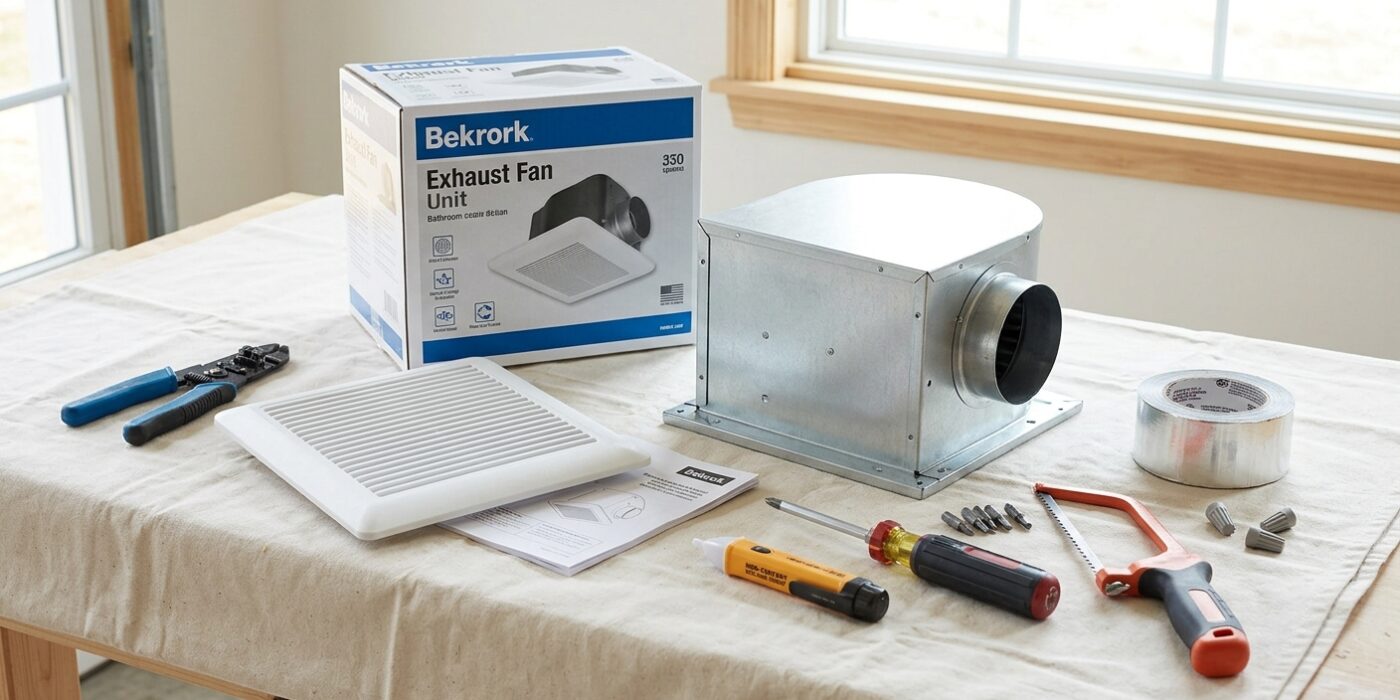
Project Shopping List
A bathroom exhaust fan that’s slow, noisy, or simply never worked well is a major contributor to bathroom mold – moisture accumulates on walls, behind mirrors, and in grout when ventilation is inadequate. Replacing an exhaust fan is one step above beginner: you’ll work in the ceiling, connect a couple of wires, and route or reconnect ductwork. Most homeowners can do it in 2–3 hours, and the result is dramatically better ventilation with a quieter, more efficient fan.
This guide assumes you’re replacing an existing fan in the same location and using the same duct connection. Installing a fan where there was none previously is more involved (requires cutting a new ceiling hole and running ductwork) and is covered in a separate guide.
What You’ll Need
Tools
- Voltage tester (non-contact type)
- Flathead and Phillips screwdrivers
- Drill and bits
- Utility knife
- Attic access or stepladder to ceiling height
- Flashlight or headlamp
Materials
- Replacement exhaust fan (match or exceed CFM of original; 50 CFM minimum for bathrooms under 50 sq ft, 80–110 CFM for larger bathrooms)
- Foil HVAC tape (not duct tape – cloth tape fails in heat)
- Wire nuts (usually included with fan)
- 4-inch flexible duct (if reusing existing, inspect it first)
Step 1: Buy the Right Replacement Fan
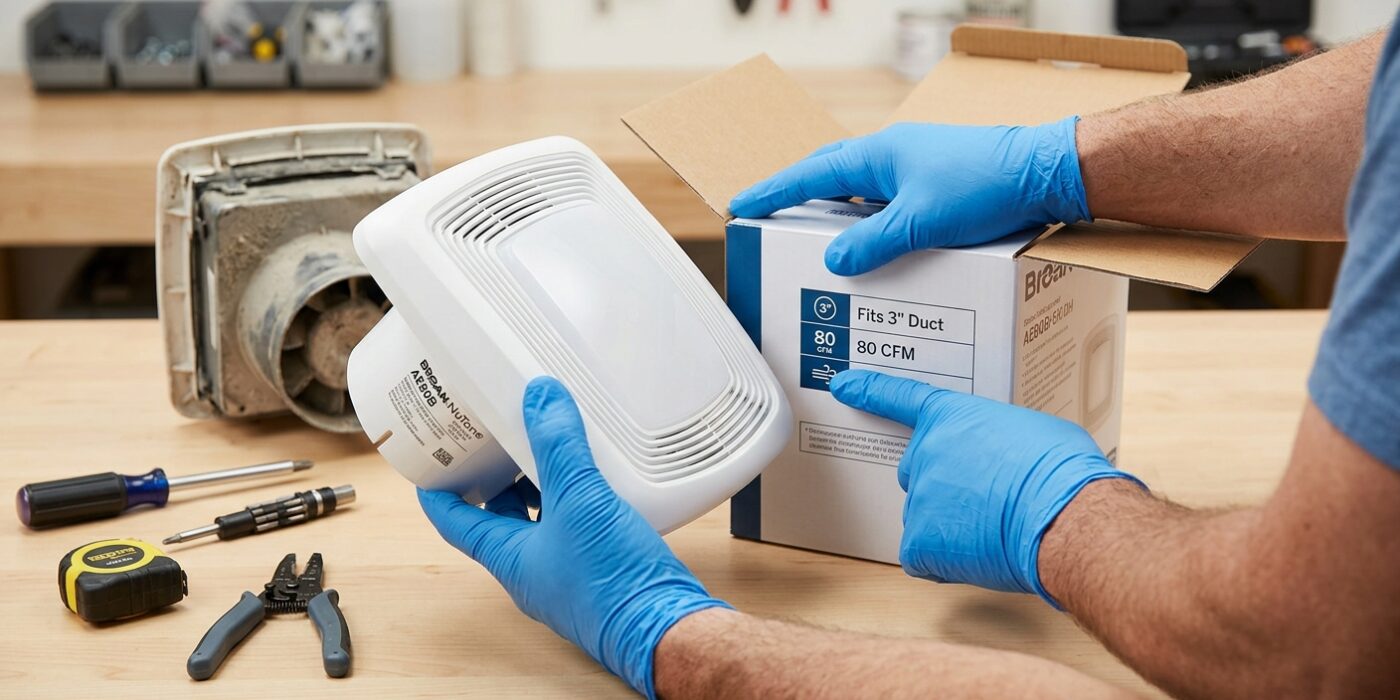
Before you rush to the store, take a moment to measure your bathroom. You need a fan that can effectively clear moisture to prevent mold, which is why we use the CFM (cubic feet per minute) rating. Simply multiply your bathroom’s length by its width and height, then multiply that total by 0.13 to find your minimum required CFM. Most standard bathrooms require between 50 and 110 CFM.
Next, check the existing ductwork in your attic or ceiling. The standard duct diameter is 4 inches; if your current pipe is smaller, you may need an adapter, but matching the size is always best for airflow. Finally, pay attention to the sone rating, which measures noise. A rating of 1.0 sone is whisper-quiet, while 3.0 is quite loud. Choosing a fan at 1.5 sones or less will make your bathroom feel like a peaceful sanctuary.
Beginner Tip: Avoid buying a fan based solely on the cheapest price tag. A fan that is too weak won’t pull enough moisture out of the air, leading to peeling paint and mold growth. Always prioritize the CFM rating over saving a few dollars.
Pro Tip: Before purchasing, measure the actual opening in your ceiling tile or drywall. While many fans are “standard,” buying a replacement with the exact same housing dimensions as your current model will save you from having to cut or patch your ceiling drywall entirely.
Step 2: Shut Off Power and Verify It’s Off
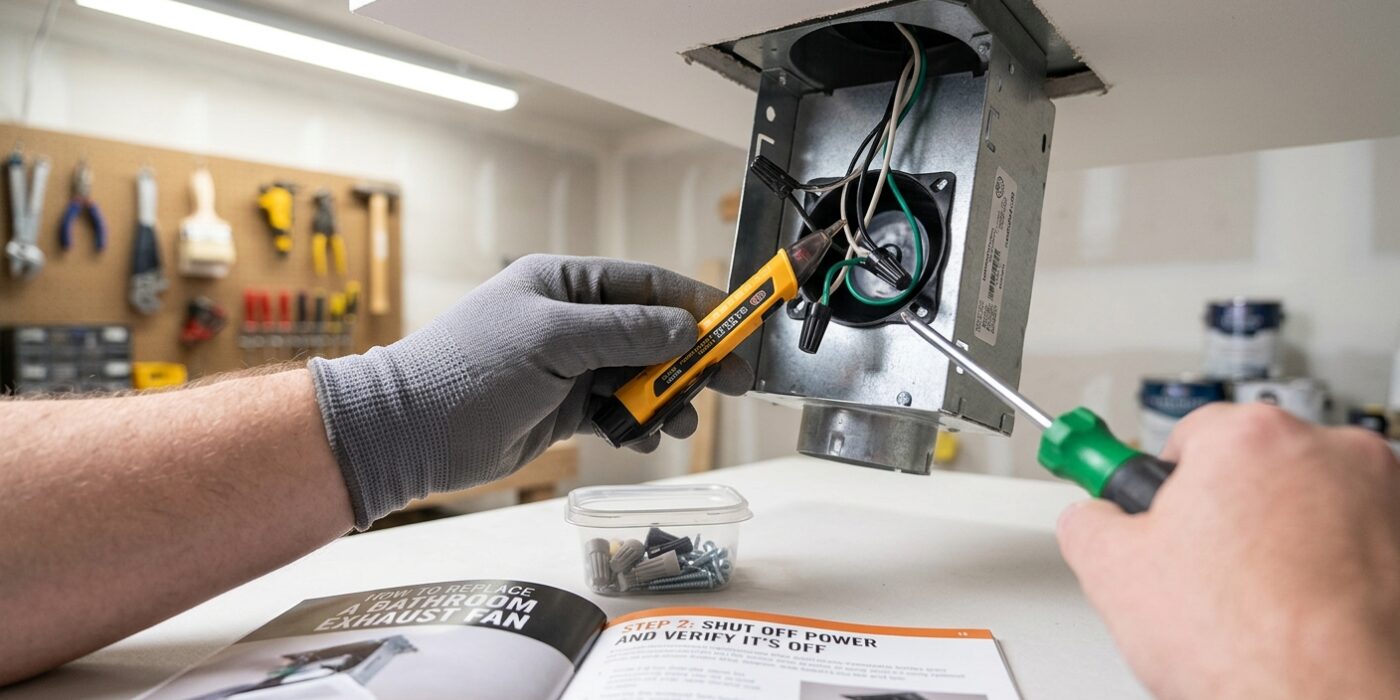
Before you touch any wires, you must eliminate the flow of electricity to your bathroom. Locate your home’s main electrical panel – usually a metal box in the garage, basement, or utility closet – and open the door to reveal the switches. Find the breaker labeled “Bathroom” or “Lights/Fans,” and flip it firmly to the “OFF” position. This physically breaks the circuit, ensuring power cannot reach your fan.
Next, head back to the bathroom and flip the wall switch for the exhaust fan several times to confirm it doesn’t turn on. Finally, use a non-contact voltage tester. Hold the tip of the tester near the wall switch wires or, if you have already opened the fan housing, near the wire nuts. If the tester glows red or beeps, electricity is still present. Keep searching your breaker panel until the tester remains completely silent. Never rely solely on the wall switch; it only cuts power to the light, not necessarily the constant power source entering the fan unit.
Beginner Tip: A common mistake is assuming that just because the fan isn’t spinning, the power is off. Some fans have separate wires for the light and the motor. Always test every exposed wire inside the fan housing individually to ensure no live current is hiding in a secondary circuit.
Pro Tip: If you aren’t sure which breaker controls the bathroom, plug a lamp into a bathroom outlet and turn it on. When you flip the correct breaker, the lamp will turn off. This visual confirmation saves you from making multiple trips back and forth to the panel.
Step 3: Remove the Old Fan
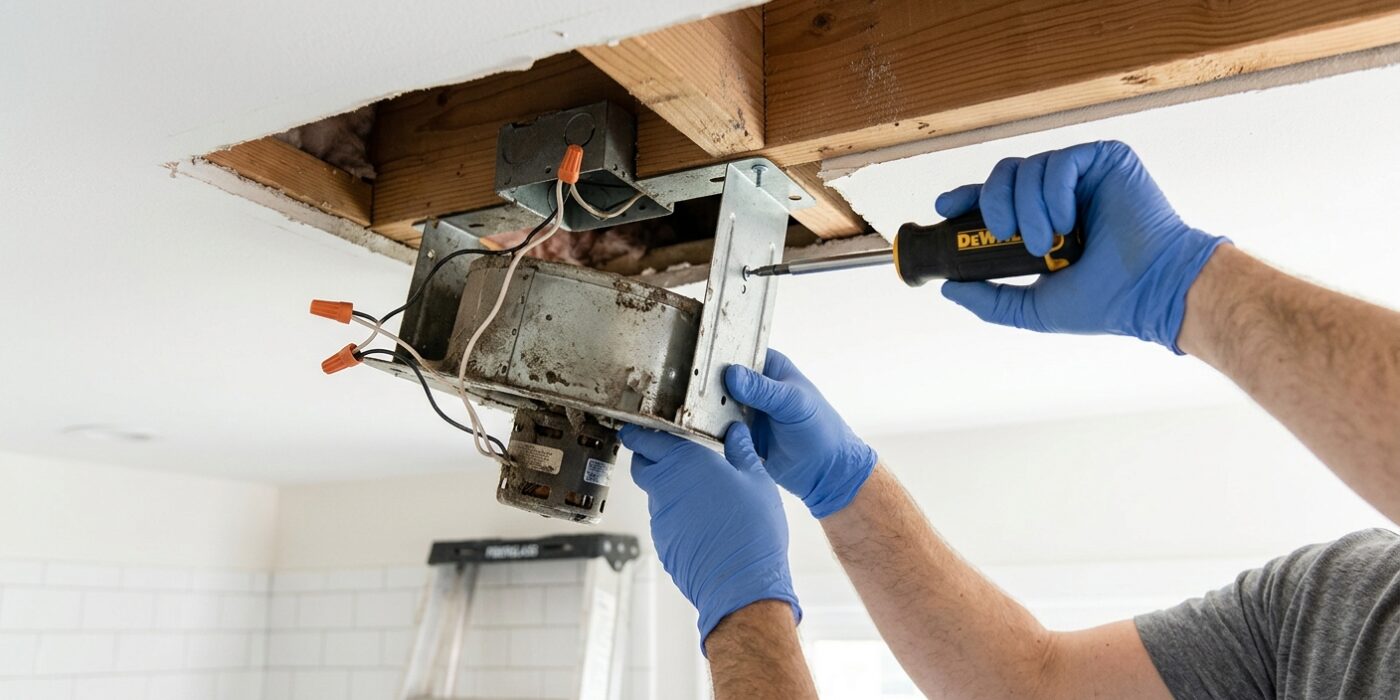
Now that the power is off, it is time to remove the old unit. Start by gently pulling down the plastic grille. You will see two metal spring clips shaped like a V; simply squeeze these together to release them from the slots in the housing. Once the grille is off, look inside for the power connection. If you see a small plastic plug, unplug it. If you see wires twisted together with plastic caps (wire nuts), unscrew the caps counter-clockwise and untwist the wires to disconnect them.
Next, locate the mounting screws attaching the metal housing to the wooden ceiling joist. Use a screwdriver or drill to remove these. As you unscrew the final piece, hold the housing steady with one hand so it does not drop unexpectedly. Keep the ductwork – the flexible or rigid tube attached to the side – connected as long as you can see it; this helps you understand exactly how the old system was vented before you take it down.
Beginner Tip: Before you fully remove the housing, take a quick photo of the wiring connections with your phone. Having a clear reference of which wire goes where will save you a massive headache when it is time to install the new fan later.
Pro Tip: Old bathroom fans often collect years of dust and debris. Before you start unscrewing, place an old towel or a drop cloth directly under the fan to catch any falling dust or insulation bits, keeping your bathroom floor clean.
Step 4: Disconnect the Ductwork
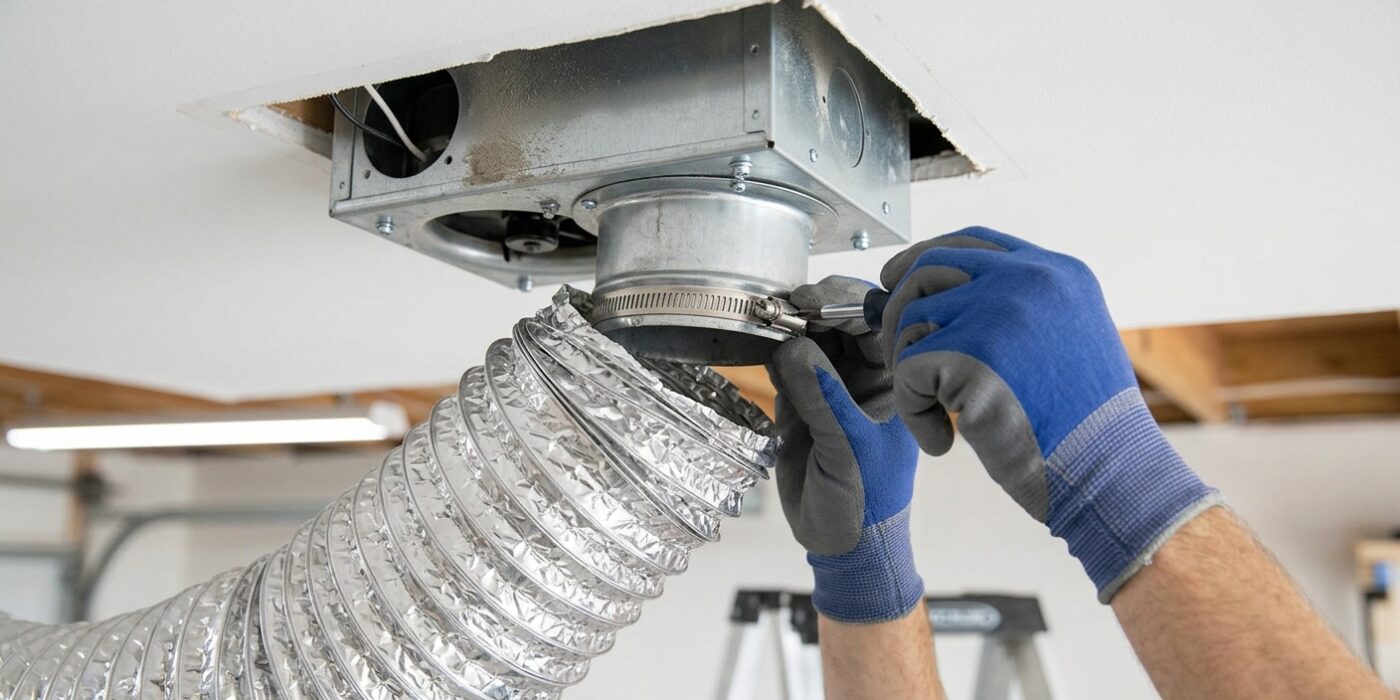
Now that your power is off and your unit is exposed, it is time to detach the flexible ducting from the fan housing. Most fans use a silver foil tape or a metal tension clamp to keep the duct securely attached to the exhaust port. Use a utility knife to carefully slice through the tape or a screwdriver to loosen the tension clamp, then gently wiggle and pull the ducting free from the port.
It is vital to inspect this duct thoroughly before installing your new fan. If you see signs of moisture pooling, mold, or tears, you must replace the ducting immediately. A fan that exhausts humid bathroom air into your attic rather than directly through a roof or sidewall vent will lead to expensive rot and structural damage over time. Ensure the ducting is pulled taut and has a smooth, downward slope toward the exterior to prevent condensation from settling inside.
Beginner Tip: Avoid pulling the ducting with excessive force. Older flexible ducts are often made of thin, brittle plastic or foil that can easily tear or snap. If it feels stuck, try rotating it slightly as you pull rather than yanking straight back.
Pro Tip: When it comes time to reattach the duct, use UL-listed foil tape rather than standard silver duct tape. Duct tape loses its adhesive strength quickly in hot attic temperatures, while high-quality foil tape creates an airtight, long-lasting seal that won’t peel away over time.
Step 5: Install the New Fan Housing
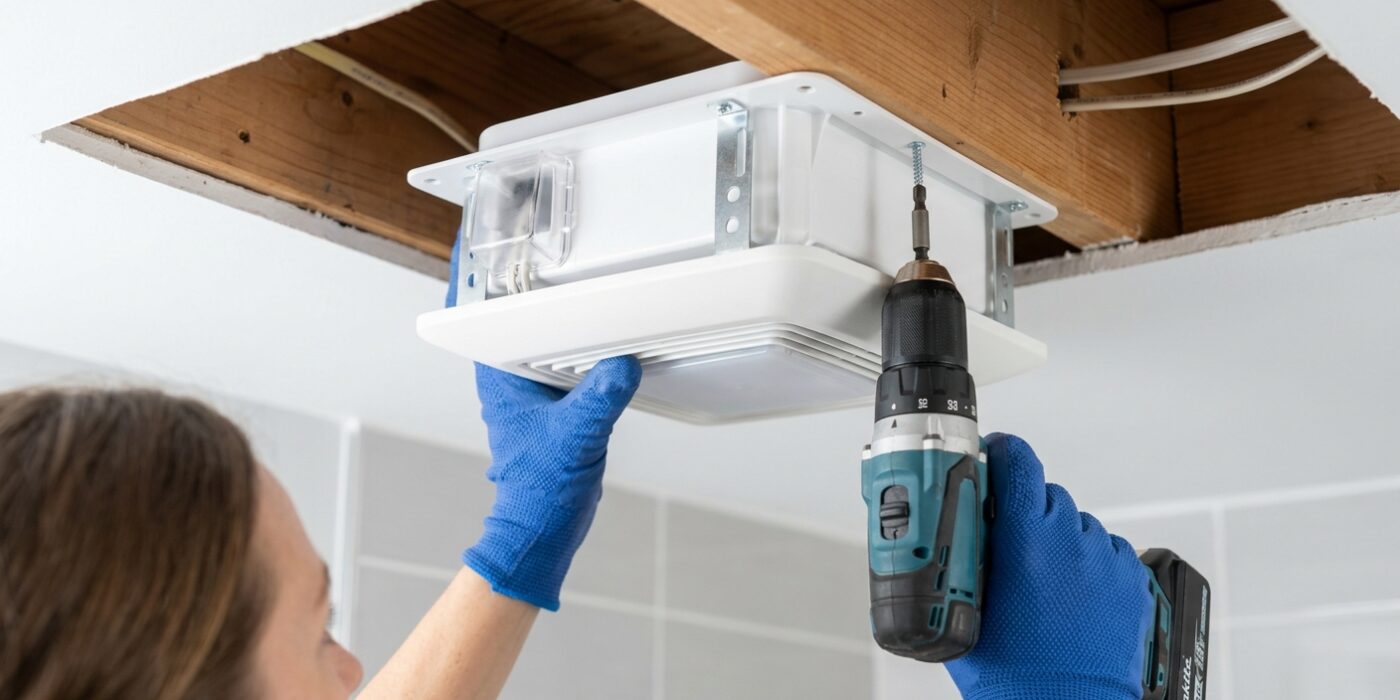
Now that your old unit is out, it is time to slide your new fan housing into the ceiling opening. First, consult your manufacturer’s manual, as mounting styles vary. Most residential models use expandable metal brackets that telescope to span the gap between ceiling joists, or simple flanges that screw directly into the wooden framing. Position the housing so it sits flush against the ceiling surface. If you find a slight gap between the housing and the drywall, don’t worry; most modern kits include a decorative trim plate designed to hide these imperfections once the job is finished. Use a level to ensure the housing is perfectly horizontal, then tighten your screws until the unit is rock solid. A housing that moves even slightly will rattle against the drywall, creating an annoying vibration noise every time you turn the fan on.
Beginner Tip: Avoid over-tightening your mounting screws. While you want the housing secure, driving screws too deeply into older ceiling joists can cause the wood to split or pull the housing out of alignment, making it difficult to snap your decorative cover on later.
Pro Tip: To get a perfectly flush fit every time, use a piece of scrap wood or a long level held against the ceiling surface as a guide. Press the housing firmly against this tool while you drive your screws; this ensures the bottom of the fan remains perfectly parallel to your ceiling plane.
Step 6: Connect the Ductwork
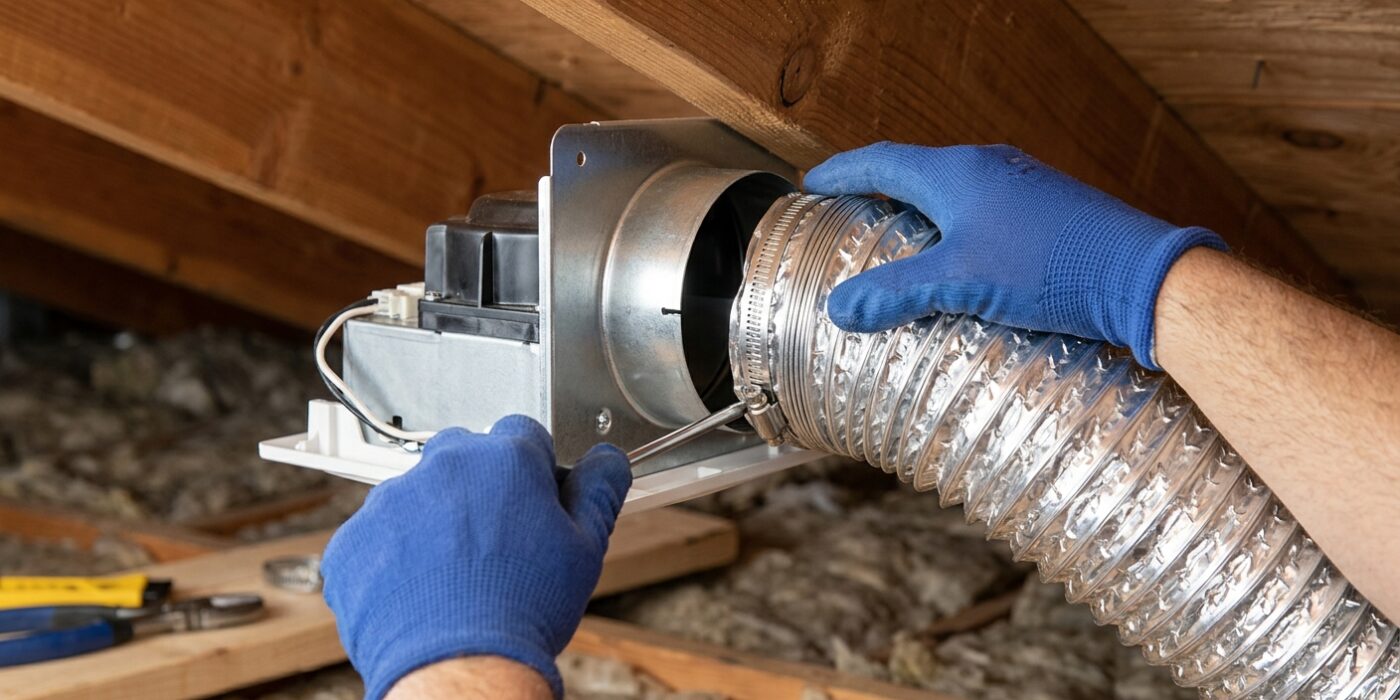
Now that your fan is secure, it is time to reconnect the air vent. Locate the silver flexible ductwork hanging from your ceiling. Gently slide the end of this tube over the exhaust port – the circular plastic collar – sticking out from the side of your new fan. Ensure the duct slides on at least one full inch to create a snug, airtight seal. If the duct is too stiff, you can gently rotate it to help it glide over the port.
Once positioned, grab your foil HVAC tape. Do not use standard gray cloth duct tape, as the heat and moisture in a bathroom will cause the adhesive to fail, leading to hidden mold growth in your ceiling. Tear off a generous length of foil tape and wrap it firmly around the connection point, overlapping the duct and the fan collar by at least two inches. Go around twice to ensure the seal is airtight, then press firmly with your fingers to activate the adhesive. A secure connection ensures your fan pulls steam out of the room rather than into your attic.
Beginner Tip: Avoid pulling the ductwork too tight. If the duct is stretched like a guitar string, it will create unnecessary noise and vibration inside your ceiling. Aim for a gentle, natural curve leading into the fan.
Pro Tip: Before applying the tape, use a zip tie or a tension clamp to cinch the duct tightly against the collar. It acts as a permanent anchor, making the taping process much easier since the duct won’t slide off while you are working.
Step 7: Wire the Fan
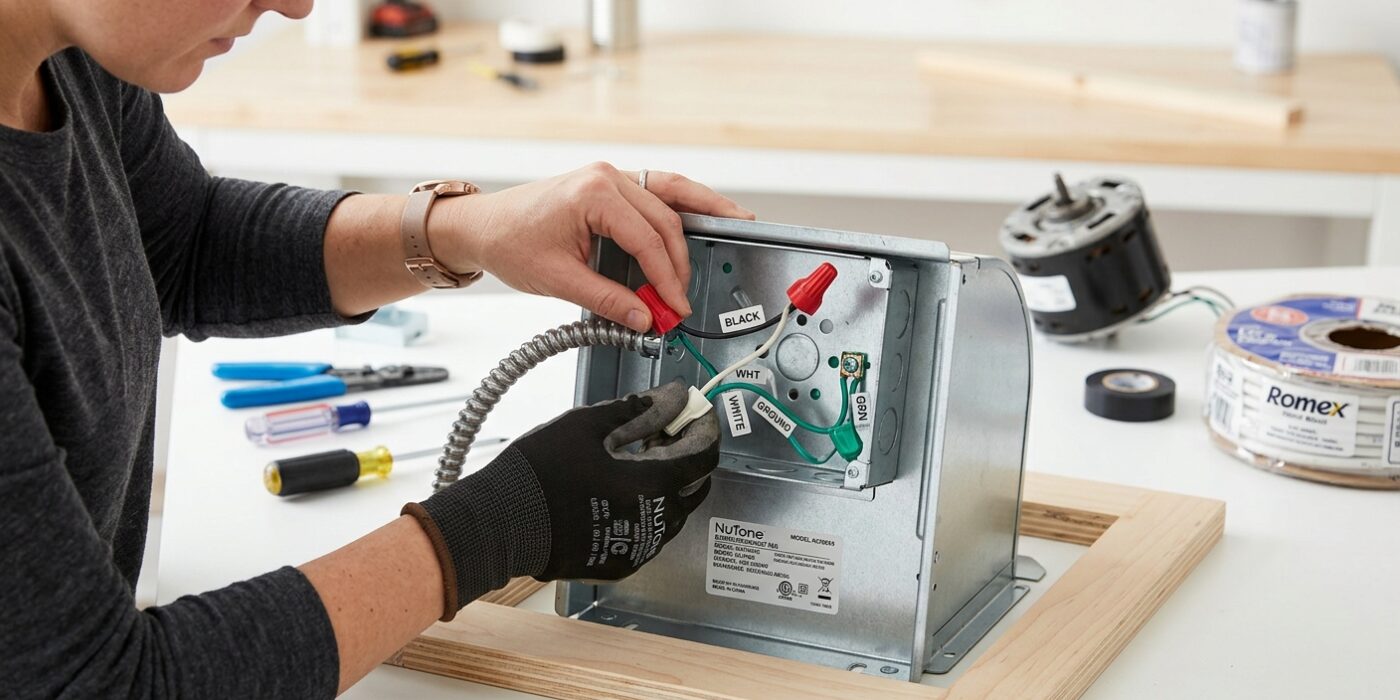
Now that your fan housing is secure, it is time to connect the electricity. You will see three sets of wires coming from your ceiling and matching wires inside the fan’s junction box. Strip about 3/4 of an inch of insulation off the ends of your ceiling wires if they are not already exposed. Match the colors carefully: twist the black (hot) wires together, the white (neutral) wires together, and the green or bare copper (ground) wires together. Slide a wire nut over each pair and twist them clockwise until they feel snug and do not pull apart. This secure connection ensures electricity flows safely to the motor without sparks or loose contact. If your fan includes a light or sensor, follow the manufacturer’s wiring diagram, as these often require connecting an extra lead to a secondary switch wire. Finally, tuck the wires neatly into the housing and plug the fan’s internal power cord into the socket.
Beginner Tip: Never rely on the wire nut to hold the wires together. Always twist the copper ends firmly with pliers before screwing the wire nut on; if the wires pull out easily, you haven’t twisted them enough.
Pro Tip: Before you start twisting, use a small piece of electrical tape to wrap around the base of the wire nut and the wires. This creates a secondary seal that prevents the nut from vibrating loose over time due to the fan’s natural movement.
Step 8: Test and Install the Grille
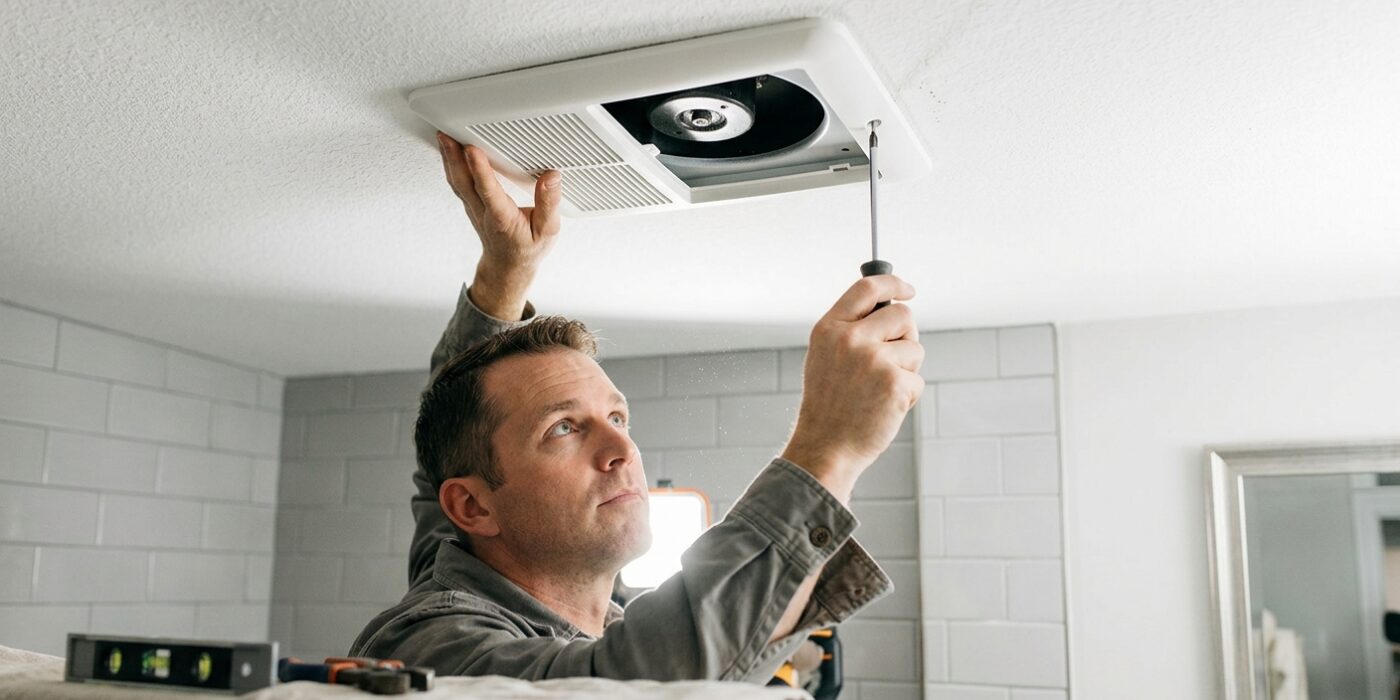
Now that your wiring is secured, it is time for the final check. Restore power at your breaker box and flip the wall switch to turn on the fan. Listen closely as it spins; you should hear only the steady hum of moving air. If you hear any clicking, rattling, or scraping, turn the power off immediately and check that the housing is level and that no loose wires are touching the fan blades. Once it runs smoothly, take your grille – the plastic cover – and pinch the spring-loaded metal clips on its sides. Insert these springs into the slots inside the fan housing. As you let go, the springs will pull the cover flush against your ceiling, hiding the interior components and leaving you with a clean, professional finish.
Beginner Tip: Ensure the grille is centered before you release the springs. If the cover looks crooked or has a gap on one side, it is usually because one spring clip is seated deeper in the housing than the other. Simply pull the grille down slightly and re-seat the clips until it sits perfectly flat against the ceiling.
Pro Tip: To keep your bathroom looking brand new, apply a thin coat of car wax to the plastic grille before installing it. This creates a dust-repellent barrier that makes wiping away future buildup or steam-borne grime significantly easier during your routine cleaning, ensuring your fan stays quiet and efficient for years to come.