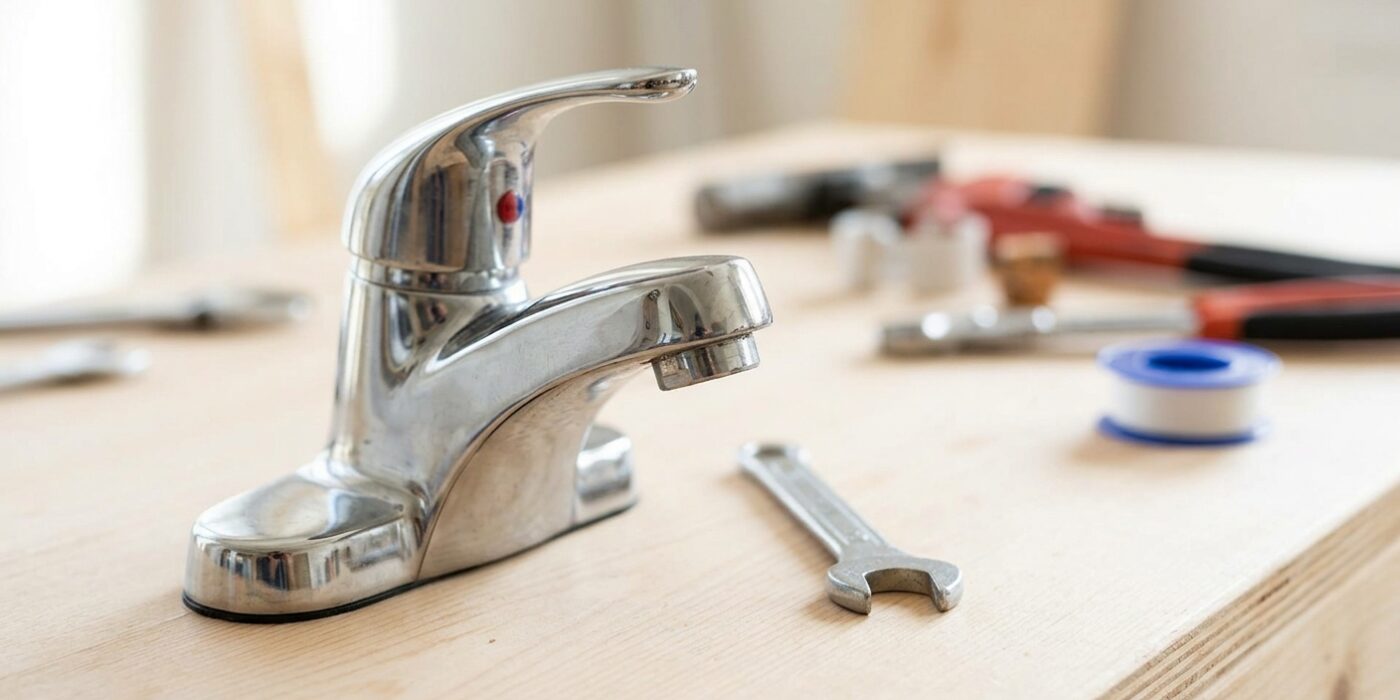
Project Shopping List
Low water pressure from a faucet is one of the most commonly misdiagnosed plumbing problems. In the majority of cases, the culprit isn’t a pipe pressure issue – it’s a clogged faucet aerator, the small screen device at the tip of the faucet spout. The aerator mixes air into the water stream and filters particulate, and it slowly collects mineral scale, sediment, and debris over months and years until the flow is reduced to a trickle.
Cleaning or replacing the aerator takes five minutes, costs essentially nothing, and often restores full flow immediately. This should always be the first fix you try before calling a plumber about low pressure.
What You’ll Need
Tools
- Adjustable pliers or channel-lock pliers
- Flathead screwdriver (sometimes)
- Small bowl for parts
Materials
- Replacement aerator (bring old one to store to match size and thread direction)
- White vinegar
- Old toothbrush
- Plumber’s tape (Teflon) – optional for reinstallation
Step 1: Remove the Aerator
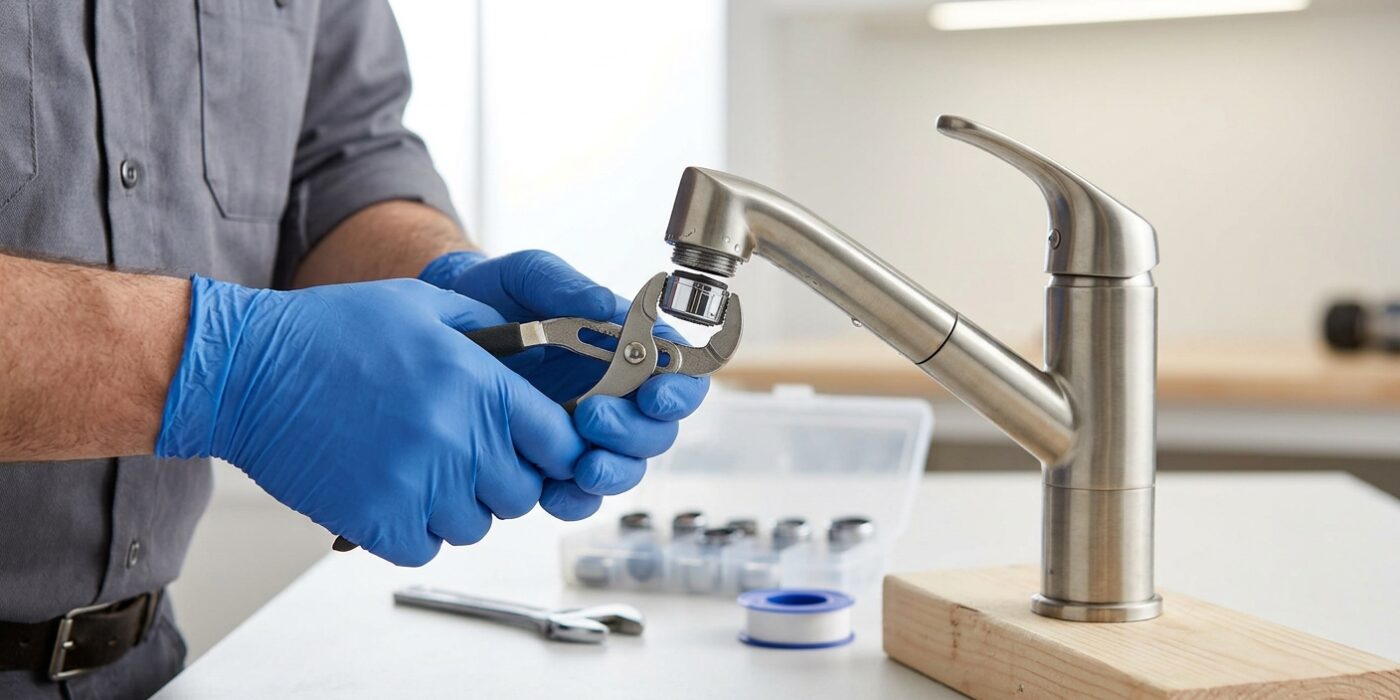
The aerator is the small, cylindrical mesh screen located at the very tip of your faucet spout. Its job is to mix air into the water stream to reduce splashing and maintain steady pressure. Over time, mineral deposits from your water supply can clog this screen, causing low flow. To remove it, first try to unscrew it by turning the housing to the left – or counterclockwise – using your fingers. A firm, steady grip is usually all it takes. If the aerator feels stuck, wrap a thick rag or a piece of rubber shelf liner around the metal tip to protect the chrome finish from scratches, then gently grip it with pliers to provide the extra leverage needed to break the seal.
Beginner Tip: The most common mistake is applying too much force, which can crack the delicate threads of the faucet spout. Always start with hand pressure. If you must use pliers, be careful not to overtighten your grip; apply only enough pressure to turn the housing, not to crush it.
Alternative Method: If the aerator is recessed inside the spout and you lack a specialized plastic removal key, check if there are small notches along the rim. You can often insert a flathead screwdriver or a sturdy coin into these notches to gently nudge the housing loose.
Pro Tip: If your aerator is stubborn due to heavy mineral buildup, soak a paper towel in white vinegar, wrap it tightly around the tip of the faucet, and secure it with a rubber band. Let it sit for an hour to dissolve the limescale, and the aerator will likely spin off effortlessly.
Step 2: Disassemble and Inspect the Aerator
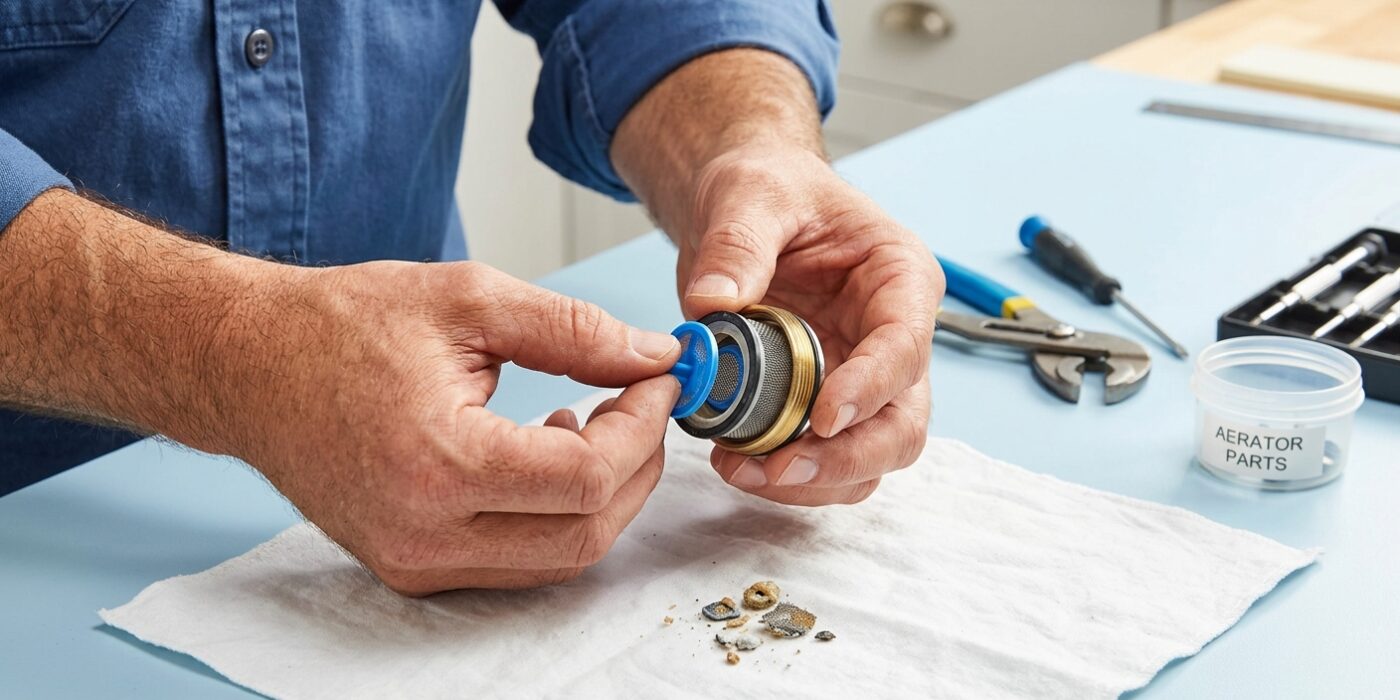
Now that you have removed the aerator housing from your faucet, it is time to see what is hiding inside. Carefully turn the housing upside down over your sink. You will typically find a small stack consisting of a rubber washer, one or two fine mesh screens, and a plastic flow restrictor disk. As these pieces tumble out, lay them out on a clean towel in the exact order and orientation you removed them. Taking a quick photo with your phone is a fantastic way to ensure you can put everything back together perfectly later.
Inspect the pieces closely under a bright light. You are looking for mineral buildup, which often looks like white or crusty gray sand. If the metal mesh screens are torn or the plastic disk is cracked, these parts need to be replaced with a new aerator kit from the hardware store. If they look intact but are just covered in gunk, a quick soak in white vinegar will dissolve the minerals and have your water flowing like new.
Beginner Tip: The biggest mistake beginners make is losing these tiny parts down the drain. Always keep the sink stopper closed or cover the drain with a folded hand towel while you work. If a tiny rubber washer slips away, it is nearly impossible to replace without buying a whole new assembly.
Pro Tip: If the parts are stuck inside the housing due to years of mineral buildup, do not force them out with a screwdriver. Instead, soak the entire housing in a small cup of white vinegar for 30 minutes; the acid naturally breaks down the scale, allowing the pieces to fall out with a gentle tap.
Step 3: Clean the Parts
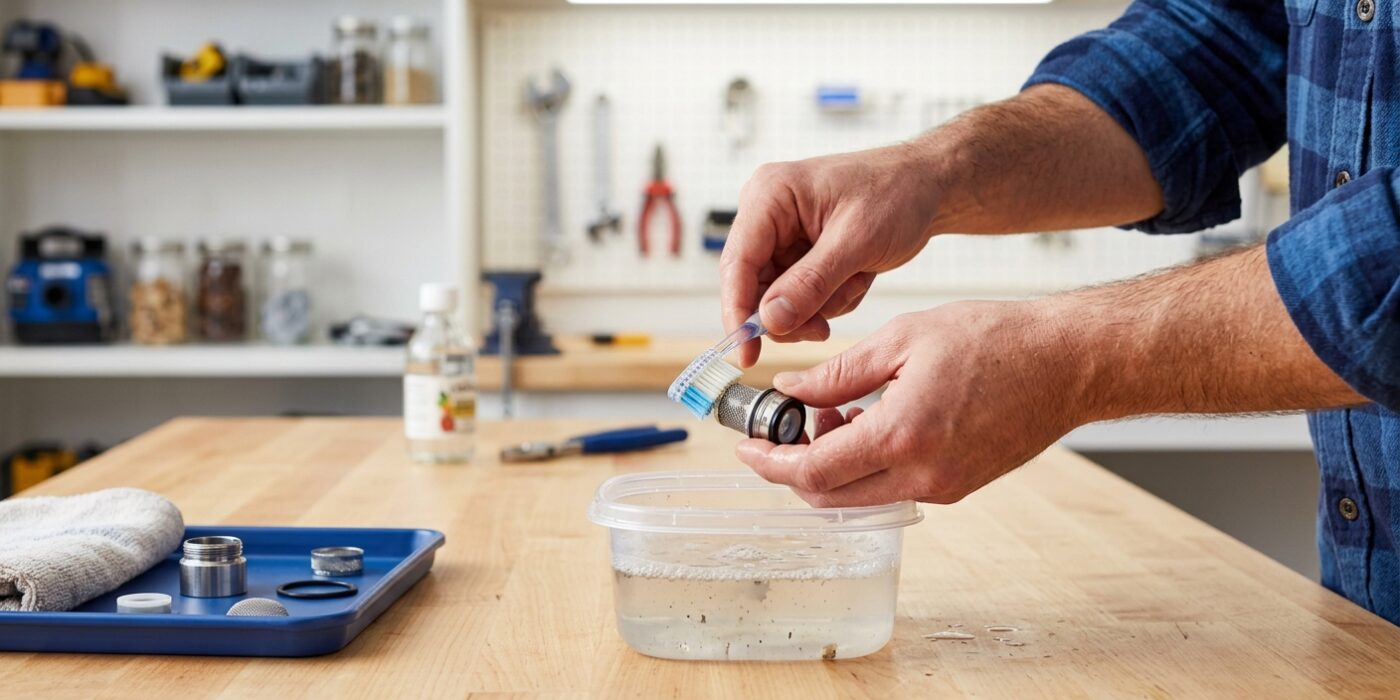
Now that your aerator is disassembled, it is time to clear out the mineral buildup. Place all the small metal screens, washers, and the housing into a small bowl or a zip-top bag. Pour in enough plain white vinegar to fully submerge the parts and let them soak for 15 to 30 minutes. The acidity of the vinegar works like magic to dissolve calcium and lime scale – those stubborn white, crusty deposits caused by hard water – without damaging your faucet.
Once the soak is finished, take an old toothbrush and gently scrub both sides of each screen under a steady stream of running water. You are looking to clear every tiny hole in the mesh. Hold the screen up to a light source; if you can clearly see the light shining through every individual square of the mesh, you have done a perfect job. Give every piece one final rinse to ensure no vinegar residue remains before you prepare to reassemble.
Beginner Tip: Be very careful not to lose the tiny rubber washer that sits inside the aerator. If you accidentally wash it down the drain during the rinsing process, your faucet will likely leak once you put it back together. Plug your sink drain with a towel or the sink stopper before you start scrubbing.
Pro Tip: If the mineral buildup is particularly heavy, use a wooden toothpick to poke through any stubborn, clogged holes in the mesh after the vinegar soak. Avoid using metal needles or wire, as these can scratch the finish or warp the delicate screen mesh.
Step 4: Test Flow Without the Aerator
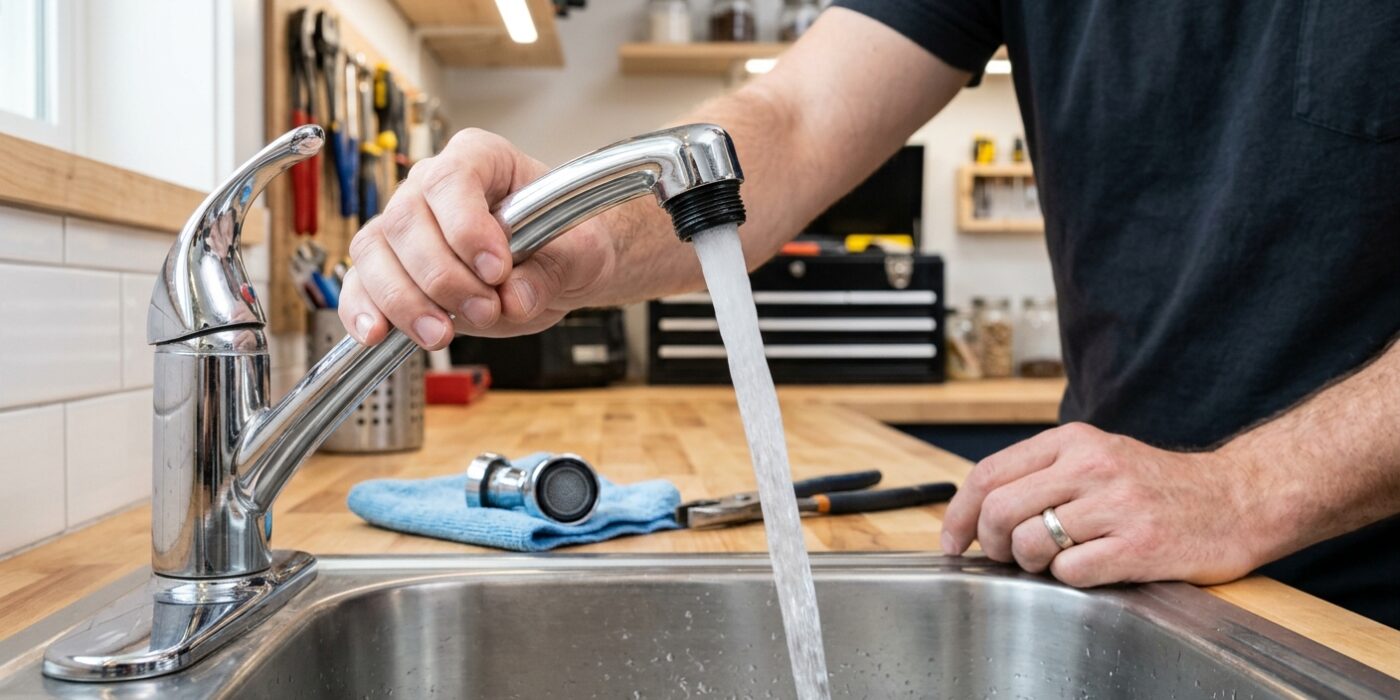
Before you screw the new aerator back onto the faucet, it is vital to check the water flow directly from the spout. Turn your faucet handle to the full “on” position for just three to five seconds. You are looking for a steady, powerful stream of water flowing straight down into the sink. This is a critical diagnostic step: if the water comes out with high pressure, you have confirmed that your old, clogged aerator was indeed the culprit. However, if the water still trickles out slowly, the blockage is deeper within your home’s plumbing, such as the shutoff valves under the sink or the supply lines.
Beginner Tip: Avoid turning the water on at full blast instantly. Start with a very slow, gentle turn of the handle to prevent water from splashing uncontrollably out of the open spout and soaking your countertop or your shirt.
Pro Tip: To keep your workspace dry while testing, hold a small plastic cup or a shallow bowl directly under the faucet opening. This catches the initial burst of water and allows you to observe the strength of the flow without creating a mess on your vanity or floor.
By confirming that your main water supply is healthy, you can confidently proceed with installing your new aerator, knowing that your sink will be back to full performance in just a few more minutes.
Step 5: Reinstall or Replace
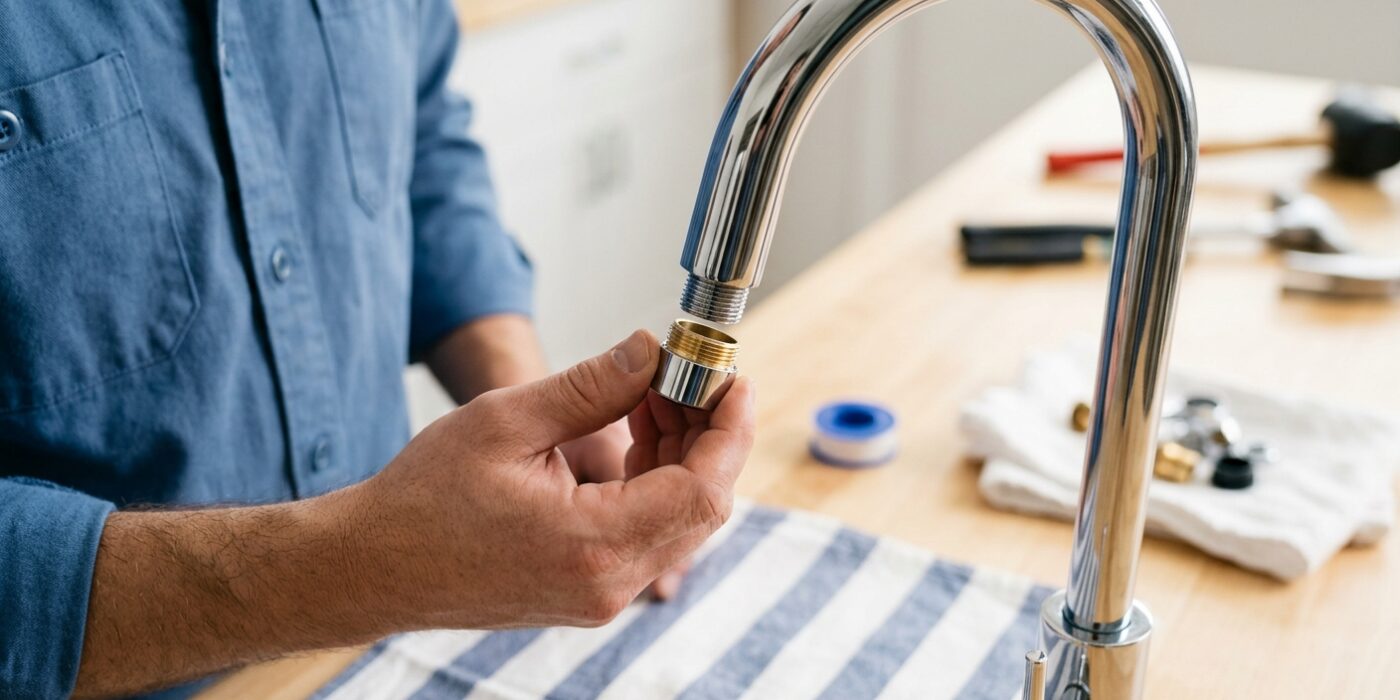
Now that your aerator components are sparkling clean, it is time to put everything back together. Reassemble the parts in the exact sequence you removed them – typically the mesh screen, the flow restrictor, and the rubber gasket. Carefully align the aerator with the spout threads. Use your fingers to turn it clockwise until it feels snug. You should only tighten this by hand; the rubber gasket inside creates a watertight seal without needing extra force. Once it is secure, turn your faucet handle on slowly to check for leaks. If you see water spraying from the sides of the connection, simply unscrew the aerator and ensure the rubber washer is sitting flat before tightening it again.
Beginner Tip: Avoid using pliers or a wrench to tighten the aerator. Because these parts are often made of chrome-plated plastic or thin metal, excessive force can easily crack the housing or strip the delicate threads, turning a simple cleaning into an unnecessary trip to the hardware store.
Pro Tip: If you find the aerator is difficult to grip because your hands are wet or the finish is slippery, use a small piece of dry rubber shelf liner or a thick rubber band wrapped around the housing. This provides extra traction and allows you to apply the perfect amount of pressure to ensure a leak-free fit without straining your fingers.
If you discover that your threads are slightly worn or the connection isn’t perfectly tight, wrap the faucet’s male threads with two layers of Teflon tape before screwing the aerator back on. This inexpensive white tape fills the microscopic gaps in the threads, creating a reliable seal that prevents annoying drips.