Project Shopping List
A slow or fully clogged shower drain is one of the most common household problems and one of the most satisfying to fix yourself – it takes 10–30 minutes and costs essentially nothing. The vast majority of shower drain clogs are hair and soap scum, which accumulate just below the drain cover and are easily removed without chemicals or special tools.
This guide starts with the simplest approach (manual removal) and escalates through drain snaking for deeper clogs. Chemical drain cleaners are addressed last because they’re the least effective approach for hair clogs and can damage pipes – the mechanical methods here work better and faster.
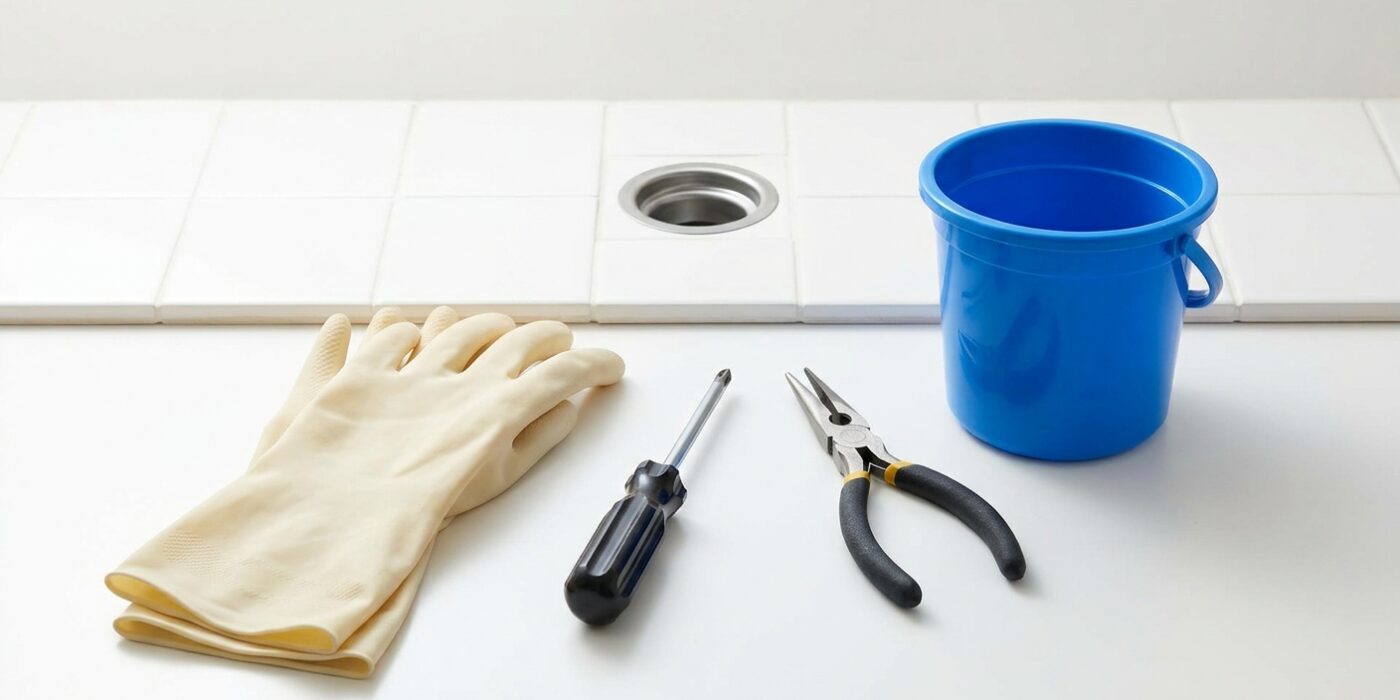
What You’ll Need
Tools
- Flathead or Phillips screwdriver (to remove drain cover)
- Drain hair clog remover tool (Zip-It type, a flexible plastic stick with barbs – $3)
- Needle-nose pliers
- Plunger (cup-style)
- Manual drain snake or drum auger (for deep clogs)
- Rubber gloves
Materials
- Old towels
- Baking soda and white vinegar (for mild maintenance)
Step 1: Remove the Drain Cover
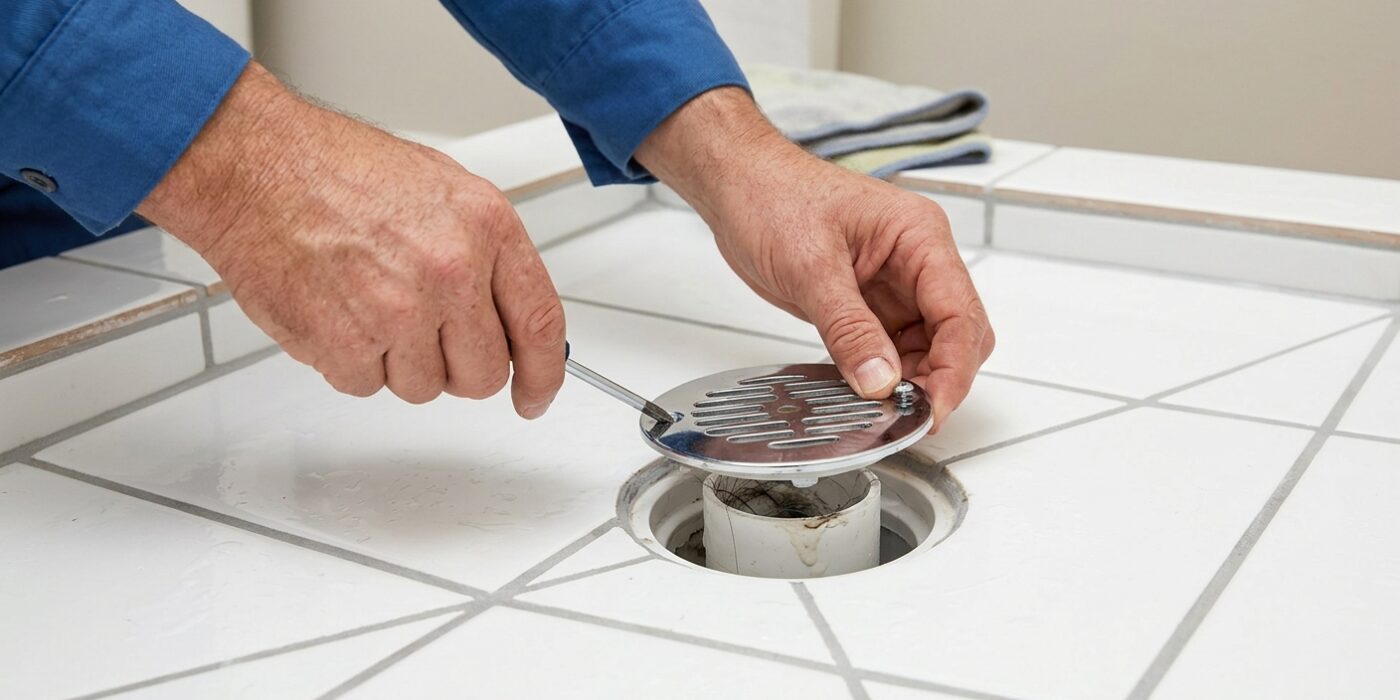
Before you dive in, you need to gain access to the pipe beneath your shower floor. Most drain covers are secured by one or two Phillips-head screws located directly in the center of the grate. Use a manual screwdriver – not a power drill – to slowly turn these counterclockwise until they release. If your cover lacks screws, it is likely a pressure-fit model. In this case, find the small indentation or slot along the edge of the metal, gently insert the tip of a flathead screwdriver, and use a slight prying motion to pop it upward. If you encounter a threaded cover, simply grip the outer rim and rotate it counterclockwise to unscrew it. Once the cover is loose, lift it straight up and out. Place the screws and the cover immediately into a small bowl or a Ziploc bag outside the shower area to ensure they don’t accidentally slide down the drain.
Beginner Tip: Resist the urge to use a power drill when removing the screws. Because these screws are constantly exposed to water and soap scum, they can easily become stripped or rusted; using a manual screwdriver gives you better control and prevents you from damaging the screw head.
Pro Tip: If the screws are covered in stubborn mineral buildup or soap gunk, put a drop of penetrating oil on them and let it sit for ten minutes before turning. This lubricates the threads and helps the screw turn smoothly without getting stuck or snapping.
Step 2: Manual Removal with a Hair Clog Tool
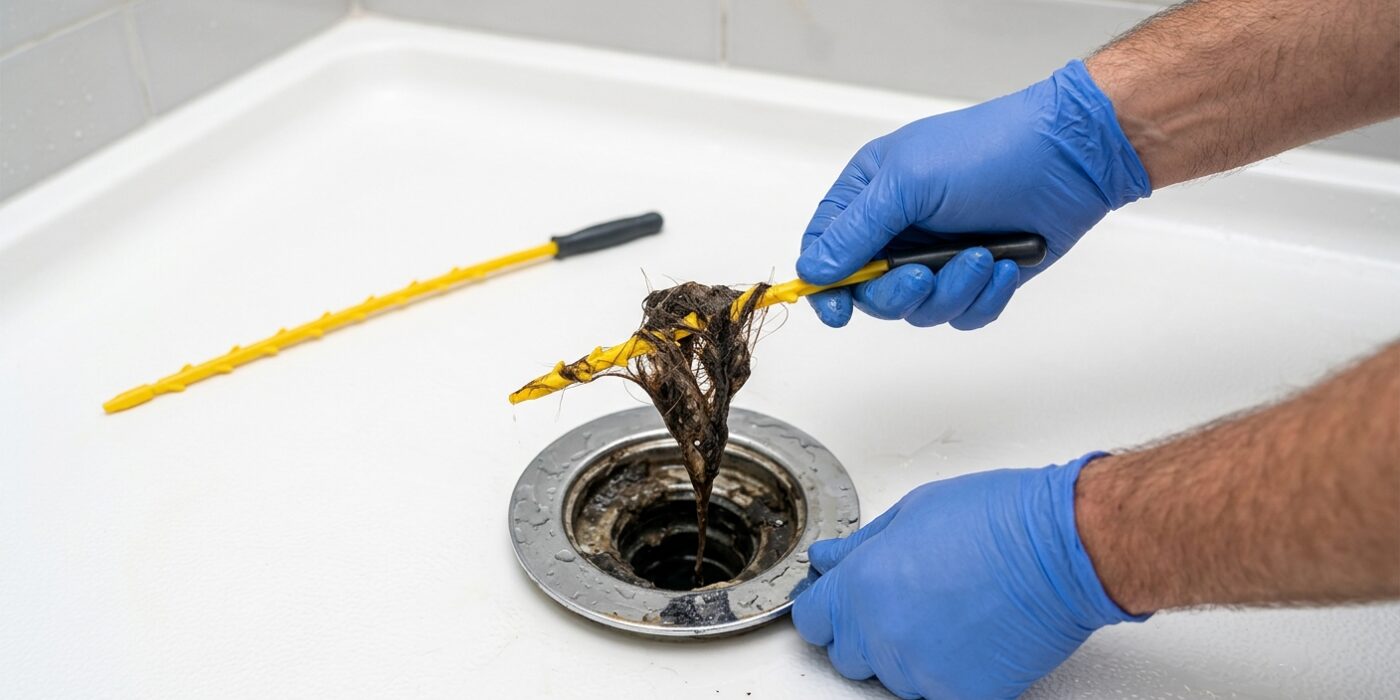
The most effective first step for clearing a shower drain is using a plastic barbed tool, often called a “Zip-It.” These inexpensive, flexible sticks are designed to navigate the curves of your pipes and hook onto stubborn hair. Gently insert the tool into the drain opening, pushing it down about 3 to 4 inches until you feel it hit an obstruction. Once you meet resistance, rotate the tool a quarter turn; this helps the plastic barbs snag the hair clump securely. Slowly pull the tool straight back up. You will likely see a clump of debris – simply wipe this off into a paper towel and throw it in the trash rather than rinsing it back down the drain, which could cause a deeper blockage later. Repeat this process until the tool pulls out clean.
Beginner Tip: Do not force the tool if you feel an extremely hard stop. If you encounter significant resistance that doesn’t budge with a gentle wiggle, stop pulling. Yanking too hard can sometimes snap the plastic tip off inside the pipe, which makes the clog much harder to fix.
Alternative Method: If you don’t have a specialized tool, you can straighten out a sturdy wire coat hanger. Use pliers to create a tiny “hook” at one end, then follow the same insertion and rotation process to fish out the hair manually.
Pro Tip: Shine a bright flashlight directly into the drain before you start. Seeing exactly where the hair is tangled helps you aim the tool more precisely, saving you time and frustration.
Step 3: Try a Plunger for Partial Clogs
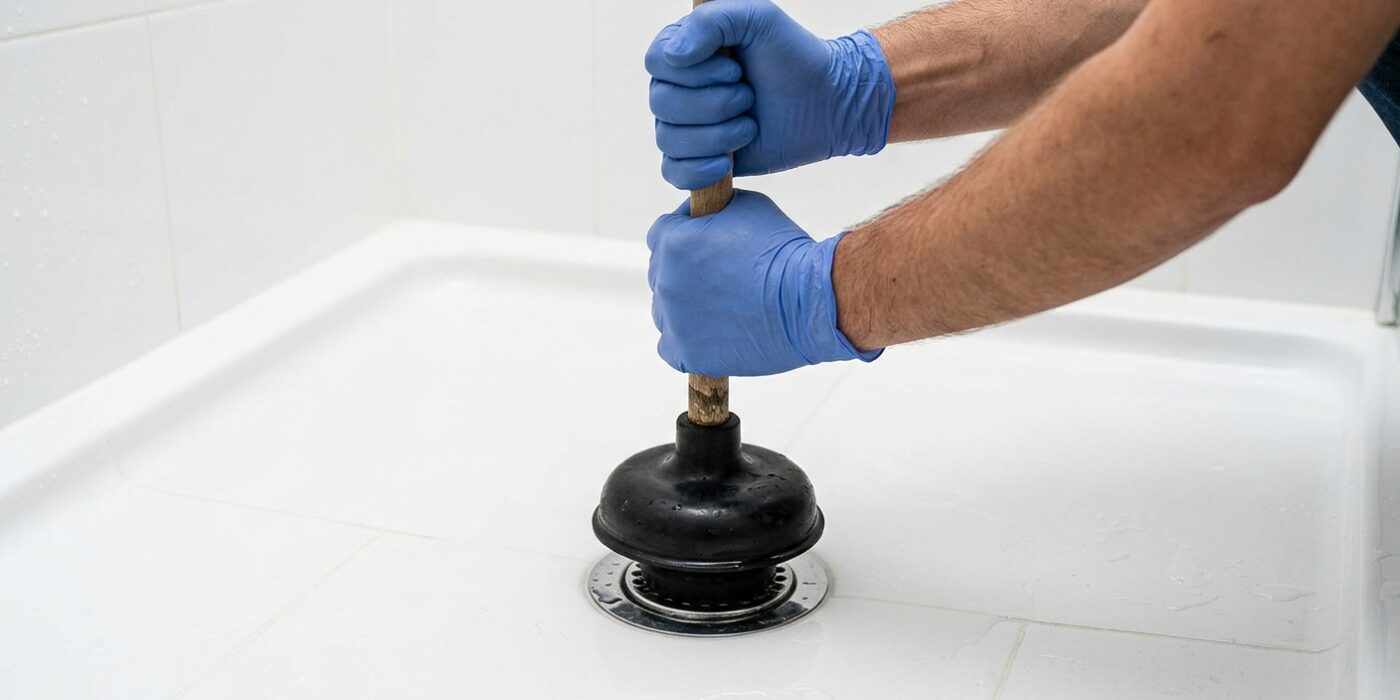
If your shower is draining slowly, a cup plunger is a fantastic first line of defense. The goal is to use air pressure to break up soap scum or minor debris sitting in the P-trap (the curved pipe beneath your drain). First, fill the bottom of your shower with 1 to 2 inches of water; this water acts as a gasket, helping you create a strong vacuum seal against the floor.
Place the rubber cup of the plunger directly over the center of the drain. Push down firmly to squeeze the air out, then pull up and push down rapidly – using short, sharp movements – for about 15 seconds. The key is to keep the seal airtight throughout the process. When you finish, give the handle one final, swift upward yank to dislodge the loosened blockage. If you see chunks of debris float to the surface, simply scoop them up with a paper towel and toss them in the trash.
Beginner Tip: The most common mistake is losing the seal. If you hear a loud sucking sound of air entering the cup while you are pumping, you aren’t getting enough suction. Adjust your angle until the cup is perfectly flat against the floor, and add a little more water to the shower base if the seal still isn’t holding.
Pro Tip: Before you start, smear a thin layer of petroleum jelly around the rim of the plunger cup. This “lubricant” helps the rubber grip the shower floor much more effectively, ensuring you get the maximum amount of pressure with every single plunge.
Step 4: Use a Drain Snake for Deep Clogs
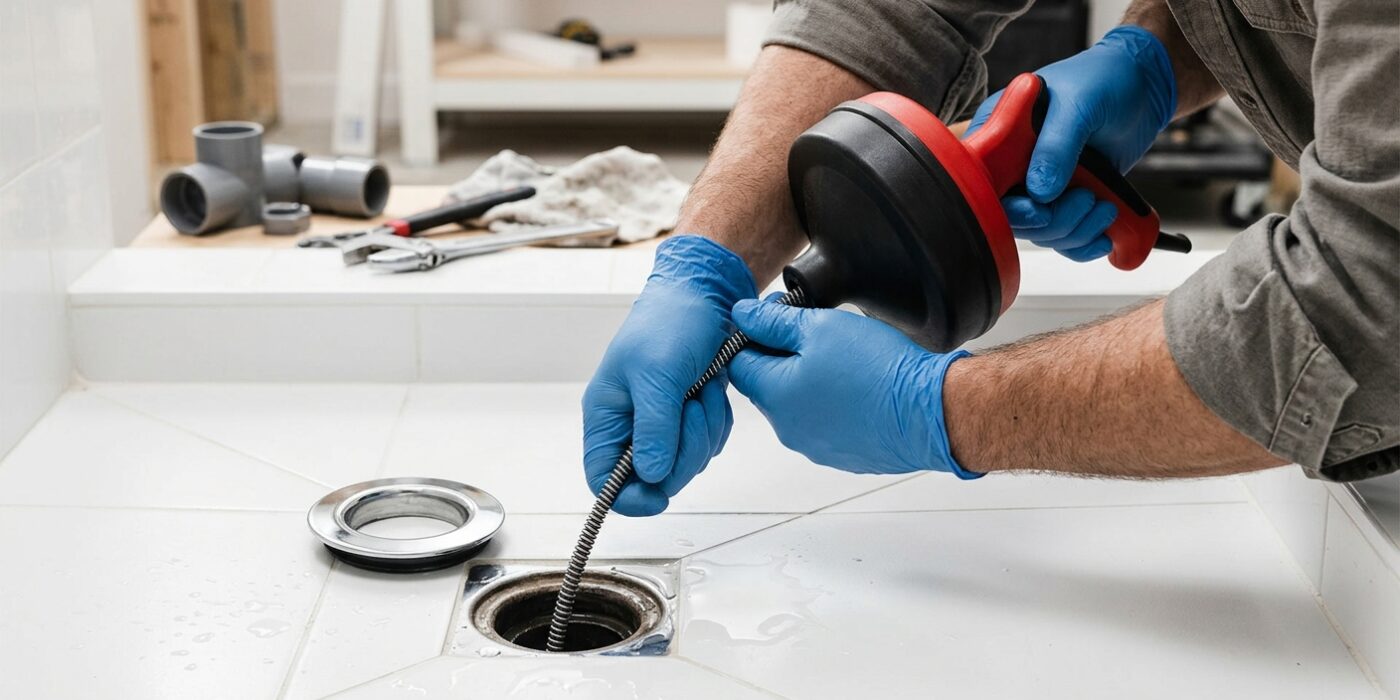
If plunging didn’t do the trick, the clog is likely hiding deeper in the pipe, specifically within the P-trap – a U-shaped bend designed to trap debris. A drain snake is your best tool here. Begin by loosening the screw on the snake’s handle so the cable slides freely. Feed the metal tip into the drain opening until you feel it hit a firm obstruction, usually about 18 to 24 inches down. Once you feel resistance, tighten the screw to lock the handle and begin rotating the snake clockwise while applying gentle, steady forward pressure. This motion helps the corkscrew tip latch onto hair and soap buildup. Slowly pull the snake back out; you will likely see a clump of debris attached to the end. Repeat this process until you no longer hit resistance, then run hot water for two minutes to flush any remaining residue.
Beginner Tip: Avoid pushing the snake into the pipe with aggressive, quick jabs. If you force it too hard, you risk scratching the inside of your pipes or pushing the clog even further down into the main line, making it much harder to reach later on.
Pro Tip: Before you begin, pour half a cup of baking soda followed by half a cup of vinegar into the drain and cover it with a rag for fifteen minutes. This helps loosen the slime surrounding the clog, allowing the snake to grip the debris much more effectively on the first pass.
Step 5: Flush with Hot Water and Baking Soda
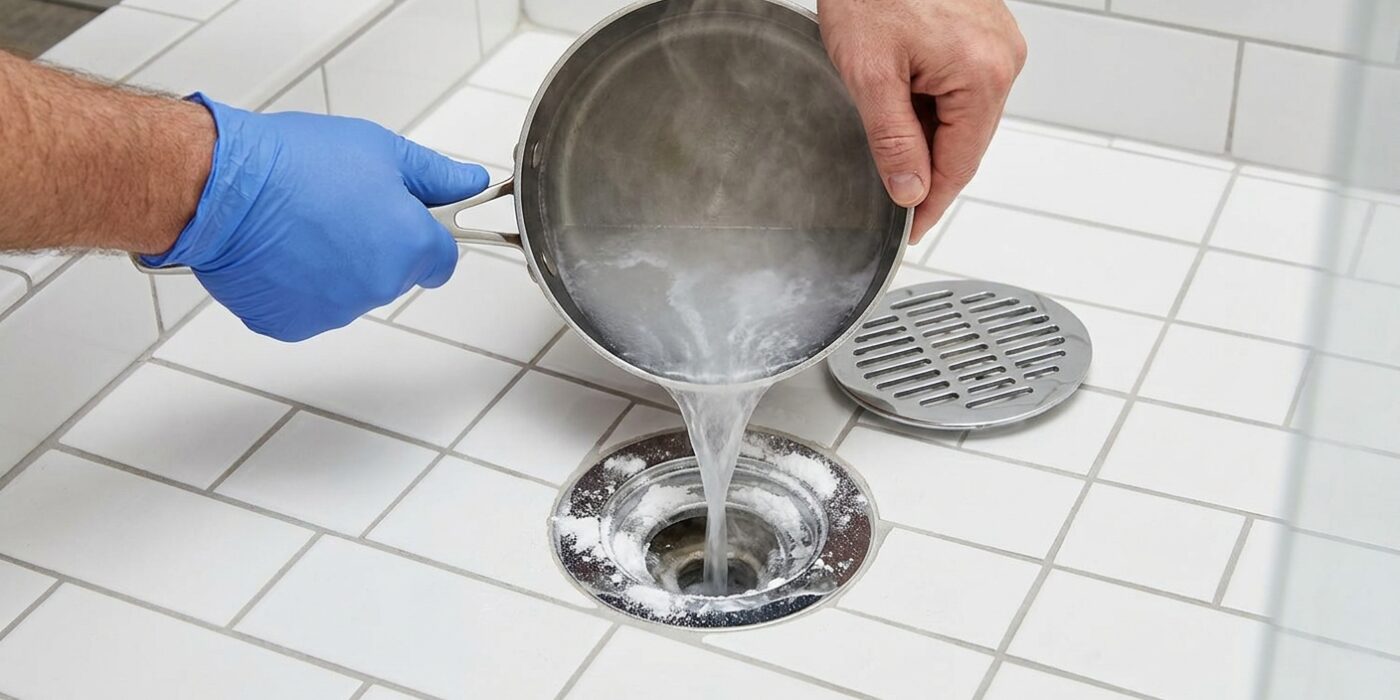
Now that you have cleared the physical blockage, it is time to deep-clean the pipe walls to ensure your drain flows like new. Start by boiling a kettle of water; once it reaches a rolling boil, take it off the heat for about 30 seconds to let it settle. Slowly pour the hot water directly down the center of the drain to melt away lingering soap scum and hair residue.
Next, pour 1/2 cup of baking soda into the drain opening. Let it sit for five minutes so it can coat the pipes, then follow it with 1/2 cup of white vinegar. You will hear a satisfying fizzing sound; this chemical reaction creates carbon dioxide gas that physically breaks up any remaining grime stuck to the pipe walls. After five more minutes, flush the drain with one final kettle of near-boiling water. This process is excellent for monthly maintenance, helping you prevent future clogs before they even start.
Beginner Tip: Never pour boiling water into a sink or tub made of porcelain or ceramic without aiming directly into the drain. Extremely hot water can occasionally cause a thermal shock that cracks fragile surfaces, so be careful to pour steadily into the center hole.
Pro Tip: If your drain has a persistent, musty odor, add a tablespoon of lemon juice to the vinegar before pouring it in. The natural acidity helps dissolve mineral deposits, while the citrus scent leaves your bathroom smelling fresh and professional.
Step 6: Reinstall the Drain Cover and Test
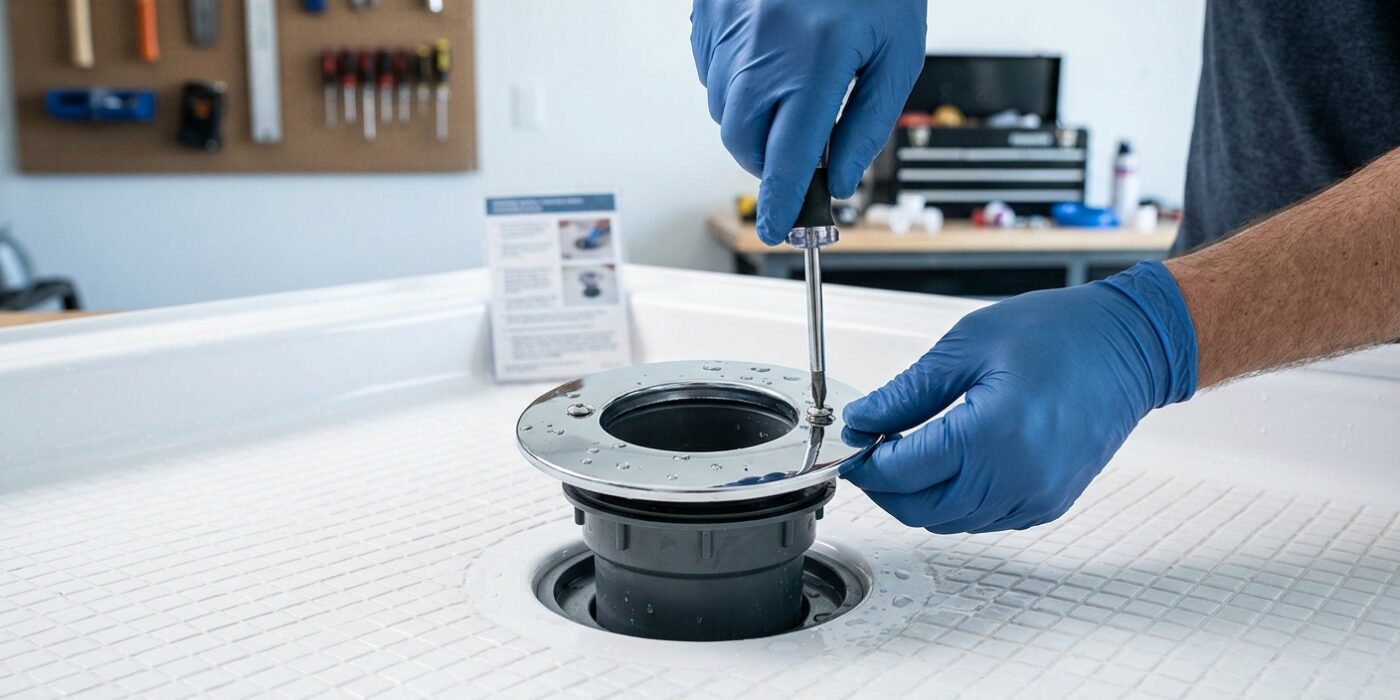
Now that you have successfully cleared the blockage, it is time to put everything back together and confirm your work. First, take your drain cover and align the screw holes with the brackets inside the drain opening. Insert the screws and turn them clockwise with your screwdriver. Tighten them until they are snug, but do not overtighten, as you do not want to crack the plastic or strip the screw threads.
Next, turn your shower handle to full pressure. Watch the water closely; it should disappear down the drain immediately, just as fast as it sprays from the showerhead. If you notice even a small pool of water forming, you may have missed some debris. In that case, simply unscrew the cover and run your snake through the pipe one more time.
Beginner Tip: The most common mistake is over-tightening the screws. Since drain covers are often made of soft metal or plastic, applying too much pressure can crack the cover or strip the threads inside the drain pipe, making future maintenance significantly more difficult. Aim for “snug,” not “tightened until it stops moving.”
Pro Tip: To keep your drain flowing freely long-term, invest three dollars in a mesh hair catcher. Placing this directly over your drain acts as a physical barrier that stops hair before it enters your pipes. Simply wipe the mesh clean after every shower, and you will likely never need to use a drain snake again.