Project Shopping List
A door that won’t latch – one that swings open on its own, requires a body slam to close, or where the knob turns but the door pops open – is almost always a strike plate alignment issue, not a broken latch mechanism. The latch bolt isn’t engaging the strike plate hole correctly, which is typically caused by door settling, swelling, or the strike plate being installed slightly off. This is a 20–30 minute fix requiring minimal tools.
Before replacing hardware or rehanging the door, follow this diagnostic approach to identify exactly what’s misaligned and apply the simplest correct fix.
What You’ll Need
Tools
- Flathead and Phillips screwdrivers
- Hammer
- Chisel (3/4 or 1 inch)
- Lipstick or colored chalk
- Metal file or rotary tool with grinding bit
Materials
- Longer screws (3-inch #9) for strike plate
- Strike plate repair kit or adjustable strike plate (if offset is large)
- Wood filler (if relocating strike plate)
Step 1: Identify the Misalignment
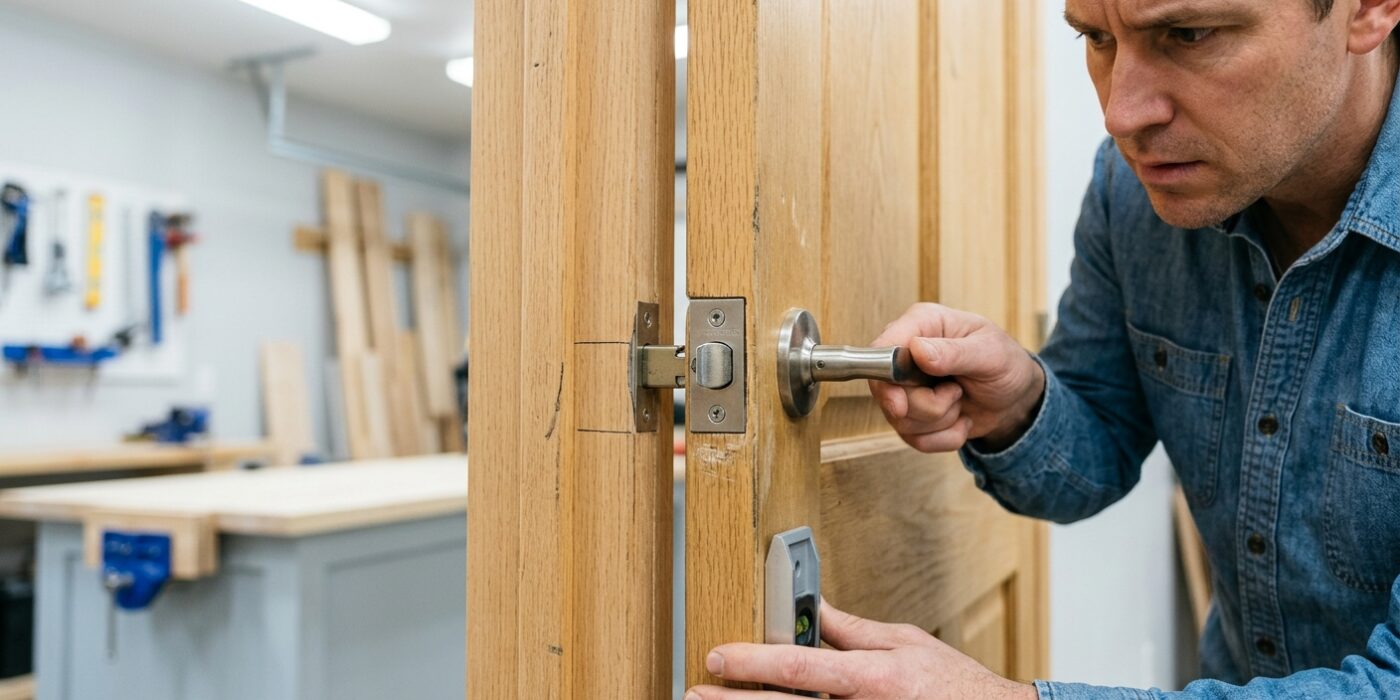
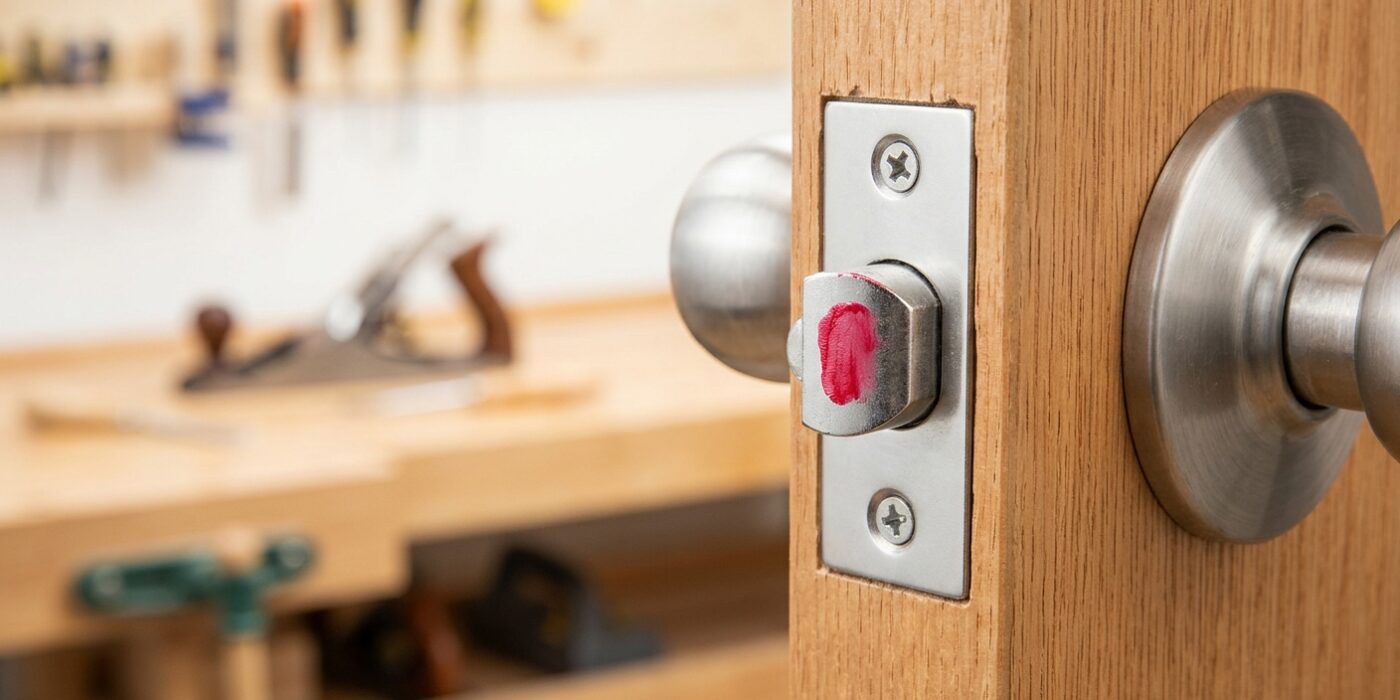
Before you start grabbing a screwdriver, you need to know exactly where the trouble lies. Doors often sag over time, causing the latch bolt to hit the metal strike plate instead of sliding smoothly into the hole. To find the exact culprit, dab a bit of bright lipstick, grease, or colored chalk onto the tip of the latch bolt. Gently close the door until you feel the latch touch the plate, then open it back up. The colorful smudge left behind acts like a map, showing you exactly where the latch is colliding with the frame.
If the mark appears above or below the strike plate opening, your door has likely shifted and needs vertical adjustment. If the mark is centered but barely touches the metal, your latch is failing to extend far enough into the hole. Identifying this specific point prevents you from wasting time adjusting parts that aren’t actually the problem.
Beginner Tip: Avoid slamming the door while testing. If you shut it with force, the latch might accidentally skip over the obstacle, leaving a misleading mark or scratching your door frame unnecessarily. Always use a slow, steady motion.
Pro Tip: If you don’t have lipstick handy, use a piece of painter’s tape to cover the strike plate hole. The latch will leave a clean, clear impression on the tape, making it much easier to visualize the gap without making a mess of your door hardware.
Step 2: Small Offset – File the Strike Plate
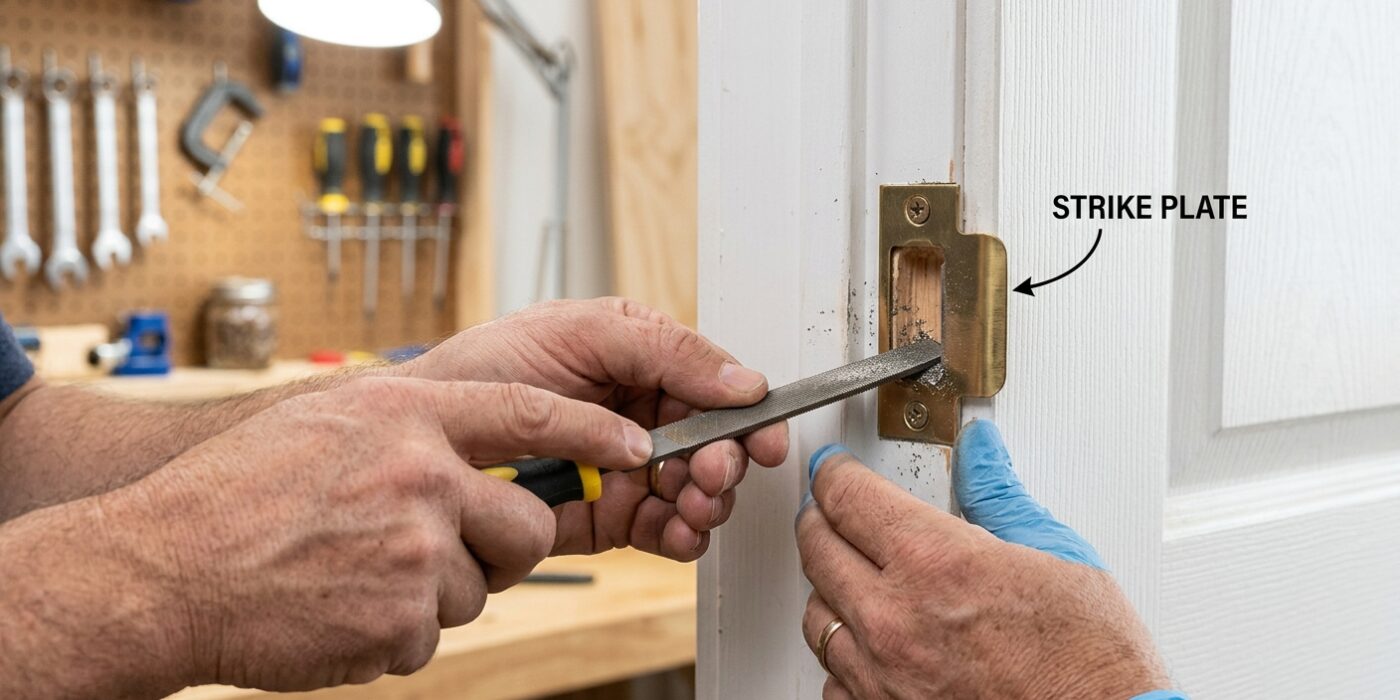
If your door doesn’t latch because it is just slightly misaligned – specifically by 1/8 of an inch or less – you don’t need to move the entire hardware. Instead, you can simply widen the opening of the strike plate (the metal piece on your door frame). First, examine where the latch hits the plate. Use a pencil to mark the exact spot where the metal is blocking the latch. Using a metal file or a rotary tool with a grinding bit, gently remove a small amount of metal from the edge of the opening. Aim to enlarge it by about 1/8 to 3/16 of an inch in the direction that allows the latch to slide in smoothly. By focusing only on the obstructive edge, you keep the plate secure and avoid creating new, messy screw holes in your door frame.
Beginner Tip: Avoid the temptation to over-file the opening. If you remove too much metal, the door might rattle or swing open on its own because the latch no longer sits snugly against the strike plate. File a tiny bit, test the door, and then file a bit more if necessary.
Alternative Method: If you do not have a metal file or power tool, you can often solve the problem by simply tightening the hinges on the door. Sometimes, a sagging door is the real culprit; using a screwdriver to tighten the hinge screws can pull the door back into alignment, allowing the latch to hit the strike plate perfectly without needing to file anything at all.
Pro Tip: Before you start filing, apply a small amount of lipstick or chalk to the tip of your door latch. Close the door firmly and then open it; the resulting mark on the strike plate will show you exactly where the friction is occurring, taking the guesswork out of your filing.
Step 3: Larger Offset – Move the Strike Plate
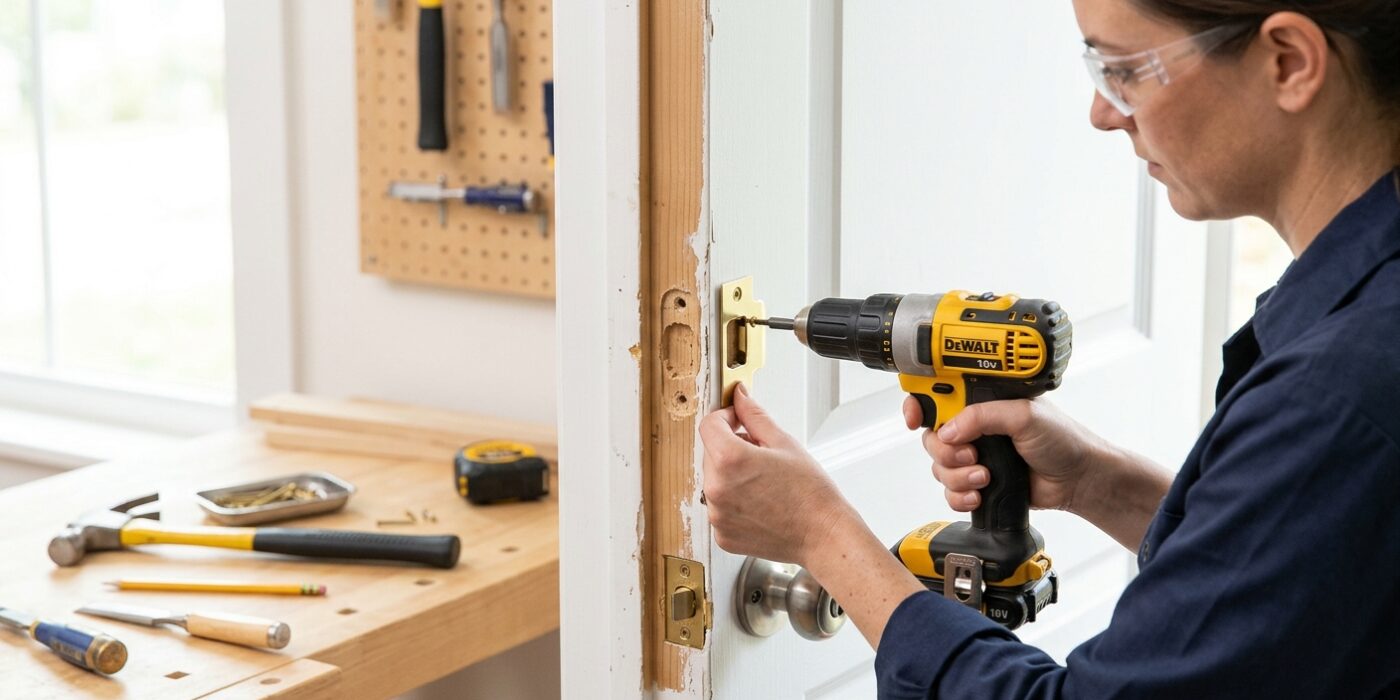
If your door is hanging too low or shifting, a simple adjustment won’t be enough. If the latch is off by more than 1/8 inch, you need to relocate the strike plate – the metal piece on the door frame – to align perfectly with the latch. Start by unscrewing the plate. To ensure the new screws bite into solid wood, fill the old holes with wood filler or wooden toothpicks dipped in wood glue. Let these dry for one hour, then sand them flush.
Place your plate in the new, marked position. If the plate feels tight or doesn’t sit flush with the frame, use a sharp wood chisel to gently widen the pocket. Take thin shavings at a time – it is much easier to remove more wood later than to add it back! Finally, pre-drill new pilot holes and use 3-inch screws to secure the plate. These long screws reach past the door jamb and into the sturdy wooden wall stud behind it, providing much better support than the original, shorter hardware.
Beginner Tip: Avoid the temptation to skip the pilot holes. Drilling a small guide hole first prevents the wood from splitting, which is a common headache for new DIYers. Always choose a drill bit slightly thinner than the shank of your screw.
Pro Tip: To keep your chisel sharp and effective, hold the flat side of the blade against the wood you are removing. If you hold it at a slight angle, you will have much better control over the depth of the cut.
Step 4: Door Swings Open on Its Own – Hinge Adjustment
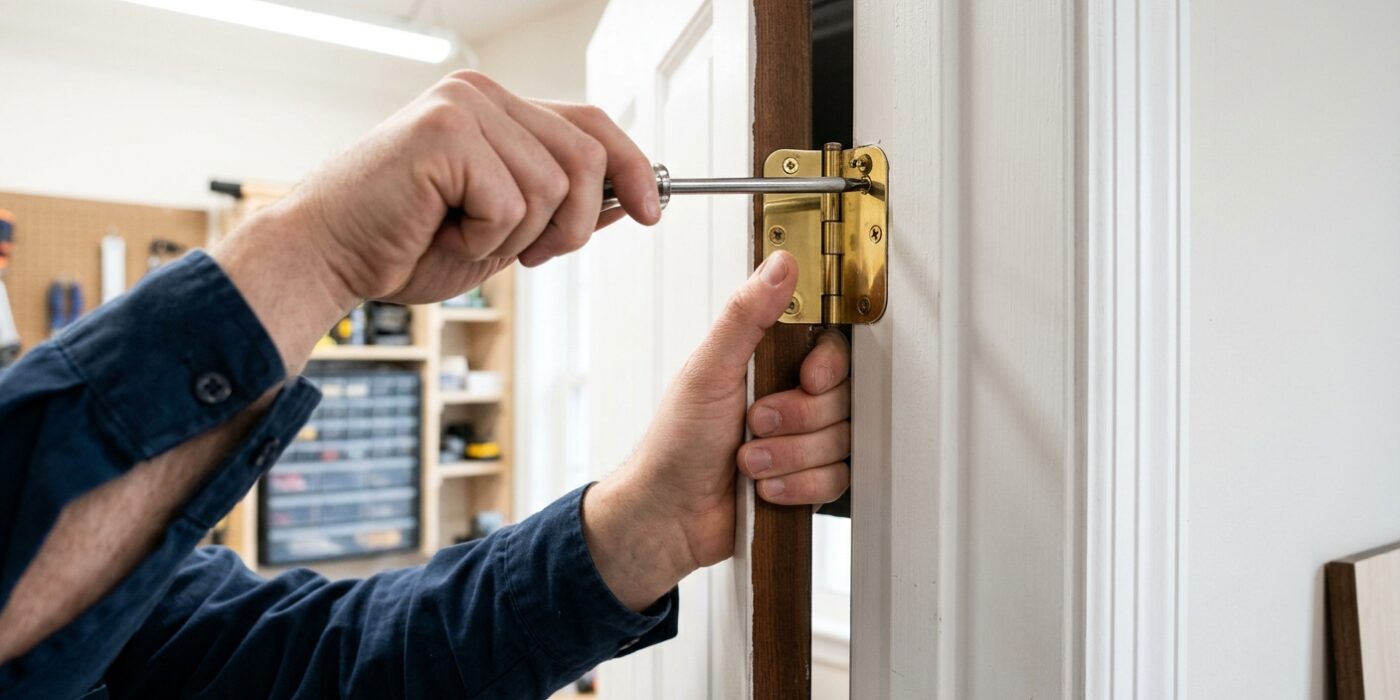
If your door keeps drifting open, gravity is likely pulling it toward the lowest point because your hinges are not perfectly vertical. To fix this, you need to adjust the hinge to encourage the door to stay shut. First, use a screwdriver to loosen the screws on the hinge attached to the door frame – the one that sits deepest into the jamb. Carefully peel the hinge plate away from the wood just enough to slide a small piece of thin cardboard or a folded business card behind it. This shim acts as a spacer, pushing the hinge outward by a fraction of an inch and realigning the door so it sits level again. Once the shim is in place, tighten the screws back down. This subtle adjustment shifts the angle of the door, helping it remain stationary instead of swinging away.
Beginner Tip: Be careful not to use too much shimming material. A piece of standard cereal box cardboard is usually perfect. If you add a layer that is too thick, you might accidentally push the door too far, making it rub against the frame or preventing it from closing entirely.
Pro Tip: If the door still drifts after shimming, try the “hinge pin trick.” Remove the middle hinge pin using a hammer and a nail as a punch. Place the pin on a hard surface and give it a very slight bend in the center with a hammer. When you tap it back in, the increased friction will act as a built-in brake, holding the door firmly in place.
Step 5: Latch Won’t Retract Fully
If your door handle turns perfectly but the door still pops open, the issue is that your latch bolt isn’t “throwing” far enough into the door frame to lock securely. Think of the strike plate as the home for your latch; if it is positioned even a fraction of an inch too far away, the metal bolt won’t engage deeply enough to keep the door shut. Your goal is to move that strike plate closer to the door by deepening the cutout (or mortise) in the frame.
Use a chisel to carefully carve away about 1/8 inch of wood from the inner edge of the strike plate’s rectangular cutout in the door jamb. You aren’t trying to remove a large chunk – just enough to nudge the strike plate closer to the door so the latch bolt can click into place with a satisfying thud. Ensure you are removing material only from the edge facing the inside of the room.
Beginner Tip: Don’t try to clear the entire mortise in one massive strike with your chisel. Instead, take small, thin shavings of wood. It is much easier to remove a little extra wood later than it is to fix a hole that you have made too deep or too wide.
Alternative Method: If you don’t feel comfortable using a chisel, visit your local hardware store and purchase an adjustable strike plate. These include a sliding tab that allows you to shift the catch point by 1/8 to 1/4 inch just by turning a screw, requiring absolutely no wood removal.
Pro Tip: Before you start cutting, rub a little bit of lipstick or white chalk on the end of the latch bolt. Close the door and try to latch it, then open it back up. The colorful mark left on your frame will show you exactly where the bolt is hitting, ensuring you only chisel exactly where you need to.