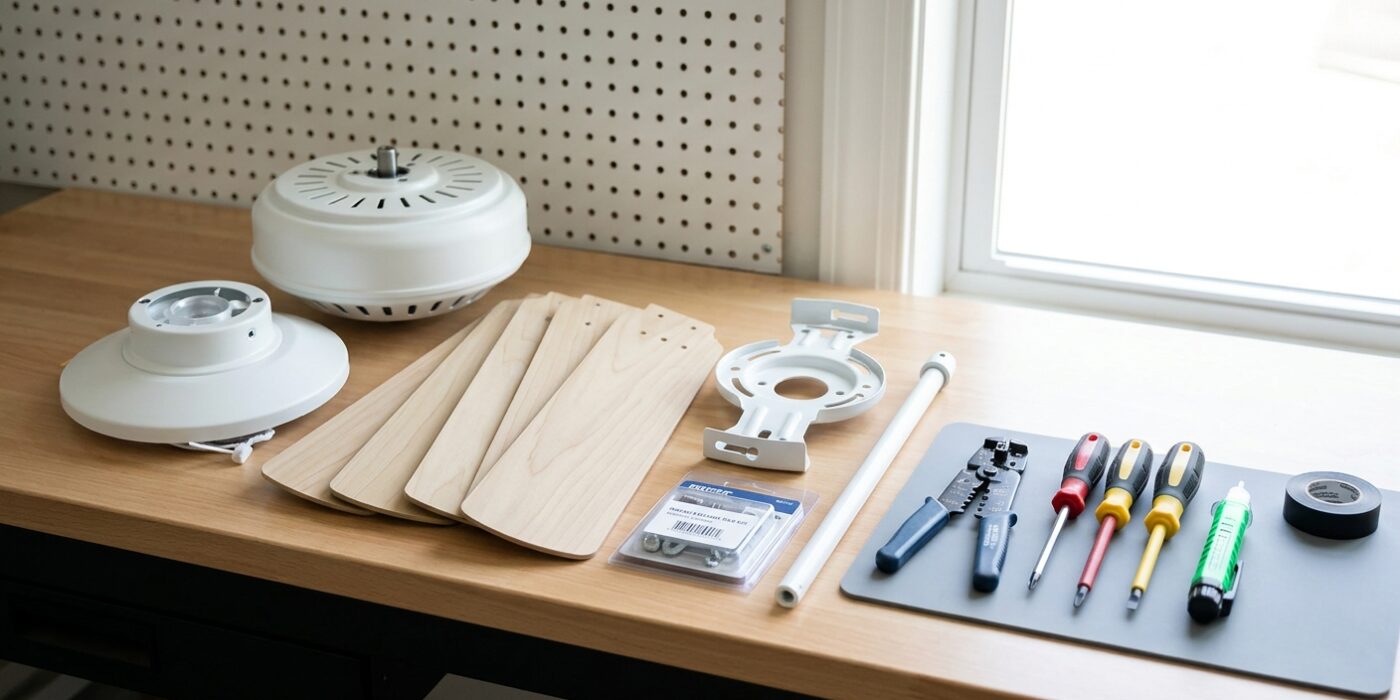
Project Shopping List
Safety First
Always turn off power at the breaker before touching any wiring. Test with a non-contact voltage tester even after flipping the breaker.
Step 1: Remove the Old Fixture
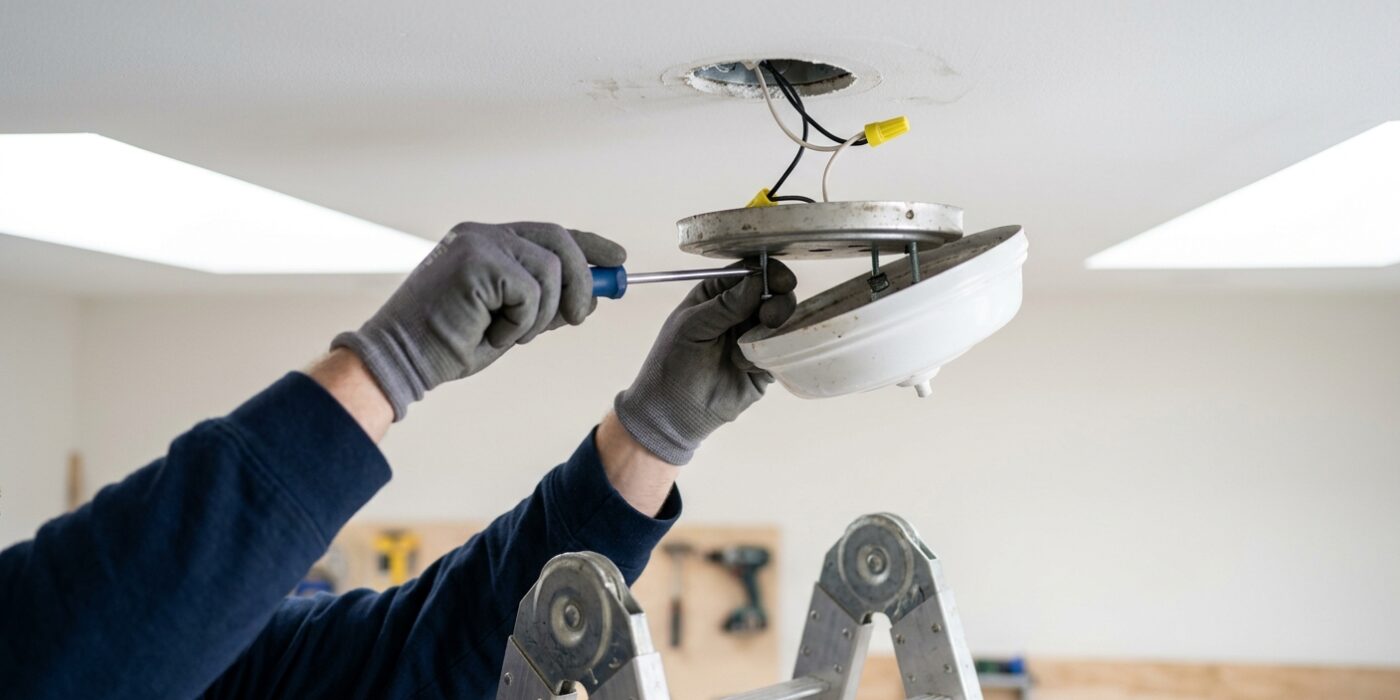
Before you begin, head to your home’s main electrical panel and flip the circuit breaker labeled for your room to the “Off” position. Double-check that the lights are off by flipping the wall switch. To remove your old fixture, first unscrew the glass shade and bulbs to reduce the weight. Once exposed, gently pull the fixture canopy away from the ceiling to reveal the wires. Use a non-contact voltage tester – a small tool that chirps or lights up near electricity – to confirm the power is truly off before touching any wires. Carefully disconnect the wire nuts, then unscrew the fixture from the ceiling mounting bracket.
Beginner Tip: Never rely solely on the wall switch to cut power. Always turn off the breaker. It is far too easy for someone to accidentally flip the switch while you are working, creating a significant safety hazard. Always test the wires with a voltage tester even after the breaker is off.
Pro Tip: When you remove the fixture, take a quick photo of how the wires were connected before you untwist anything. Many ceiling fan motors have specific wiring configurations, and having a reference photo will save you a massive headache when it comes time to connect your new fan.
Finally, verify that your electrical box is “fan-rated.” Look for a stamped message inside the box or on the mounting bracket that says “Acceptable for Fan Support.” If it is just a standard light fixture box, it will not hold the weight of a spinning fan and must be replaced with a heavy-duty rated box.
Step 2: Assemble the Fan
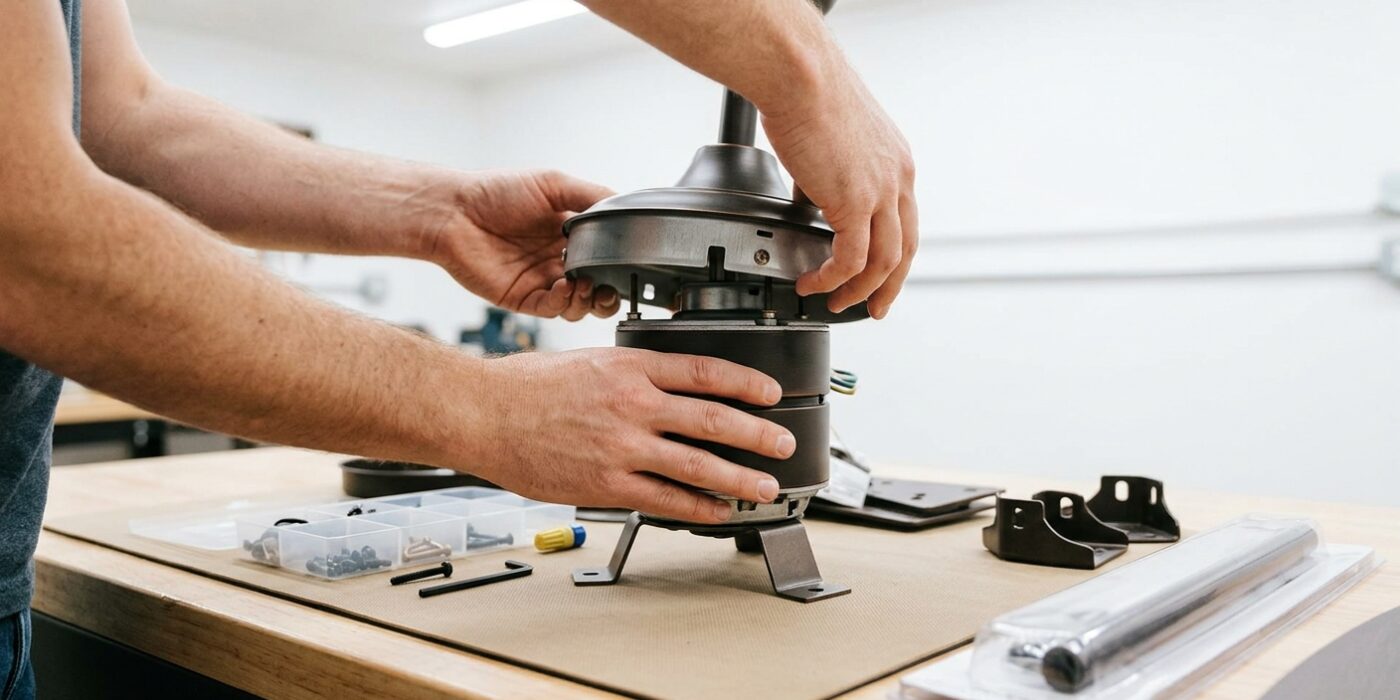
Before you climb that ladder, it is much easier to assemble the bulk of your fan on the floor. Start by attaching the fan blades to the motor housing using the provided screws. Be sure to tighten these screws firmly in a star pattern – tighten one, then move to the one directly opposite it – to ensure the blades are balanced and won’t wobble later. Once the blades are secure, attach the downrod to the motor housing, feeding the wires through the center so they don’t get pinched.
Next, install the mounting bracket to your ceiling electrical box. This is the foundation of your fan, so ensure the screws are driven deep into the joist or a fan-rated brace. Hang the motor assembly onto the bracket’s hook; this handy feature acts as an extra pair of hands, holding the weight of the motor while you safely connect your wires. Match the black wire to the black (live) house wire, white to white (neutral), and connect the green or bare copper wire to the grounding screw. Use wire nuts to twist them together tightly, ensuring no bare copper is visible outside the connector.
Beginner Tip: Do not overtighten the screws connecting the blades to the motor. If you strip the screw heads or the soft metal threads, the blades will sag, causing an annoying clicking noise every time the fan spins.
Pro Tip: Before hoisting the motor onto the bracket, give all your wire nut connections a firm tug. If a wire slips out, it is a simple fix on the floor, but a major headache once the motor is hanging overhead.
Step 3: Connect the Wiring
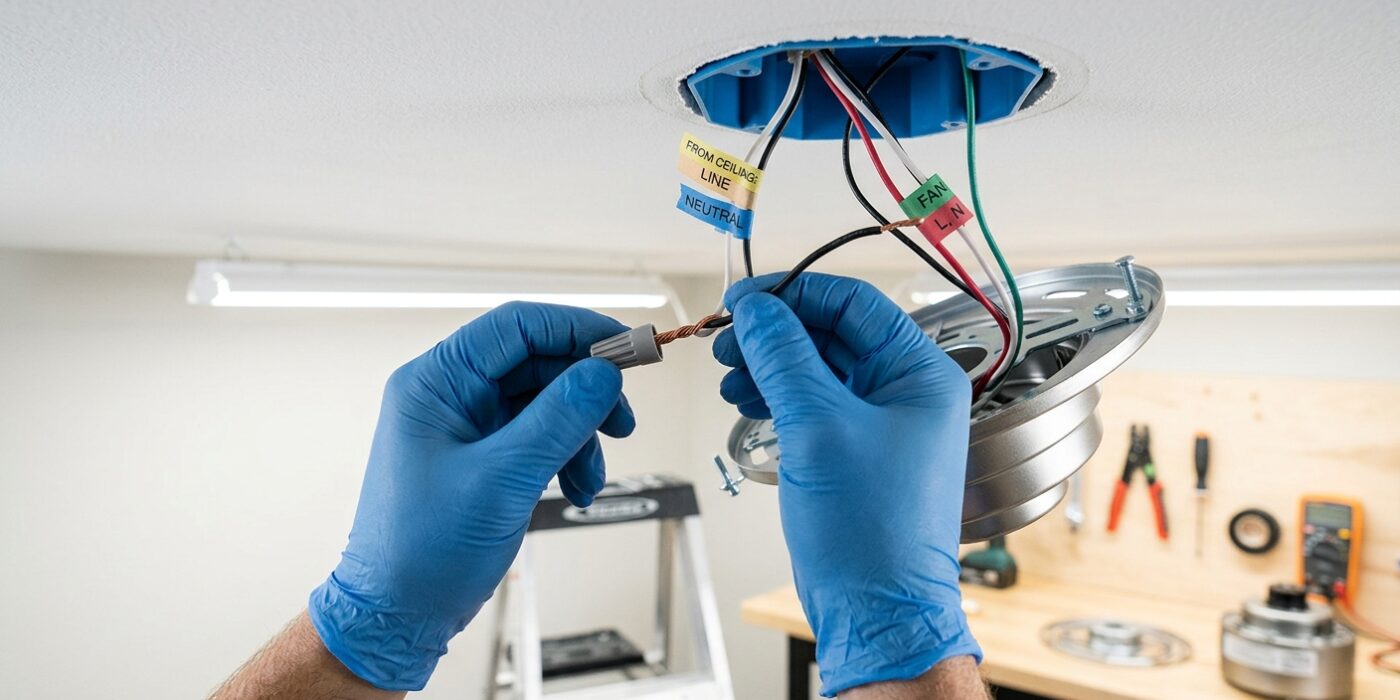
Now it is time to bring your fan to life by connecting the wires. Most homes are wired with a single wall switch that controls both the fan and the light at the same time. To set this up, take the black wire (fan motor) and the blue wire (light kit) from your fan and twist them together with the black (hot) wire coming from your ceiling box. Secure these three wires tightly inside a wire nut by twisting it clockwise until it feels firm. Next, connect the white (neutral) fan wire to the white ceiling wire, and finally, connect the green or bare copper wire to the green grounding screw or bare wire in the ceiling box. This grounding step is vital for safety, as it provides a path for electricity to escape safely if a fault occurs.
Beginner Tip: Before letting go of the connected wires, give each one a gentle tug. If a wire slips out of the wire nut, it is not secure enough. A loose connection can cause flickering lights or a fan that hums, so ensure every wire is held firmly in place by the nut.
Pro Tip: To make the installation much easier, use a “helping hand” wire hanger or a piece of heavy-duty tape to temporarily secure the fan motor assembly to the ceiling bracket. This keeps the unit suspended while you have both hands free to twist wires and screw on the wire nuts without balancing the heavy motor at the same time.
Step 4: Test and Balance
Now that your fan is fully assembled and mounted, it is time to bring it to life. Head back to your electrical panel and flip the circuit breaker back to the “on” position. Return to the room and turn on the wall switch. Test every function: toggle through each speed setting, from low to high, and ensure the light kit operates smoothly. A healthy fan should spin quietly and remain steady. If you notice the fan wobbling or shaking, it is likely due to uneven weight distribution in the blades. Use the balancing kit included in your box, which typically contains a small plastic clip and several adhesive-backed weights. Simply attach the clip to the trailing edge of one blade, observe the wobble, and move it around until the fan stabilizes. Once balanced, peel and stick the weight onto the top center of that specific blade.
Beginner Tip: Do not panic if the fan wobbles slightly on the highest setting. Many new installers assume the unit is broken, but it often just needs minor adjustments. Take your time to test each blade individually with the clip, as rushing this process is the most common reason for persistent shaking.
Pro Tip: Before you start the balancing process, double-check that every blade screw is tightened uniformly. Often, a “wobble” is actually caused by a single loose screw rather than an unbalanced blade. Ensuring every fastener is snug is the fastest way to achieve a smooth, professional-grade spin without needing the balancing kit at all.