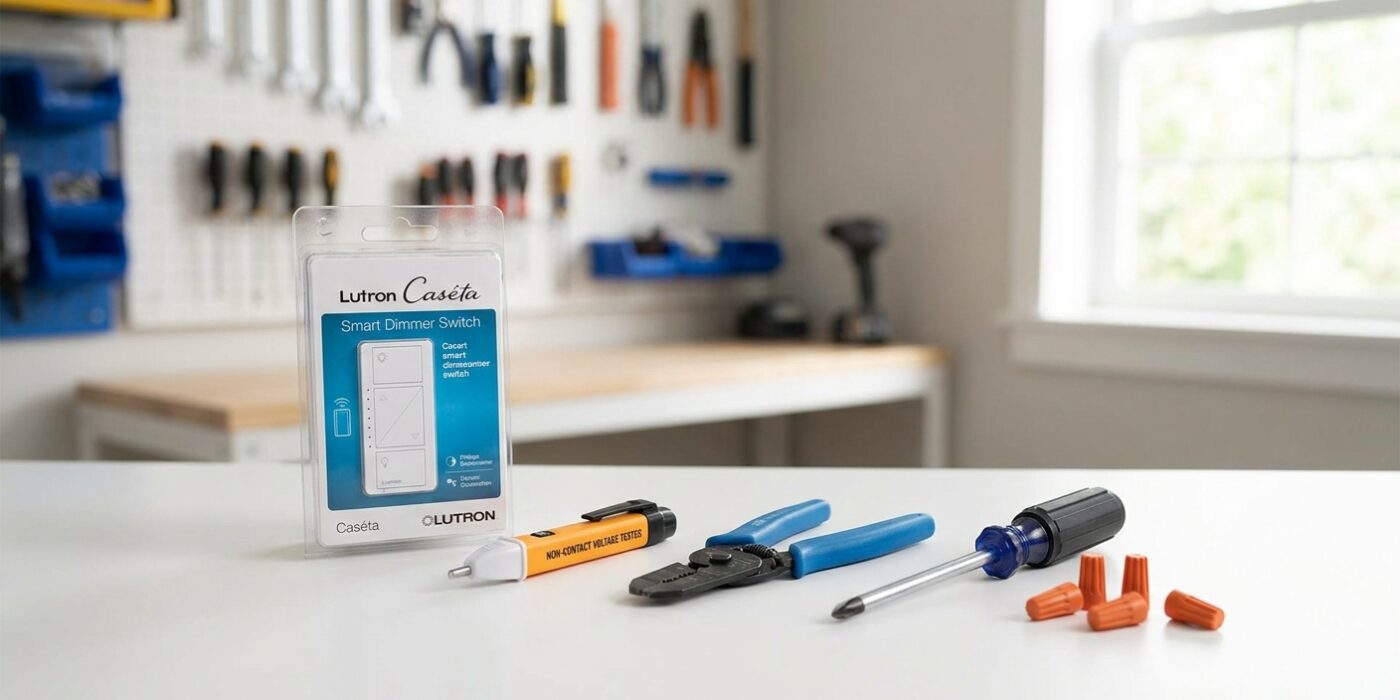
Project Shopping List
Smart switches – especially those with Wi-Fi or Z-Wave that control lights via app, voice assistant, or schedule – are one of the most impactful smart home upgrades. The most common installation obstacle is the “no neutral wire” situation: older homes (pre-2000) often have switch loops without a neutral wire in the switch box, which is required by most smart switches. This guide covers both the standard installation and the no-neutral solution.
Understanding the neutral wire situation before buying saves significant frustration. The guide clarifies which switches work without neutral, and exactly how to wire them.
What You’ll Need
Tools
- Non-contact voltage tester
- Phillips and flathead screwdrivers
- Wire stripper
- Needle-nose pliers
Materials
- Smart switch (choose one compatible with your situation – neutral or no-neutral)
- Wire nuts
- Electrical tape
Step 1: Determine if You Have a Neutral Wire
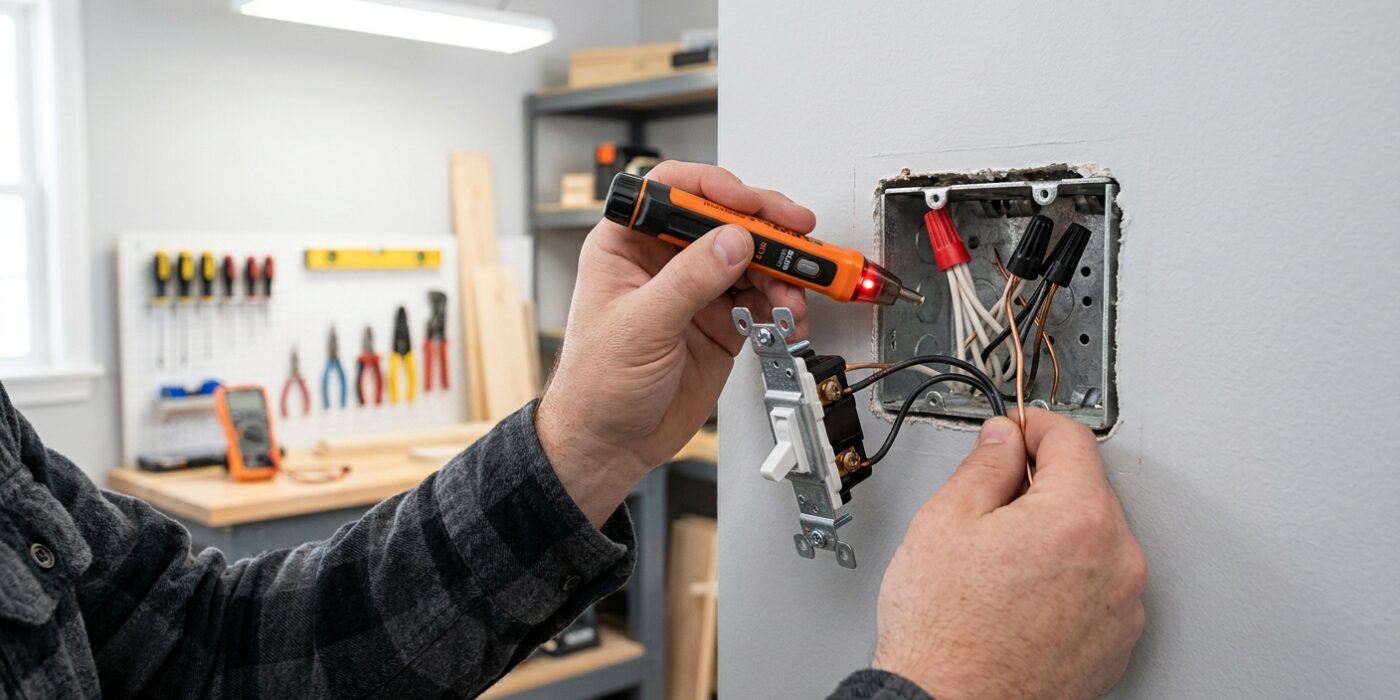
Before you begin, head to your home’s main electrical panel and flip the circuit breaker that controls the light switch to the “Off” position. Use a non-contact voltage tester to touch the side of the switch; if it doesn’t beep or glow, it is safe to proceed. Use a screwdriver to remove the wall plate and the two screws holding the switch in the box, then gently pull the switch out by its metal tabs. Do not disconnect any wires yet.
Look inside the wall box. A neutral wire is typically white and is usually bundled together with other white wires using a plastic cap called a wire nut, tucked into the back of the box. If you see a cluster of white wires not attached to the switch, you have a neutral. If you only see two wires connected to your switch – often one black and one white – check if that white wire has a piece of black electrical tape or marker on the end. If it does, that is a “switch loop,” which means your home was wired without a dedicated neutral for the switch.
Beginner Tip: Never assume a wire is neutral just because it is white. In older homes, installers sometimes used white wires to carry live power. Always look for that telltale black marking; if you are unsure, consult a professional rather than guessing.
Pro Tip: Take a clear, well-lit photo of the wiring configuration with your phone before you move anything. This ensures you know exactly how it was connected if you need to double-check your work or put the old switch back.
Step 2: Choose the Right Smart Switch
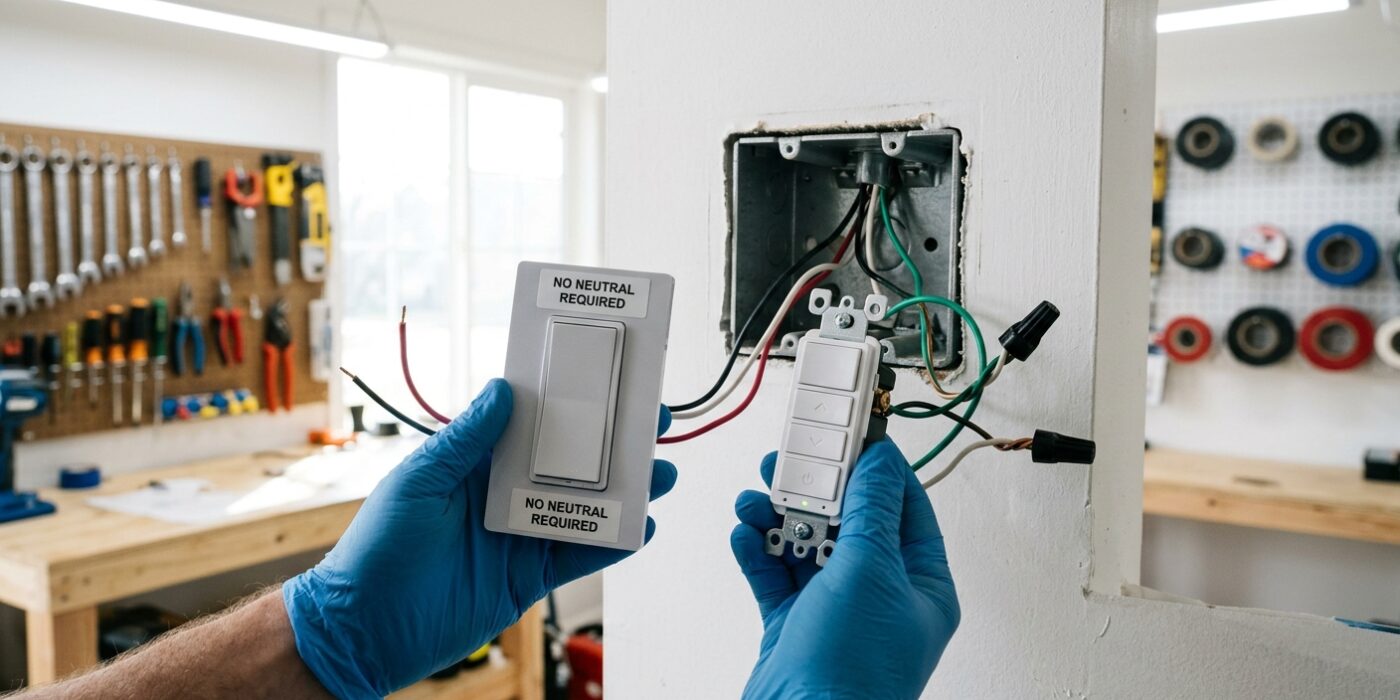
Before you purchase your gear, you must determine if your wall box contains a neutral wire. The neutral wire is typically white and tucked into the back of the electrical box, often bundled together with a wire nut. If you spot one, you are in luck – almost any smart switch will work, giving you the widest variety of aesthetic and functional choices.
If you don’t see a white wire, do not panic! You simply need a specific “no-neutral” smart switch. These are engineered to draw a tiny amount of power through the light bulb circuit itself, rather than needing a dedicated return path. Reliable options include Lutron Caseta, Leviton Decora Smart, and GE/Enbrighten models. Always verify the packaging explicitly states “no-neutral wire required.”
Beginner Tip: Never attempt to use a standard smart switch by connecting the ground wire to the neutral port. This is a common and dangerous mistake that will not provide the necessary circuit path, often causing your lights to flicker or permanently damaging the expensive internal components of your new switch.
Pro Tip: Before buying your switch, take a quick photo of the inside of your open wall box with your smartphone. When you go to the store or shop online, you can use that reference image to ensure the new switch you pick has the correct wiring configuration and fits comfortably within your existing box space.
Step 3: Standard Installation (With Neutral)
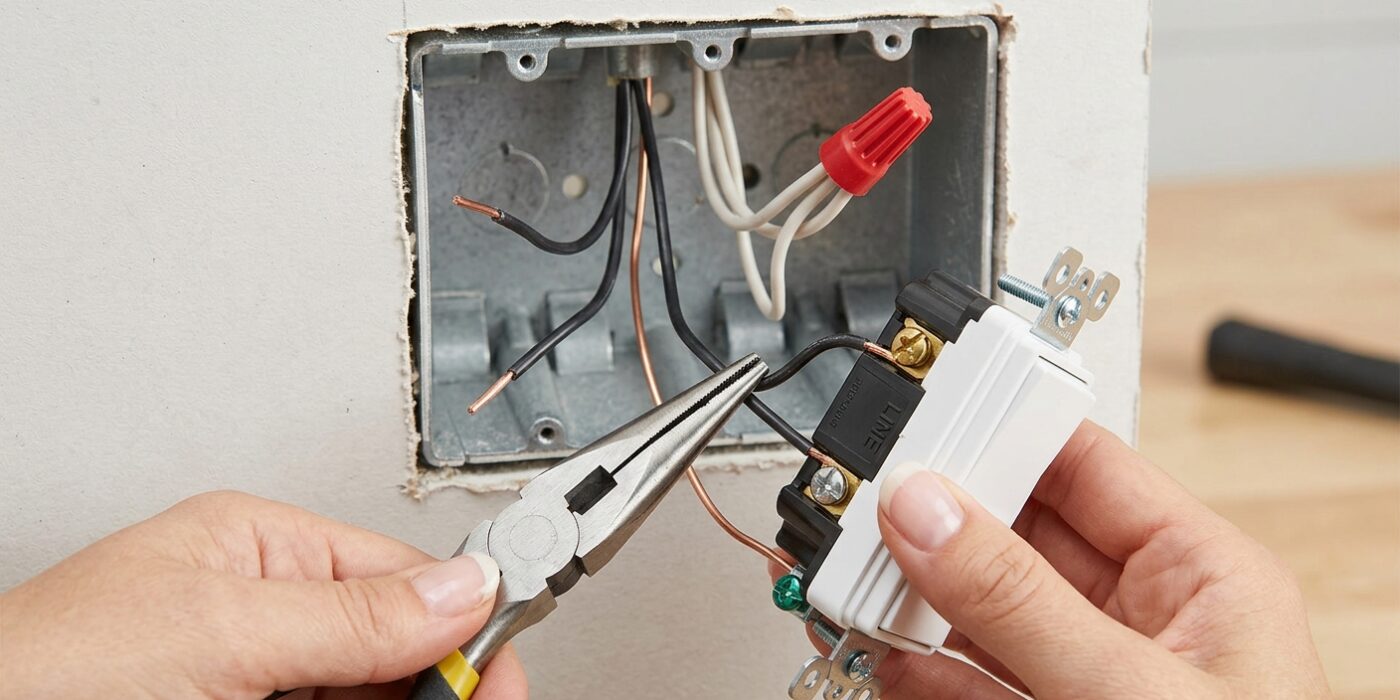
Now that your wires are exposed, it is time to connect them to your new smart switch. This process ensures your device has the power it needs to stay connected to your Wi-Fi. First, identify your wires: the hot wire (usually black) provides electricity, the load wire carries power to your light, the neutral wire (white) completes the circuit, and the ground wire (green or copper) protects you from surges.
To begin, take your wire cutters and strip about 5/8 of an inch of insulation off the ends of your house wires if they aren’t already bare. If your switch has screw terminals, hook the wire clockwise around the screw so it tightens as you turn the screwdriver. If your switch has pre-attached wire leads, hold two matching wires side-by-side with the ends aligned, slide a wire nut over them, and twist clockwise until the wires pull together firmly. Ensure no bare metal is exposed outside the nut or terminal; if it is, trim it back. Finally, gently fold the wires in an accordion style to push them back into the box, mount the switch, and snap on your cover plate.
Beginner Tip: Never rely on wire color alone! Houses are sometimes wired incorrectly. Use a non-contact voltage tester to confirm exactly which wire is live before you touch anything, ensuring your power is truly off.
Pro Tip: Before you screw the switch into the wall, turn the power back on and test the switch to ensure it works. It is much easier to troubleshoot a loose connection while the switch is still hanging outside of the box than after it is permanently mounted.
Step 4: No-Neutral Installation
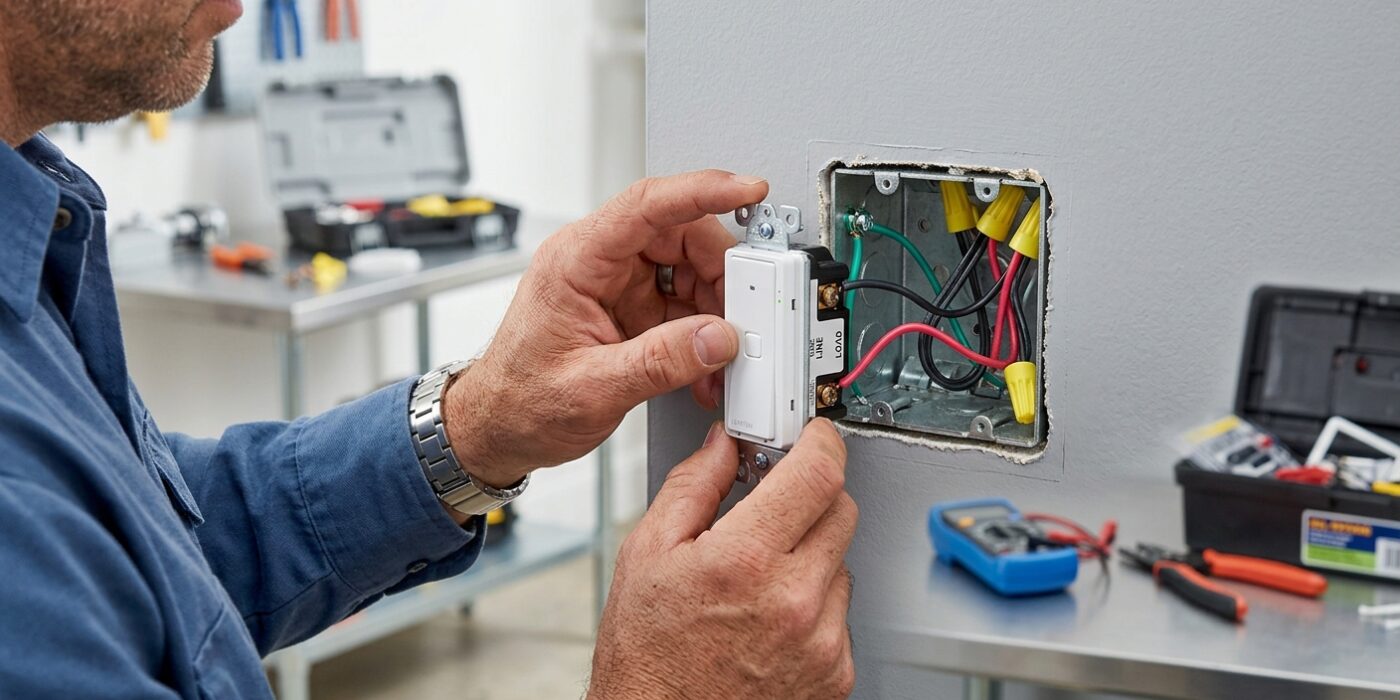
If your electrical box lacks a neutral wire (which is usually a bundle of white wires tucked into the back), don’t worry. Because no-neutral smart switches are designed to sip a tiny amount of electricity to stay connected to your Wi-Fi, they function differently than standard switches. Your smart switch will sit in series with your light bulb, drawing power even when the light is off.
To install, attach the black wire coming from your wall (the “hot” wire) to the terminal labeled LINE. Next, take the white wire that was previously connected to your old switch – which is now acting as your “load” wire – and secure it to the terminal labeled LOAD. Finally, connect the bare copper or green ground wire to the green screw on your switch. Ensure each wire is stripped exactly 5/8-inch from the end to allow for a solid connection under the terminal plate without exposing too much bare copper.
Beginner Tip: A common mistake is accidentally using a smart bulb with a no-neutral switch. Because the switch needs to draw a “trickle” of power through the circuit, smart bulbs (which are already trying to manage their own power) will often flicker or strobe. Stick to standard, high-quality dimmable LED bulbs to ensure a steady, flicker-free performance.
Pro Tip: Before you push the switch back into the wall, gently tug on each wire to ensure it is firmly seated in the terminal. If you can wiggle a wire loose, tighten the screw or re-insert the wire until it feels solid as a rock; a loose connection is the most common cause of “smart” devices that randomly disconnect.
Step 5: Install the Switch
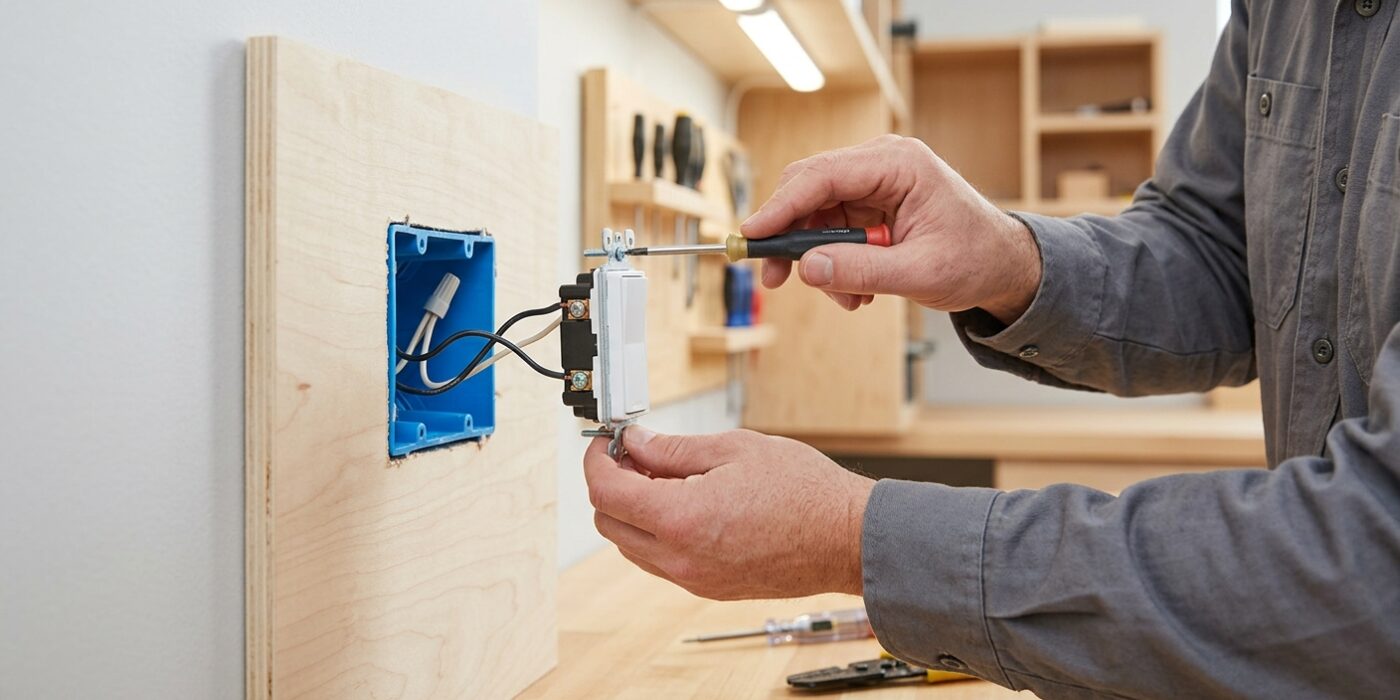
Now that your wires are securely connected, it is time to nest the switch inside the wall box. Gently fold the wires in an accordion-style pattern, tucking them toward the back of the box to create space for the switch body. Because smart switches are deeper than standard toggles, avoid forcing the device; if you feel significant resistance, pull it out and re-adjust the wire loops to ensure they aren’t bunched behind the unit. Once the switch sits flush against the box, use the provided screws to secure it. If your house has older, uneven wall surfaces, do not overtighten the screws, as this can crack the plastic or cause the switch to sit at an awkward angle. Finally, snap the faceplate into position or screw it on until it is snug against the wall.
Beginner Tip: A very common mistake is allowing a bare copper ground wire to touch the terminal screws on the side of the switch. Before you screw the device into the box, give the assembly a quick wiggle to ensure no exposed metal parts are making contact with anything other than their intended terminals, which prevents short circuits.
Pro Tip: If the switch feels like it is popping out of the box because of the stiff electrical wires, use a hair dryer on a low-heat setting for 30 seconds to warm the wire insulation. This makes the copper strands much more pliable, allowing them to fold neatly into the back of the box without fighting against your hands.
Step 6: Set Up and Test
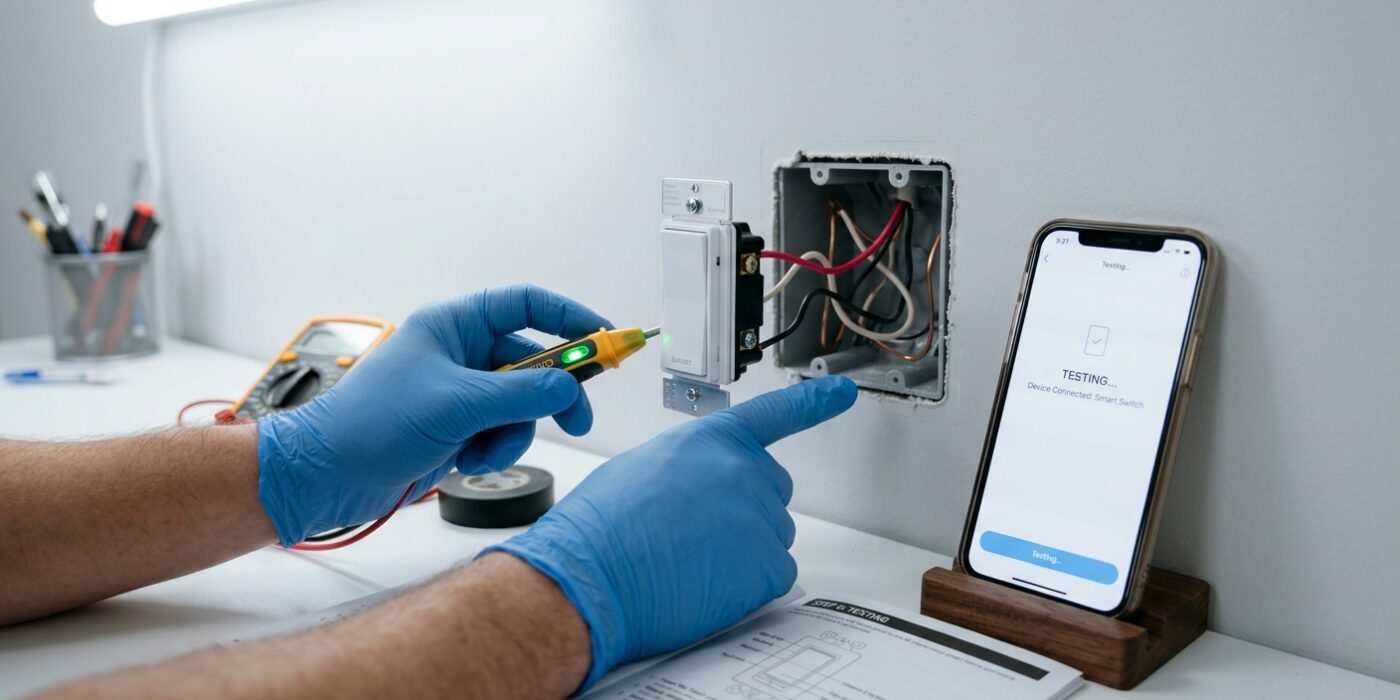
Now that your switch is secured in the wall, it is time to bring it to life. First, head to your electrical panel and flip the circuit breaker back to the “On” position. You should see a small indicator light on the switch start to blink, which means it is ready for pairing. Download the manufacturer’s app on your smartphone, create an account, and follow the step-by-step instructions. Ensure your phone is connected to your home’s 2.4GHz Wi-Fi network during this process, as most smart switches cannot communicate with 5GHz bands. Once connected, test the physical paddle to ensure the light turns on and off manually. Then, use the app to trigger the light remotely to confirm the Wi-Fi signal is strong enough. If you installed a dimmer, test the entire range – from fully off to maximum brightness – to ensure the bulb does not flicker or buzz.
Beginner Tip: Before you spend twenty minutes troubleshooting, make sure your light fixture is actually turned on. If the bulb is burned out or the lamp switch itself is in the “off” position, your smart switch will appear to be failing even when it is wired perfectly.
Pro Tip: If your smart switch struggles to stay connected to your Wi-Fi, it is likely due to the metal wall box acting as a shield. Try to position your router or a mesh Wi-Fi node in a direct line of sight to the room where the switch is installed to provide a stable, consistent signal.