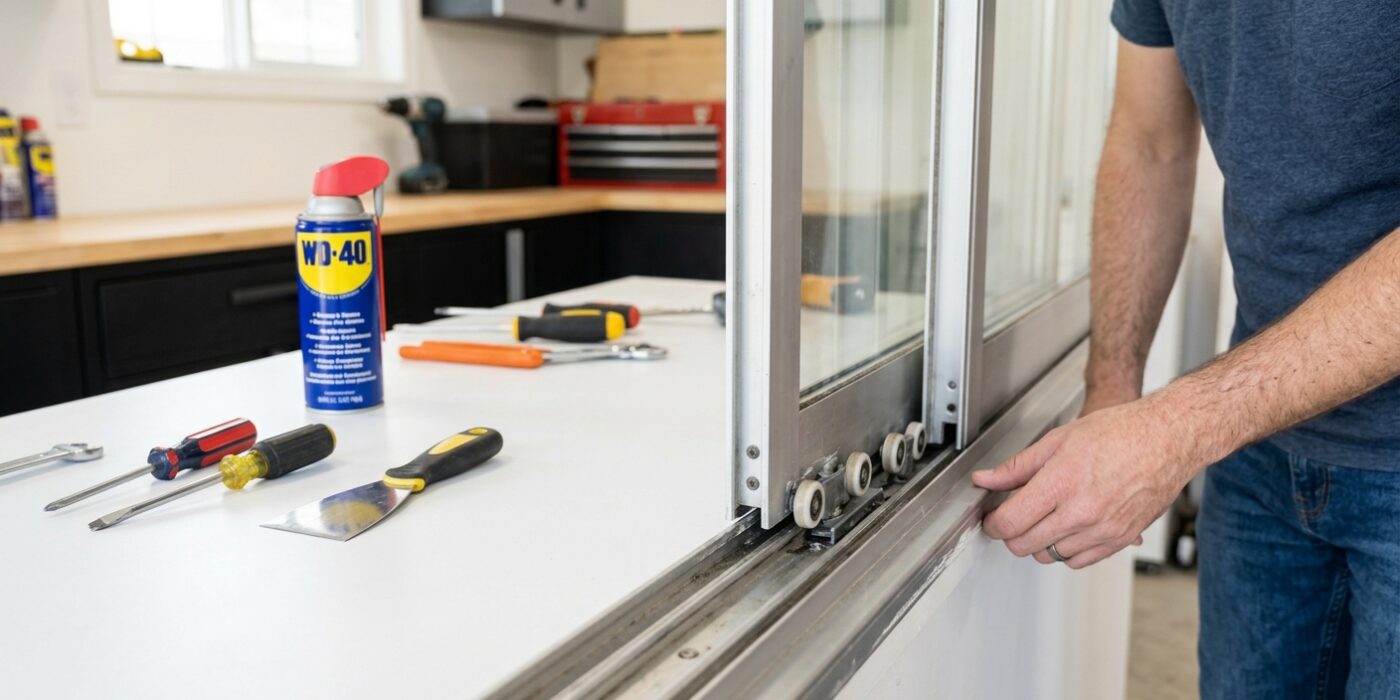
Project Shopping List
A sliding door that has jumped its track or drags and rattles is a frustrating daily problem that’s usually quick to fix. Sliding glass doors (patio doors) and interior sliding closet doors both ride on roller systems that wear out, collect debris, and occasionally pop out of the track – and all of these issues have straightforward DIY solutions.
This guide covers the three most common problems: re-seating a door that’s off the track, adjusting the rollers to restore smooth operation, and cleaning the track to eliminate drag and noise.
What You’ll Need
Tools
- Phillips and flathead screwdrivers
- Pry bar or putty knife
- Stiff brush or old toothbrush
- Vacuum with crevice tool
- Level
Materials
- Silicone spray lubricant (not WD-40)
- Replacement rollers (if worn – match to door brand and model)
- Cleaning rags
Step 1: Understand the Track System
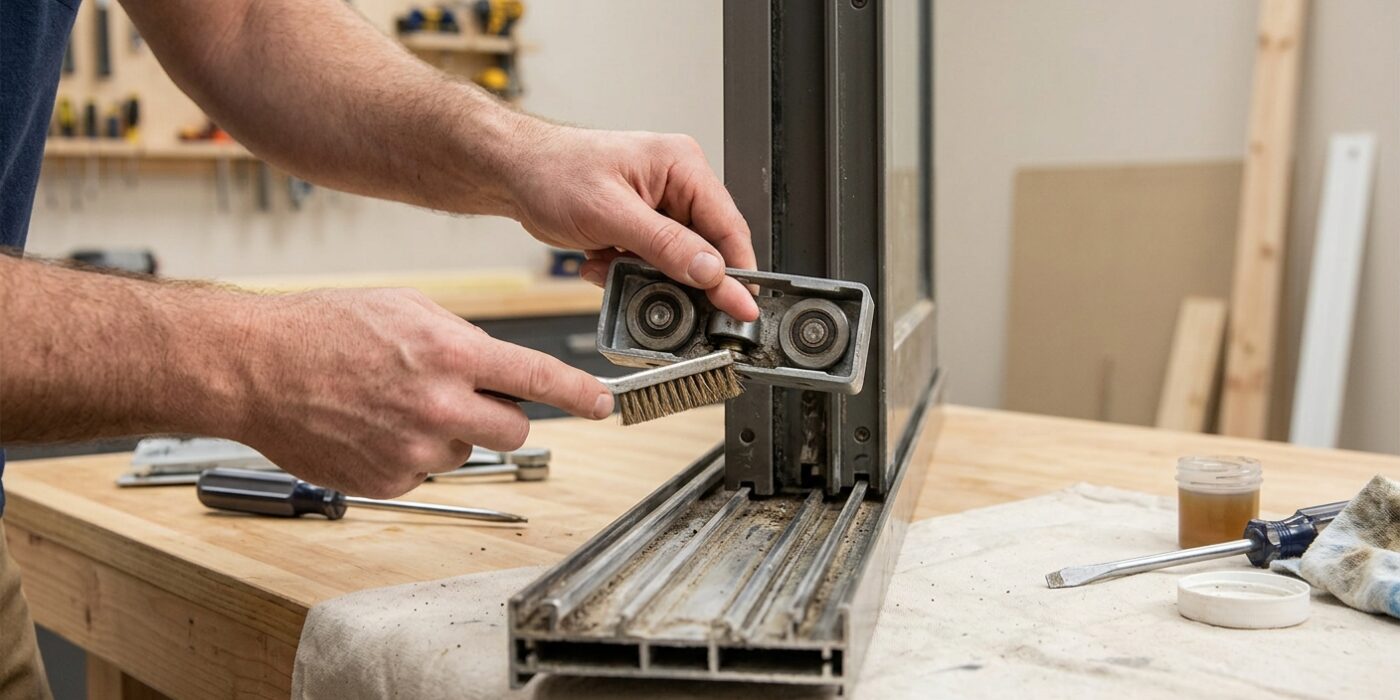
Before you dive in, take a moment to observe how your door is seated. Most sliding patio doors rely on wheels at the bottom that carry the weight, while a guide channel at the top keeps the door from tipping over. If your door is sticking or off-track, it is usually because the adjustment screws – located near the bottom corners of the door frame – have vibrated loose, causing the rollers to retract. By tightening or loosening these screws with a screwdriver, you change the height of the door, which is often all it takes to lift it back onto the metal rail.
For lighter closet doors, the system is often inverted; the rollers hang from a top track, and a small plastic guide sits on the floor to prevent swinging. Take a flashlight and inspect both the top and bottom channels for debris, as even a small pebble can knock a door off its path.
Beginner Tip: Never force the door to slide if you feel heavy resistance. If it feels like it is scraping, stop immediately. Pushing against a misaligned door can bend the metal track or crack the rollers, turning a simple adjustment into a costly repair.
Pro Tip: Before making any adjustments, use a piece of painter’s tape to mark the door’s current height against the frame. This gives you a clear visual reference point, making it much easier to track whether your adjustments are raising or lowering the door as you turn the screws.
Step 2: Re-Seat a Door Off Its Track
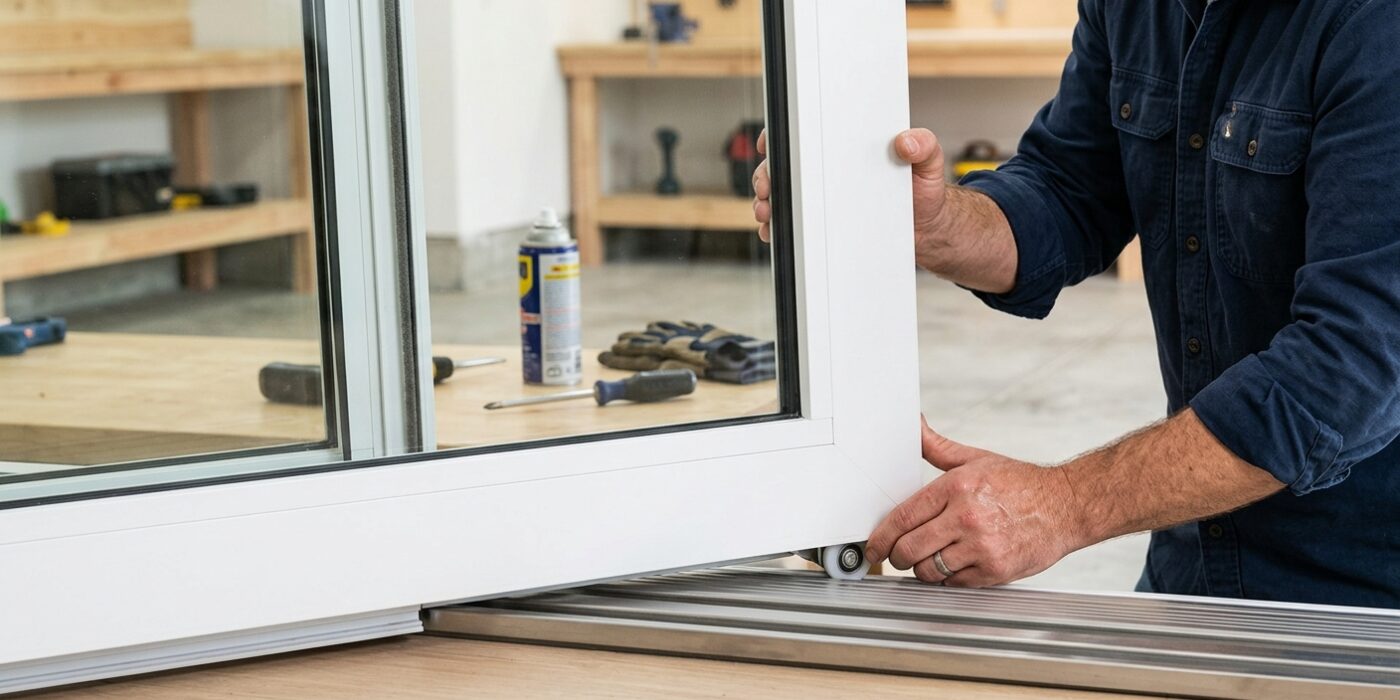
Now that your door is prepped, it is time to guide it back home. Think of this as putting a train back on its rails. For heavy patio doors, ask a friend to help you lift. You need to tilt the door outward at roughly a 15-degree angle – just enough so the bottom rollers clear the raised metal “lip” of the track. While holding that angle, carefully guide the top edge of the door into the upper channel. Once the top is secure, gently lower the bottom, making sure the wheels align directly over the track. For lighter closet bi-fold or bypass doors, lift the panel upward to compress the spring-loaded top rollers. Keep the door compressed as you guide the bottom pivot pin into its floor bracket, then slowly release the pressure so the rollers lock into the overhead track.
Beginner Tip: Avoid forcing the door into place if it feels stuck. If you meet heavy resistance, you are likely missing the track or the rollers are snagging. Stop, reset the door to the floor, and look closely at the alignment before trying again to avoid bending the metal track.
Alternative Method: If you are working alone and find the door too heavy to hold, place a small block of wood or a thick book under the bottom edge of the door once you have lifted it. This provides a temporary “shelf” that holds the door steady, allowing you to use both hands to align the rollers without straining your back.
Pro Tip: Before you attempt to re-seat the door, wipe the tracks clean with a damp cloth and apply a quick spray of silicone lubricant. This reduces friction and helps the rollers glide smoothly into place, making the entire process much less of a struggle.
Step 3: Clean the Track
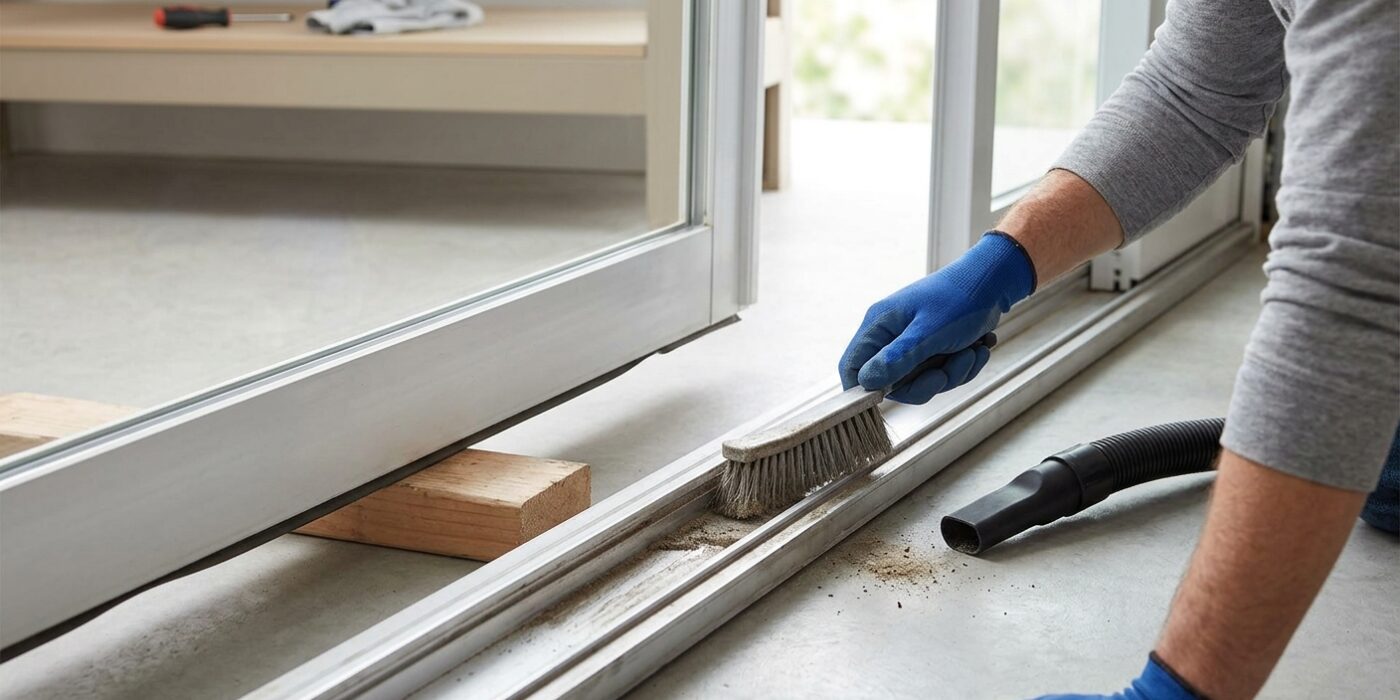
Now that your door is safely set aside, take a close look at the bottom track. Over time, these tracks act like a magnet for outdoor debris – leaves, pebbles, insect nests, and stubborn white calcium deposits. If you skip this step, these particles act like sandpaper, grinding into your rollers and preventing the door from gliding smoothly.
Start by using the crevice tool attachment on your vacuum to reach deep into the channel. Move the nozzle at a 45-degree angle to lift embedded dirt. Once loose debris is gone, mix a few drops of dish soap into a bucket of warm water. Use a stiff-bristled scrub brush to scrub the metal surface vigorously. If you see hard white buildup, scrub that area with extra pressure until the metal feels smooth to the touch. Finally, wipe the track clean with a damp cloth and dry it thoroughly with a paper towel; moisture left behind can lead to rust or premature roller wear.
Beginner Tip: Avoid using harsh chemical cleaners or abrasive steel wool pads. These can strip the protective finish off the metal track, making it prone to corrosion and creating a rough surface that catches on the wheels.
Pro Tip: If the calcium deposits are particularly stubborn, soak a few strips of paper towel in white vinegar and lay them directly over the spots for 15 minutes. The acid in the vinegar will break down the mineral buildup, allowing you to wipe it away effortlessly with almost no scrubbing required.
Step 4: Lubricate the Track and Rollers
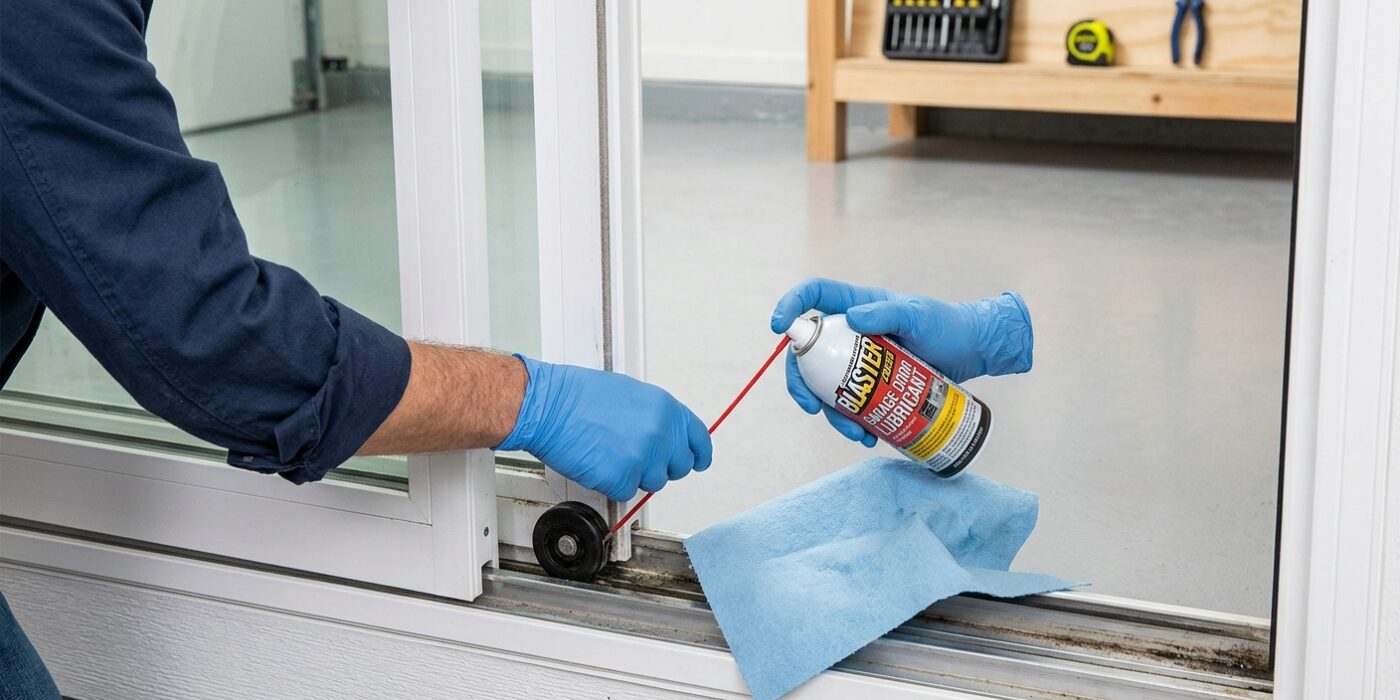
Now that your door is back on its feet, let’s ensure it glides like new. Take your can of silicone spray lubricant and apply a light, even coating directly into the bottom track where the wheels sit, as well as along the top guide channel. Don’t forget to spray the actual wheels if you can reach them. We use silicone spray instead of standard WD-40 because it is “dry” – it won’t turn into a sticky paste that traps pet hair and dust, which would eventually jam your door again. Once applied, firmly grip the door and slide it back and forth along the full length of the frame at least five or six times. This movement helps the lubricant coat the internal ball bearings of the rollers. Plan to repeat this simple process every 6–12 months to keep things moving smoothly.
Beginner Tip: Avoid the temptation to over-spray. You only need a very light mist; puddles of lubricant will actually attract more dirt and grime, making your door stickier in the long run. If you see liquid pooling in the track, simply wipe the excess away with a clean paper towel.
Pro Tip: To get the lubricant into the tightest spots without making a mess, hold a piece of cardboard behind the track while you spray. This acts as a shield, preventing the mist from settling on your floors or the surrounding wall paint, keeping your cleanup time to a minimum.
Step 5: Adjust the Rollers on a Patio Door
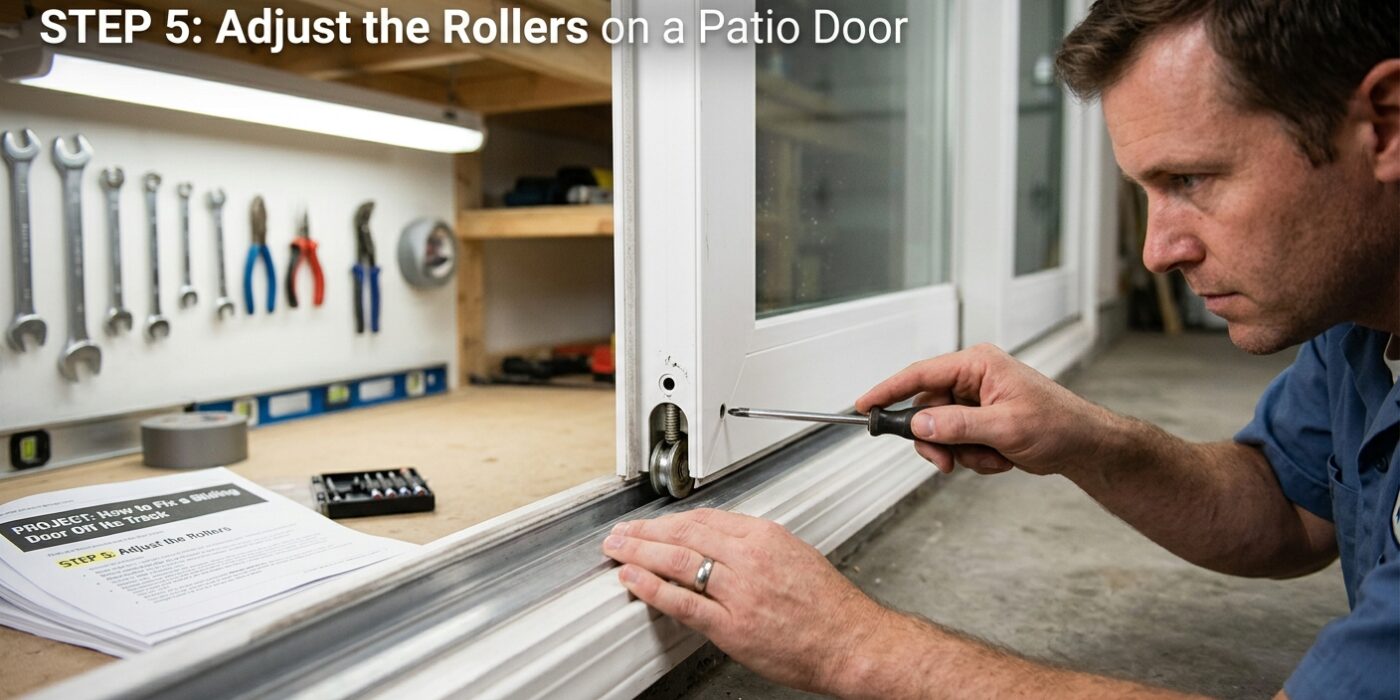
Now that your door is back on the track, you need to fine-tune its height so it glides smoothly. At the very bottom of the door frame on both the left and right sides, you will see a small plastic plug or cover. Gently pry this off with a flathead screwdriver to reveal the adjustment screw inside. This screw controls the internal roller mechanism.
Insert your Phillips screwdriver into the screw and turn it slowly. Rotating clockwise will raise the door, while counterclockwise will lower it. The goal is to ensure the door sits perfectly level; if it sits at an angle, it will catch on the track or fail to lock. Aim for about 1/8 inch of clearance between the top of the door and the upper track. Use a bubble level against the side of the door to verify it is perfectly vertical, or “plumb.” Take your time, making small quarter-turns on each side to keep the door balanced as you go.
Beginner Tip: Avoid the urge to crank the screw as far as it will go. If you raise or lower the rollers too aggressively, the door can become unstable or pop off the track again. Always make small, incremental adjustments and test the door’s movement after every half-turn.
Pro Tip: Before you begin, have a partner hold the door steady or use a small wooden shim to support the door’s weight. When the door is slightly lifted by a shim, there is less tension on the adjustment screws, making them much easier to turn without stripping the metal head.
Step 6: Replace Worn Rollers
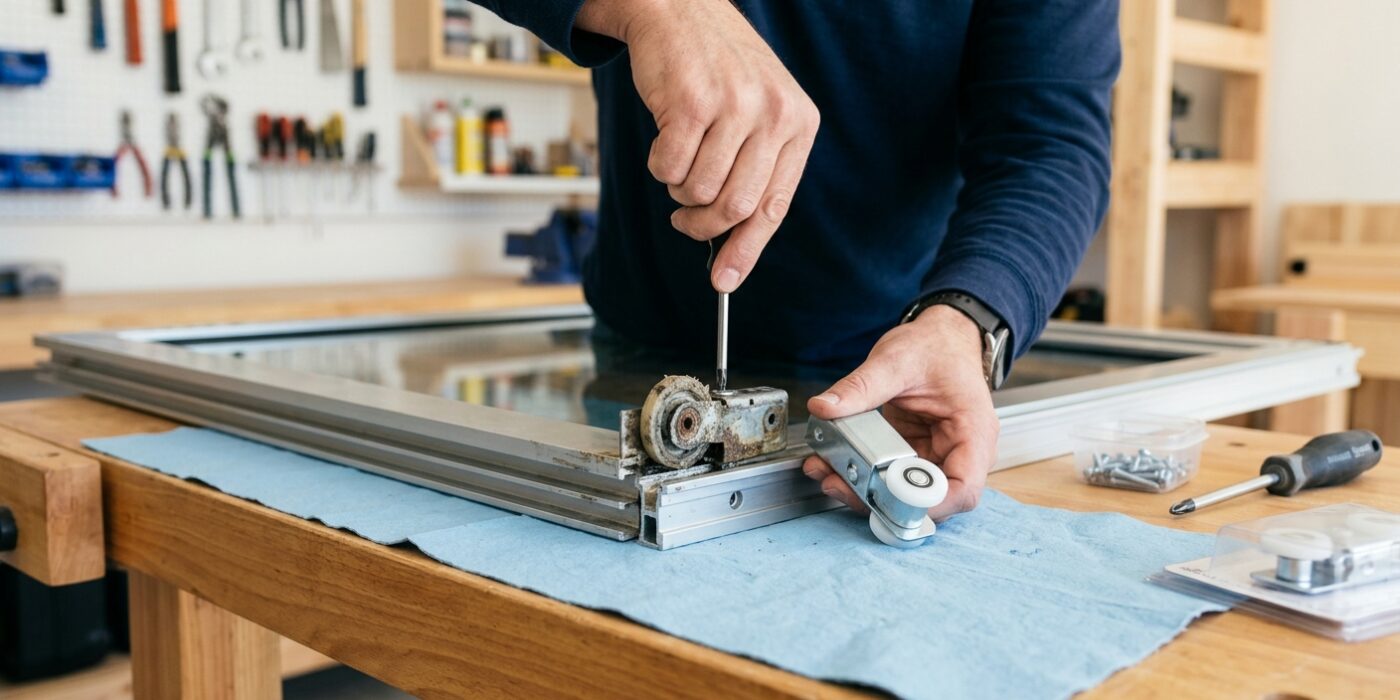
If your door still feels like you are dragging it through sand, the wheels – or rollers – at the bottom are likely worn out. Think of these like car tires: over time, the weight of the heavy glass causes the wheels to develop flat spots, preventing them from spinning freely. To fix this, remove the door from the track, lay it carefully on a flat surface like a towel-covered floor, and look for the small cover plates on the bottom edge. Unscrew these to reveal the roller assembly. You will need to slide or pull the old unit out, which may require a flat-head screwdriver to gently pry it loose. Take the old hardware to your local hardware store to ensure you match the size and mounting style exactly. Once you have the new rollers, simply slide them into the slot, secure them with the screws, and replace the cover plates.
Beginner Tip: A very common mistake is losing the mounting screws inside the bottom channel. Before you pull the assembly out, place a strip of painter’s tape over the holes or work inside a large cardboard box. This prevents tiny screws from disappearing into the bottom of the door frame where they are nearly impossible to retrieve.
Pro Tip: Before installing your new rollers, apply a tiny dab of white lithium grease to the new wheel axle. This trade secret reduces friction immediately and helps prevent the new rollers from developing those stubborn flat spots again, keeping your door gliding smoothly for years to come.