Project Shopping List
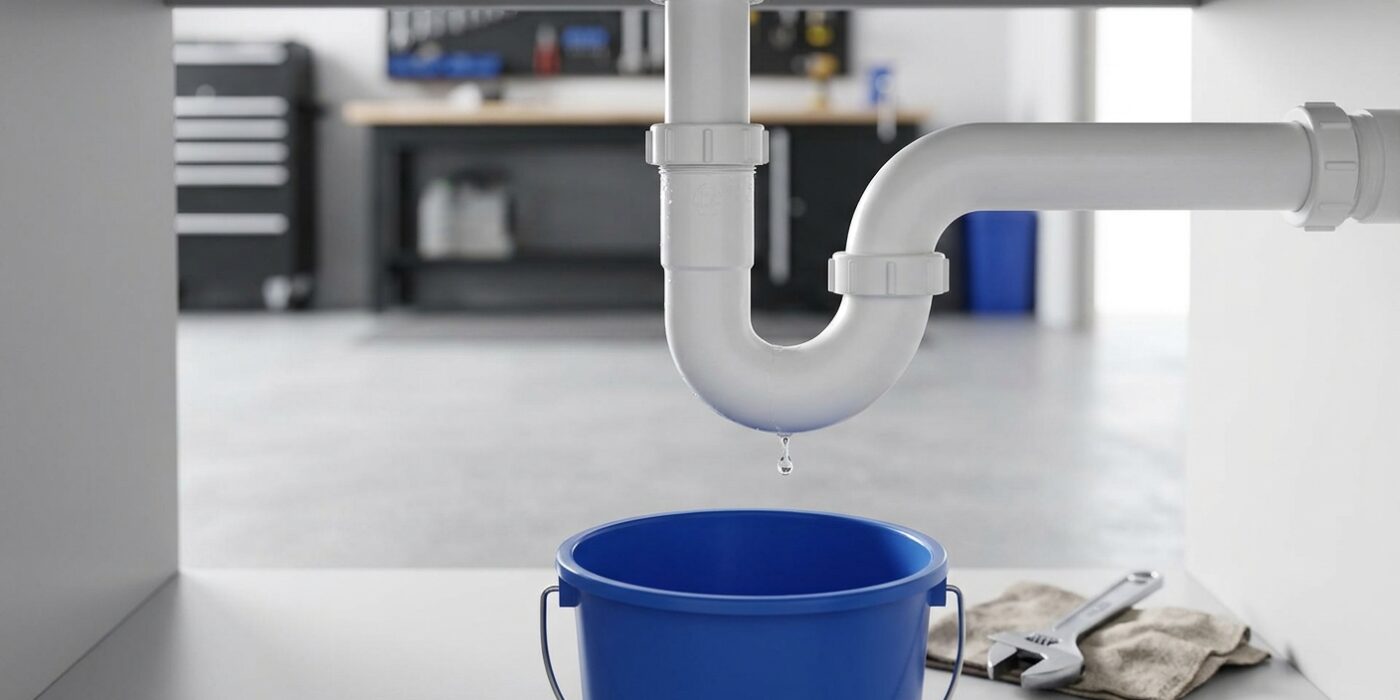
A leaking P-trap under the sink is the most common under-sink plumbing repair and the first one most homeowners tackle. The P-trap is the curved pipe under every sink drain that holds a water seal to block sewer gas from entering the house. It can leak from loose slip joints, worn washers, or cracks in the pipe body – all of which are simple fixes requiring no soldering or special skills.
This guide covers diagnosing where the leak is coming from, tightening or replacing the slip joint connections, and replacing the entire P-trap assembly when needed – the complete replacement is the most reliable fix and takes only 20 minutes.
What You’ll Need
Tools
- Channel-lock pliers
- Bucket
- Towels
Materials
- Replacement P-trap kit – 1-1/2 inch or 1-1/4 inch (match your sink drain size)
- Replacement slip joint washers (if just fixing one joint)
Step 1: Identify the Leak Location
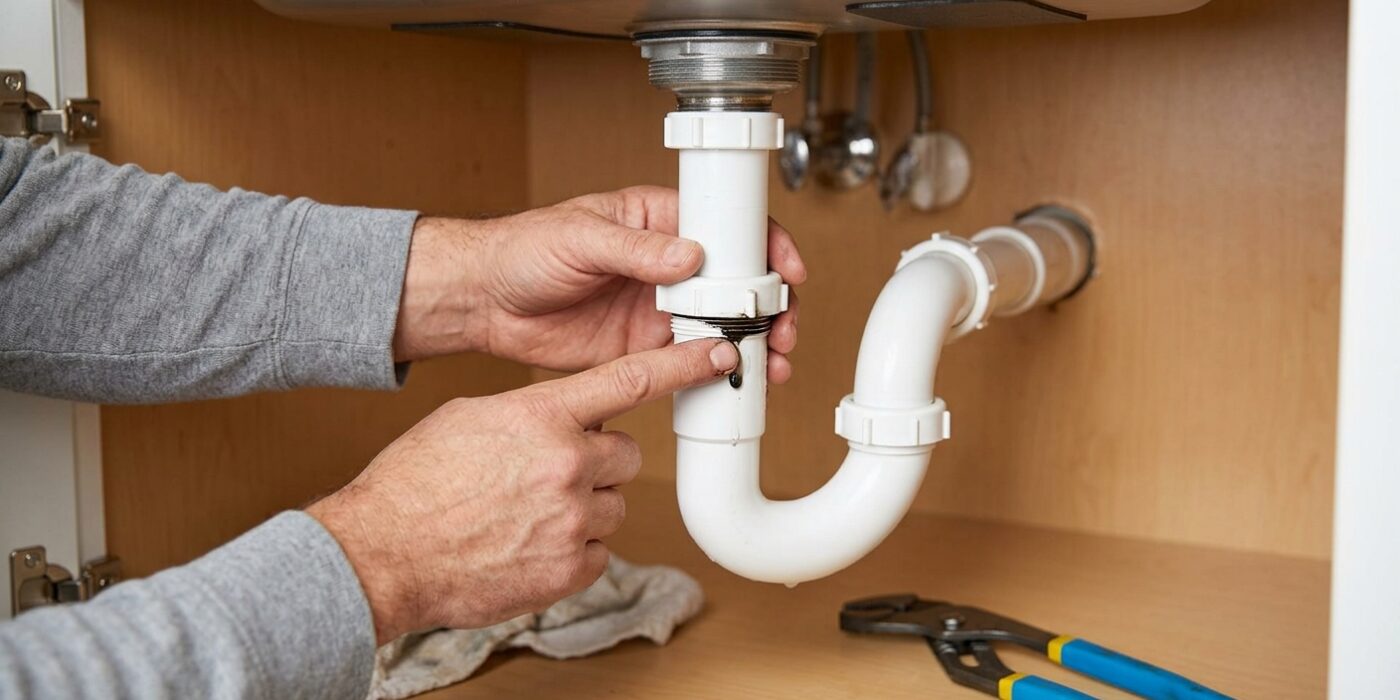
Before you can fix the issue, you need to know exactly where the water is escaping. Start by clearing out all the cleaning supplies and containers from under the sink. Use a dry cloth or paper towel to wipe down every inch of the pipes until they are bone-dry. Now, place a fresh, dry paper towel directly underneath the P-trap assembly and turn on the faucet. Watch the joints closely; the very first spot where the pipe darkens or a droplet forms is your source.
P-trap leaks usually happen at one of the three connection points: the wall drain, the horizontal connection where the U-shaped pipe meets the arm, or the vertical connection coming down from the sink basket. Because these joints use slip-nuts and washers, water often drips onto the floor or base of the cabinet, making it look like the whole pipe is leaking. Identifying the specific joint ensures you only replace the necessary seal or nut, saving you time and money.
Beginner Tip: Do not use a flashlight directly against the pipe surface while looking for leaks. Instead, shine the light from an angle; the reflection will make even the smallest bead of water sparkle against the pipe, making it much easier to spot than just looking for a wet patch.
Pro Tip: If the leak is too slow to spot with just your eyes, wrap a single layer of dry toilet paper around each joint. Even a tiny, invisible weep will leave a clear, wet streak on the paper instantly, pointing you directly to the faulty connection.
Step 2: Try Tightening the Slip Joint First
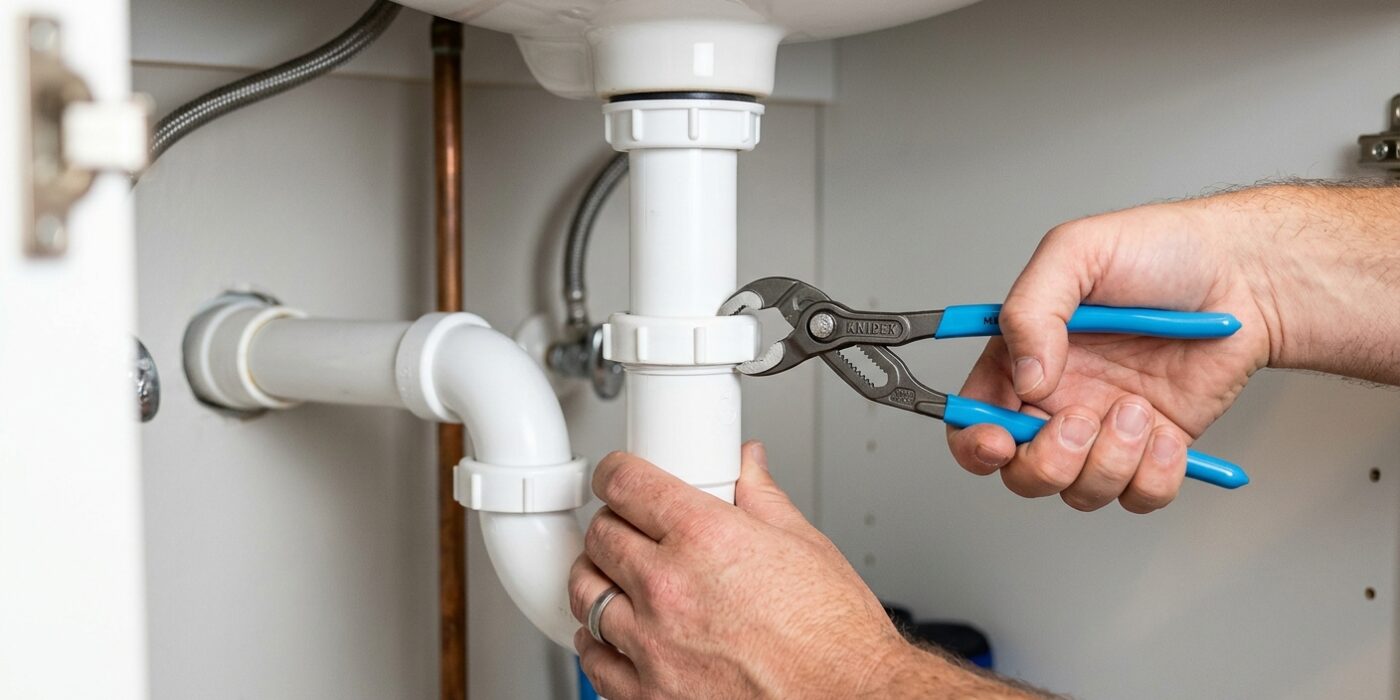
Before you run to the hardware store for new parts, the fix might be as simple as tightening the connection. The P-trap is held together by slip nuts – large plastic rings that screw onto the pipe. Over time, vibrations from the pipes can cause these nuts to back off slightly, breaking the seal on the internal rubber washer. Think of it like a jar lid that has loosened just enough to let moisture escape.
To tighten it, place your channel-lock pliers firmly around the ridges of the slip nut. Turn the nut clockwise, which is the standard “righty-tighty” direction. You only need a small movement; a quarter to a half-turn is usually plenty. Once adjusted, run the faucet for thirty seconds to see if the drip has stopped. If the leak persists after one full turn, stop immediately. Applying excessive force can crack the plastic or strip the delicate threads, so if it still drips, it means the internal washer is likely worn out and needs to be replaced.
Beginner Tip: A common mistake is overtightening the nut. Plastic pipes and nuts are much more fragile than metal ones. If you use too much strength, you risk cracking the plastic housing, which turns a minor drip into a major plumbing repair. Always use a gentle, controlled motion.
Pro Tip: To get a better grip, place a small piece of rubber shelf liner or a thick rag between the pliers and the plastic nut. This provides extra friction, preventing the pliers from slipping off the smooth plastic ridges and scratching your pipes.
Step 3: Replace a Worn Slip Joint Washer
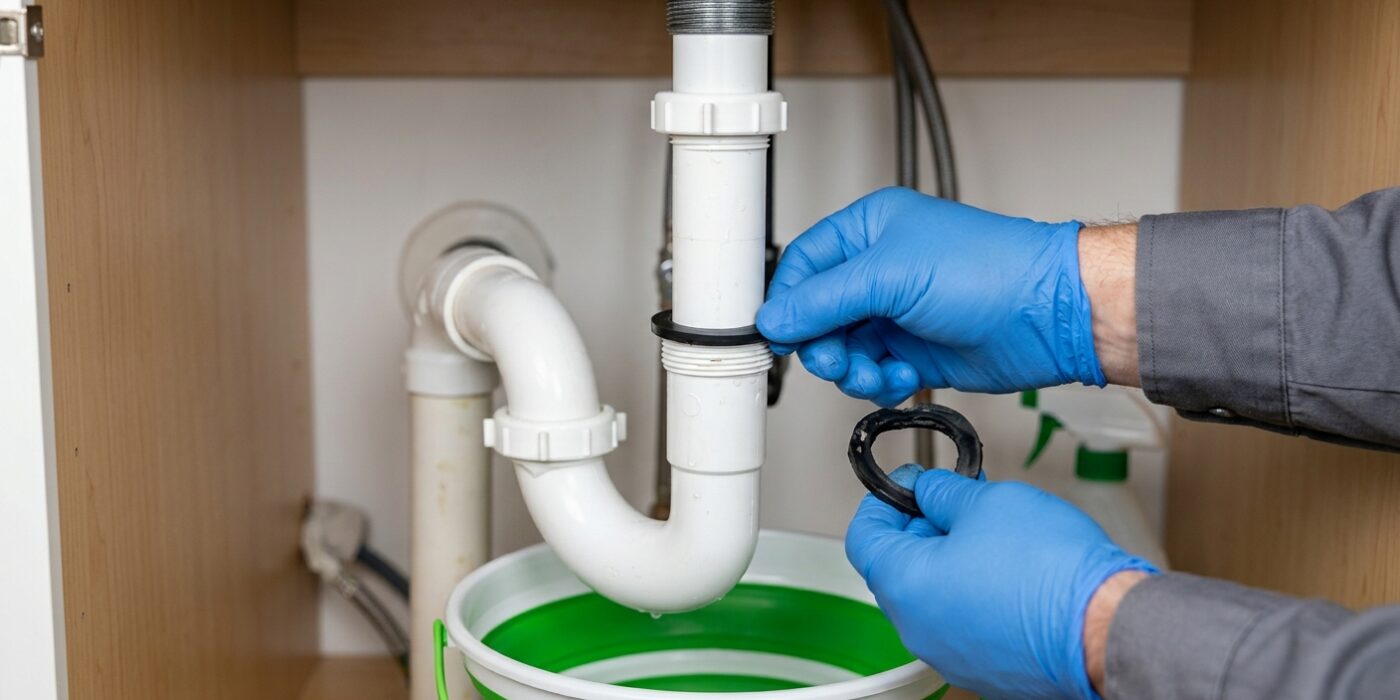
Now that the slip nut is off, it is time to inspect the small ring hidden inside, known as the slip joint washer. This component acts as a watertight seal between the two pipes. Over time, these rubber or plastic rings harden or crack, which is usually the source of your drip. Carefully pull the old washer off the pipe end, noting exactly how it sits. Most washers are tapered, meaning one side is wider than the other; the tapered side must always face toward the fitting you are connecting to, acting as a wedge to stop leaks.
Bring your old washer to the hardware store to ensure you buy an exact match, as pipe diameters vary between 1 1/4 and 1 1/2 inches. Once you have the new one, slide it onto the pipe, reinsert the pipe into the fitting, and tighten the slip nut by hand. Use your pliers only for a final quarter-turn to snug it down; overtightening can crush the new washer and cause it to fail immediately.
Beginner Tip: Avoid the urge to use plumbing tape on these threaded slip nuts. These connections rely on the rubber washer, not the threads, to create a seal. Adding tape here can actually prevent the nut from threading on smoothly and create a gap, leading to more leaks.
Pro Tip: Before installing your new washer, clean the pipe surface with a damp cloth to remove mineral buildup or old grime. A smooth, clean pipe surface helps the new washer seat perfectly, ensuring a watertight fit that lasts for years.
Step 4: Replace the Entire P-Trap Assembly
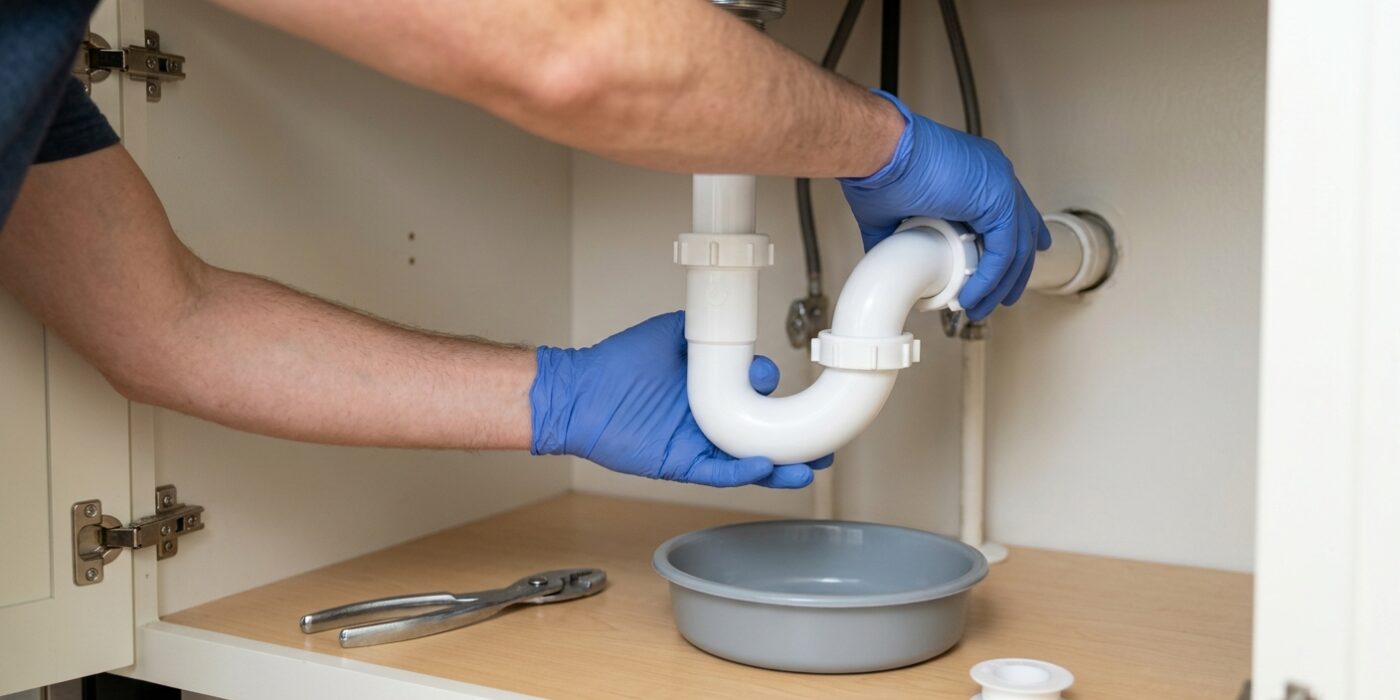
If your P-trap is cracked, heavily discolored, or leaking from multiple joints, replacing the entire assembly is the most reliable path to a permanent fix. A standard PVC kit costs between $8 and $15 and typically takes less than 20 minutes to install. Start by placing a bucket directly under the P-trap to catch the residual water. Use your hands or a pair of slip-joint pliers to turn the three slip nuts counterclockwise until they release. Once loose, pull the trap body away, allowing the water to drain safely into your bucket.
Take your old assembly to the hardware store to ensure you purchase the correct diameter. Bathroom sinks usually require 1-1/4 inch piping, while kitchen sinks often use 1-1/2 inch. To install, insert the trap arm into the wall drain, attach the curved trap section, and slide the tailpiece from the sink into the top of the trap. Hand-tighten all nuts first to ensure the threads are catching smoothly, then give them an extra quarter-turn with pliers to seal them. Do not overtighten, as this can crack the new plastic.
Beginner Tip: The most common mistake is forgetting to place the plastic washers inside the slip nuts before tightening. Ensure the tapered side of the washer faces the joint – this creates the essential seal that prevents leaks.
Pro Tip: Before you finalize the tightening, verify that the pipe joints are perfectly aligned. If the pipes are being forced at an awkward angle to fit, the seal will likely fail. Adjust the assembly so every connection point slides together easily without tension.
Step 5: Check the Wall Drain Connection
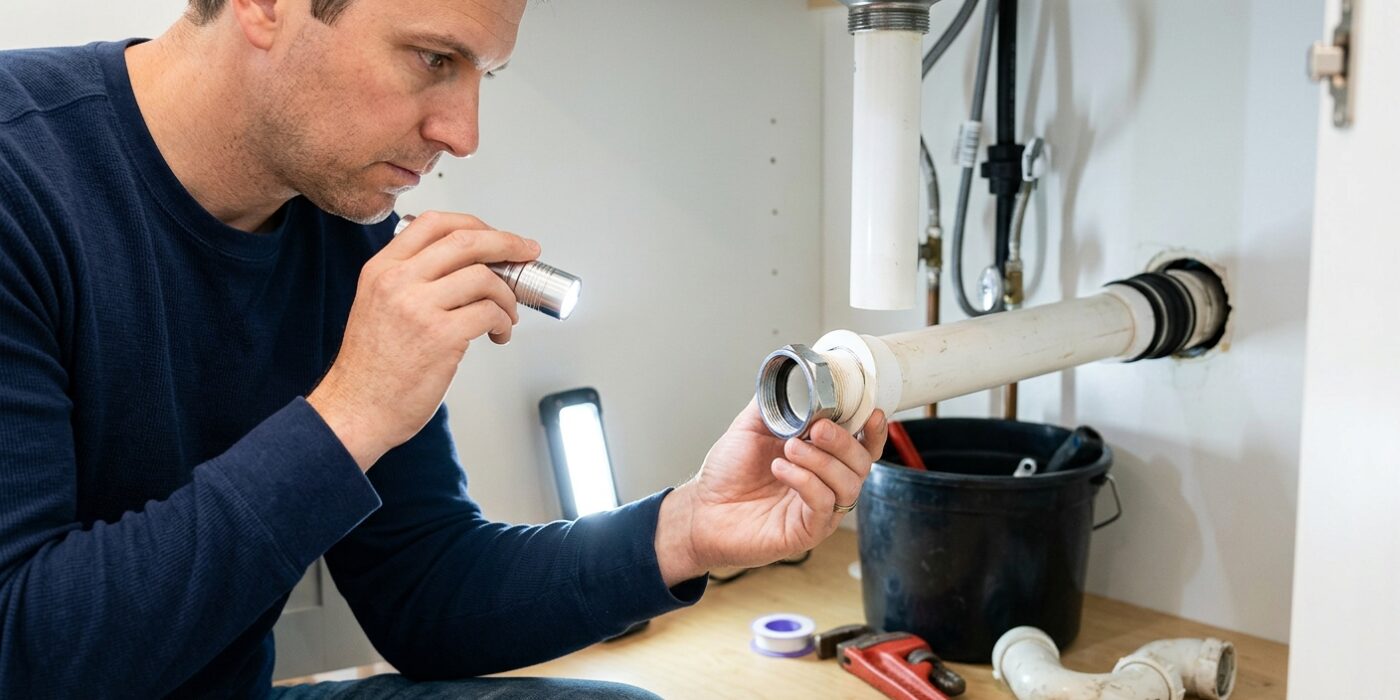
Now that your new P-trap is positioned, look at where the horizontal pipe (the trap arm) meets the drain opening in your wall. This connection point is vital for preventing future leaks. If your existing wall connection uses a slip nut, go ahead and unscrew it to replace that section with your new hardware. If it is a permanent cemented fitting or a specialized compression fitting, you can leave it untouched to avoid unnecessary plumbing work.
The most important detail here is the angle of the pipe. To keep water moving efficiently, the trap arm must slope downward toward the wall. A good rule of thumb is a drop of one-quarter inch for every foot of pipe. This slight tilt ensures that gravity does the heavy lifting, preventing standing water and clogs from forming inside the pipe.
Beginner Tip: A common mistake is overtightening the plastic slip nuts. While you want the connection to be secure, plastic threads are delicate. Hand-tighten them firmly until they stop, then give them just a quarter-turn more with your pliers. Overtightening can cause the plastic to crack or strip, which will create a brand new leak.
Pro Tip: Before you tighten your final connections, run a small bead of plumber’s grease or even a tiny amount of liquid dish soap onto the rubber washers. This helps the washer slide into place without bunching up, ensuring a perfect, watertight seal every single time.
Step 6: Test All Joints
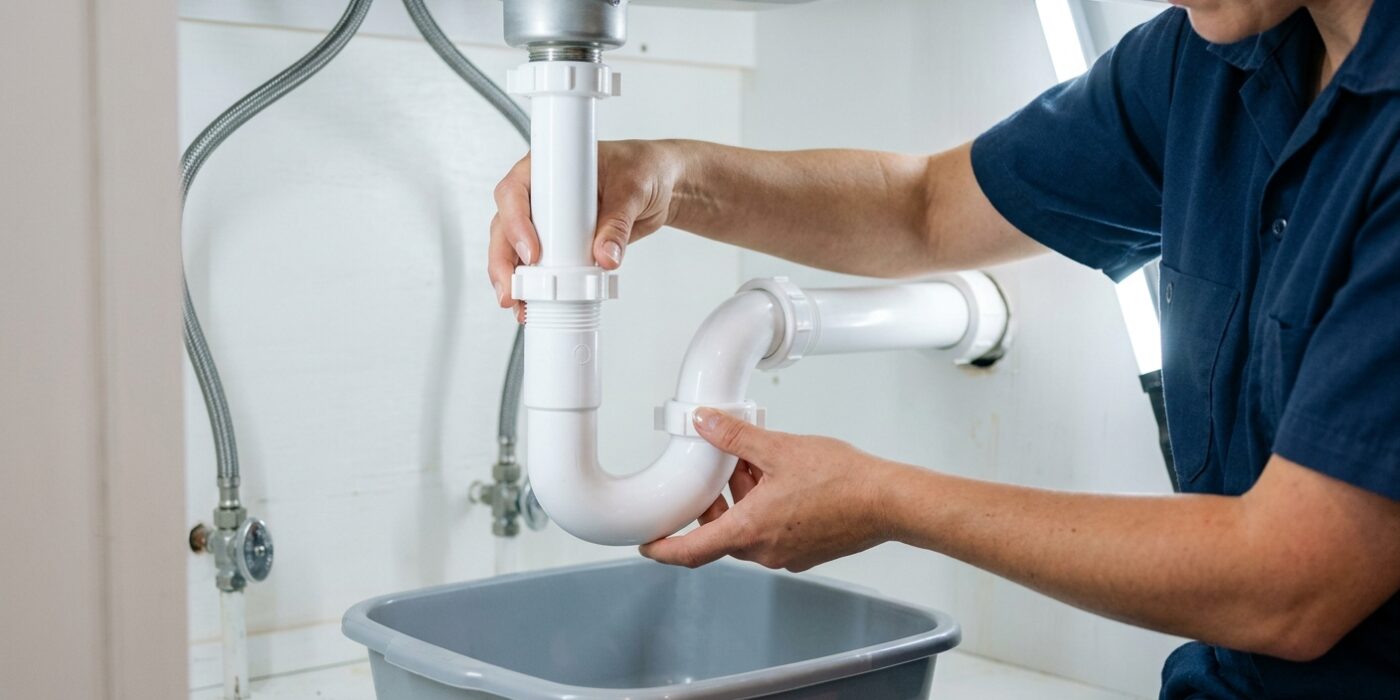
Now that everything is assembled, it is time to ensure your hard work is watertight. Turn on your faucet to full pressure and let it run for two full minutes. Before you start the water, wipe every connection point thoroughly with a dry paper towel. This is crucial because even a tiny, slow-moving bead of water is much easier to spot on a dry surface than a wet one. As the water flows, carefully inspect the top nut, the trap curve, and the connection at the wall. If you notice a single drip or a damp ring forming around a joint, simply use your hands or a pair of slip-joint pliers to tighten that specific nut by about one-quarter turn. You do not need to overtighten; usually, a tiny adjustment is all it takes to seat the internal rubber washer properly.
Beginner Tip: Avoid the temptation to crank the nuts as tight as you possibly can. Because these joints rely on rubber washers for the seal, overtightening can actually warp or deform the washer, which creates a leak instead of fixing one. Use only enough force to stop the dripping.
Pro Tip: Place a dry piece of dark-colored construction paper or a dark towel on the floor directly beneath the P-trap before you start the water. Any bright, clear water droplets will stand out instantly against the dark background, allowing you to catch leaks that might otherwise be hidden in shadows.