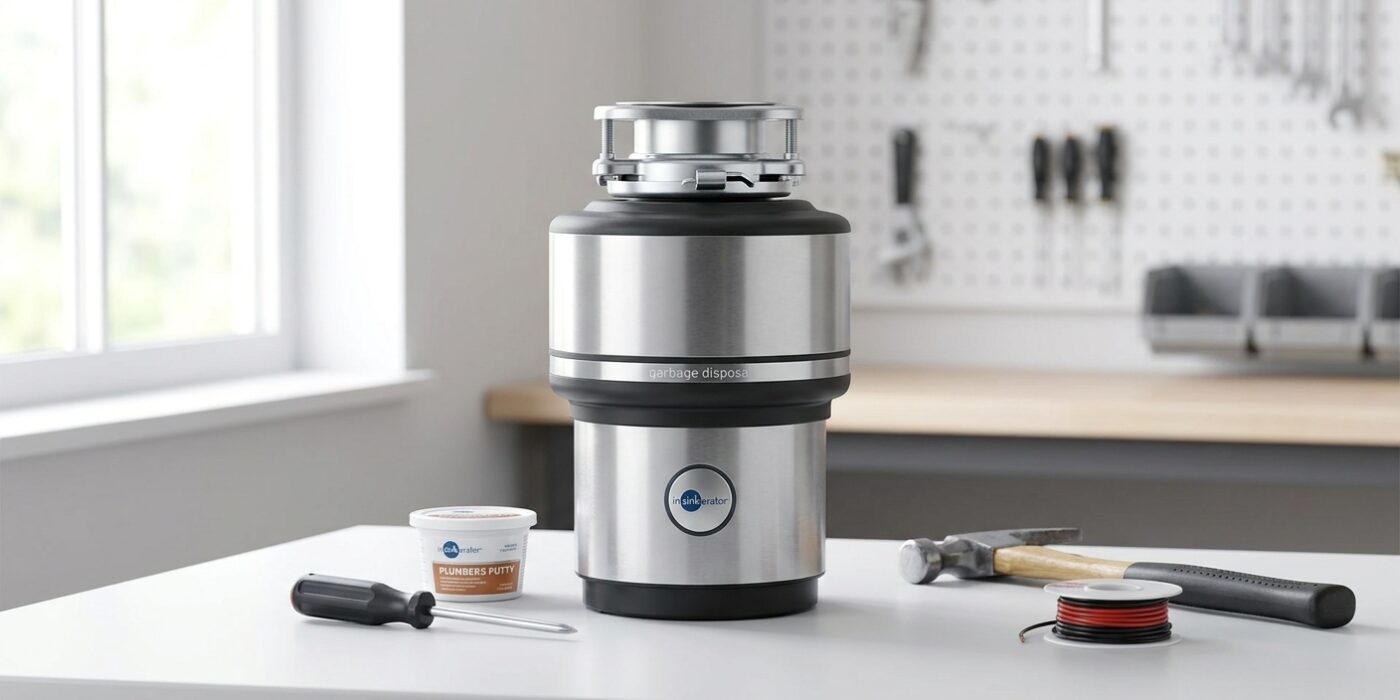
Project Shopping List
Installing a garbage disposal from scratch – on a sink that’s never had one – is a manageable intermediate project that requires basic plumbing and electrical knowledge. The job involves creating the drain connection under the sink, mounting the disposal unit, and connecting it to power. Expect 3–4 hours for a first installation, and have a helper available for the mounting step.
This guide assumes there is an existing electrical circuit with a switched outlet under the sink or nearby (required for code in most jurisdictions), or that you’ll use a hardwired connection through a switch. If there’s no electrical at the sink location at all, that’s a separate project.
What You’ll Need
Tools
- Drill with hole saw (2-1/8 inch) and bits
- Hammer and screwdrivers
- Channel-lock pliers and adjustable wrench
- Putty knife and utility knife
- Flashlight
- Bucket and towels
Materials
- Garbage disposal unit (1/2 HP minimum for most households; 3/4–1 HP for heavy use)
- Sink flange kit (usually included with disposal)
- Plumber’s putty
- Drain extension or P-trap kit (to connect disposal drain to drain line)
- Dishwasher drain connection knockout (if dishwasher is present)
- Electrical cable and wire nuts (if hardwiring)
Step 1: Check the Sink Drain Opening
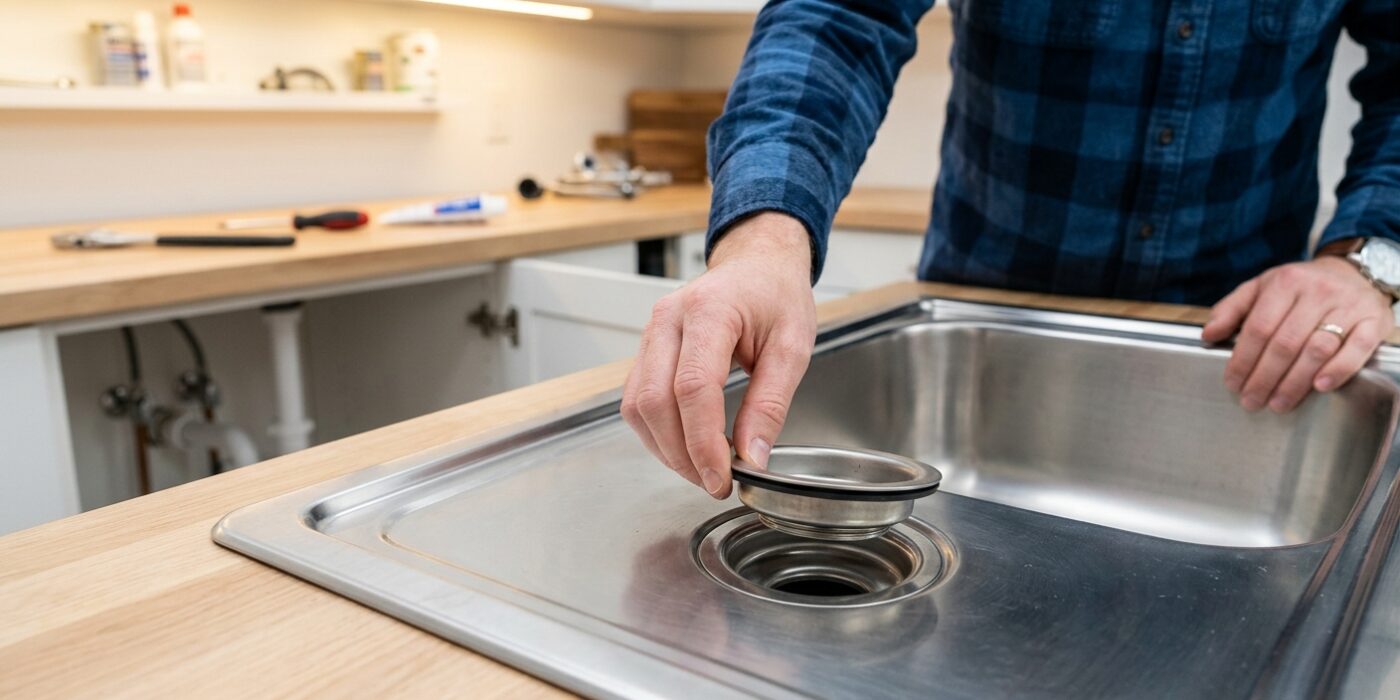
Before you get excited about your new appliance, you need to ensure your sink is ready for the hardware. Almost all modern kitchen sinks are built with a standard 3-1/2 inch drain opening, which is exactly what a garbage disposal needs to mount securely. To check yours, grab a tape measure and place it across the very center of the drain hole. If the diameter measures 3-1/2 inches, you are all set for a seamless installation. If your drain is smaller, your disposal will not fit, and you will need to enlarge the opening using a hole saw designed for your specific sink material, such as stainless steel or porcelain.
Beginner Tip: Do not rely on “eyeballing” the measurement. Even a small discrepancy can cause the mounting assembly to leak or fail to lock into place later. Use a metal measuring tape and take the measurement from the inside edges of the hole, rather than including any decorative trim or gaskets, to get the most accurate reading.
Pro Tip: If you are unsure about the size of your drain, find the brand name of your sink – often stamped on the underside of the basin – and search for the model number online. Most manufacturer websites provide a technical specification sheet that lists the exact drain diameter, saving you from having to crawl underneath the cabinet with a flashlight before you even begin the project.
Step 2: Install the Sink Flange
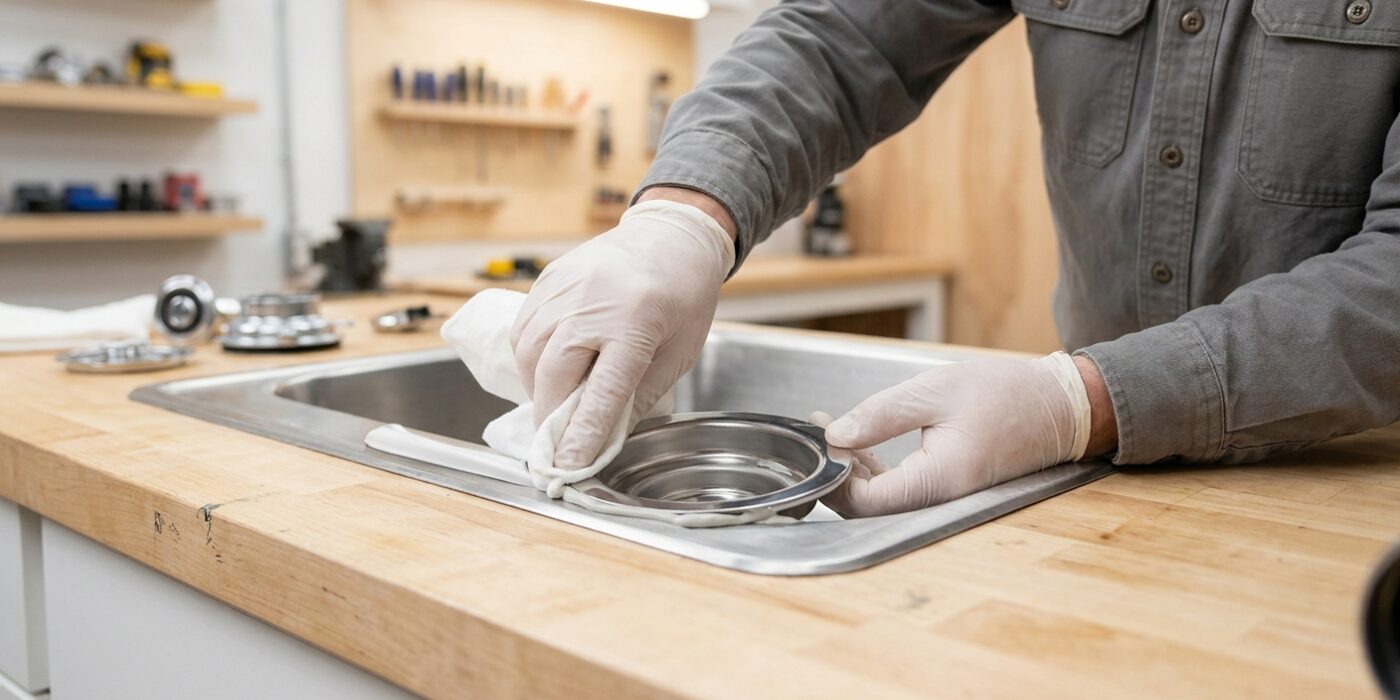
Now that your old drain is out, it is time to install the sink flange, which is the shiny stainless steel ring that sits inside your sink drain. First, take your plumber’s putty – which has the texture of stiff modeling clay – and roll it between your palms until you have a long, even rope about 3/8 of an inch thick. Wrap this rope around the underside of the new flange’s rim. Press the flange firmly into the drain opening from the top of the sink. This putty is essential because it acts as a gasket, ensuring that water drains down the pipe rather than leaking under your sink.
From underneath the sink, slide the mounting assembly onto the flange’s threaded tailpiece. Tighten the three mounting screws by hand, then use a screwdriver to finish, turning each screw just a little at a time in a circular, alternating pattern. This keeps the pressure balanced so the flange sits perfectly level.
Beginner Tip: Don’t panic if the flange won’t stop rotating when you try to tighten the screws. Place a heavy object, like a large pot filled with water or a few cans of food, directly on top of the flange inside the sink. The weight will hold it steady, allowing you to tighten the screws from below without it spinning.
Pro Tip: Before tightening, make sure the flange is centered. If it looks off-center, gently tap the side of the flange with the handle of a screwdriver to shift it into the perfect position before the putty sets.
Step 3: Knock Out the Dishwasher Inlet (If Needed)
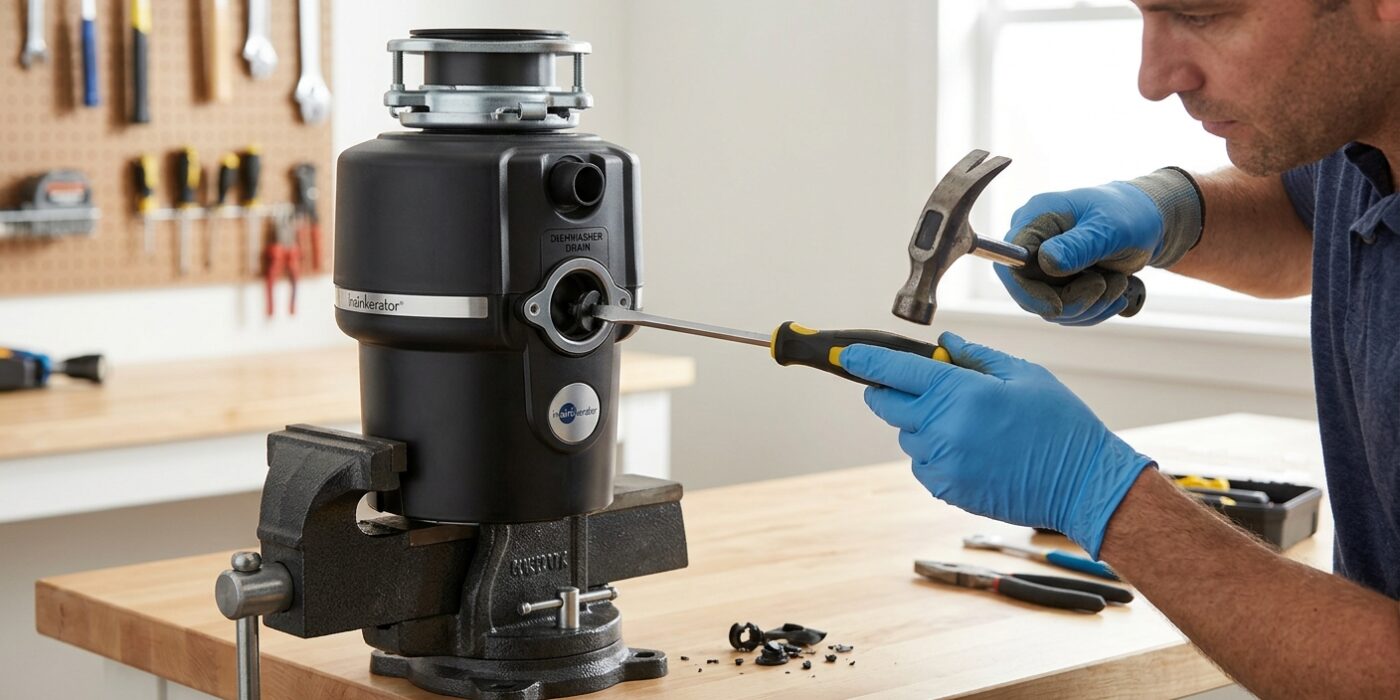
If your kitchen includes a dishwasher, you will need to create an opening for its drain hose to connect to your new garbage disposal. On the upper side of the disposal body, you will see a round, plastic plug – this is the dishwasher inlet. Because these disposals are universal, they arrive sealed from the factory; you must “knock out” this plug to allow water to flow through.
To do this, place a sturdy flathead screwdriver against the outer edge of the plastic plug. Use a hammer to gently tap the back of the screwdriver handle. Aim for the perimeter of the circle rather than the center to help it pop out cleanly. Once the plug breaks loose, it will fall into the grinding chamber. Reach inside and retrieve the plastic disk immediately. If you leave it inside, the disposal will make a terrifying rattling noise and could suffer mechanical damage once you turn it on.
Beginner Tip: Take care not to use excessive force when hammering. You want to crack the plastic seal, not puncture the metal side walls of the disposal unit itself. A few controlled, medium-strength taps are much safer than one giant swing.
Pro Tip: Before you start, turn the disposal upside down or sideways over your trash bin. Once you knock the plug out, gravity will do the work for you, causing the plastic piece to fall directly into your hand or the trash rather than getting stuck deep within the disposal’s internal blades.
Step 4: Attach the Mounting Assembly to the Disposal
Now that your sink flange is secure, it is time to attach the disposal unit itself. This connection uses a specialized three-point locking system. Locate the three metal tabs, called mounting ears, on the upper rim of your disposal. You will need to align these tabs with the three corresponding sloped ramps on the mounting ring attached to your sink. Lift the disposal vertically, ensuring the tabs slide into the gaps in the ring. Once it is flush against the bottom of the sink, rotate the entire disposal body clockwise. You should feel it slide up the ramp until it clicks or reaches a hard stop, signifying it is securely locked in place.
Beginner Tip: The most common mistake is not checking the path of the discharge pipe before locking the unit. Before you twist it into place, rotate the disposal so the side outlet is pointing toward your drain pipe. If you lock it in the wrong position, you will have to unlock the whole unit and start over, which is frustrating with such a heavy item.
Alternative Method: If you are working alone and lack a helper, place a stack of sturdy books or a small, stable cardboard box on the floor of the cabinet. Adjust the height with folded towels until the disposal sits at the perfect level to be pushed upward, relieving your back and arms of the strain.
Pro Tip: Apply a small amount of plumbers grease or even a dab of liquid dish soap to the rubber mounting gasket before lifting. This reduces friction and makes the final twist significantly smoother, preventing the unit from “sticking” halfway through the lock.
Step 5: Connect the Drain
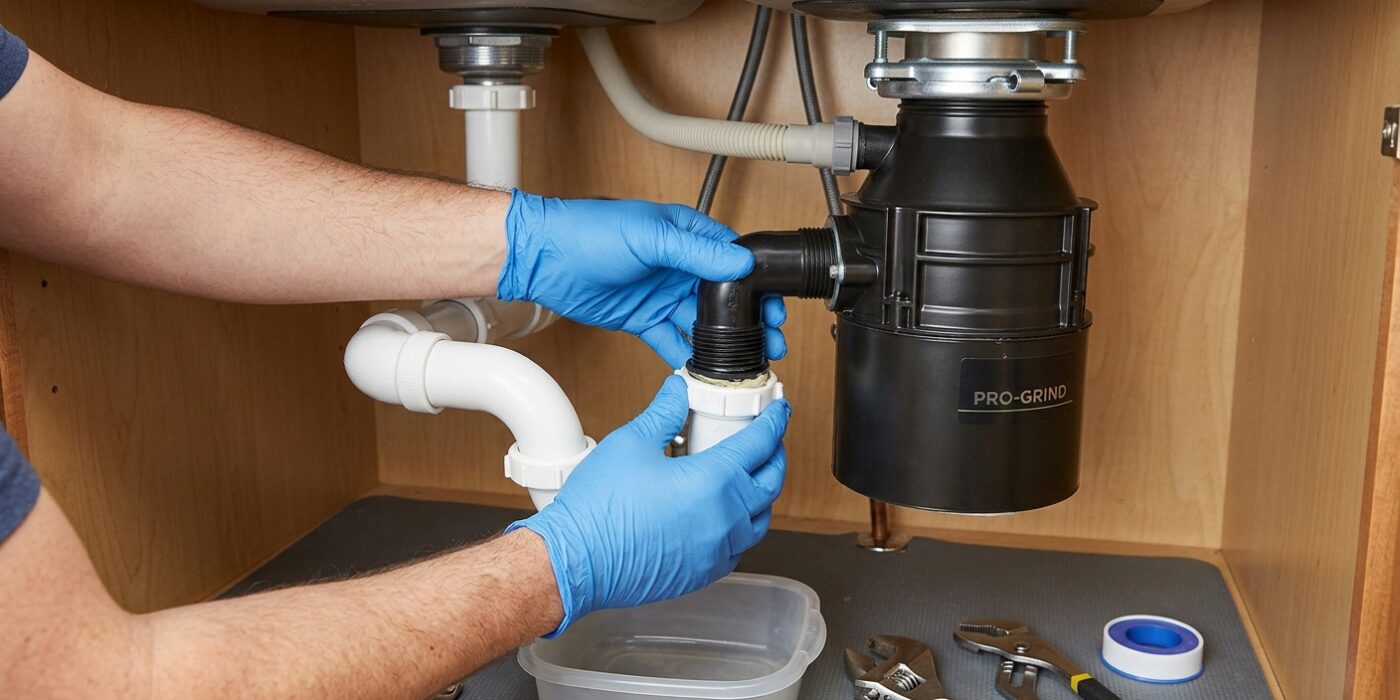
Now it is time to connect your disposal to the plumbing. Locate the discharge outlet on the side of your unit. Slide the rubber gasket onto the discharge tube, then fit the tube into the outlet. Secure it using the provided metal flange and two screws. Tighten these screws evenly with a screwdriver until the connection feels snug and leak-proof.
Next, align the discharge tube with your existing P-trap (the U-shaped pipe under your sink). You may need to trim a PVC extension tube to length using a hacksaw to bridge the gap. The golden rule here is gravity: the tube must slope downward at a slight angle – about a 1/4-inch drop for every foot of pipe – all the way to the drain. This ensures water flows away freely without backing up into the unit.
Beginner Tip: Never overtighten the plastic slip-joint nuts that hold your pipes together. If you twist them until they are as tight as possible, you can easily crack the plastic or strip the threads, which causes persistent drips. Hand-tighten them firmly, then use pliers to give them just a quarter-turn more; that is plenty to ensure a watertight seal.
Pro Tip: Before you finalize the connections, smear a very thin layer of silicone grease or even a little liquid dish soap onto the rubber O-rings. This lubricant helps the pipes slide together smoothly without catching or pinching the rubber, making the installation much easier to adjust.
Step 6: Connect Power
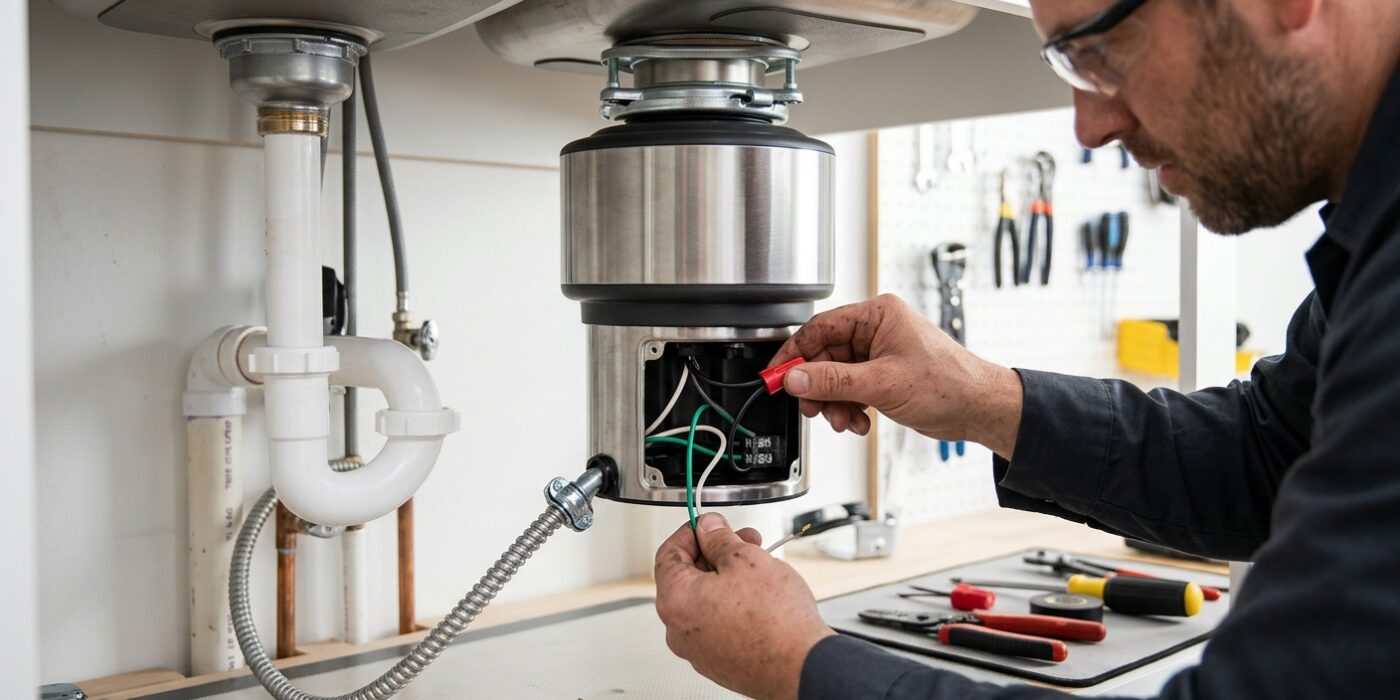
Now that your disposal is securely mounted, it is time to give it power. Most garbage disposals come with a power cord, making installation as simple as plugging it into the electrical outlet located under your sink. Ensure that the outlet is controlled by a wall switch, as this will act as your “on/off” button. If your setup requires hardwiring, you will need to connect the unit’s electrical cable to your home’s wiring inside the disposal’s junction box. Use wire nuts to join the black wires together, the white wires together, and the green or bare copper grounding wire to the grounding screw. Ensure the connections are tight and tucked neatly inside the box before replacing the cover plate.
Beginner Tip: A common mistake is forgetting to tighten the cable clamp where the wire enters the junction box. If that wire is loose, it can vibrate or fray over time. Make sure the clamp is screwed down snugly so the wire cannot move or tug at the internal connections.
Alternative Method: If you do not have an existing outlet under your sink and feel uncomfortable working with house wiring, you can purchase a “disposal power cord kit” from any hardware store. These kits attach directly to the disposal, turning it into a simple plug-in appliance so you can avoid complex electrical work entirely.
Pro Tip: Before you plug the unit in, reach inside the disposal and give the internal shredder plate a quick spin with a wooden spoon or broom handle. This ensures the unit isn’t stuck before it draws power, protecting the motor from an initial electrical surge.
Step 7: Test Before Final Tightening
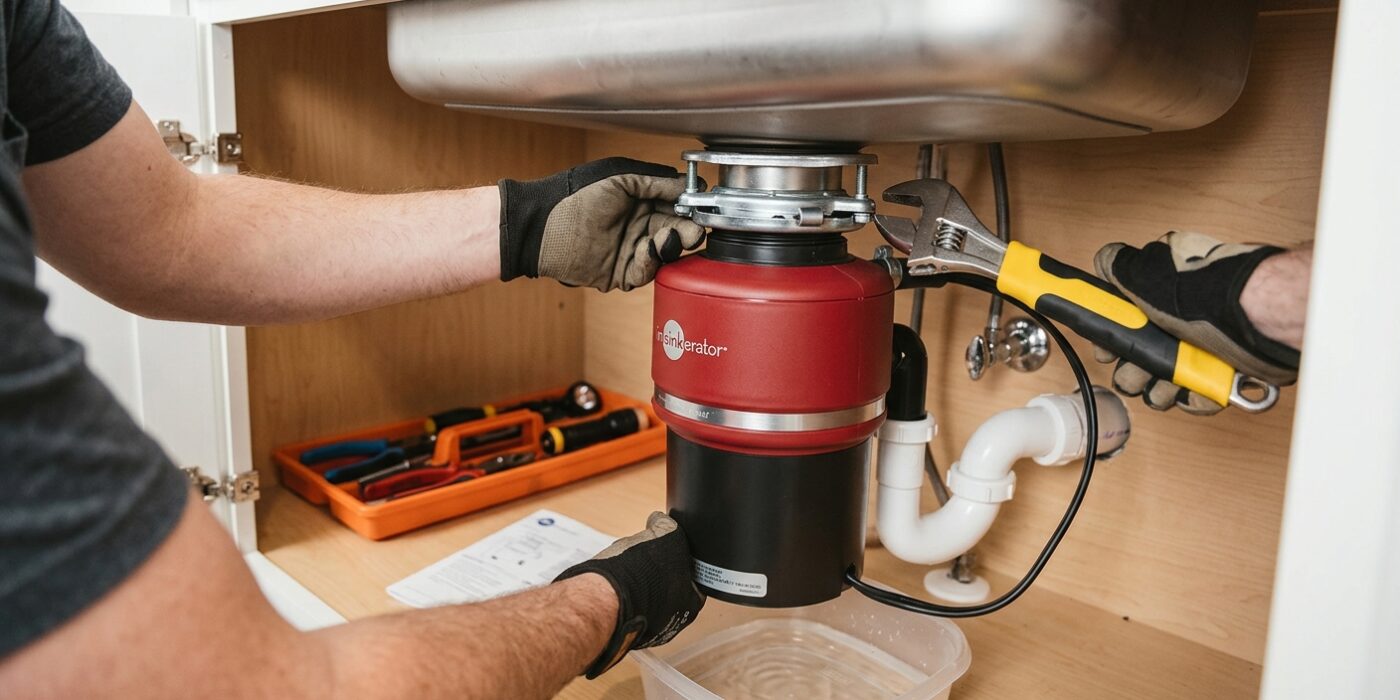
Now that your unit is physically mounted, it is time to perform a dry run before locking everything down permanently. First, ensure the dishwasher knockout plug has been removed from the inlet; if left inside, it will jam the unit instantly. Turn on your cold water faucet and check that the sink flange is draining freely. Next, restore power at the circuit breaker and press the red reset button located on the bottom of the disposal unit. Turn the disposal on for no more than five seconds.
While the water is running, shine a flashlight directly on your drain connections, specifically the pipe leading to the P-trap. You are looking for even the smallest bead of moisture. If the area remains bone-dry, you have a solid seal. If you see a drip, turn off the power immediately and give the slip nuts a quarter-turn more by hand. Once you confirm there are no leaks, give the mounting ring one final nudge clockwise to ensure it is locked securely into its groove.
Beginner Tip: Avoid overtightening your plastic slip-joint nuts with a pipe wrench. Plastic threads are delicate and prone to cracking; hand-tightening is usually sufficient. If a slight leak persists, unscrew the connection, ensure the rubber washer is seated perfectly flat, and try again.
Pro Tip: Place a dry paper towel underneath the P-trap before you start your test run. It will instantly highlight even the tiniest drip, making it much easier to spot a leak than by looking for water alone.