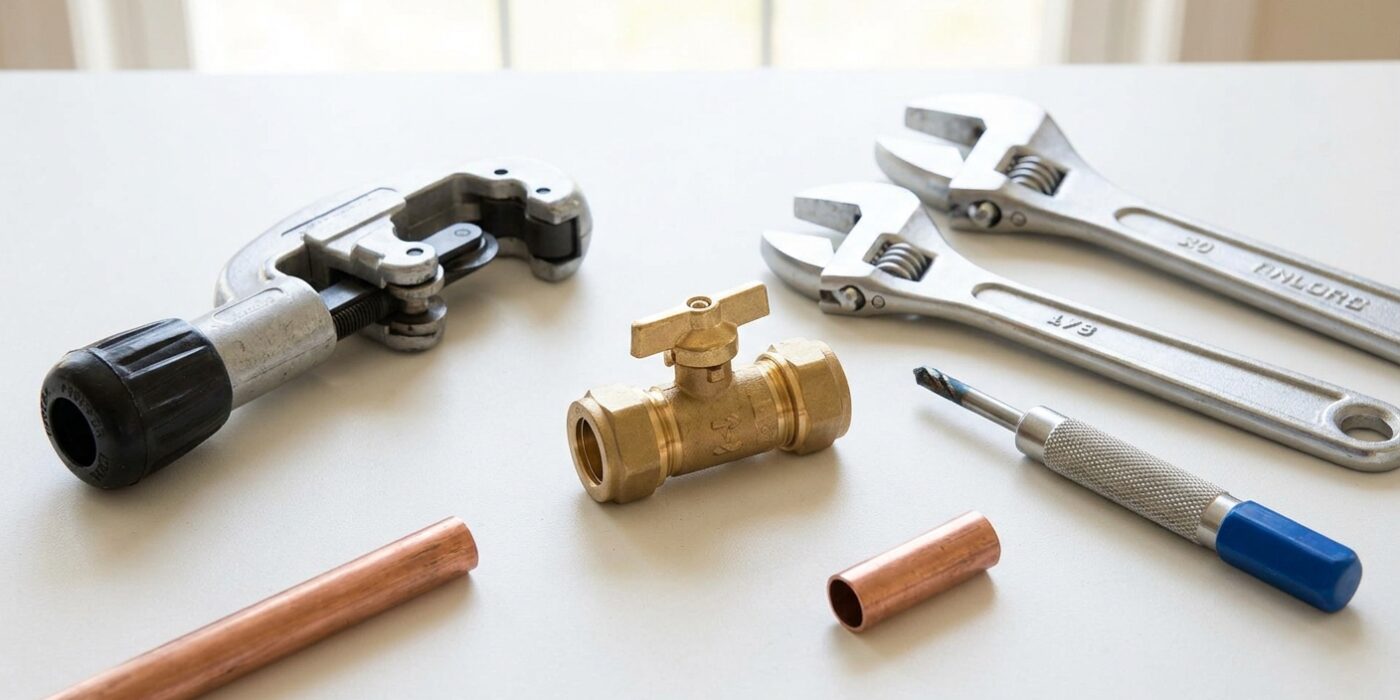
Project Shopping List
Installing an inline shut-off valve – also called an angle stop or ball valve – on an existing water supply line gives you the ability to isolate any fixture quickly without turning off water to the entire house. It’s a project that adds both convenience and safety, and the compression fitting or push-to-connect methods available today make it possible without soldering.
This guide covers installing a valve on copper or CPVC supply pipe using compression fittings (the most common approach) and mentions push-to-connect (SharkBite-style) fittings as a faster alternative. The job requires cutting the pipe, which means a complete water shutoff is necessary.
What You’ll Need
Tools
- Tube cutter (for copper or CPVC pipe)
- Adjustable wrench and channel-lock pliers (two pairs)
- Emery cloth or pipe reamer
- Bucket and towels
- Tape measure and marker
Materials
- Inline ball valve – compression type, sized to match pipe diameter (1/2-inch or 3/4-inch most common)
- Compression ferrules and nuts (usually included with valve)
- Or: SharkBite push-to-connect valve (no ferrules needed)
- Teflon tape
Step 1: Shut Off Water at the Main
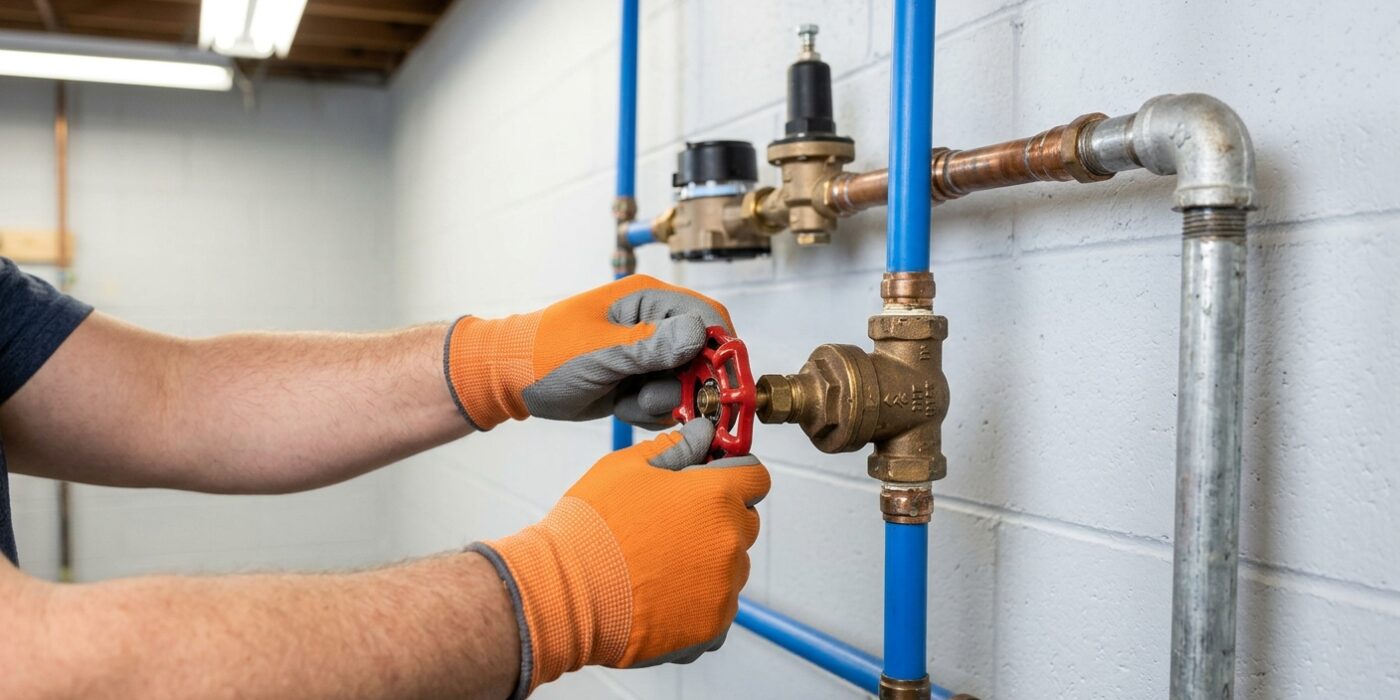
Before you begin any plumbing work, you must ensure the pipes are empty so you don’t end up with an unexpected indoor waterfall. Locate your home’s main water shut-off valve, which is usually found in the basement, garage, or near the street, and turn it clockwise until it stops. Once the main supply is closed, walk to the lowest point of your house – often a basement utility sink or an outdoor spigot – and open the faucet fully. Then, move to the specific area where you plan to work and open the nearest faucet. This simple step allows air into the system, breaking the vacuum seal and letting gravity drain the water out of the pipes.
Place a small bucket or a few folded towels directly beneath the area where you intend to cut the pipe. Even after draining, a surprising amount of water will still be trapped in the horizontal sections of the plumbing, and this backup will spill out the moment the pipe is severed.
Beginner Tip: Don’t assume the water is off just because the handle feels tight. Always double-check by turning on a faucet in the bathroom or kitchen after closing the main valve. If no water comes out, you are safe to proceed.
Pro Tip: If your shut-off valve is old or difficult to turn, apply a small amount of penetrating oil to the threads and let it soak for fifteen minutes before attempting to turn it. This prevents the metal from seizing or snapping under pressure.
Step 2: Select the Right Valve Location
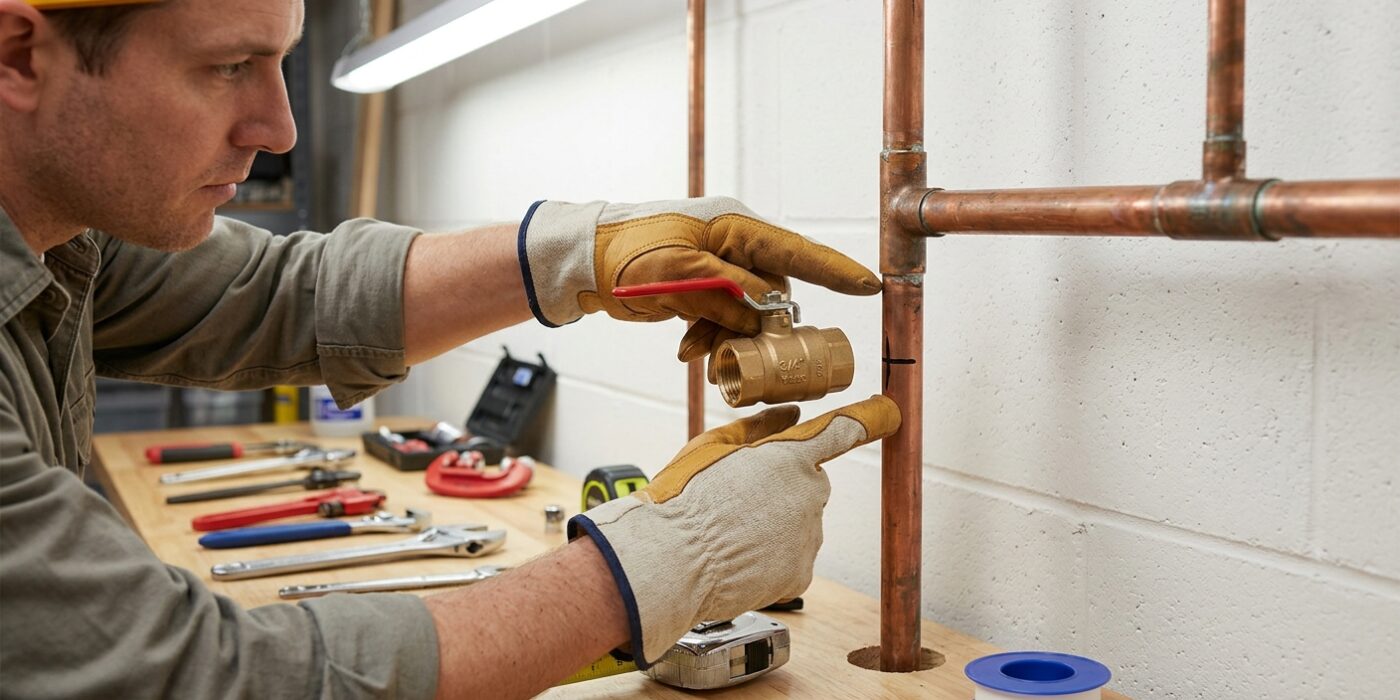
Before you make your first cut, you need to choose the perfect spot for your new valve. Think of this location as prime real estate – it needs to be easy for you to reach in an emergency, without having to crawl deep into a cabinet or squeeze behind heavy appliances. You are looking for a straight, unobstructed section of pipe. Aim for at least 6 inches of clear space on both sides of your chosen spot so you have plenty of room to maneuver your wrenches.
Avoid installing the valve directly next to existing joints, such as elbows or tees. You should leave at least 2 inches of straight pipe between your cut and any existing fitting to ensure a solid, leak-free connection. Once you have found the right spot, hold your valve up to the pipe. Mark a length equal to the valve body itself, plus an extra 1/2 inch on each side to account for the compression nuts. This ensures the pipe sits deeply enough inside the valve for a secure grip.
Beginner Tip: Don’t forget to double-check that you are installing the valve on the correct side of any other fixtures. The valve should be placed between your main water source and the specific faucet or appliance you want to control. If you place it on the wrong side, turning the valve off won’t stop the water to that fixture!
Pro Tip: Use a piece of masking tape to mark your cut lines instead of a permanent marker. The tape provides a physical edge to guide your cutter, and it is much easier to peel off once the installation is complete, leaving your pipes looking clean and professional.
Step 3: Cut the Pipe
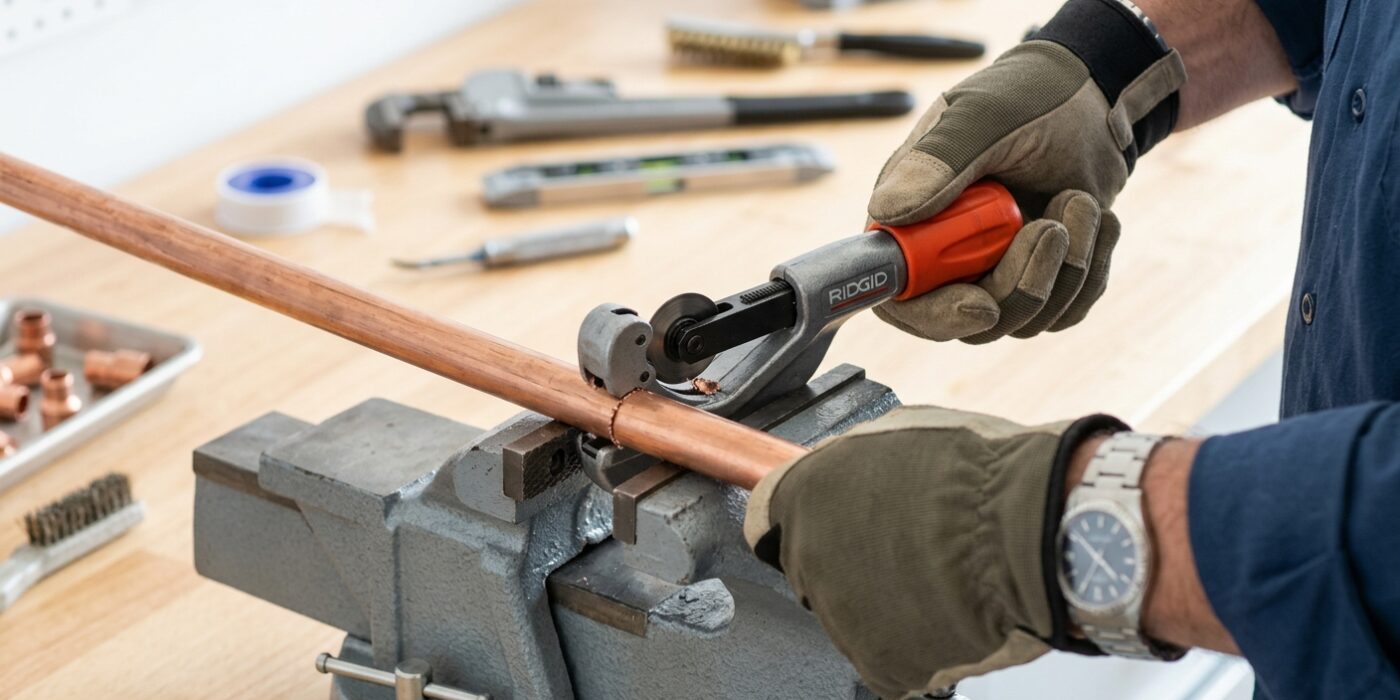
Now that you have marked your pipe, it is time to make the cut. Using a tube cutter, place the cutting wheel directly on your mark. Gently tighten the knob until the wheel is snug against the copper, but do not force it. Slowly rotate the tool around the pipe, making a full circle. After every rotation, give the knob a tiny quarter-turn to tighten it further. Continue this process; you will feel the resistance increase until the pipe finally separates with a satisfying, quiet pop. Do this for both marks so you can remove the center section. Make sure the piece you remove is just a fraction shorter than your new valve; this ensures the valve sits perfectly snug against the pipe ends without binding.
Beginner Tip: A common mistake is tightening the knob too much, too fast. This can deform the pipe or cause the cutter to spiral down the copper like a screw, leaving you with an uneven, jagged edge that will leak. Slow and steady wins the race here.
Pro Tip: After the pipe separates, use the small, triangular fold-out blade often found on the back of your tube cutter to gently ream the inside of the cut ends. This removes any rough metal burrs, which improves water flow and prevents debris from getting stuck in your new valve.
Step 4: Prepare the Pipe Ends
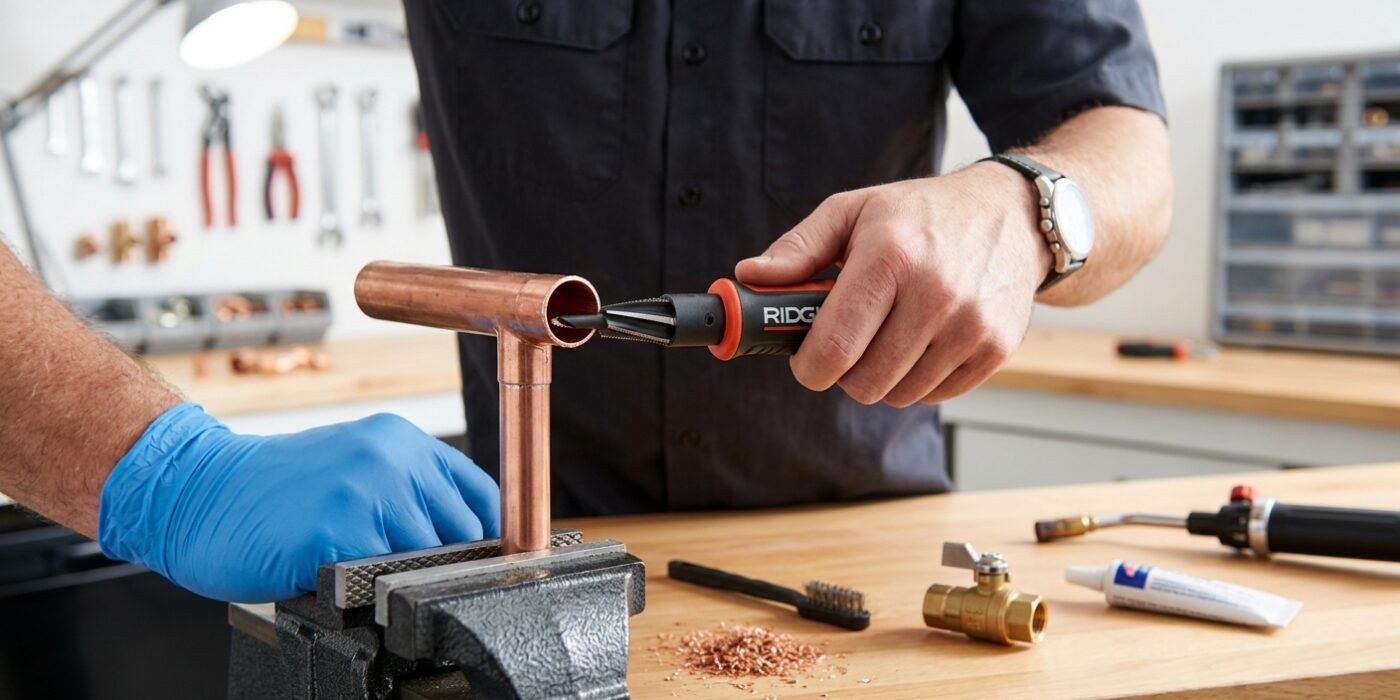
Now that your pipe is cut, it is time to prepare the ends so your new valve forms a perfect, watertight seal. When you used the pipe cutter, it likely left a small metal ridge, or “burr,” facing inward at the opening. Use the small, triangular reaming blade attached to the side of your pipe cutter to scrape the inside edge of the pipe until it feels smooth to the touch. Removing this is vital, as a jagged edge can disrupt water flow and prevent the internal parts of your valve from seating properly.
Next, take a strip of emery cloth – a flexible, sandpaper-like material – and wrap it around the last inch of the pipe end. Rotate it back and forth to scrub the outside surface until the copper looks bright and shiny rather than dull or oxidized. This step removes microscopic debris and surface imperfections, creating a clean, textured surface that allows the compression ferrule to “bite” and grip the pipe securely. If the surface isn’t clean, water may slowly seep through the fitting later.
Beginner Tip: Avoid over-sanding the pipe. You only need to remove the surface tarnish to reveal fresh metal. If you sand away too much material, you might make the pipe diameter slightly too thin, which can lead to leaks even when the valve is tightened fully.
Pro Tip: Before installing the valve, wipe the pipe ends one final time with a clean, dry rag. Even a tiny piece of grit or a fingerprint of oil can break the seal, so keeping the surface pristine until the moment of assembly is the secret to a professional, leak-free job.
Step 5: Install the Valve (Compression Fitting Method)
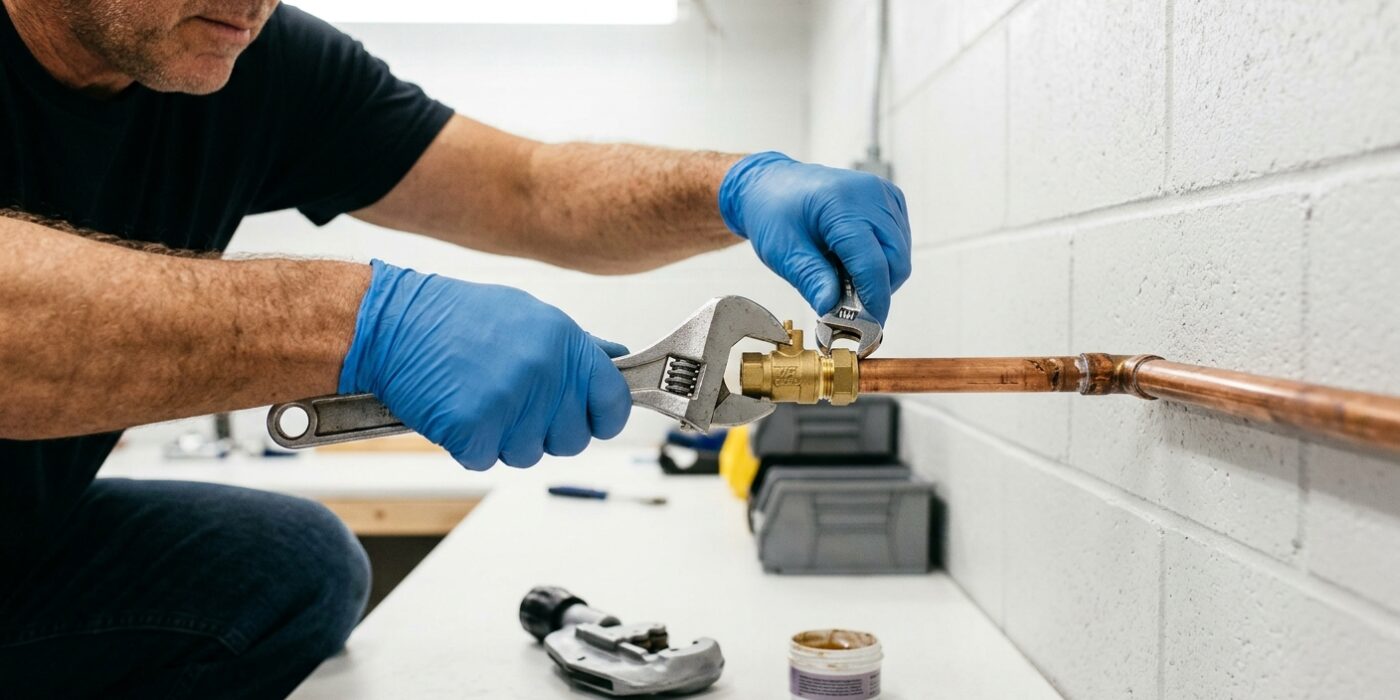
Now it is time to connect your new valve. First, slide one compression nut onto each pipe end, ensuring the threaded side faces toward the open end of the pipe. Next, slide the small brass ring, called a ferrule, onto the pipe. Push the pipe ends firmly into the valve body until they bottom out against the internal stops. Hand-tighten both nuts onto the valve body until they feel firm.
To seal the connection, you need two wrenches: one to hold the valve body steady and the other to rotate the nut. Using two wrenches prevents the pipe from twisting or putting stress on the wall connections. Tighten the nut until it feels snug, then continue for exactly one and a quarter turns. This precise amount of force compresses the ferrule against the pipe, creating a watertight seal.
Beginner Tip: A common mistake is overtightening. If you crank the nut too hard, the brass ferrule will deform or pinch the pipe, which creates a permanent leak that is very difficult to fix. Always aim for that “snug plus one and a quarter turns” rule.
Pro Tip: Before assembling, apply a tiny drop of plumber’s grease or even a small amount of clean water to the threads of the nut. This simple trick reduces friction, allowing the nut to glide smoothly onto the valve body so you can feel exactly when the connection is properly seated.
Step 6: Alternative – Push-to-Connect Valve
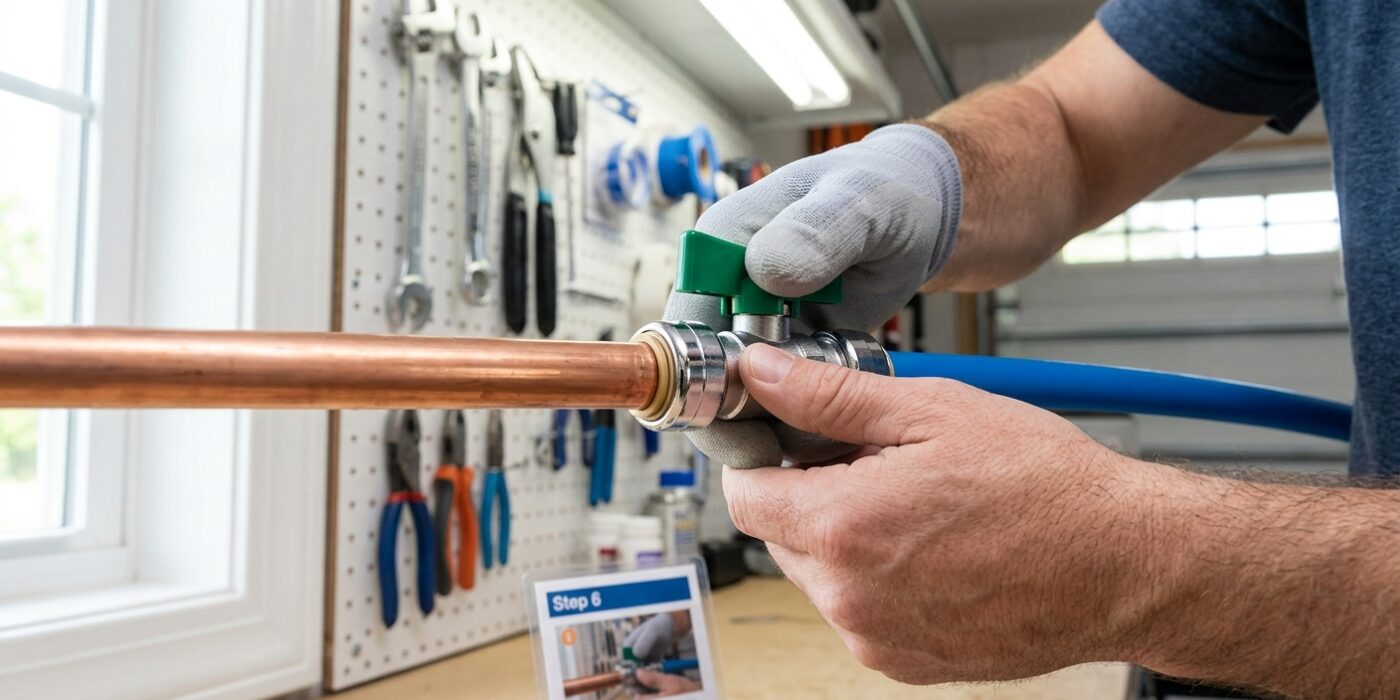
If the idea of fiddling with nuts, ferrules, and wrenches sounds intimidating, push-to-connect valves (often referred to by brand names like SharkBite) are a game-changer. These fittings use an internal stainless steel “teeth” mechanism that grips the pipe to create a watertight seal instantly. Once you have cut your pipe and smoothed the edges with a deburring tool or fine-grit sandpaper, simply align the valve with the pipe. Push the valve onto the pipe firmly using a steady, straight motion. You need to push until you feel the pipe hit the internal stop; you should feel a distinct resistance and perhaps a faint click. Give it a gentle tug afterward to ensure it is locked securely in place.
Beginner Tip: The most common mistake is failing to mark the insertion depth. Before pushing the valve on, measure the depth of the fitting and mark the pipe with a permanent marker. This gives you a visual reference to confirm the pipe is fully seated, which prevents slow leaks caused by an incomplete connection.
Pro Tip: To make the valve slide on effortlessly, lightly lubricate the end of the pipe with a tiny drop of clean water or a silicone-based plumber’s grease. Avoid using heavy oils or petroleum-based products, as these can degrade the internal rubber O-ring over time. This tiny bit of help makes the difference between a struggle and a smooth, confident installation.
Step 7: Restore Water and Test
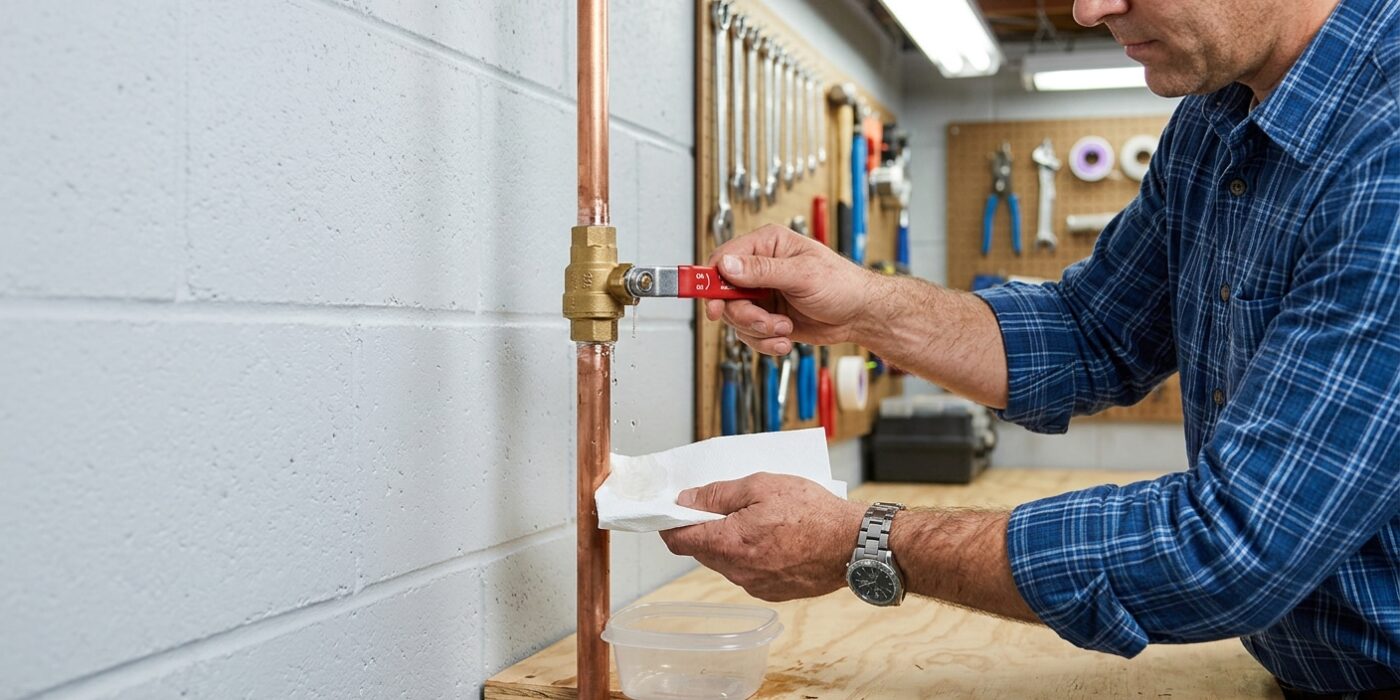
Now that your valve is installed, it is time to bring your water back to life. Before turning the main supply on, ensure your new valve is in the open position. You can identify this easily: when the handle is parallel to the pipe, the water can flow through. Slowly open your main water supply, keeping a close eye on your new connections. Using a dry paper towel, wipe around each joint. A dry surface makes it much easier to spot even the tiniest bead of moisture. If you see a drip, use your wrench to tighten the nut an additional quarter-turn. Remember, a properly installed compression fitting should be bone-dry.
Beginner Tip: The most common mistake is over-tightening. If the connection continues to drip after a total of one-and-a-quarter turns, do not keep cranking on the wrench. Forcing it further can deform the internal ring, known as a ferrule, making it impossible to create a proper seal. If it leaks after the first few adjustments, it is better to take the fitting apart, inspect the pipe for scratches, and try again with a fresh ferrule.
Pro Tip: Before you walk away, take a permanent marker or a small plastic tag and label the valve, such as "Kitchen Sink" or "Guest Bath." You will thank yourself years from now when you need to shut off the water during an emergency and don’t have to guess which valve controls which room.