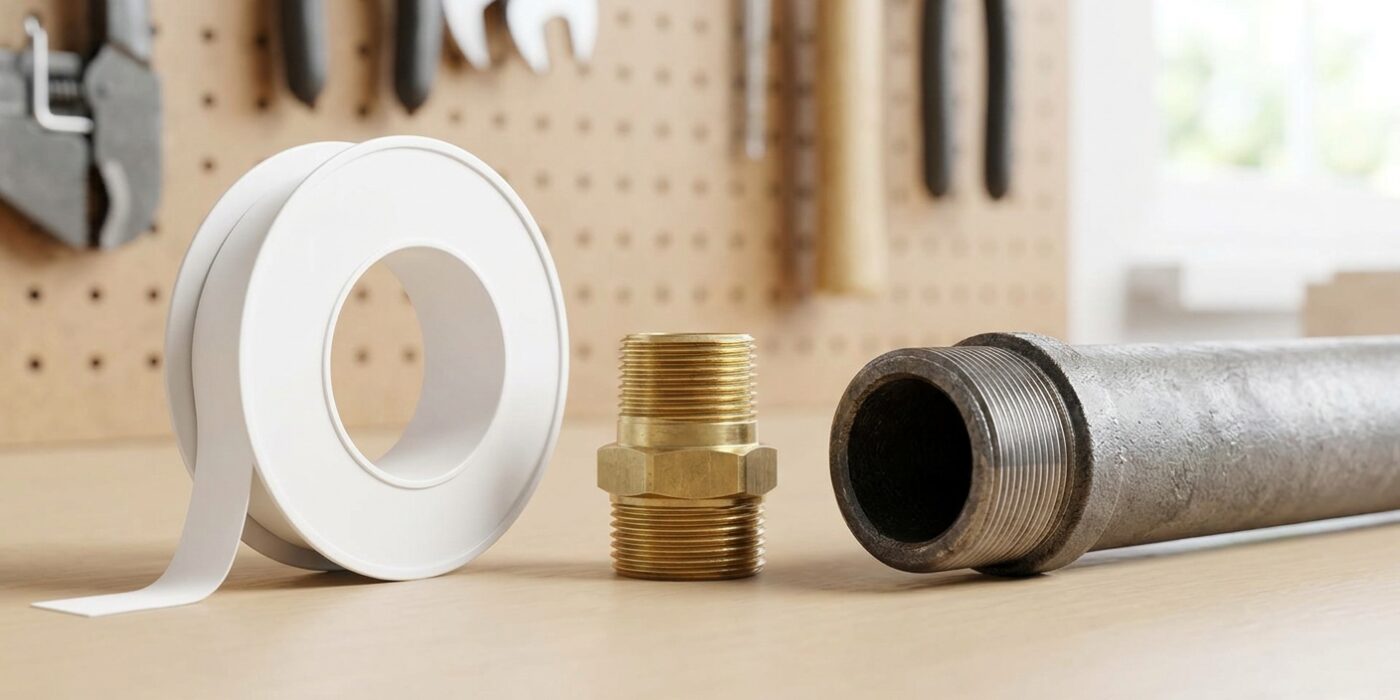
Project Shopping List
Plumber’s tape – technically PTFE (polytetrafluoroethylene) thread seal tape, often called Teflon tape – is one of the most misused products in DIY plumbing. Used correctly, it creates a reliable, leak-free seal on threaded pipe connections. Used incorrectly, it can cause leaks, prevent proper seating of connections, or do nothing at all. This guide covers exactly where to use it, how to apply it properly, and critically – where not to use it.
Understanding the right use of plumber’s tape prevents the majority of beginner plumbing frustrations. It’s a 5-minute guide that saves hours of troubleshooting.
What You’ll Need
Tools
- None – plumber’s tape application requires only your hands
Materials
- White PTFE tape (standard, for most water connections)
- Yellow PTFE tape (for gas lines – thicker and yellow for code identification)
- Pink PTFE tape (for water lines requiring high-density sealing)
Step 1: Understand What Plumber’s Tape Does
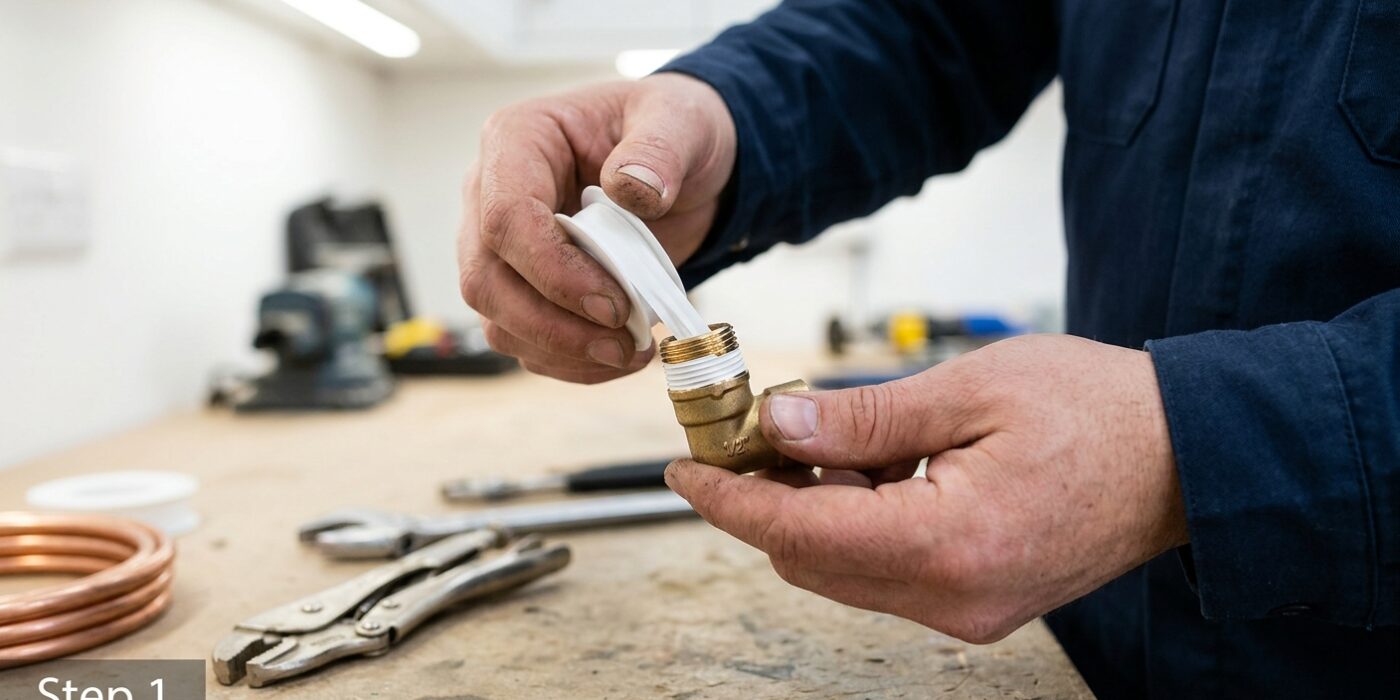
Think of plumber’s tape, also called PTFE or Teflon tape, as a specialized filler that ensures a watertight seal. When you screw two threaded metal or plastic pipes together, the tiny grooves in the threads don’t always fit perfectly. Water is persistent and will find even the smallest microscopic gap to leak through. By wrapping these threads, you create a thin, flexible barrier that fills those gaps and compresses under pressure to stop leaks in their tracks.
It is crucial to know when to skip the tape. This material is designed specifically for tapered threads, such as those found on iron nipples or threaded pipe fittings. If a connection relies on a rubber washer, an O-ring, or a compression ring to create a seal, do not use tape. Adding tape to these connections can actually prevent the components from seating properly, which might cause a leak rather than preventing one.
Beginner Tip: The most common mistake is applying too much tape. If you use too many layers, the excess material will bunch up or shred as you tighten the joint, preventing the threads from engaging properly. For most household projects, three to four consistent, overlapping wraps around the male threads are more than enough to create a perfect seal.
Pro Tip: Always wrap the tape in a clockwise direction – the same direction you will be turning the pipe to tighten it. If you wrap it counter-clockwise, the tape will simply unravel and peel off as you twist the fitting onto the pipe.
Step 2: Where to Use Plumber’s Tape
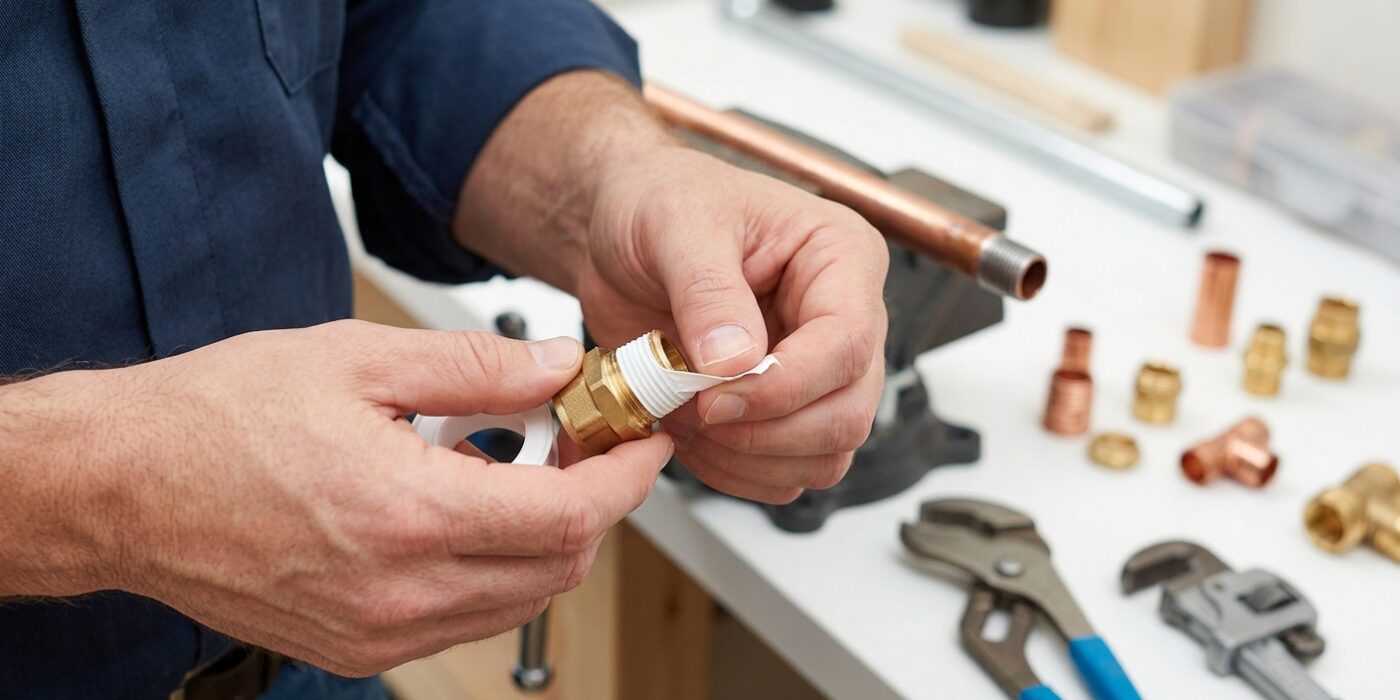
Plumber’s tape, also known as PTFE or thread seal tape, is your secret weapon for creating a watertight seal. You should apply it to any connection where two tapered metal threads screw directly into one another. The tape acts as a filler, sliding into the tiny gaps between the threads to prevent leaks. Think of it as a lubricant that allows you to tighten the fitting further, creating a much tighter, more secure metal-to-metal bond.
You should use this tape on pipe nipples, shower arms, garden hose bibs, and gas appliance connections. If your connection relies on a rubber washer or an O-ring to stop leaks – like the end of a washing machine hose – you generally do not need tape, as the rubber is doing all the work. However, if you see a connection where two threaded metal pieces meet with no rubber seal in between, that is your cue to wrap it up.
Beginner Tip: A common mistake is using too much tape. If you wrap the threads too thick, the excess tape will bunch up or tear when you try to screw the parts together, which can actually prevent the threads from seating properly and lead to a leak. Stick to three or four consistent wraps around the threads.
Pro Tip: Always wrap the tape in a clockwise direction – the same way you will be screwing the fitting on. If you wrap it counter-clockwise, the tape will unravel and bunch up as you tighten the connection, rendering it useless. A good trick is to hold the pipe in your left hand and the tape in your right, wrapping it so the edge follows the thread path perfectly.
Step 3: Where NOT to Use Plumber’s Tape
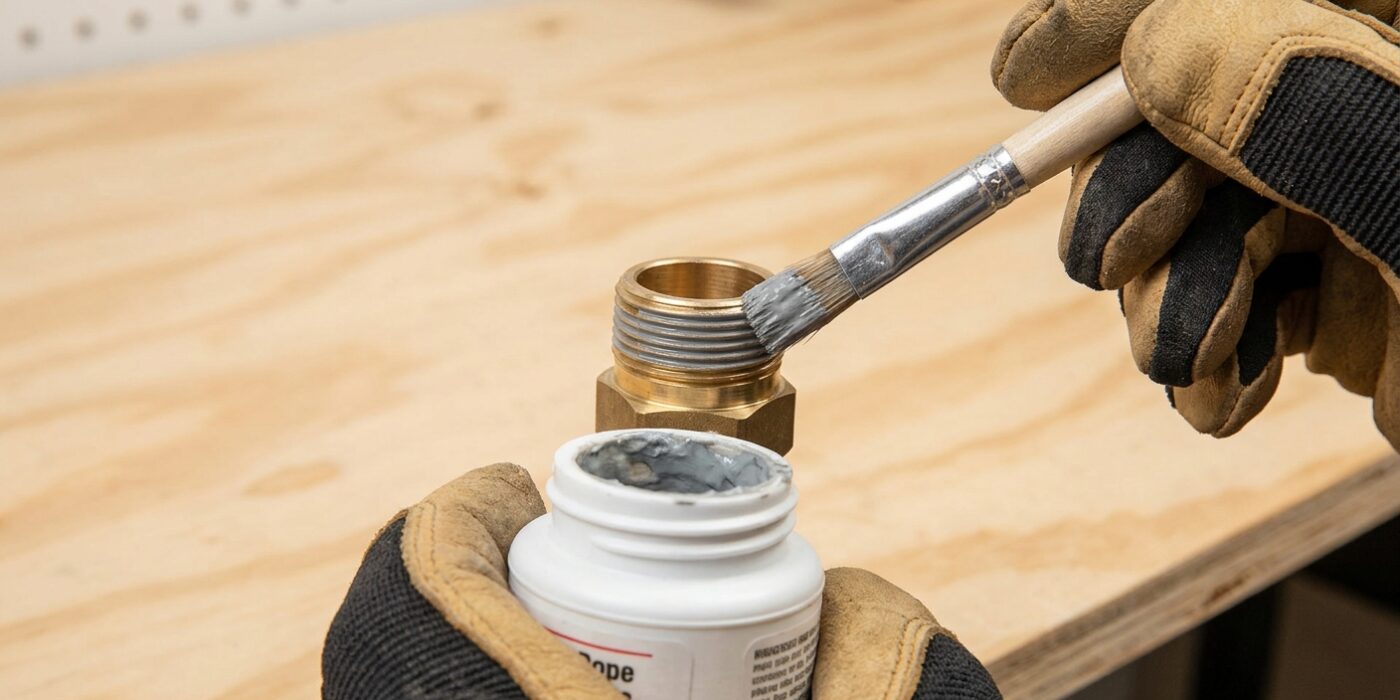
Plumber’s tape is an incredible tool for metal-to-metal threaded connections, but it is not a universal solution. You should never apply tape to fittings that rely on a rubber washer, an O-ring, or a compression ferrule to stop leaks. These include washing machine hoses, faucet aerators, toilet supply lines, and push-to-connect fittings like SharkBites. Because these parts are designed to create a watertight seal through physical compression against a soft gasket, the extra thickness of the tape can actually prevent the components from tightening properly. This creates a gap that leads to water spraying out, turning a simple job into a messy headache.
Beginner Tip: If you see a small rubber circle inside the nut or at the end of the hose, put the tape roll back in your toolbox. The rubber is doing all the heavy lifting, and adding tape will only interfere with that seal.
Pro Tip: If you are struggling to tell if a fitting needs tape, look for the threads. Plumber’s tape is strictly for tapered pipe threads, usually found on iron or brass piping that screws directly into another metal fitting. If the connection is meant to be tightened by hand or features a flat surface with a gasket, leave it bare to ensure the rubber makes perfect contact.
Step 4: Apply the Tape Correctly – Direction Matters
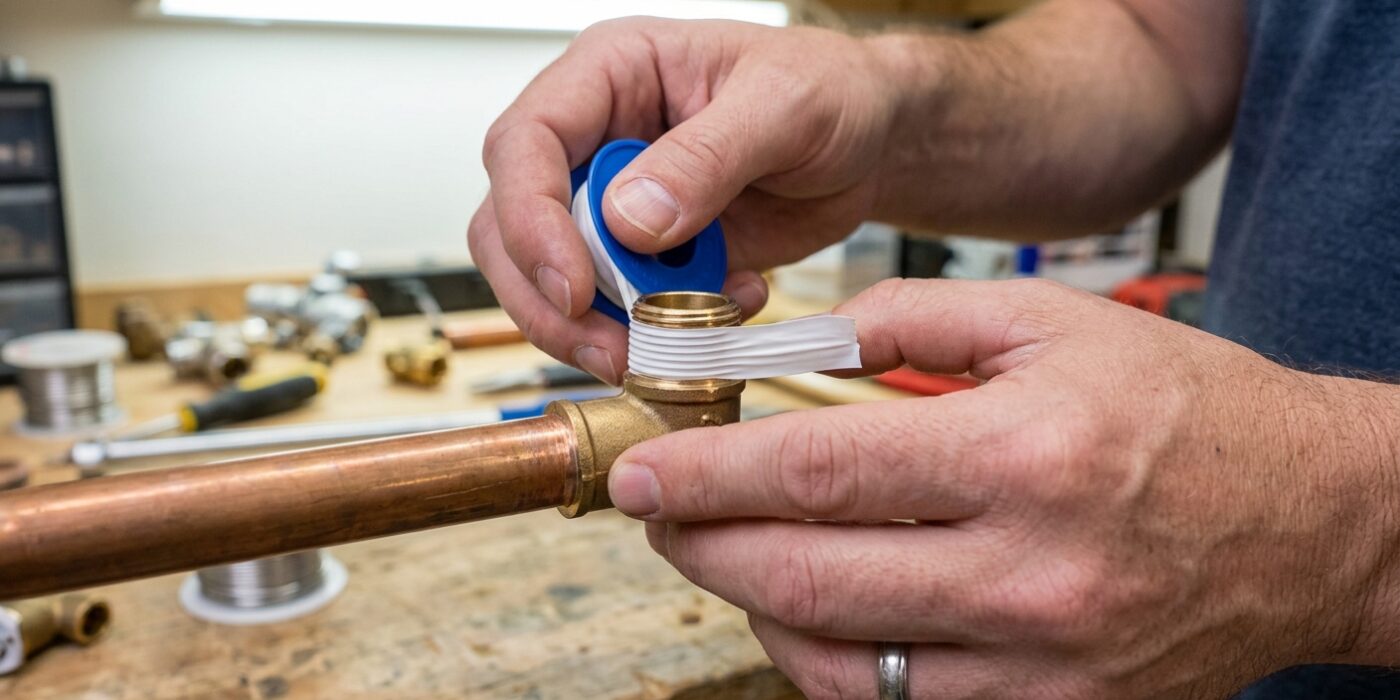
Now we reach the most important part of the process: wrapping the threads. The secret to a leak-proof seal is remembering the phrase, “clockwise is for closure.” Hold your pipe or fitting in one hand with the threaded end pointing away from you. Start at the very end of the thread, but leave the first thread exposed – don’t start right at the tip, or the tape might get pushed inside the pipe and cause a blockage.
Hold the tape flat against the threads and wrap it in a clockwise direction. As you pull the tape slightly to keep it taut, you should see it molding into the grooves of the threads. Aim to overlap each pass by about half the width of the tape, covering the threaded section until you reach the base of the fitting. Usually, three to four full rotations are plenty to create a solid seal without making the fitting too bulky to screw on.
Beginner Tip: A very common mistake is wrapping the tape in the wrong direction. If you wrap it counterclockwise, the act of tightening the fitting will cause the tape to bunch up and unravel like a loose sweater. Always double-check your direction before you start spinning that fitting on.
Pro Tip: To get the tape to sit perfectly, use your thumb to press the tape firmly into the threads after you finish wrapping. This “seats” the tape deep into the grooves, ensuring it doesn’t shift or tear when you start twisting the two pieces together.
Step 5: Apply the Correct Number of Wraps
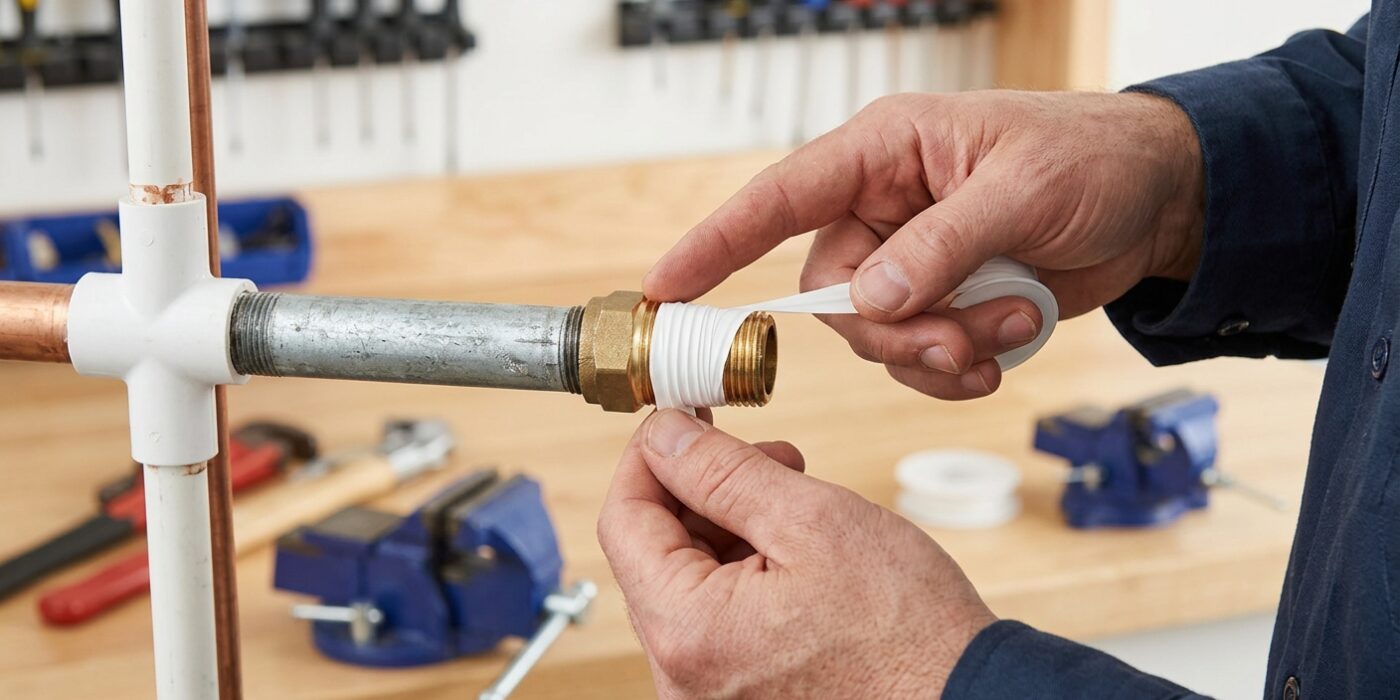
Now that you have your tape ready, it is time to wrap the pipe threads. Think of this like winding a bandage; you want it snug and secure. For standard home plumbing, apply 2 to 3 wraps of white tape. If you are dealing with larger pipes or connecting plastic to metal, use 3 to 4 wraps. Hold the pipe in your left hand and the tape roll in your right, starting at the very first thread closest to the pipe end. Wrap in the same direction you will be tightening your fitting – usually clockwise – to ensure the tape doesn’t unravel as you screw the pieces together. Pull the tape taut as you go; it should stretch slightly and sink into the grooves of the threads rather than sitting loosely on top.
Beginner Tip: The most common mistake is starting too close to the very end of the pipe. If any tape hangs over the edge, it can get pushed inside the pipe when you tighten the connection, potentially clogging your aerator or showerhead. Always start on the first thread, not the very tip.
Pro Tip: To get the perfect seat, once you have finished your wraps and torn the tape, run your thumbnail or fingertip firmly around the threads. This “seating” process pushes the tape into the crevices of the metal, creating a professional-grade, airtight seal that prevents future leaks.
Step 6: Thread the Connection and Test
Now that your tape is perfectly applied, it is time to secure the connection. Begin by lining up the male fitting with the female opening, ensuring they are perfectly level. Use your fingers to turn the fitting clockwise, rotating it at least two to three full turns by hand. This crucial step confirms the threads are aligned and “catching” smoothly. If you feel any resistance or grinding, back the fitting out immediately and try again; forcing it can cause cross-threading, which permanently ruins your parts.
Once hand-tight, use two wrenches to finish the job: hold the pipe steady with one wrench while using the other to rotate the fitting another half-turn to one full turn. The PTFE tape will compress into the grooves to create a watertight seal. If you notice a leak, do not simply add more tape. You must unscrew the fitting completely, scrape away every bit of the old tape, and start fresh. Layering new tape over old prevents a proper seal and will almost always result in a persistent drip.
Beginner Tip: Never use a wrench to start the threading process. Starting by hand allows you to “feel” if the threads are aligned correctly. If the fitting doesn’t spin on easily, you are likely cross-threading it.
Pro Tip: If you are working in a tight, awkward space, use a permanent marker to draw a small line across both the fitting and the pipe once hand-tight. This helps you track exactly how much you have turned the fitting with your wrenches, ensuring you achieve that perfect, secure seal without over-tightening.