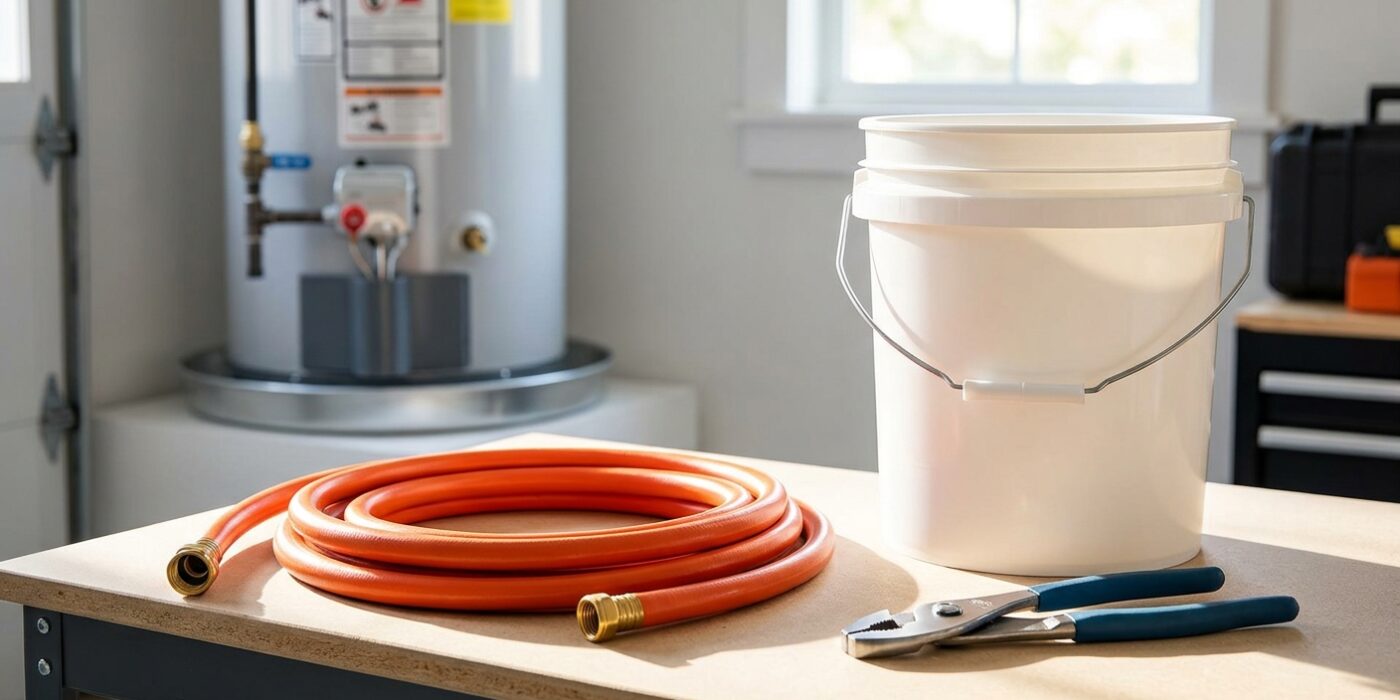
Project Shopping List
Water heaters accumulate sediment at the bottom of the tank over time – mineral scale from hard water settles and builds up year after year. A thick layer of sediment reduces efficiency (the burner works harder to heat through the sediment layer), causes rumbling and popping noises, and shortens the heater’s lifespan. Draining and flushing the tank once a year removes this buildup and is one of the best maintenance tasks you can do to extend a $600–$1,200 appliance’s life.
This guide covers the complete annual flush procedure for a standard gas or electric storage water heater, including the proper sequence to avoid damaging the heating elements in electric models.
What You’ll Need
Tools
- Garden hose (long enough to reach floor drain or outdoors)
- Flathead screwdriver or hose bib key (for drain valve)
- Bucket (backup)
Materials
- Replacement drain valve (if existing valve drips after use – this is common on older heaters)
Step 1: Prepare the Heater
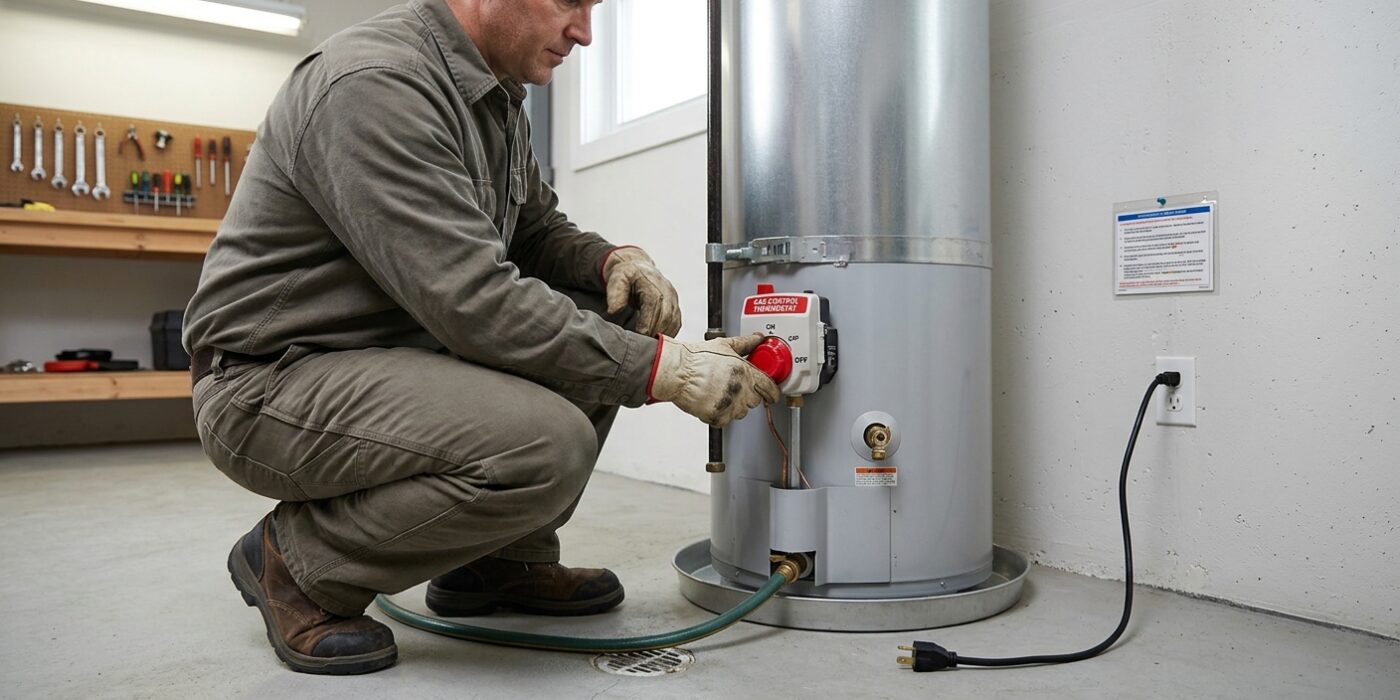
Before you begin draining your water heater, you must ensure the unit is safely powered down so it does not accidentally activate while empty. This step depends entirely on your unit’s fuel source.
If you have a gas water heater, locate the gas control knob, which is typically found near the bottom of the tank. Turn the dial from the “On” position to the “Pilot” setting. This keeps your pilot light burning so you won’t have to relight it later, but it effectively disconnects the main burner so the tank stops heating. For an electric water heater, go to your home’s main electrical service panel. Locate the circuit breaker labeled “Water Heater” and flip the switch to the “Off” position. This is non-negotiable; if an electric heater runs while empty, the heating elements will overheat and fail within seconds, which is a costly mistake known as “dry firing.”
Beginner Tip: If your circuit breaker isn’t clearly labeled, do not guess. Simply turn on a hot water tap in your home and have a helper watch the breaker panel while you flip switches one by one. When the water stops being hot or you hear a subtle “click” from the unit, you have found the correct breaker.
Pro Tip: Place a piece of painter’s tape over the circuit breaker switch or the gas dial once you have set it. This acts as a visual reminder to anyone else in your home that maintenance is in progress, preventing them from accidentally turning the power or gas back on while you are working.
Step 2: Connect the Drain Hose
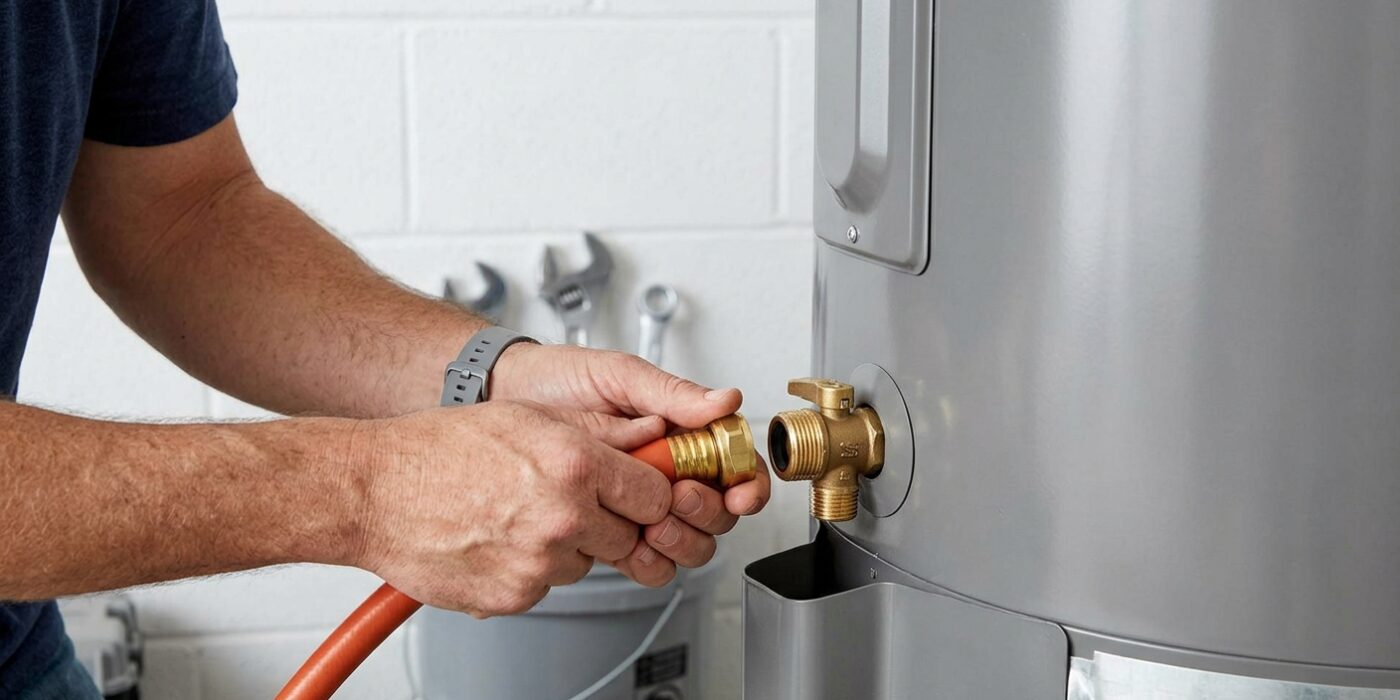
Locate the drain valve at the very bottom of your water heater tank; it typically looks like a standard outdoor water spigot. Take a standard garden hose and screw it firmly onto the valve by turning it clockwise until it feels snug. Be careful not to overtighten, as the plastic threads on some valves can be fragile.
Before you turn on the water, place the other end of the hose in a safe location, such as a floor drain, a deep laundry sink, or well away from your home onto a concrete driveway. It is vital to remember that the water inside the tank may be as hot as 140°F and will be filled with mineral buildup and rust-colored sediment. Avoid routing the hose near grass, flowers, or delicate landscaping, as the intense heat and minerals can easily kill your plants or scorch the lawn.
Beginner Tip: The most common mistake is failing to ensure the hose is lying flat or running downhill. If the hose has a loop or a high point, water will get trapped inside and won’t drain properly. Always check that the hose maintains a constant downward slope from the tank to your drain point.
Pro Tip: To get a better, more complete flush, wait until the morning after you have turned off the power or gas supply to the heater. This allows the sediment inside the tank to settle at the bottom overnight, ensuring you wash out as much buildup as possible when you finally open the valve.
Step 3: Open a Hot Water Faucet Somewhere in the House
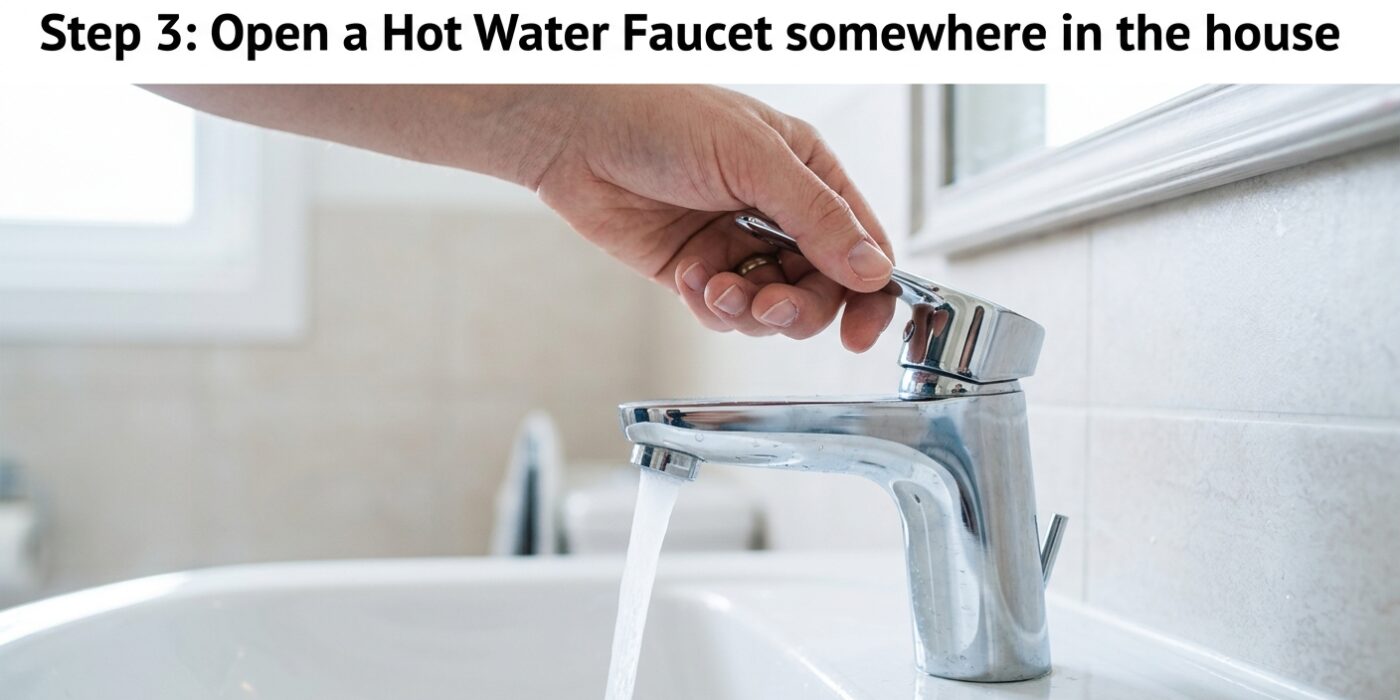
Now that your water heater is safely powered down, you need to head to any sink in your home – the kitchen or the closest bathroom works perfectly. Simply turn the handle to the hot position and leave it open. You do not need to keep the water running if you have already shut off the main water supply, but you want that faucet wide open.
Why is this necessary? Think of a straw with your finger over the top; if you lift your finger, the liquid flows out easily. Your water heater is the same. By opening a faucet, you are letting air enter the plumbing system. Without this vent, a vacuum will form inside the tank, causing the water to trickle out at a frustratingly slow pace. As the tank drains, you will likely hear some air gurgling through the pipes and see the faucet spit and sputter. This is completely normal and is a great sign that the tank is emptying exactly as it should.
Beginner Tip: Make sure you specifically open a hot water faucet. If you accidentally open the cold tap, you are only venting the cold water lines, which will do absolutely nothing to help the tank drain. Always double-check that you have the hot handle turned all the way to the left or marked position.
Pro Tip: To keep your floors clean, wrap a small, dry rag around the end of the faucet spout. When the water starts to sputter, this will catch the spray and prevent tiny, mineral-filled droplets from splashing onto your countertops or backsplash.
Step 4: Open the Drain Valve
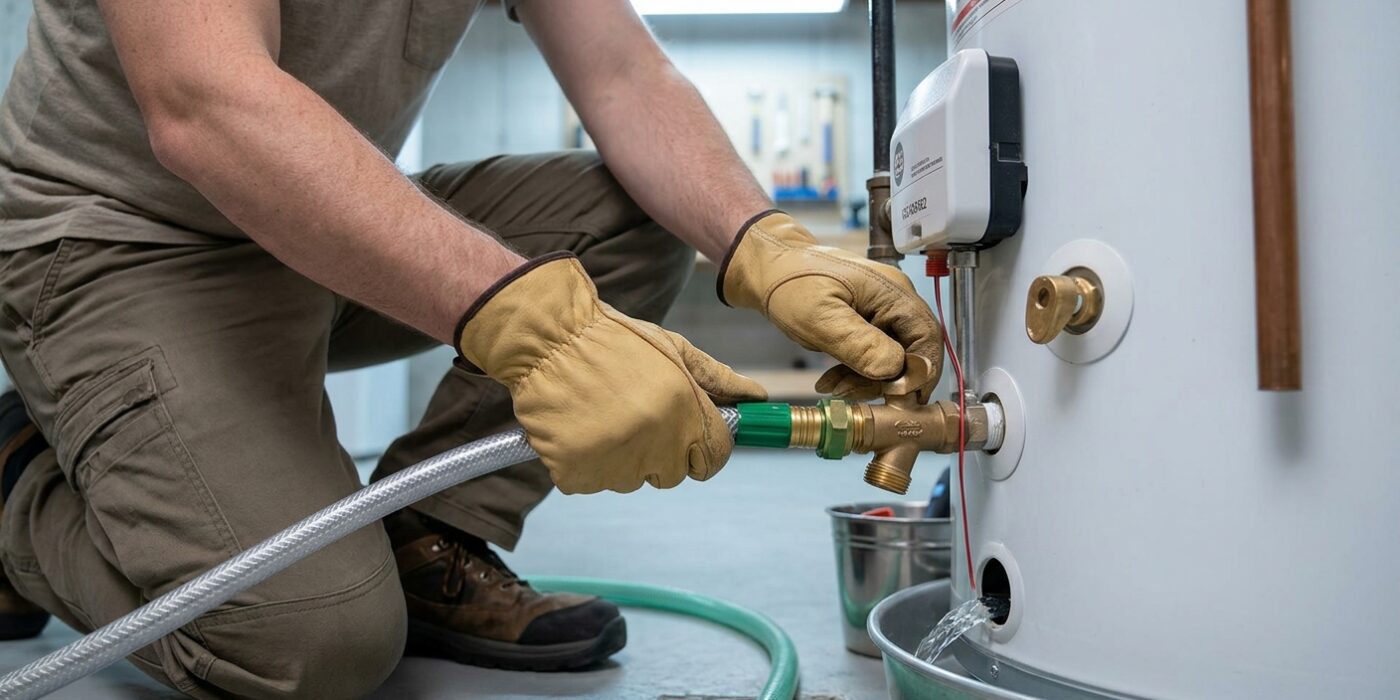
Now that your hose is securely attached to the drain valve at the bottom of the tank and the other end is resting safely in a floor drain or out a doorway, it is time to release the water. Locate the drain valve, which looks much like a standard outdoor spigot. If your model has a handle, turn it counterclockwise to open it. If it features a flat slot instead, use a flat-head screwdriver to turn it a quarter-turn until the water begins to flow. As you open it, the water exiting the hose will likely be murky, brown, or contain small, crunchy-looking flakes; this is simply the mineral sediment that has settled in your tank over the last year. Let the water flow freely until it appears mostly clear, which usually takes about 10 to 20 minutes for a standard 50-gallon tank.
Beginner Tip: Be patient and do not force the valve. These valves can be fragile, especially on older units. If the valve feels stuck, do not apply extreme pressure with pliers, as you risk snapping the plastic or brass stem, which could cause a leak you cannot easily turn off.
Pro Tip: To speed up the draining process and help dislodge more sediment, briefly open the temperature and pressure relief valve (located near the top of the tank) or turn on a hot water faucet inside your home. This breaks the vacuum inside the tank, allowing the water to flow out of the bottom much more quickly and forcefully.
Step 5: Flush with Cold Water (For Heavy Sediment)
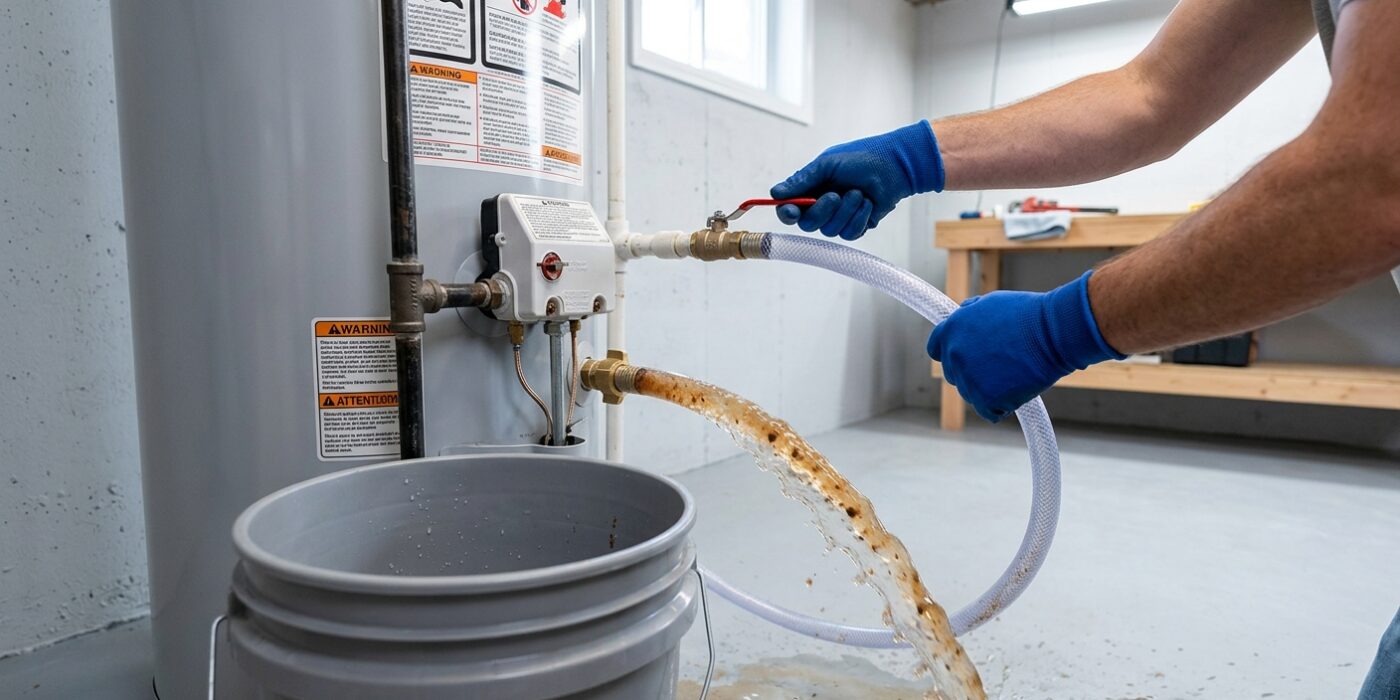
If the water draining from your tank looked murky or contained small, gritty particles, your heater has significant sediment buildup. To clean this out, first ensure the drain valve at the bottom of the tank is firmly closed by turning the handle clockwise until it stops. Next, locate the cold water supply valve – the lever or knob at the top of the heater – and turn it on to let fresh water rush into the tank for exactly 30 seconds. This sudden surge of pressure agitates the stubborn mineral deposits that have settled along the bottom and sides of the tank. After 30 seconds, turn the cold water supply off, then carefully open your drain valve again to flush out the loosened debris. Repeat this cycle two or three times until the water flowing out is completely clear.
Beginner Tip: A common mistake is leaving the cold water supply running too long. If you leave it on for more than a minute, you risk overflowing your drain bucket or overwhelming the drainage area, which can lead to a messy cleanup. Keep a close eye on your container as you work.
Pro Tip: If you are struggling to clear stubborn, hardened sediment, gently tap the lower side of the tank with the palm of your hand or a rubber mallet while the water is flushing. This vibration helps break loose crusty deposits that are stuck to the heating elements, allowing them to wash out through the drain valve more effectively.
Step 6: Close the Drain Valve and Refill
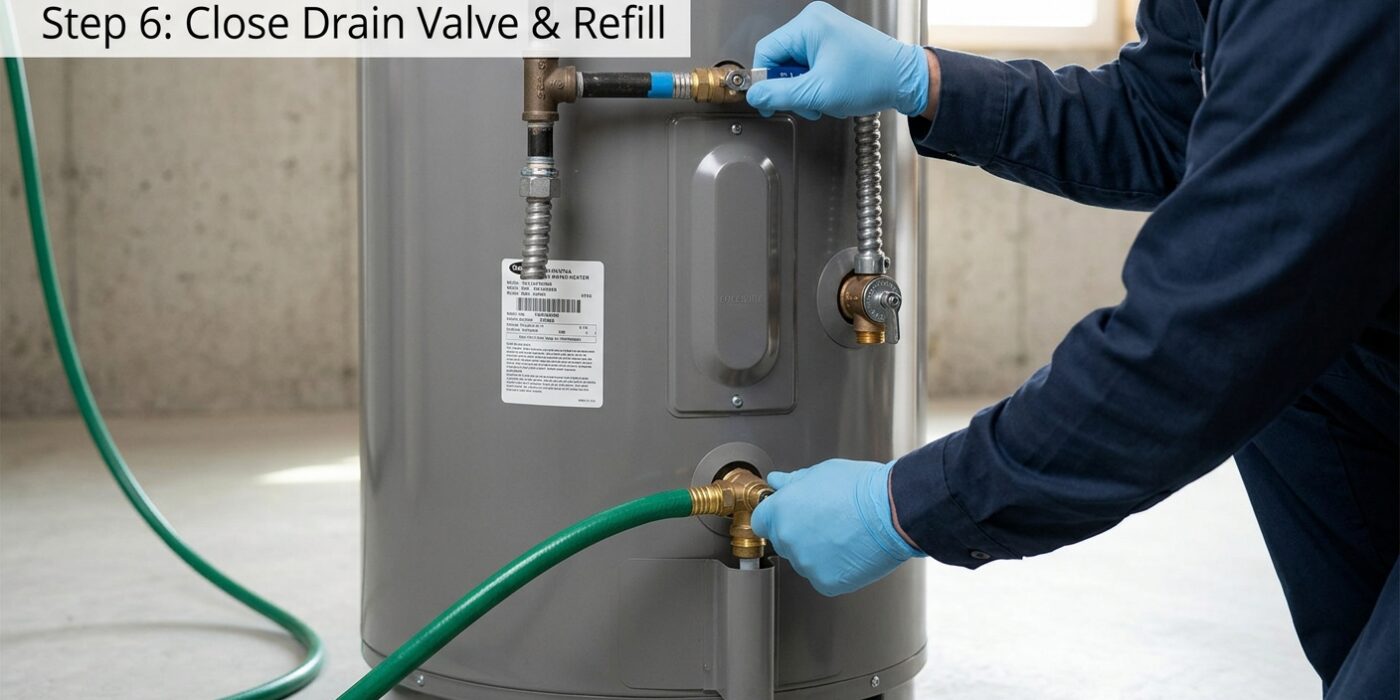
Now that your tank is clean, it is time to bring your water heater back to life. First, locate the drain valve at the bottom of the unit and turn the handle clockwise until it is firmly closed. If it uses a screwdriver slot, turn it until it is horizontal to the valve body. Once sealed, go ahead and unscrew your garden hose.
Next, find the cold water supply valve – usually located on the pipe running into the top of the heater – and turn it counter-clockwise to open it fully. You will hear the tank begin to refill with a rushing sound. Remember to keep that hot water faucet inside your house (like the one in your bathtub) turned on. At first, you will hear loud sputtering and see bursts of air coming from the tap; this is completely normal. Once the water flows out in a steady, smooth stream, the tank is officially full. You can now close that faucet, as your system is ready to be turned back on.
Beginner Tip: Never turn the power or gas back on until you are absolutely certain water is flowing steadily from that faucet. If the heating element turns on while the tank is empty, it will burn out almost instantly, resulting in a very expensive repair.
Pro Tip: When refilling, open a few different hot water faucets around the house. This helps force the trapped air out of the pipes much faster, ensuring a quicker, quieter, and more efficient refill process.
Step 7: Restore Heat
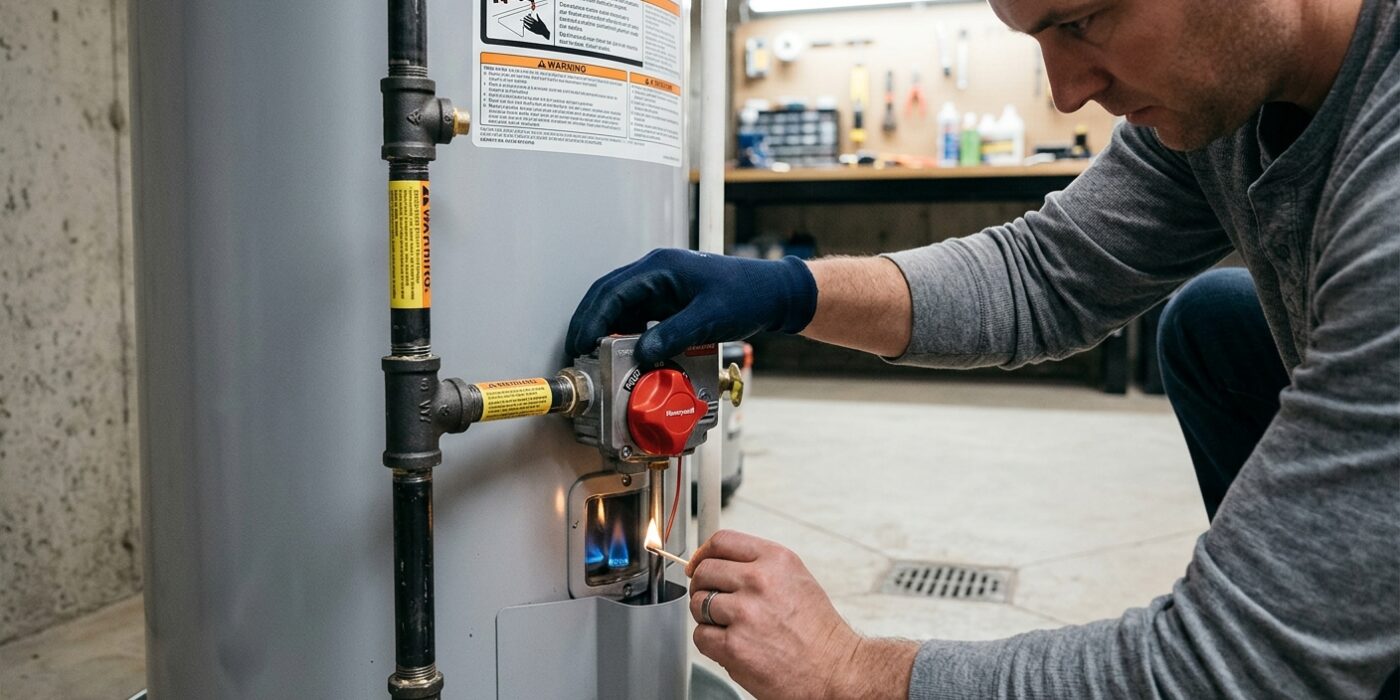
Now that your tank is refilled and the water is running clear, it is time to bring your water heater back to life. For gas models, turn your thermostat dial back to its normal operating position, typically set at 120°F. You should hear the burner ignite within a minute or two. For electric models, flip the circuit breaker back to the “on” position. It is vital that you wait 60 to 90 minutes for the internal elements to heat the full tank before testing your faucets.
Beginner Tip: Never restore power to an electric water heater until you are absolutely certain the tank is completely full of water. If the heating elements turn on while the tank is empty – a condition called “dry firing” – they will burn out almost instantly, turning a simple maintenance task into an expensive repair. Always run a hot water faucet in your home until the stream is steady and sputter-free to confirm all the air is purged before you flip that breaker.
Pro Tip: To extend the life of your heater, use a permanent marker to write the date of this flush directly on the side of the tank. Many homeowners find it helpful to pair this annual maintenance with another recurring task, like checking smoke detector batteries, so you never accidentally skip a year. Regularly flushing your tank is the single most effective way to prevent the sediment buildup that causes those annoying “popping” noises and premature tank failure.