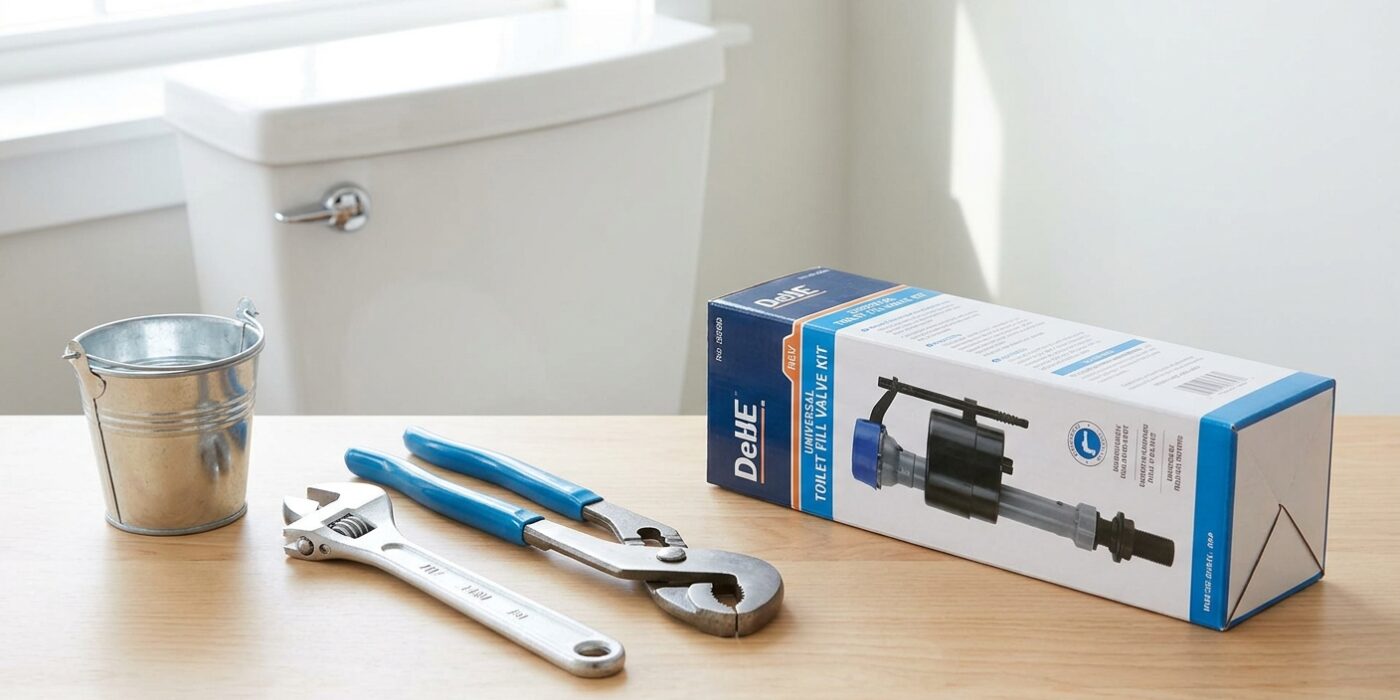
Project Shopping List
The fill valve is the tall mechanism inside the toilet tank that refills the tank with water after each flush. When it fails – filling slowly, making noise, or running continuously – replacing it is one of the most satisfying plumbing repairs you’ll do. The whole job takes under an hour, costs under $15, and permanently solves what’s often a very noisy or water-wasting problem.
The Fluidmaster 400A (or its equivalent) fits virtually every residential toilet made in the last 40 years and is the standard replacement valve for a reason – it’s adjustable, durable, and simple to install. This guide uses that valve as the reference.
What You’ll Need
Tools
- Adjustable pliers
- Sponge and bucket
- Towels
Materials
- Replacement fill valve (Fluidmaster 400A or equivalent)
- New supply line (optional but recommended)
Step 1: Shut Off Water and Drain the Tank
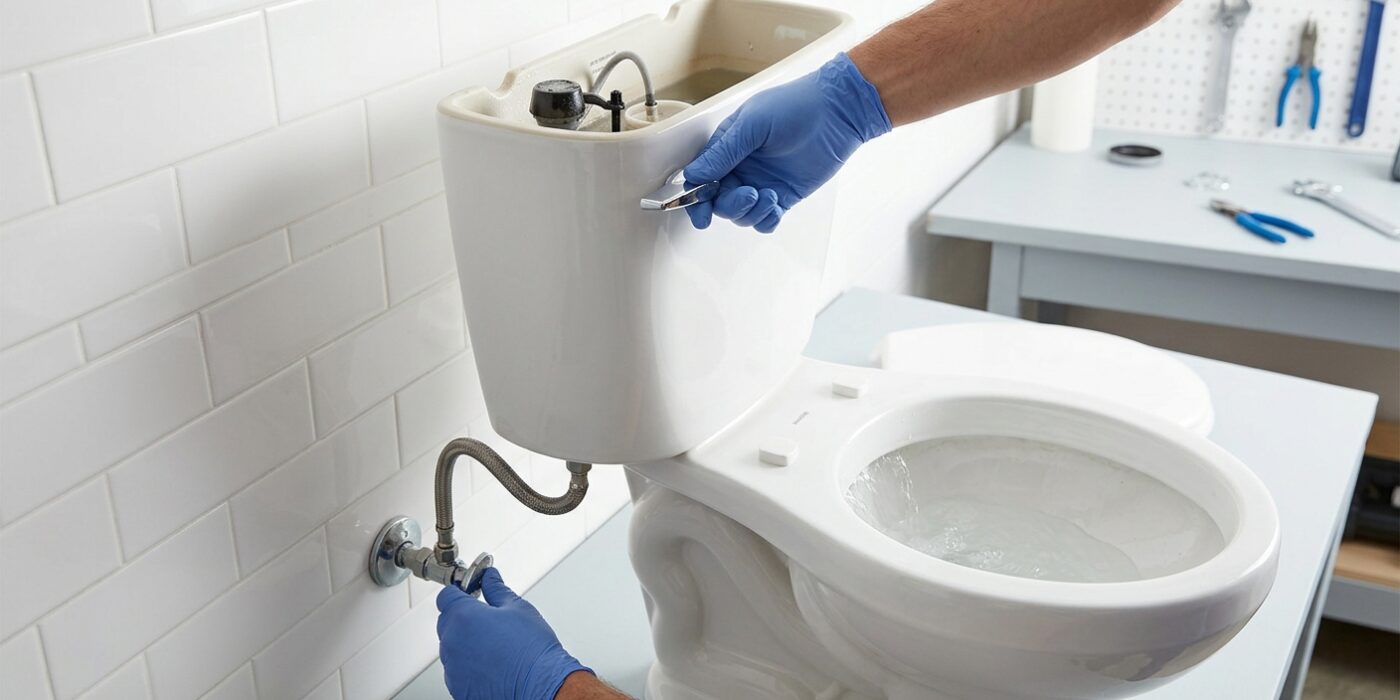
Before you begin, you need to stop the water flow. Locate the silver oval-shaped handle attached to the pipe behind your toilet, usually found on the lower left. Turn this valve clockwise (to the right) until it stops; this prevents water from refilling the tank while you work. Once the valve is closed, flush the toilet and hold the handle down for a few seconds to drain the tank completely.
You will notice a small puddle remaining at the very bottom of the tank. It is essential to soak up every drop with a sponge, wringing it out into a bucket. Even a small amount of water will leak onto your floor when you remove the fill valve, and removing it now prevents a messy cleanup later. Finally, carefully lift the porcelain tank lid – which is heavier than it looks – and place it on a rug or towel away from the work area to prevent accidental cracks.
Beginner Tip: Never force the supply valve if it feels stuck. If the handle won’t turn easily, apply a small amount of penetrating oil or simply use a pair of pliers to gently grip the base of the handle, but avoid using excessive torque, which could snap the pipe behind the wall.
Pro Tip: Place an old towel or a small plastic tray directly underneath the tank connection point before you start. This catches any hidden drips that escape during the removal process, keeping your bathroom floor dry and protected.
Step 2: Disconnect the Supply Line
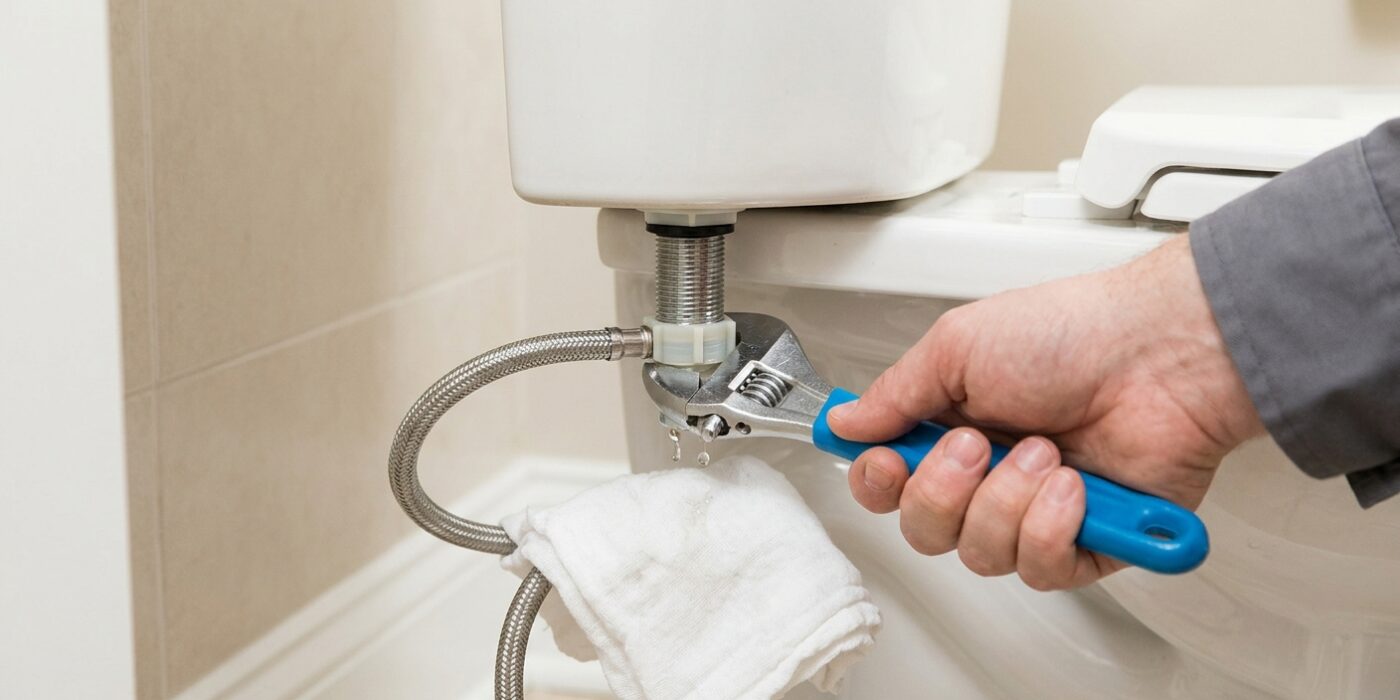
Now that you have shut off the water, it is time to detach the water supply line from the bottom of your toilet tank. Locate the flexible hose connecting your wall valve to the threaded plastic “shank” protruding from the underside of the tank. Before you begin, slide a small towel or a shallow bowl directly beneath this connection. Even though the water is off, there is still a small amount of water trapped inside the hose that will spill out as soon as the seal is broken.
Grip the plastic nut at the top of the supply line with your hand and turn it counter-clockwise. You may need to use a pair of tongue-and-groove pliers to get it started, but be very gentle; the plastic threads on the fill valve can be delicate. Once the nut begins to spin, finish unscrewing it by hand until the hose comes free. Set the hose aside, ensuring it stays above the floor so the remaining water doesn’t drain out onto your bathroom rug.
Beginner Tip: Resist the urge to use a heavy-duty pipe wrench. Because the fill valve shank is usually made of plastic, a metal pipe wrench can easily crack the threading or crush the fitting, turning a simple 10-minute repair into a much larger plumbing project.
Pro Tip: If the plastic nut feels “frozen” or stuck, wrap a thick rubber band around the plastic grip. This creates extra friction and gives your fingers a much better purchase, often providing just enough leverage to break the seal without needing to reach for your tool kit at all.
Step 3: Remove the Old Fill Valve
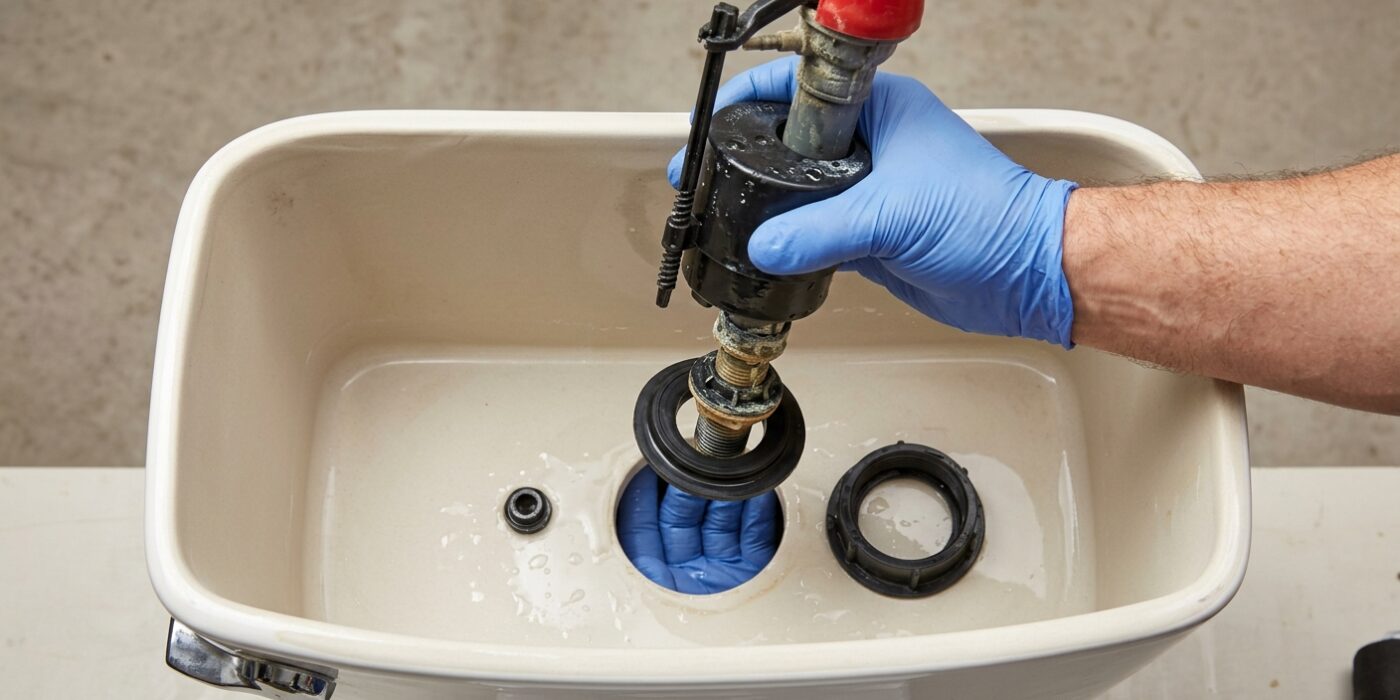
Now that the water is drained, it is time to remove the old fill valve. Locate the large plastic lock nut on the underside of the toilet tank, directly beneath the fill valve assembly. This nut secures the valve tightly against the porcelain base to prevent leaks. Reach underneath and grip the nut firmly. Turn it counter-clockwise (to the left) to loosen it. While these are designed to be tightened by hand, they can get stuck over time due to mineral buildup. Once the nut is loose, unscrew it completely and set it aside. Back inside the tank, lift the entire fill valve unit straight up. You may need to wiggle it gently to break the seal. Once the unit is out, check the bottom of the tank for the old rubber gasket or washer; remove it, as a fresh one will be included with your new kit. Cleaning this area with a rag ensures the new valve creates a perfect, watertight seal.
Beginner Tip: Be careful not to use excessive force when loosening the nut. Porcelain is surprisingly fragile, and pushing too hard against the tank wall can cause it to crack. If the nut refuses to budge, apply a small amount of household penetrating oil or vinegar to the threads and let it sit for ten minutes before trying again.
Pro Tip: Keep a small bowl or an old towel directly beneath the lock nut before you start. Even after flushing and sponging, a surprising amount of residual water often hides inside the valve housing, and this will save you from mopping up a puddle on your bathroom floor.
Step 4: Adjust the New Fill Valve Height
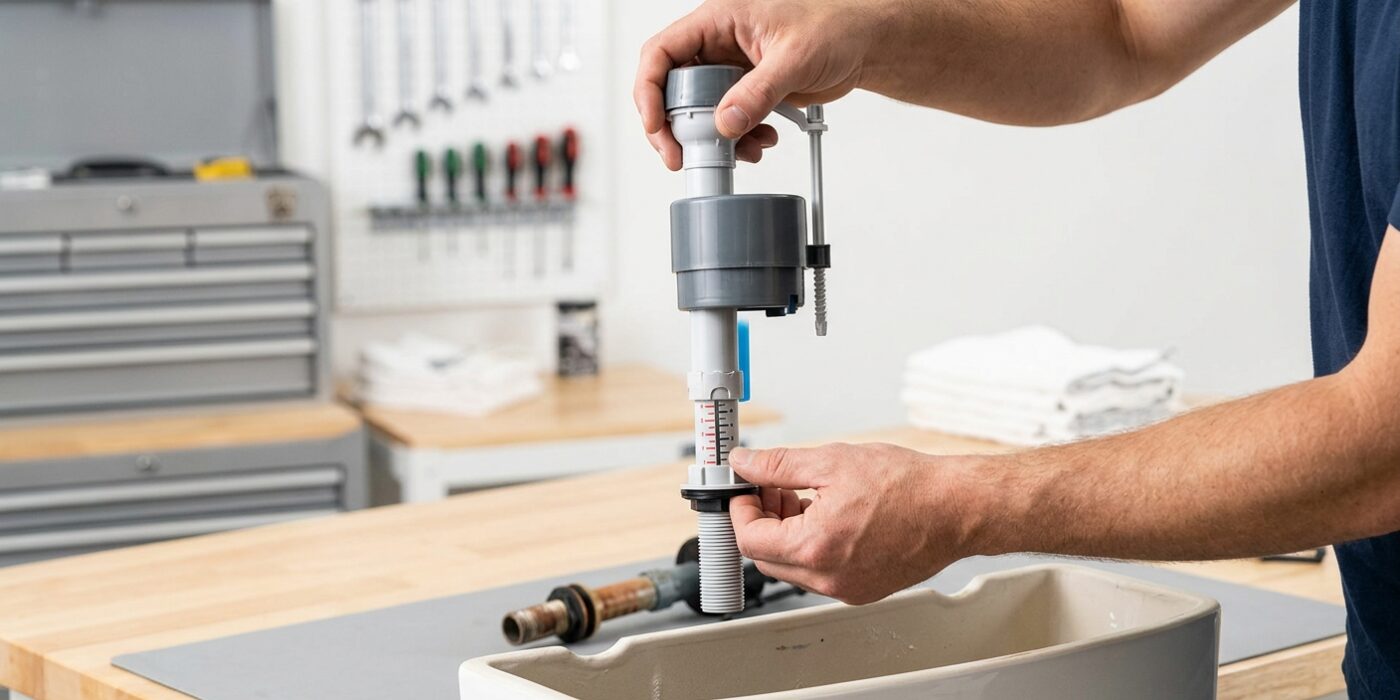
Before you place the new fill valve into the tank, you must set its height so it doesn’t interfere with the tank lid or cause flooding. Hold the new valve vertically next to the plastic overflow tube (the open pipe in the center of your tank). You want the top of the valve cap to be roughly 3 inches below the top of the overflow tube, but at least 1 inch higher than the top of the overflow tube itself. To adjust, simply hold the base of the valve with one hand and twist the upper shaft with the other. Pull it up to lengthen it or push it down to shorten it; you will feel a satisfying click as it locks into place at your desired height.
Beginner Tip: Avoid the mistake of making the valve too tall. If the cap touches the underside of your toilet tank lid, the lid won’t sit flush, and you may accidentally crack the porcelain or put pressure on the fill valve connection, leading to a slow leak.
Pro Tip: If you find the valve is difficult to twist, don’t force it with tools. Simply soak the shaft in a little warm water for a few minutes; this softens the rubber seal inside the adjustment mechanism, allowing it to slide smoothly without you having to use excessive physical strength.
Step 5: Install the New Fill Valve
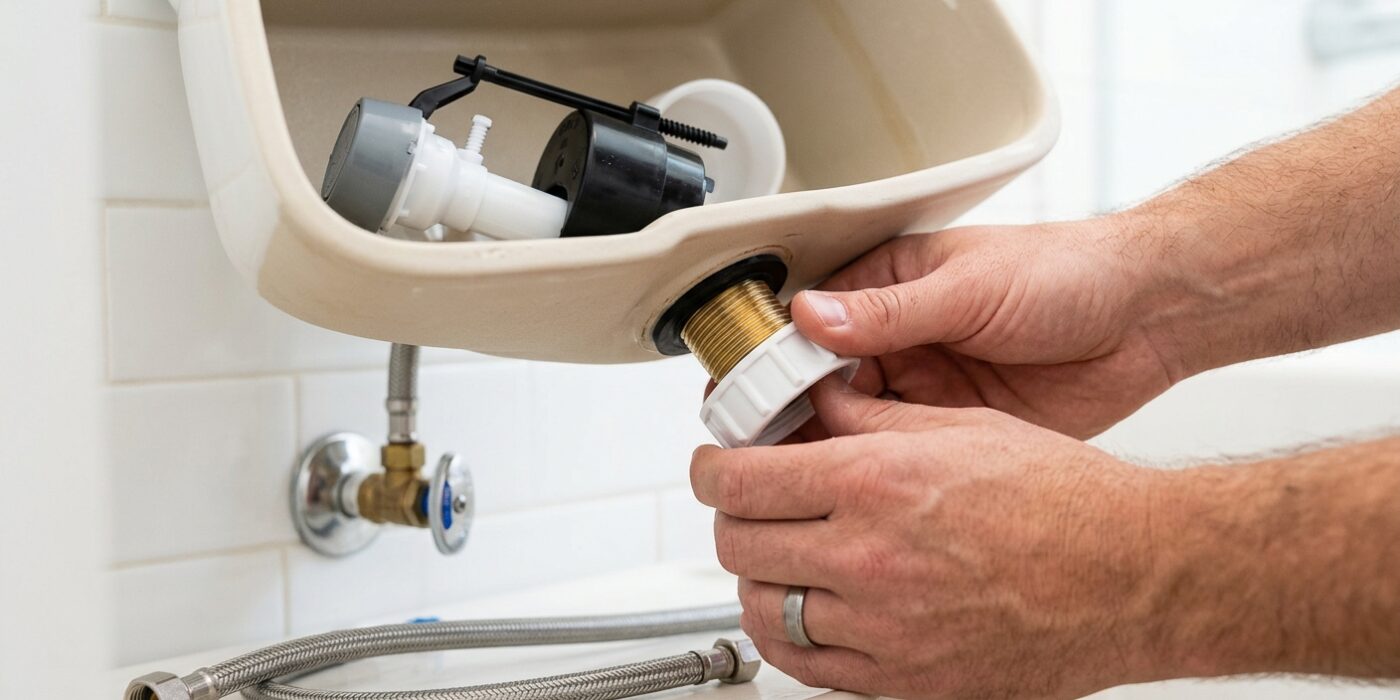
Now it is time to seat your new fill valve. Take the valve and insert the threaded shank down through the hole in the bottom of the toilet tank. Make sure the rubber gasket is sitting flat against the inside of the tank floor to create a watertight seal. Once it is through, reach underneath the tank and thread the large plastic lock nut onto the shank by hand. Keep the valve body steady from the top so it doesn’t spin while you tighten the nut upward.
Use your pliers to give the nut an extra quarter-turn once you have tightened it as much as possible by hand. It is crucial to stop there; applying too much force can crack the plastic nut or the porcelain tank itself, leading to persistent leaks. You want a snug fit, not a crushing one.
Beginner Tip: A common mistake is letting the fill valve body twist while tightening the nut below. Before you start, check the orientation of the valve so the refill tube points toward the overflow pipe. If it spins during tightening, the tube won’t reach its destination correctly, and you will have to loosen it and start the alignment over.
Pro Tip: Place a small towel or a container directly underneath the tank before you begin. Even if you have successfully drained the toilet, there is almost always a small amount of residual water trapped in the bottom of the tank that will spill out as soon as you remove the old valve.
Step 6: Connect the Refill Tube
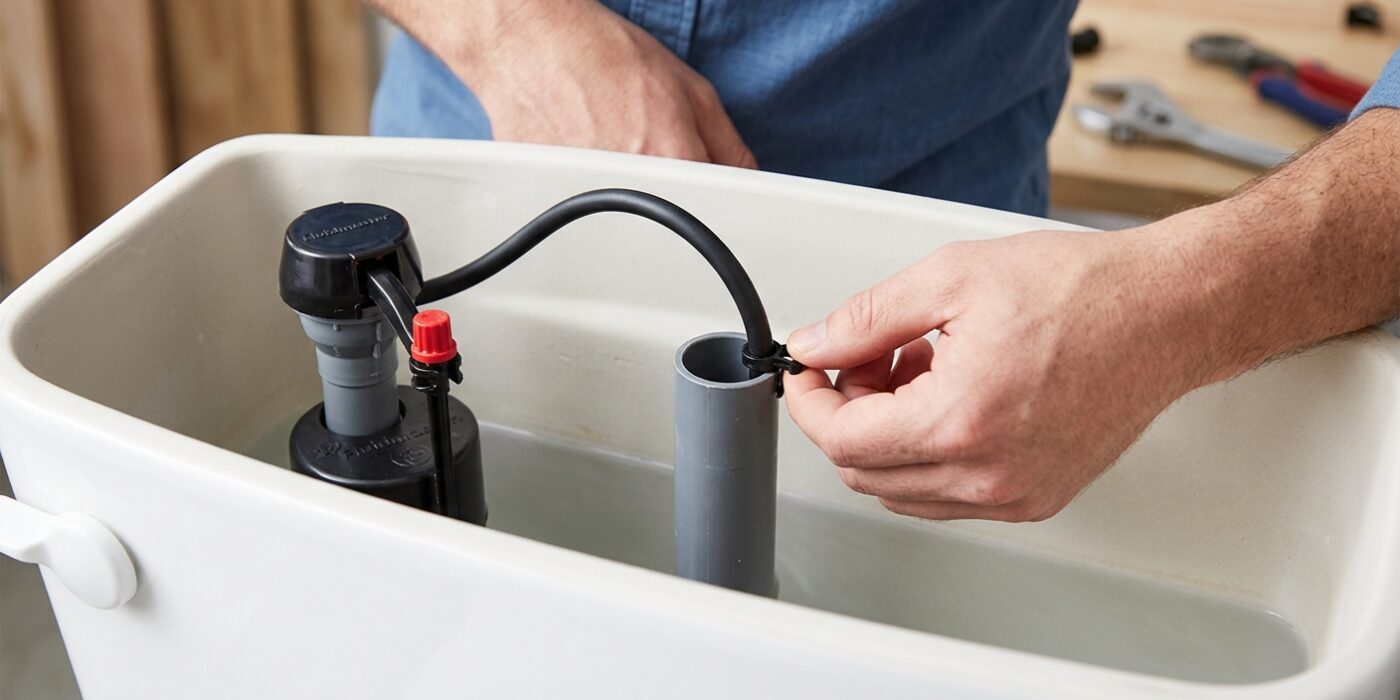
Now that your fill valve is secure, it is time to connect the thin, flexible refill tube. This small hose is essential: it directs a controlled stream of water into the center of the toilet’s overflow tube (the hollow pipe in the middle of your tank) to ensure the bowl stays filled with a proper water seal. Without this, your toilet may not flush effectively.
Start by pushing the small plastic nozzle at one end of the tube onto the nipple on the side of your new fill valve. Next, take the angled clip provided with the tube and snap it onto the top edge of the overflow tube. Aim the end of the tube so that it points directly down into the hollow center of the pipe. You want the tube to be positioned just above the opening; do not push it deep into the pipe, as it should never be submerged in water.
Beginner Tip: A common mistake is trimming the tube too short. Keep the tube long enough to form a gentle, sweeping curve from the valve to the overflow pipe. If you pull it tight like a guitar string, it can accidentally pop off the nipple when you flush. Give it a little bit of slack so it sits comfortably.
Pro Tip: If your new kit did not include a clip, you can use a clean, sturdy binder clip or a zip-tie to secure the tube to the overflow pipe. Just ensure the tube stays aimed downward so that water flows into the pipe rather than spraying inside your tank.
Step 7: Reconnect Supply and Set Water Level
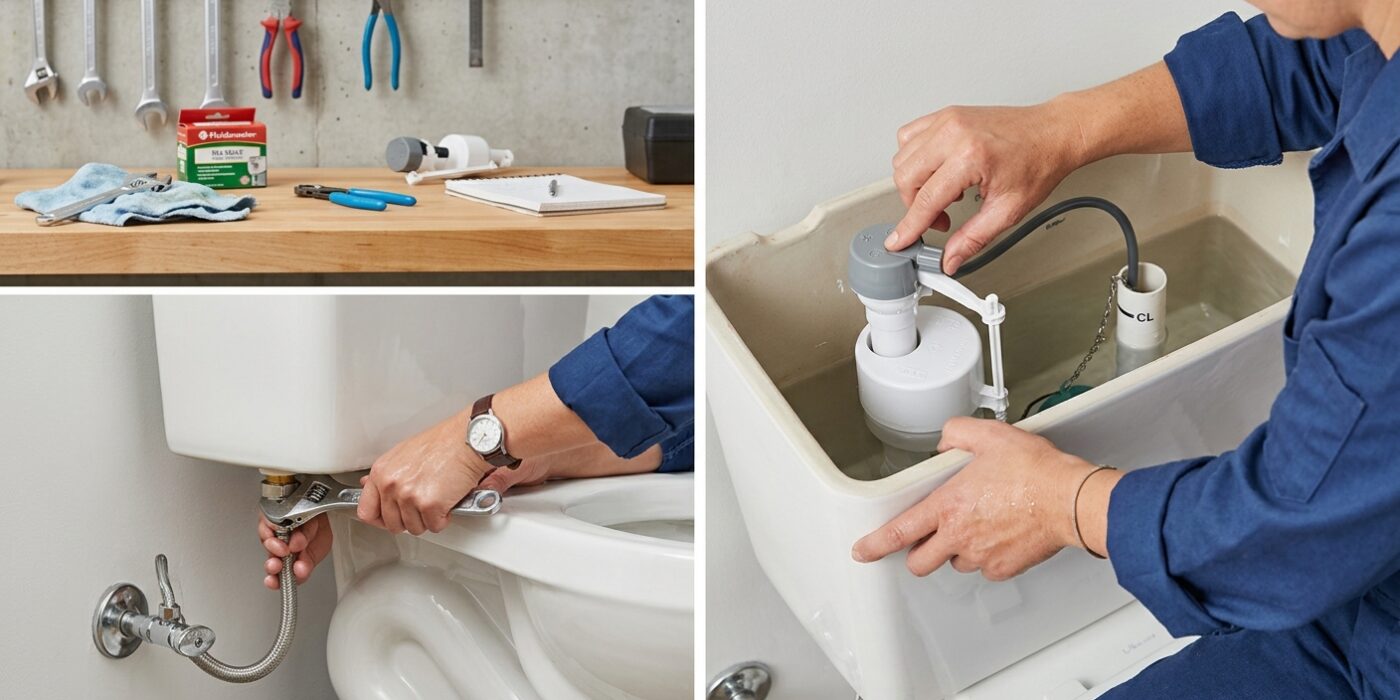
Now that your new fill valve is securely in place, it is time to bring the system back to life. First, take your flexible supply line – the hose that connects the wall pipe to the bottom of your toilet tank – and screw it back onto the threaded shank of the new fill valve by hand. Tighten it until it feels snug, then give it an extra quarter-turn with your pliers to ensure a watertight seal, but be careful not to overtighten, which could crack the plastic threads.
Slowly turn your wall shutoff valve counter-clockwise to let the water back into the tank. As the tank fills, listen for the sound of rushing water. Once it stops, check the water level; it should sit exactly one inch below the top of the open overflow tube. If the water is too high or low, locate the adjustment screw or ring on your valve and turn it to calibrate the shutoff point. This precise level ensures your toilet has enough water for a powerful flush without wasting water or causing “phantom flushing.”
Beginner Tip: The most common mistake here is cross-threading the supply line. Before using tools, always start the threads by turning the nut with your fingers. If you feel resistance or it won’t turn smoothly, stop immediately, back it off, and try again. Forcing it can permanently damage the valve threads.
Pro Tip: Place a dry paper towel directly underneath the connection point after you turn the water on. If there is even a tiny, invisible mist of a leak, the paper towel will darken, alerting you immediately so you can tighten the nut just a hair more.