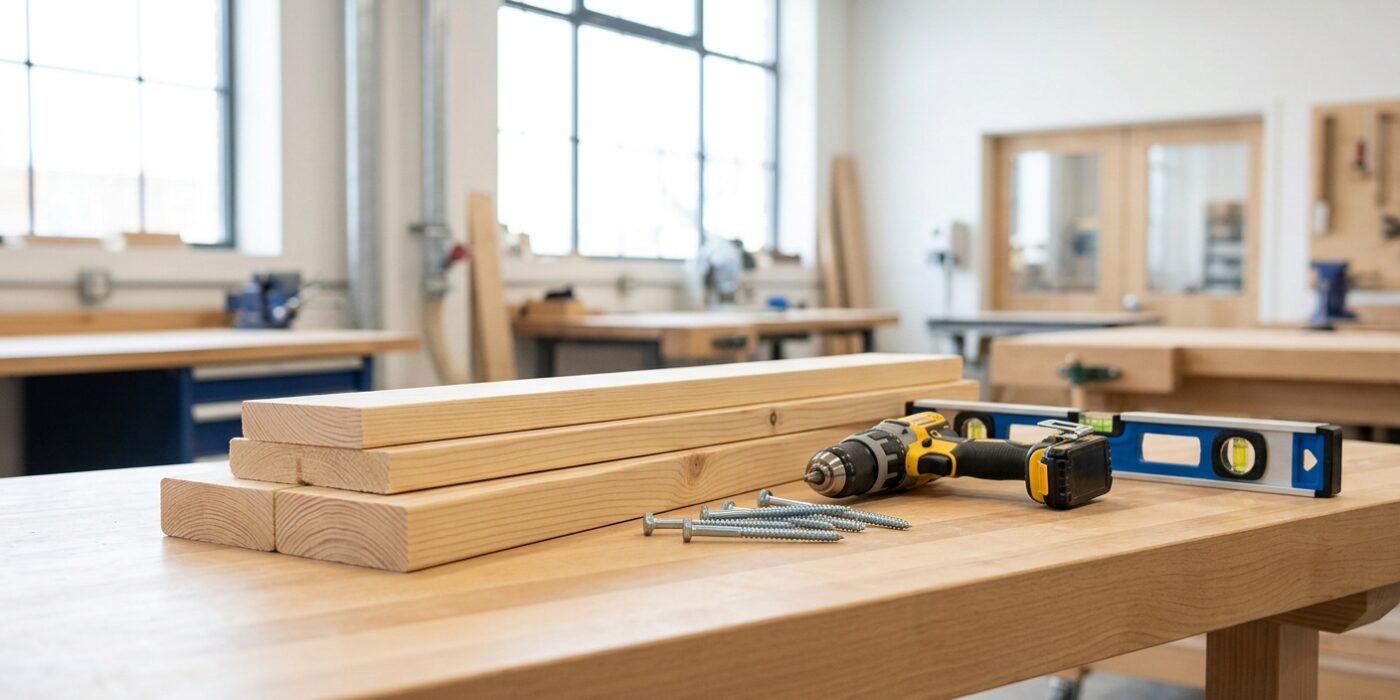
Project Shopping List
Shelves That Hold Real Weight
Most floating shelf tutorials build shelves that sag under real-world loads. This version uses wall-stud mounting and a solid wood cleat for shelves that hold up to 75 lbs.
Step 1: Find Your Studs
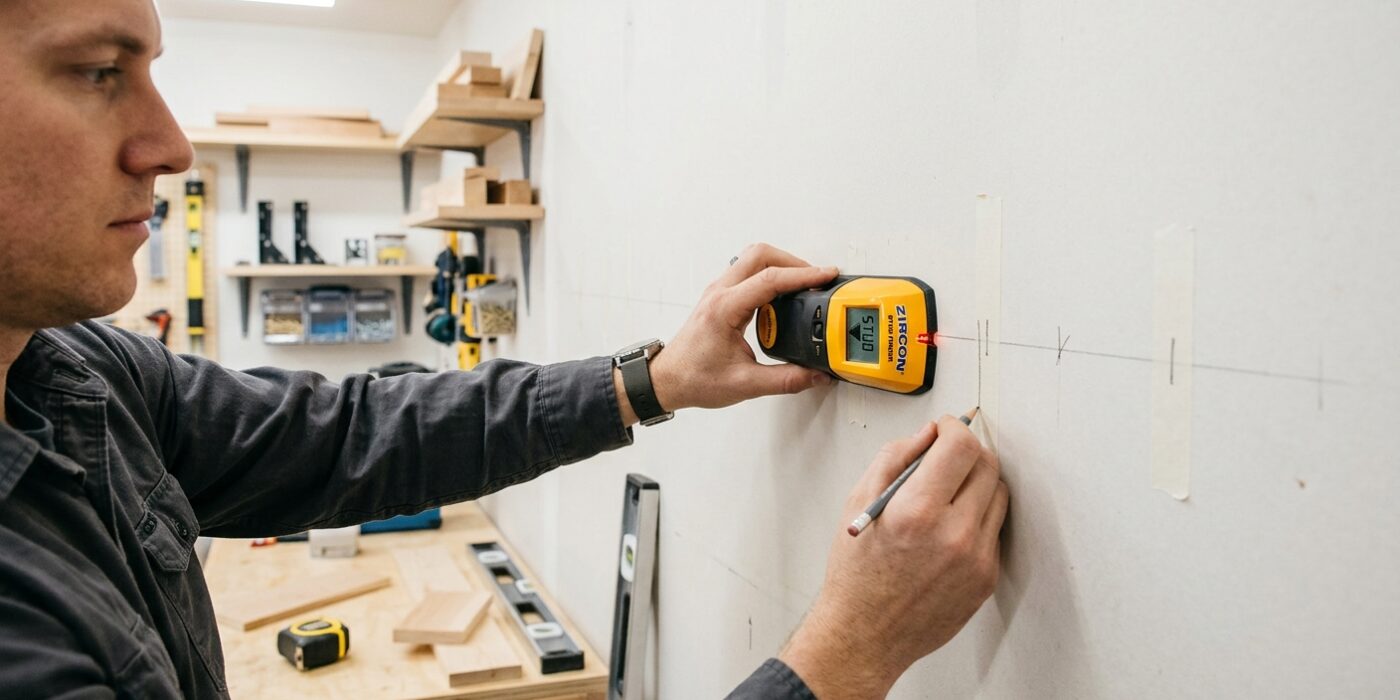
Before you mount your shelf, you must locate the studs. These are the vertical wooden beams hidden behind your drywall that provide the essential structural support for your home. If you only screw your shelf into the drywall, the weight will eventually cause the screws to tear out, leaving you with a damaged wall and a broken shelf. By anchoring directly into the wood studs, you ensure your shelf can safely hold heavy books or decor.
Use an electronic stud finder to scan the wall by sliding it slowly and horizontally. Most standard homes have studs spaced exactly 16 inches apart from center to center. When your device beeps or flashes, mark the center of the stud with a pencil. For a floating shelf, you must hit at least two of these studs to distribute the weight evenly across your mounting bracket.
Beginner Tip: A common mistake is stopping as soon as your stud finder beeps. Most tools alert you at the very edge of the stud, but the screw will hold strongest in the dense wood at the center. Always scan from both directions to find both edges, then place your mark exactly in the middle.
Alternative Method: If you do not have an electronic stud finder, you can use a strong kitchen magnet. Move it slowly over the wall until it “sticks” to the metal drywall screws that hold your wallboard to the studs. Where you find a vertical line of these screws, you have found your stud.
Pro Tip: Place a small piece of painter’s tape on the wall before you mark your spot. This keeps your walls clean from pencil smudges and gives you a bright, clear target to line up your shelf bracket.
Step 2: Cut and Attach the Cleat
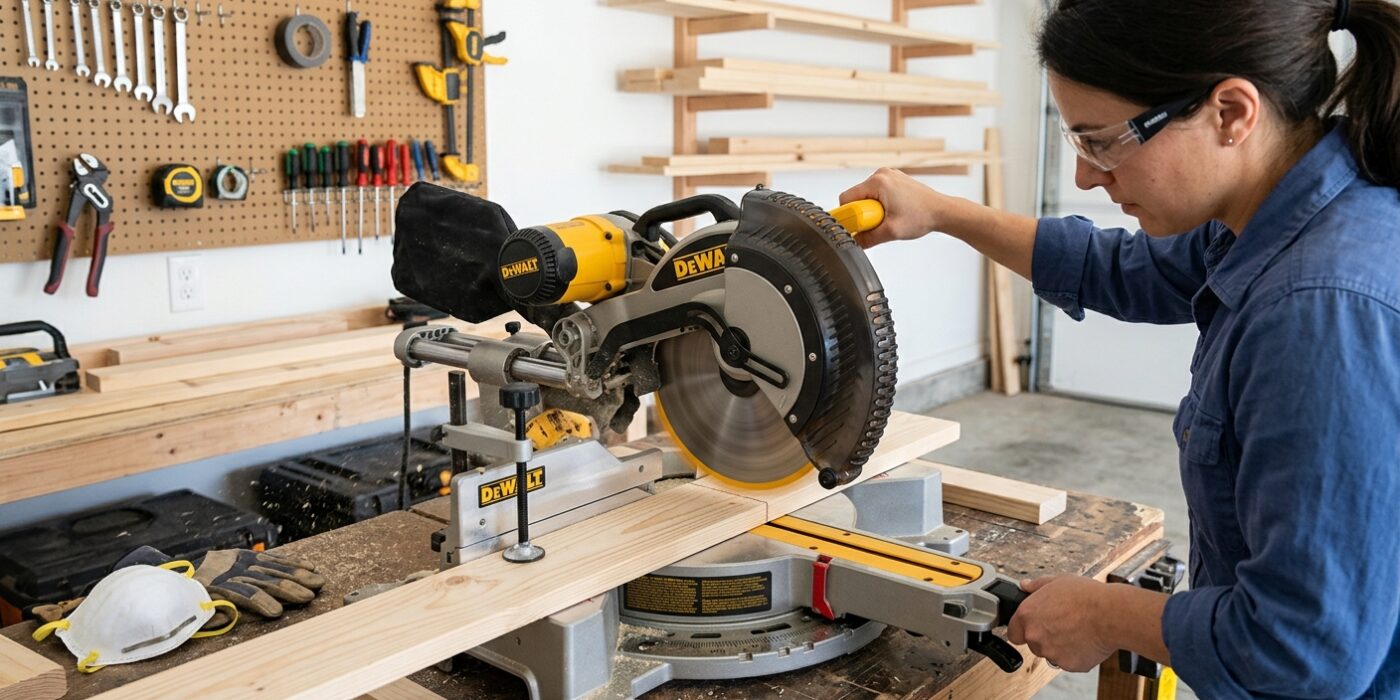
The cleat is the backbone of your floating shelf, acting as the internal skeleton that supports everything you place on top. To begin, cut a piece of 2×4 lumber to the exact width you want your shelf to be. First, use a stud finder to locate and mark the center of each wall stud where the shelf will hang. Hold your 2×4 against the wall and use a spirit level to ensure it is perfectly horizontal. Once level, pre-drill pilot holes through the 2×4 and into the center of the studs using a 1/8-inch drill bit; this critical step prevents the wood from splitting. Finally, drive 3.5-inch lag screws through the 2×4 and into the studs. Tighten them firmly until the board is pulled snug against the wall.
Beginner Tip: Never rely on drywall anchors for a floating shelf. Since you are building a shelf meant to hold actual weight, you must ensure your screws bite directly into the solid wood studs behind the wall. If the screw feels loose or spins without tightening, you have likely missed the stud; pull it out, fill the hole with a bit of wood filler, and try again a half-inch to the side.
Pro Tip: To keep the cleat level while you drive the screws, drive one single screw into the center stud first, just enough to hold the board in place. This allows you to pivot the board up or down to dial in the level perfectly before securing the remaining screws. It saves you from having to hold the board with one hand while trying to drive a drill with the other.
Step 3: Build the Shelf Box
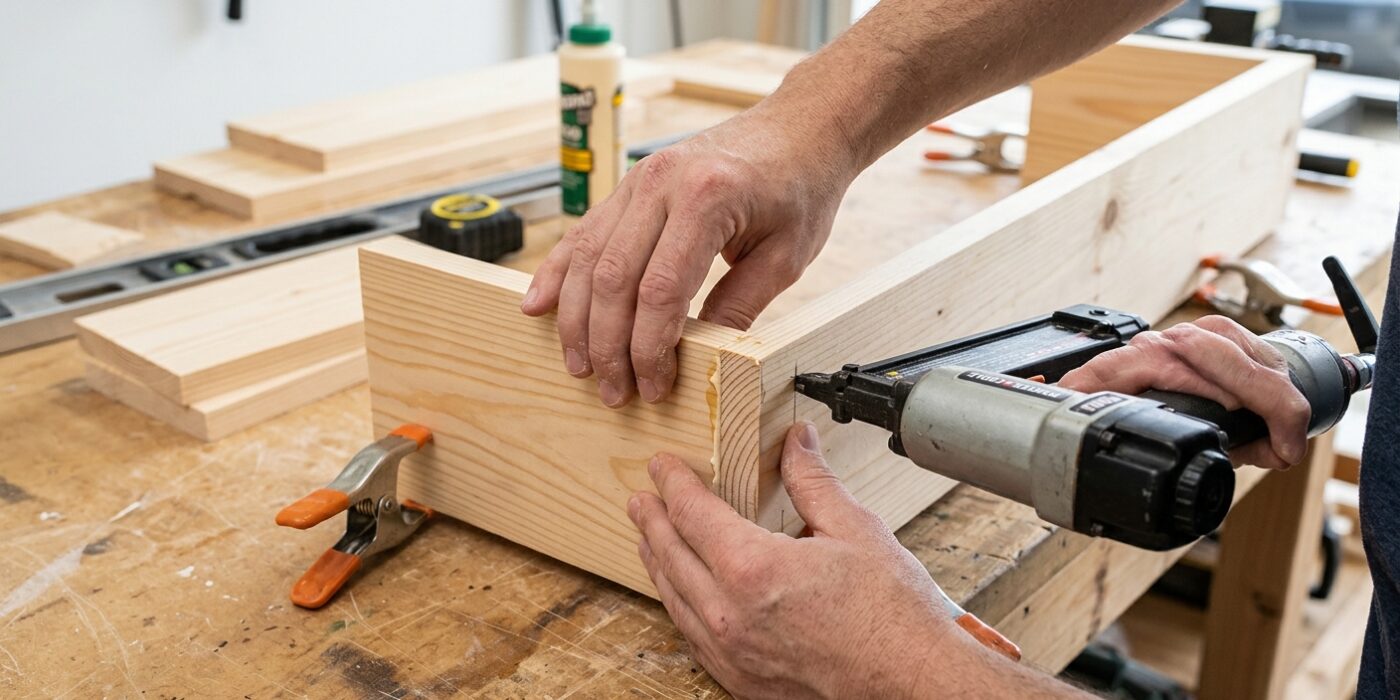
Now that your plywood pieces are cut, it is time to assemble the shell of your shelf. Think of this box as a sleeve that will eventually slide over your wall-mounted supports. You will need a top panel, a bottom panel, and a long front face piece. Arrange these on a flat work surface to form a U-shape. Apply a thin, consistent bead of wood glue along the edges where the pieces meet; the glue creates a bond stronger than the wood itself, while the fasteners act as a temporary clamp while the glue dries. Secure the joints using finish nails spaced about four inches apart or wood screws. Ensure the open side of the box remains perfectly clear, as this is where your mounting bracket will slide in later.
Beginner Tip: A common mistake is to drill screws directly into the edge of the plywood without pre-drilling holes first. Plywood is prone to splitting when screws are driven near the edge, which can ruin your hard work. Always use a drill bit slightly smaller than the diameter of your screw shank to create a pilot hole; this guides the screw perfectly and keeps your wood pristine.
Alternative Method: If you do not own a nail gun or power drill, you can assemble the box using wood glue and heavy-duty masking tape. Apply glue to the edges, press the pieces together, and wrap strips of tape tightly around the joints to act as a clamp. Allow the glue to set for 24 hours, then reinforce the corners with decorative wood trim for extra stability and a polished look.
Pro Tip: Before you finalize the assembly, lightly sand all interior edges of your plywood pieces. Once the box is fully built, it becomes nearly impossible to reach inside to smooth out rough spots, and a snag-free interior ensures your finished shelf slides onto the wall bracket effortlessly later on.
Step 4: Slide and Secure
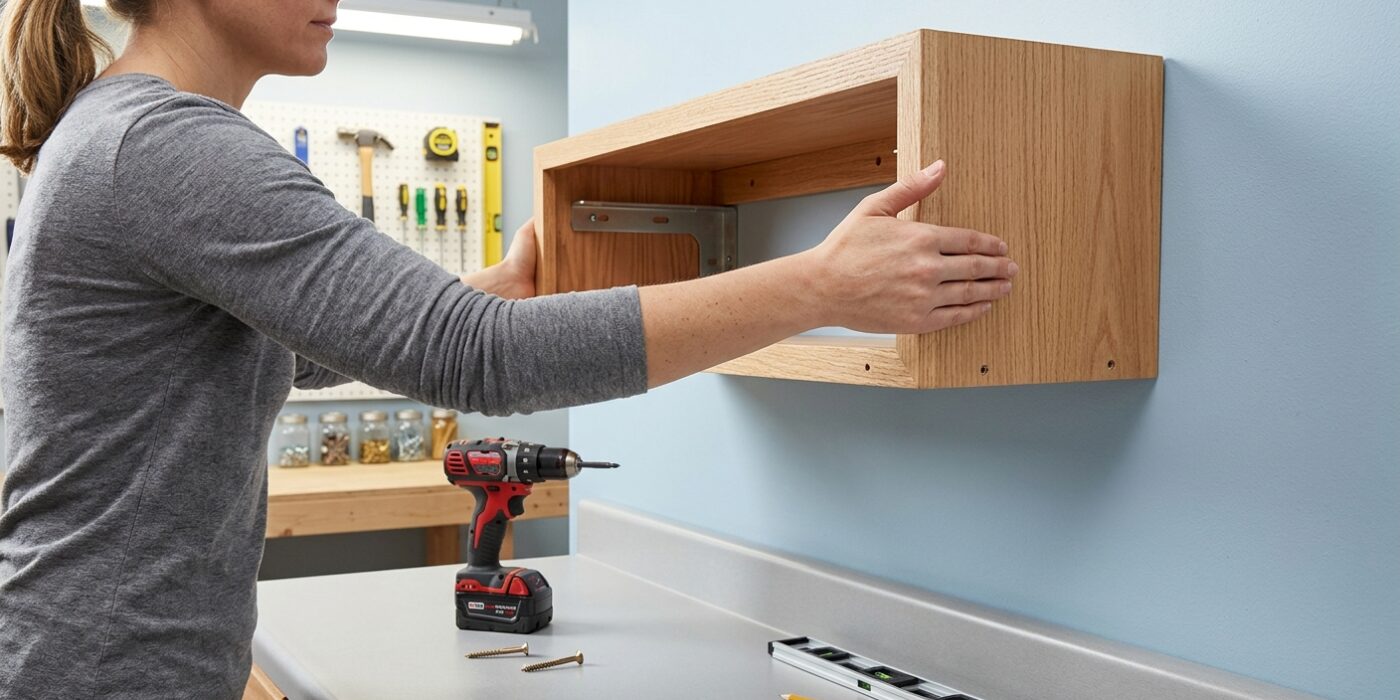
Now for the most rewarding moment: mounting your shelf. Take your hollow box and align the open back with the wooden cleat you secured to the wall. Gently slide the box onto the cleat until it sits perfectly flush against the wall surface. If the fit feels a bit snug, use the palm of your hand to provide a firm, steady push, but avoid slamming it to prevent damaging your drywall. Once the box is fully seated, you must lock it in place to prevent any shifting.
To secure it, use 1.5 to 2-inch finishing nails. Drive these through the top of the shelf, angling them slightly inward toward the wall. You are aiming to bite into the center of the interior cleat. Placing two or three nails spaced evenly across the top will anchor the shelf firmly, ensuring it holds your books and decor without wobbling.
Beginner Tip: The most common mistake is accidentally driving a nail into the empty space above or below the cleat. To avoid this, measure the thickness of your shelf top and the depth of your cleat. Place a small piece of painter’s tape on your hammer head or nail set to act as a visual guide; if you keep your target aligned with that mark, you will hit the wood every time.
Pro Tip: Before driving your final nails, apply a thin bead of wood glue to the top surface of the cleat. This creates a powerful, permanent bond that keeps the shelf from creeping forward over time, even with heavy use.