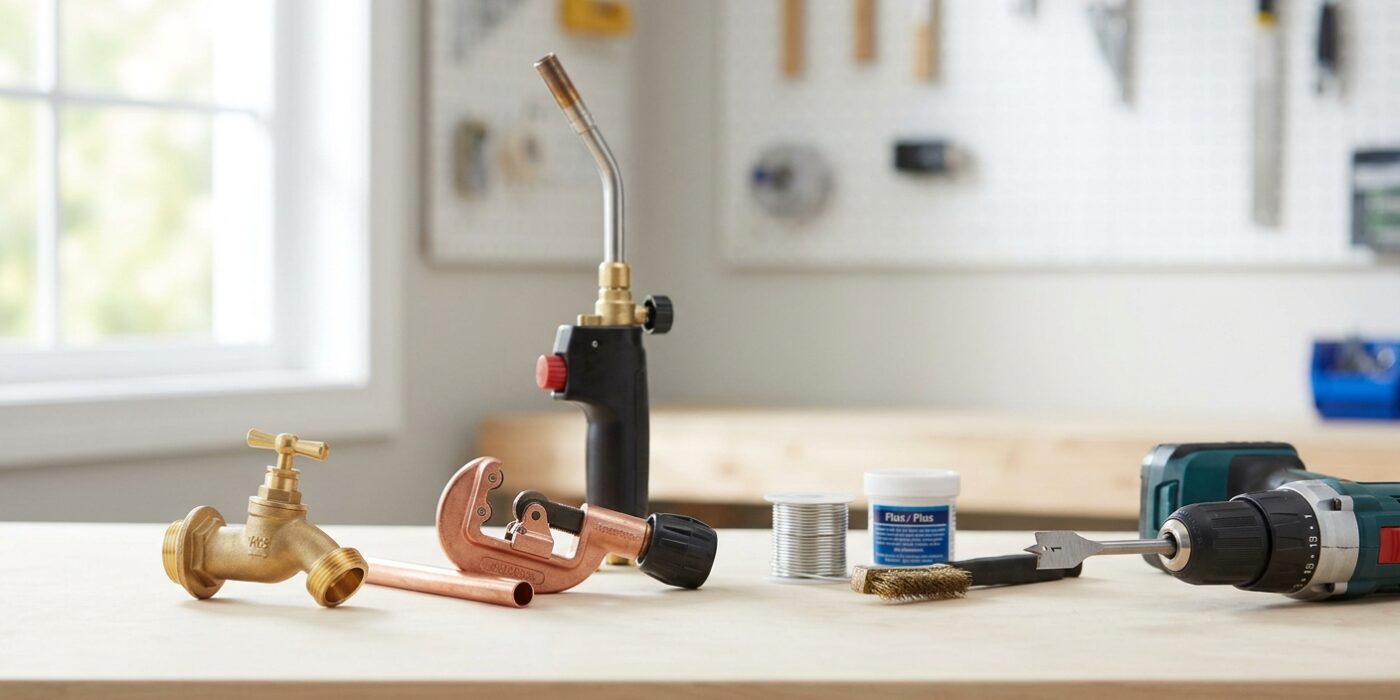
Project Shopping List
Installing an outdoor faucet – a hose bib – is one of the more involved DIY plumbing projects because it requires penetrating an exterior wall, working on an existing supply line, and ensuring a proper weathertight installation. But it’s entirely doable with intermediate skills, and the result is a permanent convenience that significantly increases how you use your outdoor space.
This guide covers the full installation: locating the supply line, drilling through the exterior wall, tapping into the supply, and connecting the faucet with a frost-free sillcock designed for the wall thickness. Expect 4–6 hours for a first installation.
What You’ll Need
Tools
- Power drill and 1-inch hole saw (for wall penetration)
- Pipe cutter (for copper) or PVC cutter
- Adjustable wrench and channel-lock pliers
- Level
- Stud finder
- Caulking gun
- Fish tape or wire puller (to guide pipe through wall)
Materials
- Frost-free anti-siphon sillcock – sized to match wall thickness (measure from interior pipe location to exterior wall face, add 2 inches)
- Copper pipe and fittings or PEX with push-to-connect fittings
- Tee fitting for tapping the supply line
- Shutoff valve (for the branch to the new faucet)
- Exterior caulk (silicone)
- Pipe hangers and screws
Step 1: Choose the Installation Location
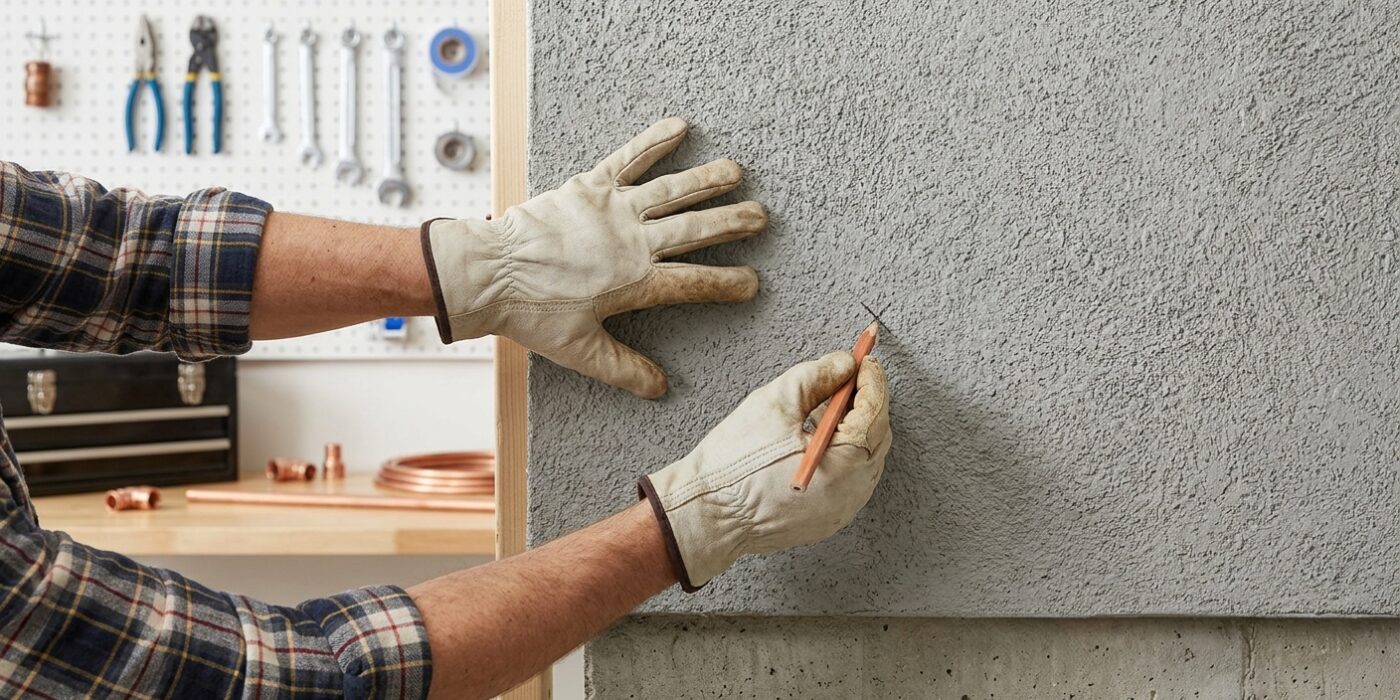
The success of your outdoor faucet project begins with picking the right spot. You want to choose an exterior wall location that sits as close as possible to an existing cold water supply line inside your home. By minimizing the distance the pipe has to travel through your walls, you save yourself hours of labor and reduce the number of potential leak points. Before you commit to a spot, head to your basement or crawl space to identify the interior plumbing. Make sure the path from that pipe to your exterior wall is clear of electrical wiring, heating ducts, or thick wooden support beams that would be difficult to drill through.
Beginner Tip: Avoid the common mistake of measuring from the outside only. Exterior aesthetics can be deceiving; always measure twice and verify the location from the inside first. Use a long, thin nail or a drill bit to create a tiny “pilot hole” from the inside out to ensure your exit point is exactly where you intended before you drill a larger hole for the pipe.
Pro Tip: When choosing your height, aim for about 18 to 24 inches above the ground. This provides enough clearance to easily attach a garden hose without bending over awkwardly, while keeping the faucet high enough to avoid splashing dirt onto the handle during heavy rainstorms or routine lawn watering.
Step 2: Shut Off Water at the Main
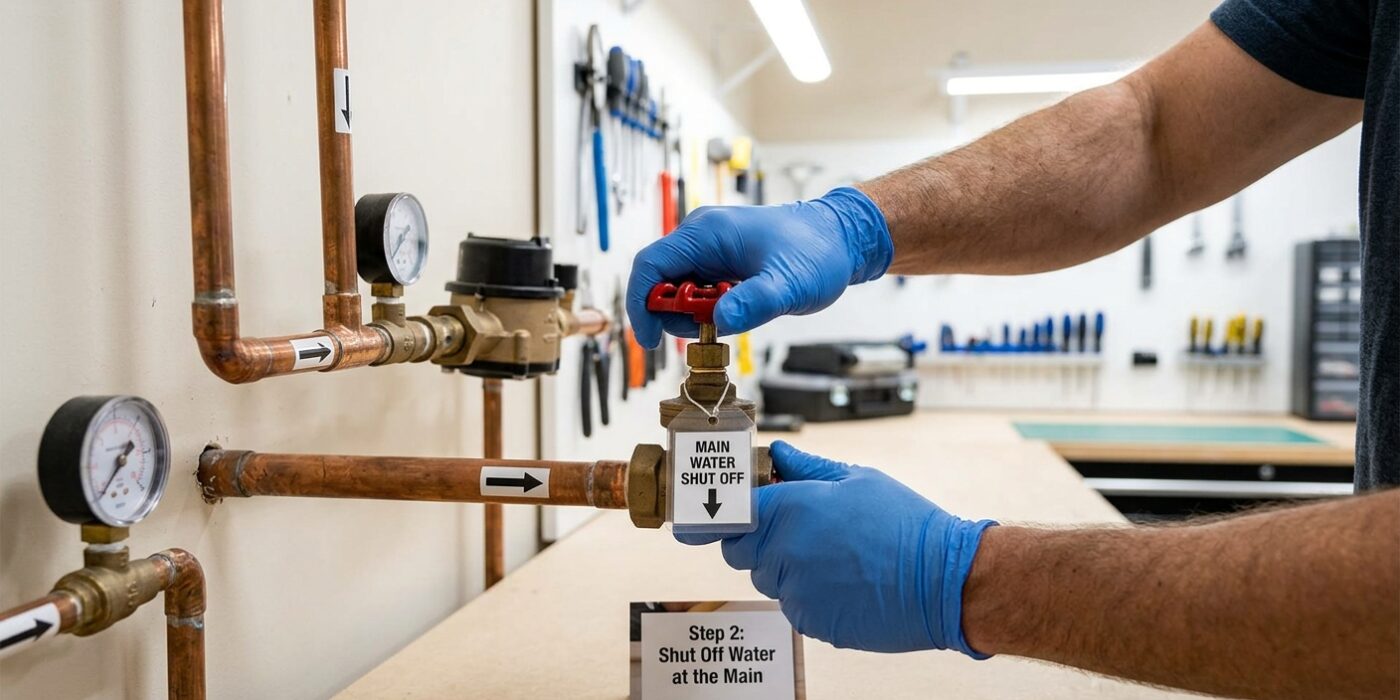
Before you touch your pipes, you must shut off your home’s main water supply. Locate your main water shut-off valve, which is typically found in the basement, crawlspace, or near the front exterior of your home. Turn the valve clockwise until it stops to completely stop the water flow. If your valve is a lever style, turn it so the handle is perpendicular to the pipe.
Once the water is off, head to the lowest faucet in your home – usually a basement utility sink or an outdoor spigot – and turn it on. This releases the pressure trapped in your pipes and allows residual water to drain out. Because your pipe must be bone-dry before you make any cuts, wait about 10 to 15 minutes for the system to drain completely. If any water continues to drip when you eventually cut the pipe, it can prevent your new fittings from sealing properly, leading to frustrating leaks later on.
Beginner Tip: Never force a rusted or stuck main shut-off valve. If it does not turn easily with hand pressure, do not use a large wrench or pliers, as you risk snapping the valve stem and causing a major flood. If it won’t budge, contact a professional plumber to replace the valve first.
Pro Tip: Keep a bucket and several old towels directly underneath the section of pipe you plan to cut. Even after draining the lines, a surprising amount of water will spill out the moment you break the seal; being ready with a catch basin saves your floors from water damage.
Step 3: Drill the Pilot Hole and Wall Penetration
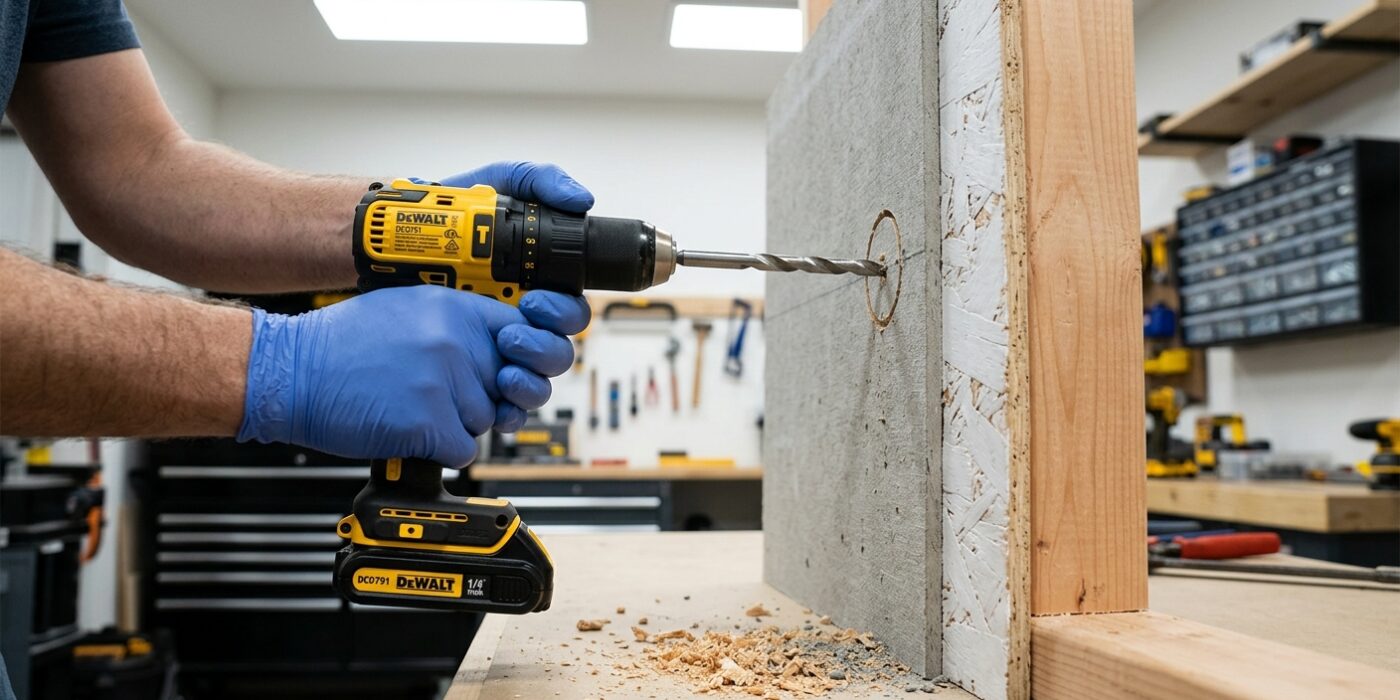
Now that you have confirmed your location is clear of wires or pipes, it is time to create the opening for your new faucet. Start from the inside of your home. Using a drill with a 1/4-inch wood bit, drill a pilot hole through the wall at the center of your marked spot. As you drill, aim your drill slightly upward toward the outside, creating a gentle 5-degree angle. This tiny tilt is vital; it ensures that if any water ever drips near the connection, gravity will pull it outside rather than allowing it to leak into your wall cavity.
Once your pilot hole is through, head outside. Place your 1-inch hole saw bit onto the pilot hole and drill inward to create the final, wider opening. The hose bib stem will slide perfectly into this hole. Keeping the drill steady is key here – apply firm, even pressure and let the teeth of the hole saw do the cutting work for you.
Beginner Tip: The most common mistake is pushing too hard. When using a hole saw, let the tool set the pace. If you force it, the drill might kick back or bind, which can be startling. Hold the drill with both hands and keep your wrists locked to maintain control.
Pro Tip: To keep your interior walls clean, have a helper hold the nozzle of a shop vacuum directly underneath the drill bit as you work. This captures the drywall dust and wood shavings before they ever hit your floor!
Step 4: Install the Sillcock
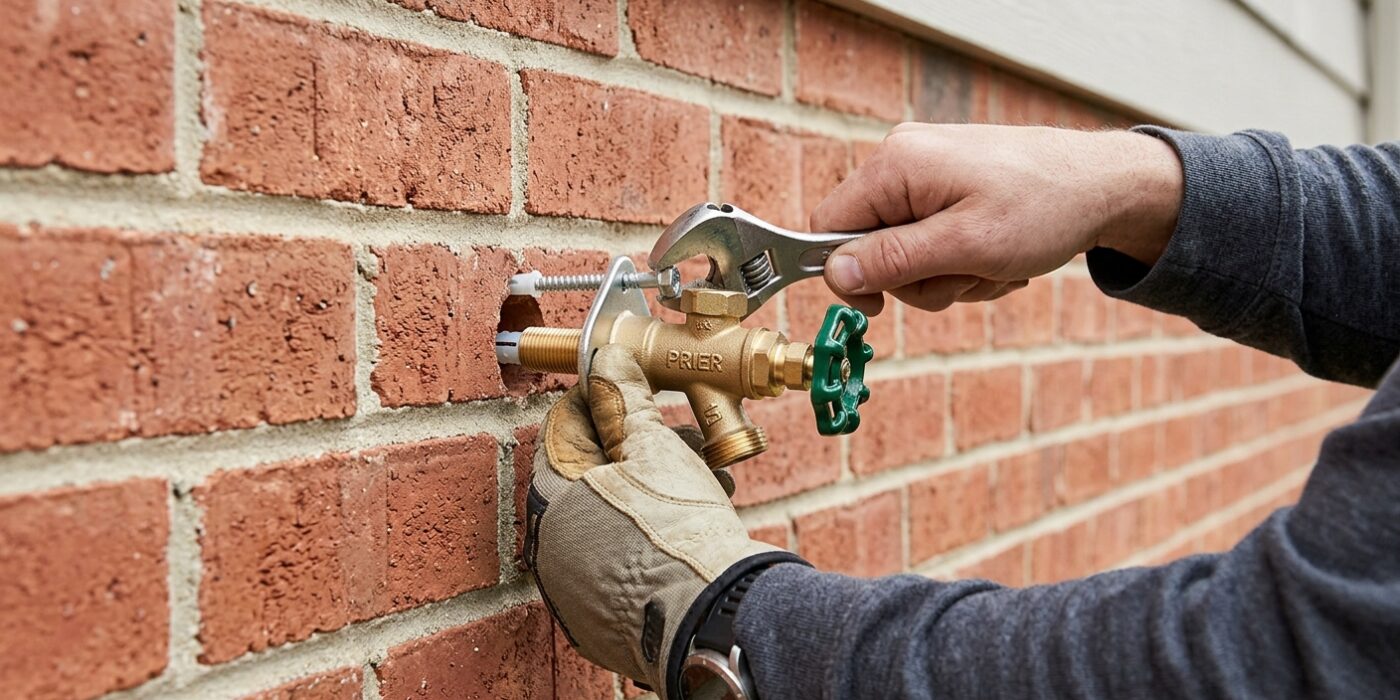
Now it is time to slide your new frost-free sillcock into the wall. Push the long metal stem through the hole you drilled, starting from the outside. You want the faucet head to sit snugly against your siding, but there is a crucial detail here: aim for a very slight downward tilt – about a quarter-inch drop toward the outside. This gravity-fed angle ensures that any leftover water drains out of the pipe rather than sitting inside where it could freeze and crack your pipes during winter.
Once it is positioned, use stainless steel or galvanized screws to mount the flange to your siding. These materials are essential because they won’t rust when exposed to constant moisture. Finally, apply a generous, continuous bead of exterior-grade silicone caulk around the entire perimeter of the mounting plate. This seal is your primary defense against water seeping into your home’s structure and causing rot.
Beginner Tip: Do not overtighten your mounting screws. If you sink them too deep, you might crack the mounting flange or pull the faucet body into an awkward, crooked position. Tighten them just enough so the faucet feels solid and does not wobble when you tug on it.
Pro Tip: If your siding is uneven, like wood lap or vinyl, the flange might not sit perfectly flush. You can purchase a pre-made mounting block from a hardware store; these provide a flat, stable surface that makes sealing with caulk much cleaner and more reliable.
Step 5: Tap Into the Supply Line
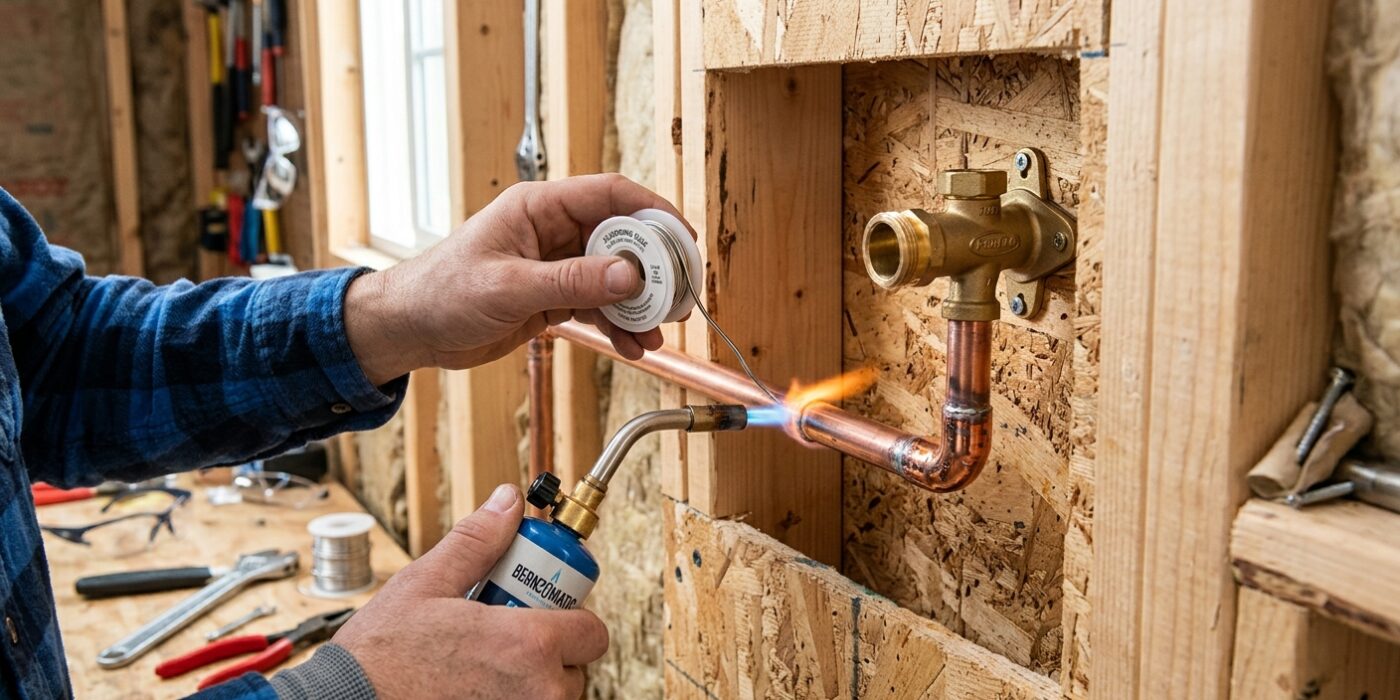
Now it is time to tap into your home’s existing water supply line. First, locate the cold water pipe running near where your outdoor faucet will be. You need to cut a small section out of this pipe to insert a tee fitting. If you are using copper, you will need to solder the joint; however, for beginners, we highly recommend using push-to-connect fittings, which simply slide onto the pipe ends to create a watertight seal without the need for torches or glue.
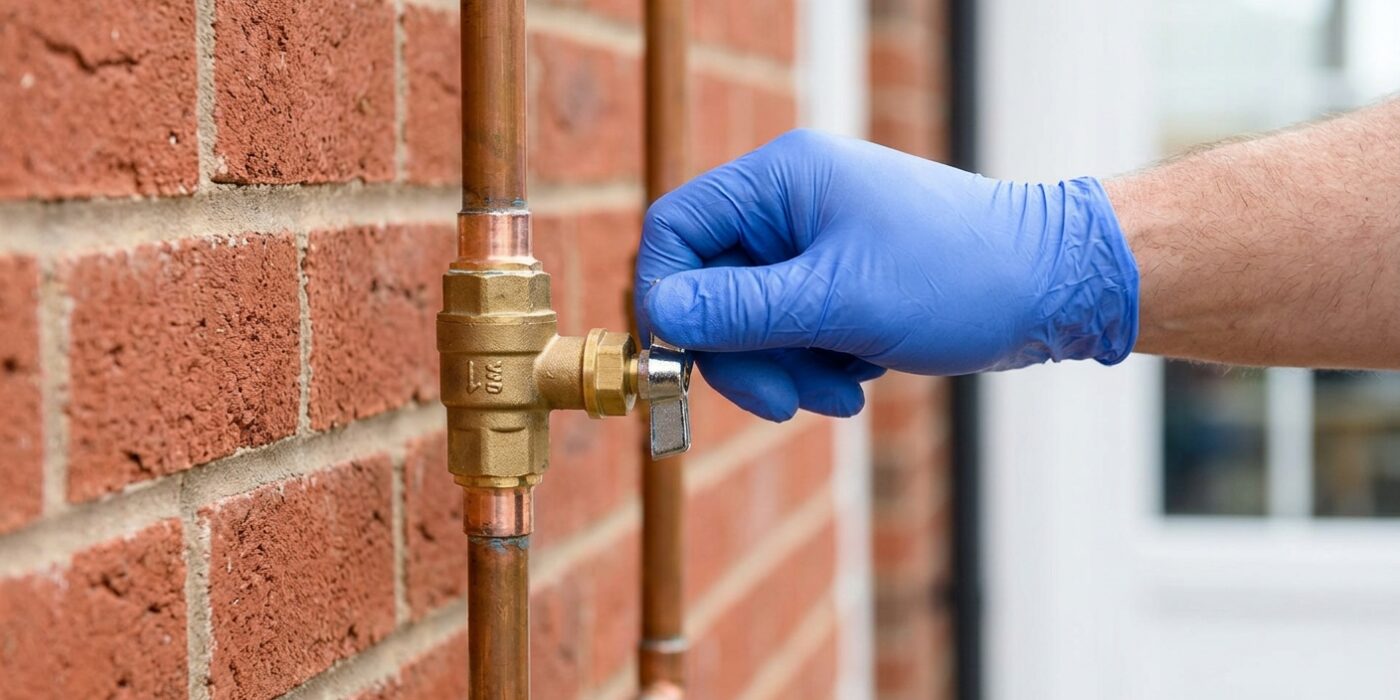
After installing the tee, immediately attach a dedicated shutoff valve to the branch line. This is crucial because it allows you to turn off the water to just your outdoor faucet during winter to prevent freezing, without shutting off water to the rest of your house. Once the valve is secure, route your pipe through the wall to meet the back of your sillcock, and use plastic or metal pipe hangers every 4 feet to keep the line rigid and prevent sagging.
Beginner Tip: Before you make that first cut, ensure you have turned off your home’s main water supply and opened a nearby faucet to drain any remaining pressure. Forgetting this step will lead to a messy, high-pressure spray that can soak your workspace instantly.
Pro Tip: When using push-to-connect fittings, always use a pipe deburring tool or fine sandpaper to smooth the cut end of your pipe before inserting it. This ensures you do not damage the internal O-ring, which is the secret to a leak-free connection.
Step 6: Connect the Interior Pipe to the Sillcock
Now that your new sillcock is securely fastened to the exterior wall, it is time to make the water-tight connection on the inside. You are looking to bridge the gap between your home’s existing water supply pipe and the threaded end of your new faucet. Since your sillcock features a 1/2-inch male iron pipe (MIP) thread, you will need to choose a fitting that matches your home’s plumbing material: use a 1/2-inch female sweat adapter if you have copper pipes, or a female thread push-to-connect fitting if you are using PEX tubing.
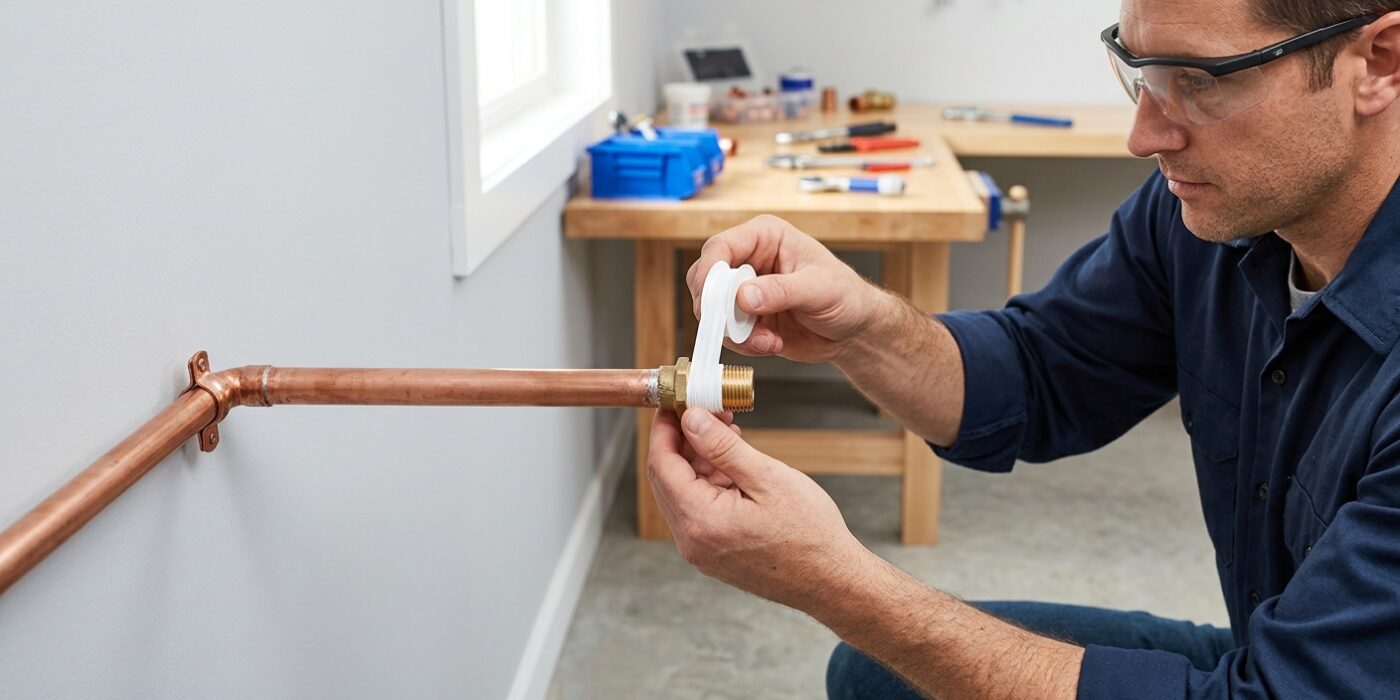
Before you screw your chosen fitting onto the sillcock, wrap the threads with Teflon tape – a thin, white, stretchy material. Wrap it around the threads three times in a clockwise direction. This tape fills the tiny gaps between the metal threads to prevent slow, annoying leaks once you turn your main water supply back on.
Beginner Tip: A common mistake is over-tightening the connection. While you want a firm seal, using too much force with a large wrench can crack the fitting or damage the threads. Tighten it by hand until it is snug, then use a wrench to give it just one quarter-turn more. That is usually all you need.
Pro Tip: To keep your Teflon tape from bunching up as you twist the fitting on, always wrap the tape in the same direction you will be tightening the connection. If you wrap it counter-clockwise, the tape will simply unspool and fray as you start the thread.
Step 7: Restore Water and Test
Now that your new faucet is installed, it is time to bring the water back to life. Head to your home’s main water shutoff valve – usually located in the basement or a utility closet – and slowly turn it back on. As the pipes pressurize, listen carefully for any hissing or spraying sounds. Once the system is pressurized, head outside and turn the handle of your new sillcock counter-clockwise to open it fully. Let the water run for about thirty seconds to flush out any debris that may have entered the pipes during your work.
After flushing, turn the faucet off and head back inside to examine your handiwork. Use a dry paper towel to wipe every connection point, including the supply tee and the shutoff valve; if the towel comes back damp, you have a slow leak that needs tightening. Finally, check the exterior wall where the faucet enters the house. If you see any space between the pipe and the siding, apply a bead of exterior-grade silicone caulk to create a watertight seal and prevent moisture from damaging your wall cavity.
Beginner Tip: Do not overtighten your threaded connections. If you see a small drip, a quarter-turn with your wrench is often enough. Applying too much force can crack fittings or damage the rubber seals inside, which creates a bigger problem than the one you started with.
Pro Tip: Keep a dry paper towel in your hand while you inspect the joints. Even a microscopic “weeping” leak that is invisible to the naked eye will leave a dark, wet spot on a paper towel, making it the most effective tool for verifying a perfect, dry seal.