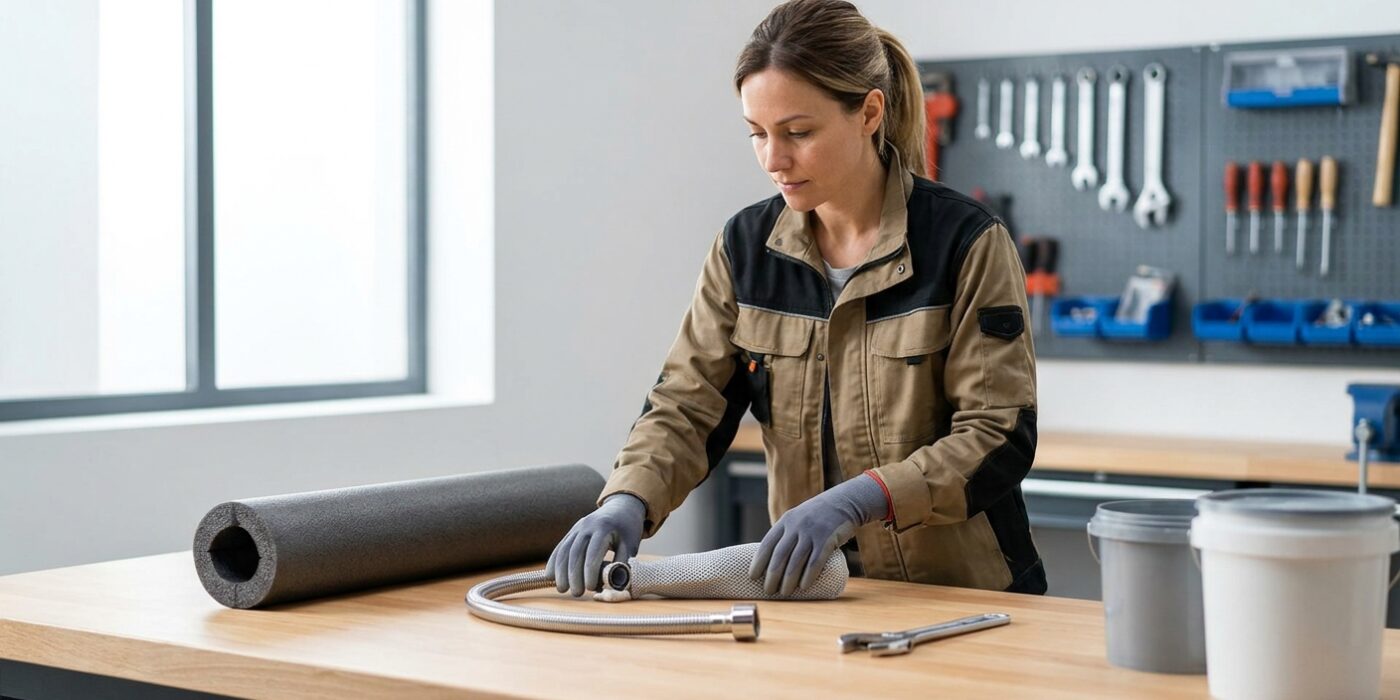
Project Shopping List
Winterizing outdoor pipes and hose bibs is one of the most important fall maintenance tasks in cold climates. A frozen outdoor faucet can cause the pipe inside the wall to burst, leading to water damage that costs thousands to repair. The good news: preventing it takes about an hour of work once per year, and the process is simple enough for any homeowner.
This guide covers draining and insulating exposed outdoor pipes, winterizing hose bibs (outdoor faucets), and the situations where a frost-free hose bib does the work for you – versus when you still need to take action.
What You’ll Need
Tools
- Flathead screwdriver
- Adjustable wrench
Materials
- Outdoor faucet cover / insulating dome ($3–$5 each)
- Pipe insulation foam sleeves (for any exposed indoor pipe near exterior walls)
- Fiberglass insulation wrap (for exposed sections)
Step 1: Know What Type of Hose Bib You Have
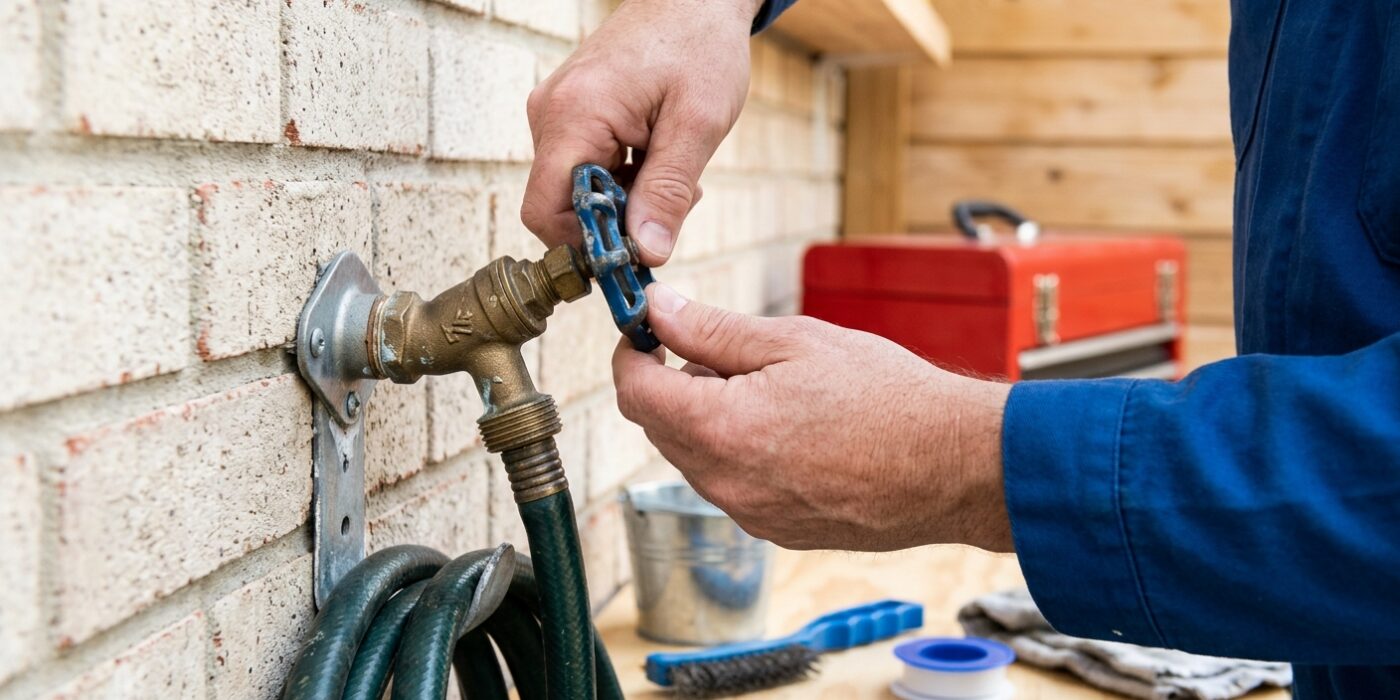
Before you pick up a wrench, you need to identify your faucet type. Think of your hose bib as the gateway for your outdoor water; knowing its design tells you exactly how to protect it from freezing temperatures. A standard hose bib relies on an indoor shutoff valve located in your basement or crawl space. You must close this internal valve first, then open the exterior faucet to let the remaining water drain out, preventing pipe bursts. In contrast, a frost-free hose bib features a long metal stem that extends 6–12 inches through your wall. Because the valve seat sits deep inside your home’s warm envelope, the water stays protected naturally.
Beginner Tip: Don’t assume a modern appearance means you have a frost-free model. Even in newer homes, some secondary faucets or garden spigots are standard types. Always head to your basement or crawl space to check for an interior shutoff valve before you decide your setup is “frost-free.”
Pro Tip: To quickly distinguish the two from the outside, look at the angle of the pipe entering your home. Frost-free bibs are almost always installed with a very slight downward tilt – about 5 degrees – toward the outside. This subtle slope is a trade secret designed to ensure that any water remaining in the pipe drains completely outward, away from your foundation and interior walls.
Step 2: Shut Off the Interior Valve (Standard Hose Bibs)
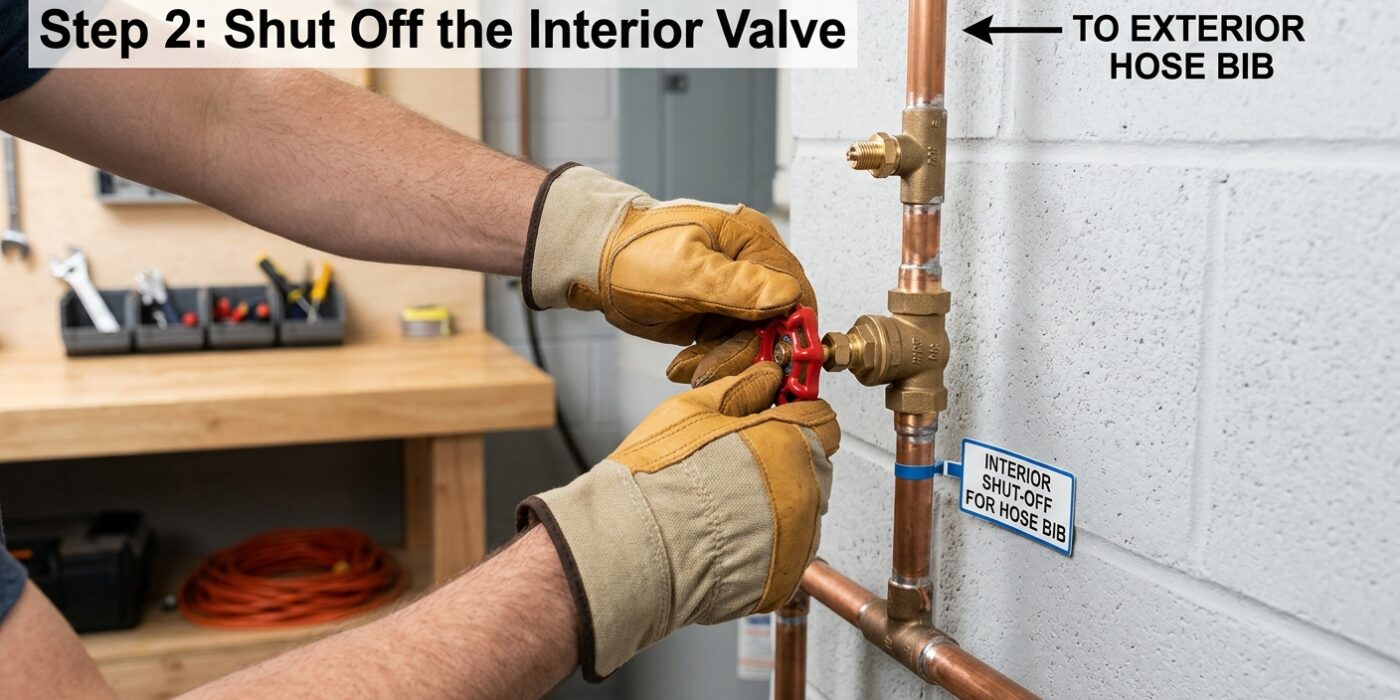
Your goal here is to isolate your outdoor pipes from your home’s water supply. First, locate the interior shutoff valve. This is usually found in your basement, crawl space, or utility closet along the pipe that leads toward the exterior wall. You are looking for a small handle, often red or blue, attached to the pipe.
Once found, turn the handle clockwise until it stops. If the handle is a lever, it should end up perpendicular (at a 90-degree angle) to the pipe. If it is a round wheel, turn it firmly until it won’t rotate further. This stops water from flowing to the outside. Next, head outdoors to your hose bib (the faucet you attach your hose to). Open the handle fully; you may hear a brief gurgle or see a small splash of water as the pipe drains. Leave this faucet open for a few minutes until all moisture has exited, then close the faucet handle firmly to protect the internal seal.
Beginner Tip: A common mistake is forgetting to disconnect your garden hose first. Always unscrew your hose before starting this process. If a hose is left attached, water remains trapped in the pipe and can freeze, expand, and crack your plumbing from the inside out.
Pro Tip: If your shutoff valve feels stiff or “stuck,” do not force it with a wrench, as you risk breaking the handle. Instead, apply a small amount of penetrating oil to the stem and let it sit for ten minutes before trying again gently.
Step 3: Frost-Free Hose Bibs – What You Still Need to Do
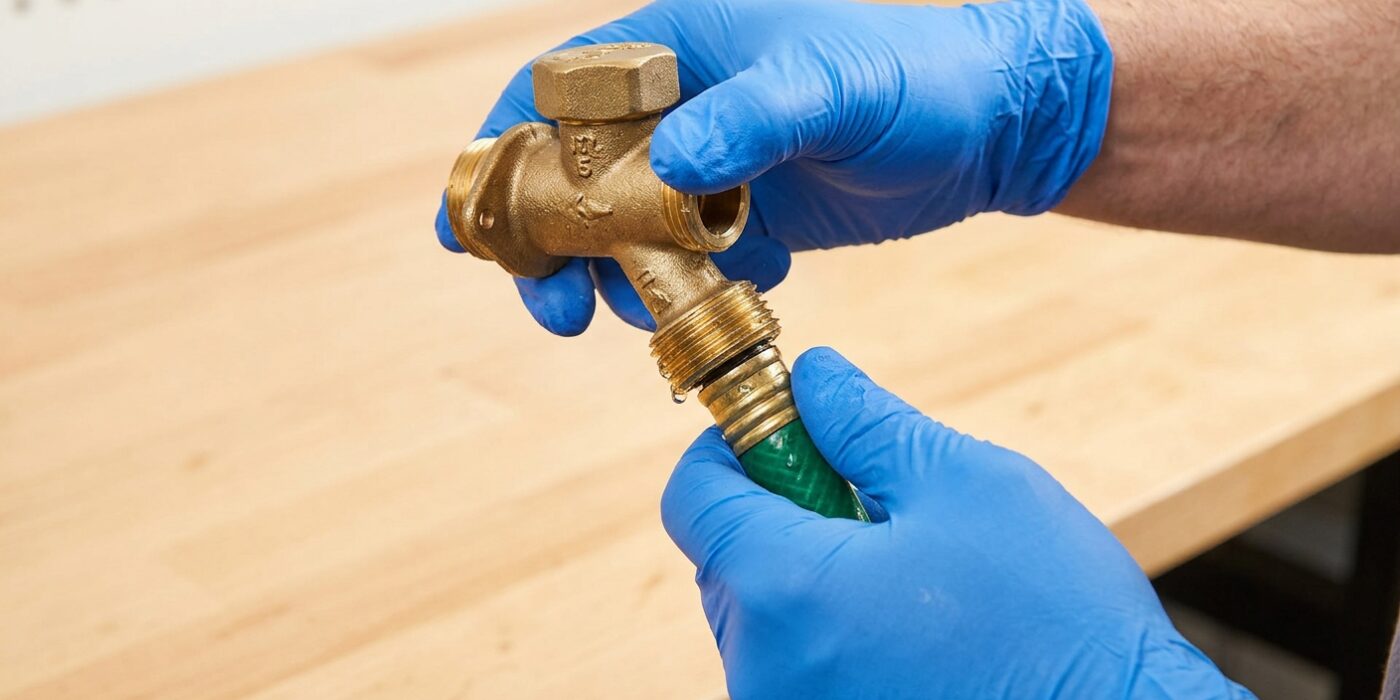
Even if your home is equipped with frost-free hose bibs, you must take one crucial step before the first freeze: disconnect your garden hoses. A frost-free bib works by using a long stem that keeps the water shut-off valve deep inside your warm house, far away from the exterior wall. When you turn the handle off, the water remaining in the pipe drains out automatically. However, if a hose is still attached, it creates a vacuum that traps water inside that pipe. When that trapped water freezes and expands, it can crack the metal pipe, leading to a costly interior leak.
To do this, simply unscrew the hose from the threaded nozzle of the bib by turning it counter-clockwise. Once it is off, make sure to shake any leftover water out of the hose itself before coiling it up for storage. Ensure the bib’s handle is turned to the fully “off” position and check that no water is dripping from the nozzle.
Beginner Tip: Never leave a hose splitter or multi-way adapter attached to the bib over the winter. Even if the hose is removed, these devices can still trap water inside the bib’s faucet head, which can cause the valve to freeze and crack. Remove absolutely everything from the spigot.
Pro Tip: If your hose is stuck due to mineral buildup, do not force it with heavy tools, as you might snap the bib off the wall. Instead, spray a little penetrating oil or white vinegar onto the threads, let it sit for ten minutes, and use a pair of channel-lock pliers to gently wiggle it loose.
Step 4: Inspect Frost-Free Bibs for Failure Signs
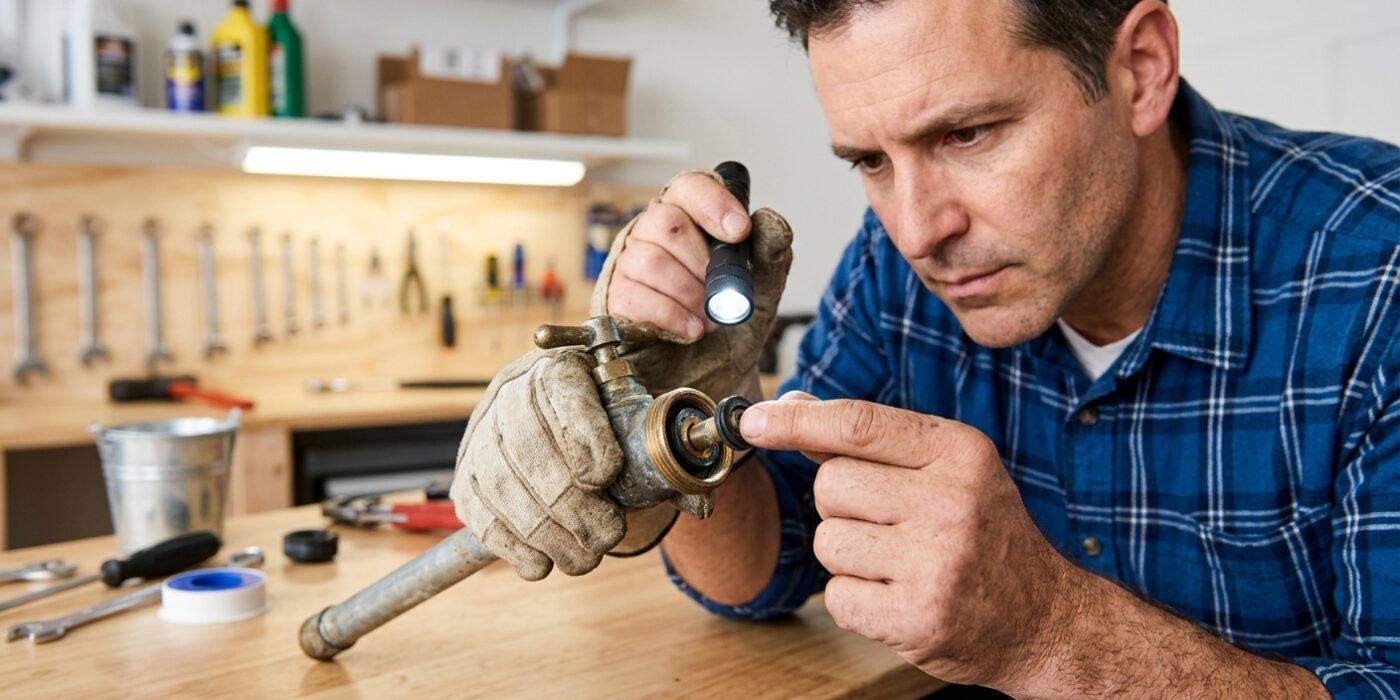
Even if your faucet is labeled “frost-free,” it needs a quick check-up to ensure it is actually doing its job. A frost-free bib works by keeping the water shut-off valve deep inside your warm house, rather than right at the handle. To inspect yours, turn the handle firmly until it stops, then wait about thirty seconds. If you see water still dripping from the spout, the internal rubber washer or seal has worn out and is no longer creating a watertight barrier. Next, check the area where the pipe enters your home from the inside (if accessible). If you notice moisture or dampness on the wall near the pipe after using the faucet, the long internal stem may be corroded or cracked. If either of these issues occurs, the device is no longer protecting your plumbing from freezing temperatures and must be replaced.
Beginner Tip: A common mistake is overtightening the handle to stop a drip. If the internal seal is failing, forcing the handle tighter can actually strip the threads or snap the valve stem, making a simple washer repair into a much larger, more expensive replacement project.
Pro Tip: To easily test for a slow, invisible leak, wrap a dry paper towel around the faucet spout and secure it with a rubber band. Check it after an hour; if the towel is damp, you have a seal failure that needs attention before the first hard frost of the season.
Step 5: Install Outdoor Faucet Insulating Covers
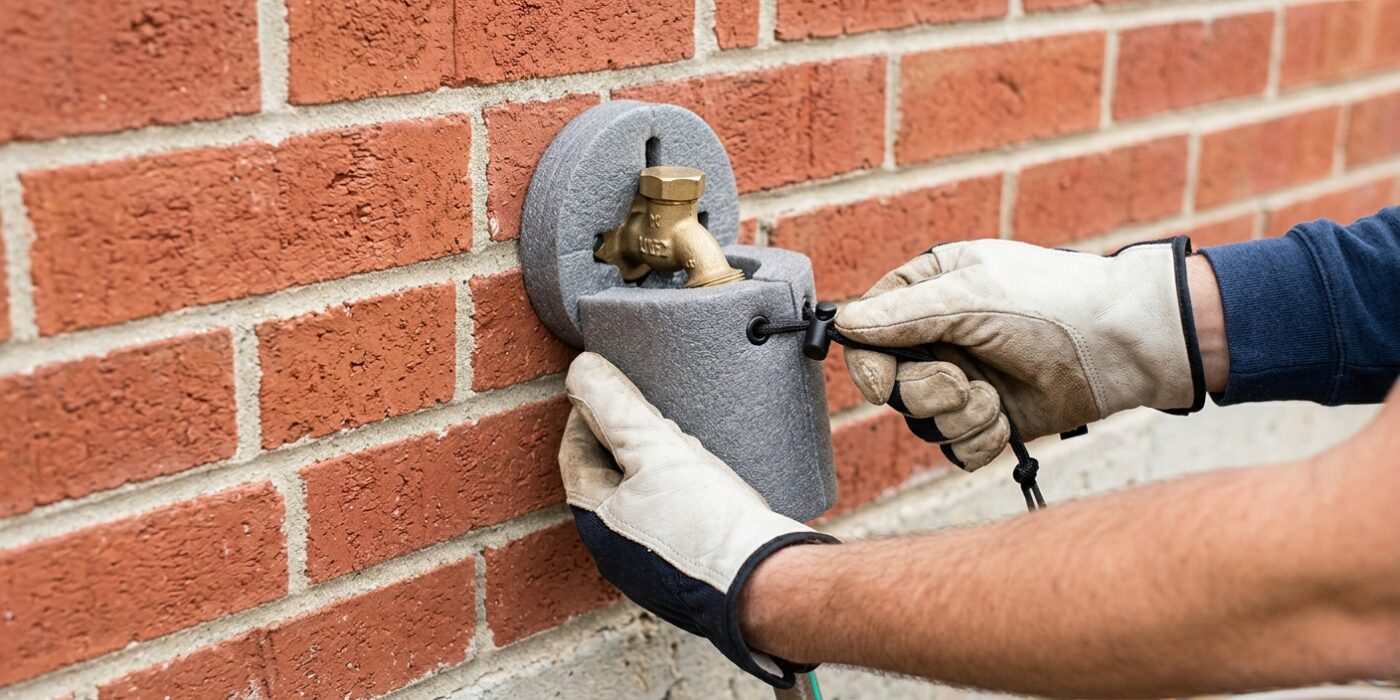
Even if you have frost-free faucets, these foam insulating covers act like a winter coat for your home. By trapping the heat escaping from your building’s exterior wall, they prevent the metal pipe from reaching freezing temperatures during extreme cold snaps. To install, hold the foam dome centered over the faucet so the nozzle sits inside the hollow cavity. Most models feature a built-in cord or strap; loop this securely around the pipe or the faucet handle. Pull the strap tight until the foam edge sits flush against the siding of your house. It is important to ensure there is no visible gap between the foam rim and your wall, as even a small air leak will let freezing drafts bypass the insulation.
Beginner Tip: A common mistake is leaving the faucet handle inside the cover in a way that prevents the seal from sitting flat. Before you tighten the strap, double-check that the cover isn’t being pushed off-center by the handle. If it feels wobbly, reposition the dome slightly so the foam sits directly against the flat surface of your siding for a perfect, draft-free seal.
Pro Tip: If your siding is uneven or made of stone, the foam cover might not seal tightly. Apply a small strip of adhesive-backed weatherstripping foam – found in any hardware store – to the back rim of the insulating dome before you attach it. This creates a custom gasket that conforms to your home’s texture, ensuring not a single degree of warmth escapes.
Step 6: Insulate Exposed Pipes Near Exterior Walls
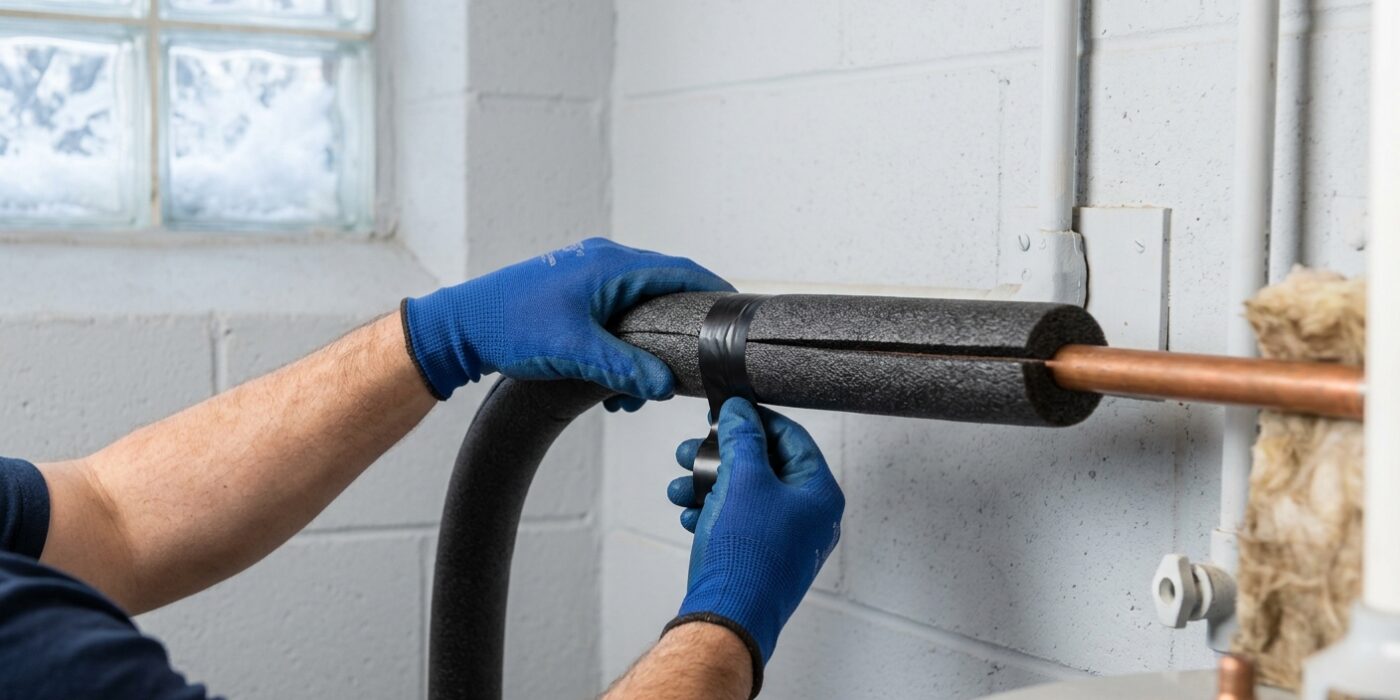
Any water pipe located within 12 inches of an exterior wall is a prime target for freezing, especially in unheated areas like your basement, crawl space, or garage. Because these pipes are close to the cold outside air, the water inside can quickly turn to ice, potentially causing the pipe to burst. To protect them, use foam pipe insulation sleeves. These are inexpensive, lightweight tubes that come with a pre-cut slit running down their length, making them very easy to install.
Measure the length of your exposed pipe and use a standard utility knife or a pair of kitchen scissors to trim the foam sleeve to match. Simply pull the slit open, wrap it around the pipe, and snap it into place. Ensure the seam is completely closed so that no freezing air can reach the metal. Don’t forget to check the pipes hidden inside cabinets under kitchen or bathroom sinks located against exterior walls, as these are often overlooked.
Beginner Tip: Avoid overlapping the insulation sleeves too tightly or stretching them, as this can cause the adhesive edges to peel open later. If you have a corner or a T-junction, cut your foam at a 45-degree angle to create a snug, professional-looking miter joint that covers the pipe completely.
Pro Tip: Use small strips of duct tape or zip ties at the ends and every 12 inches along the sleeve. This prevents the foam from shifting over time, ensuring your pipes remain fully protected throughout the harshest winter months.
Step 7: Turn Off Irrigation Systems
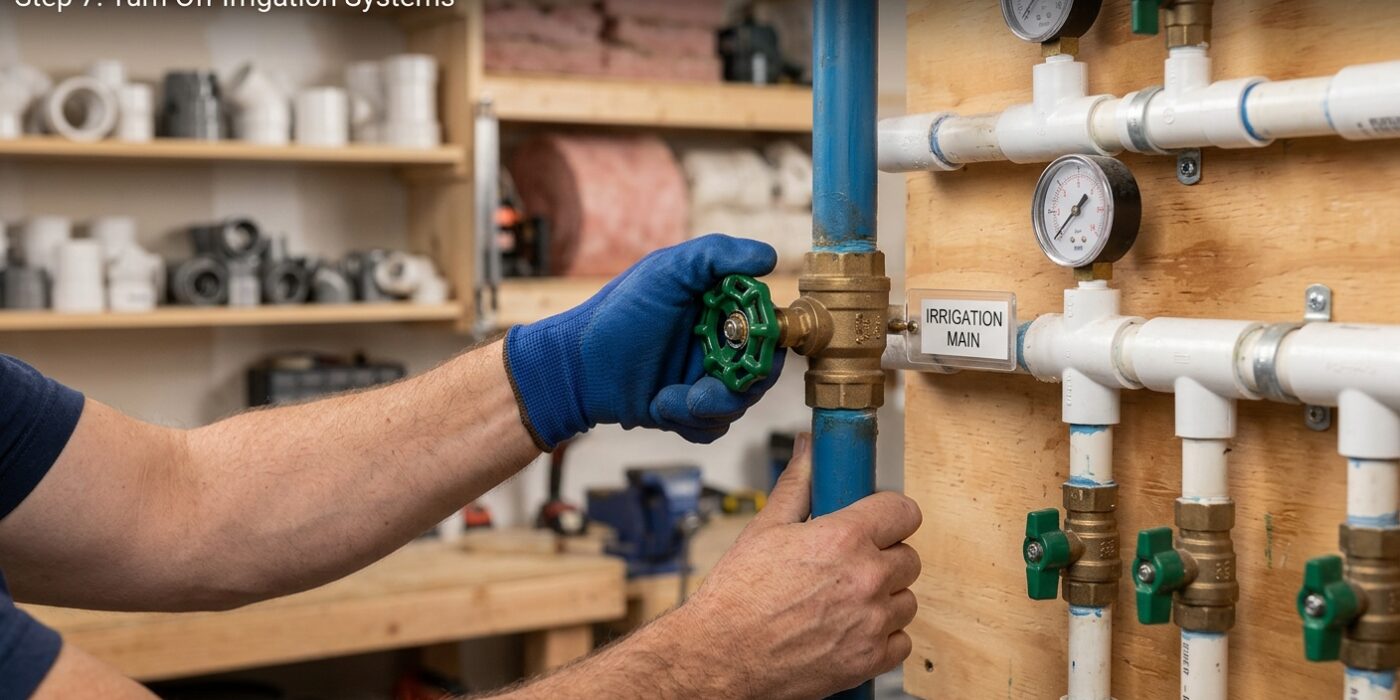
Your irrigation system is essentially a series of underground water highways. Even if you turn off the main valve, water stays trapped in low-lying spots, which will expand as it freezes and inevitably crack your pipes. To prevent this, you must “blow out” the system using compressed air. Start by shutting off the water supply to the irrigation lines, then connect an air compressor to the blowout port (usually found near your backflow preventer). Working one zone at a time, push air through the lines until only a fine mist comes out of the sprinkler heads. This clears every drop of water, ensuring your system survives the winter intact.
Beginner Tip: Never exceed 50–80 PSI (pounds per square inch) when using air pressure. If you push too much air too quickly, you risk damaging the internal plastic components of your sprinkler heads or popping joints apart underground. Start with low pressure and increase it only as needed.
Alternative Method: If you don’t own a high-capacity compressor, simply shut off the main irrigation valve and open the manual drain valves located at the lowest points of your system. While this won’t remove every drop like compressed air, it allows the majority of the water to escape, which is significantly safer than leaving the pipes completely full.
Pro Tip: Before you begin, draw a simple map of your sprinkler zones. It is very easy to get confused while walking around the yard; having a checklist ensures you don’t accidentally skip a zone, which could be the one spot where a pipe bursts.