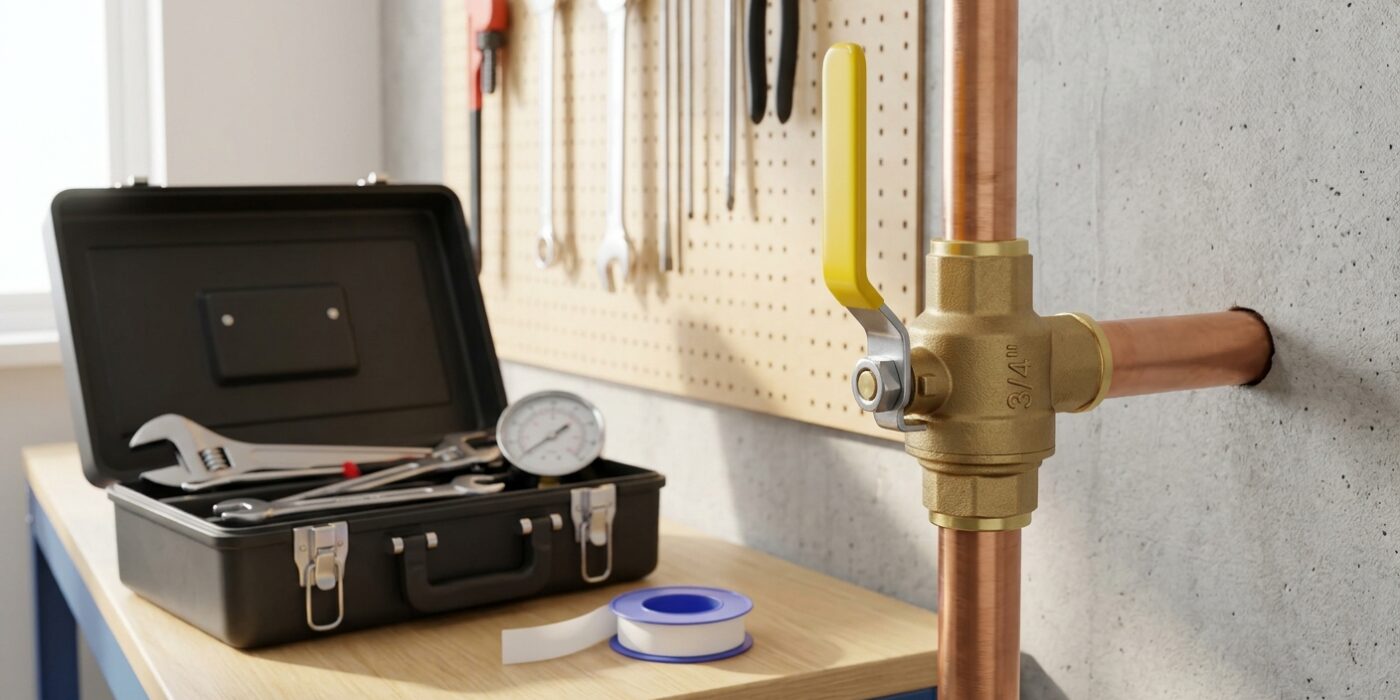
Project Shopping List
Knowing how to shut off water to your entire house is one of the most important emergency skills a homeowner can have. A burst pipe, a failed washing machine hose, or a plumbing emergency can dump hundreds of gallons per hour – the difference between a wet floor and a destroyed house is how quickly you get to the main shutoff valve and turn it off. This guide covers finding and operating the valve, maintaining it so it works when you need it, and the situations where the meter shutoff is the backup plan.
This is also a necessary prerequisite for every major plumbing project in the house.
What You’ll Need
Tools
- Meter key or curb key (for street shutoff – a T-handle tool)
- Adjustable wrench (for some valve types)
Materials
- Penetrating oil (if valve is stiff)
- Replacement shutoff valve (if existing valve won’t close – this requires professional installation)
Step 1: Find Your Main Shutoff Valve
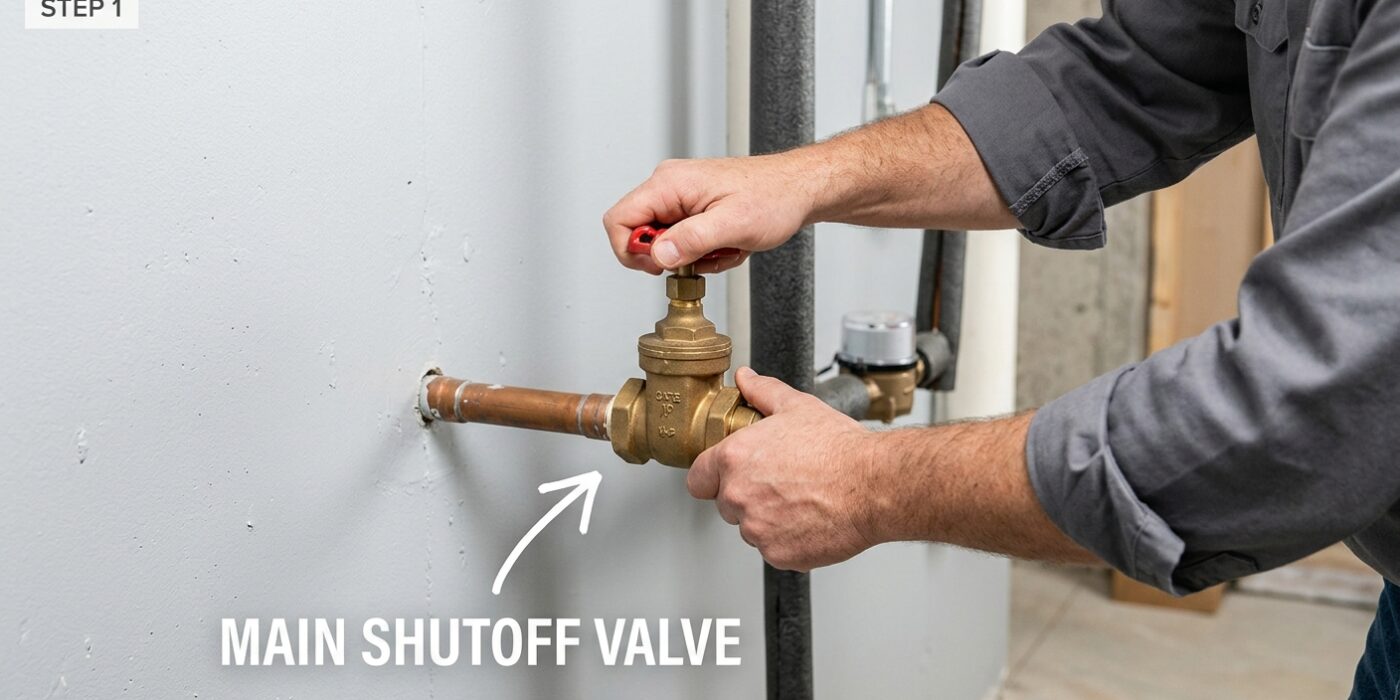
Finding your main shutoff valve is your first line of defense against a plumbing emergency. Think of this valve as the master switch for your home’s water system. You are looking for a pipe that connects directly to your municipal water supply. In colder regions, head to your basement or utility room; scan the foundation walls – specifically the one facing the street – for a pipe coming through the concrete. In warmer climates, walk the perimeter of your house to find a metal or plastic box embedded in the ground near the street, or a valve attached to an exterior wall. Once you find it, you are looking for either a round handle (a gate valve) or a straight lever handle (a ball valve).
Beginner Tip: Do not mistake the smaller valves near your toilets or sinks for the main shutoff. Those only control water for one specific fixture. The main valve is significantly larger and typically located where the pipe first enters your home, usually measuring between 3/4-inch to 1-inch in diameter.
Pro Tip: If you find a valve that looks heavily corroded or won’t budge, do not force it with a wrench, as this could snap the pipe. Instead, spray a little penetrating oil onto the threads and let it soak for an hour. If it still refuses to turn, it is time to call a professional plumber to replace the valve before an actual emergency happens.
Step 2: Identify the Valve Type
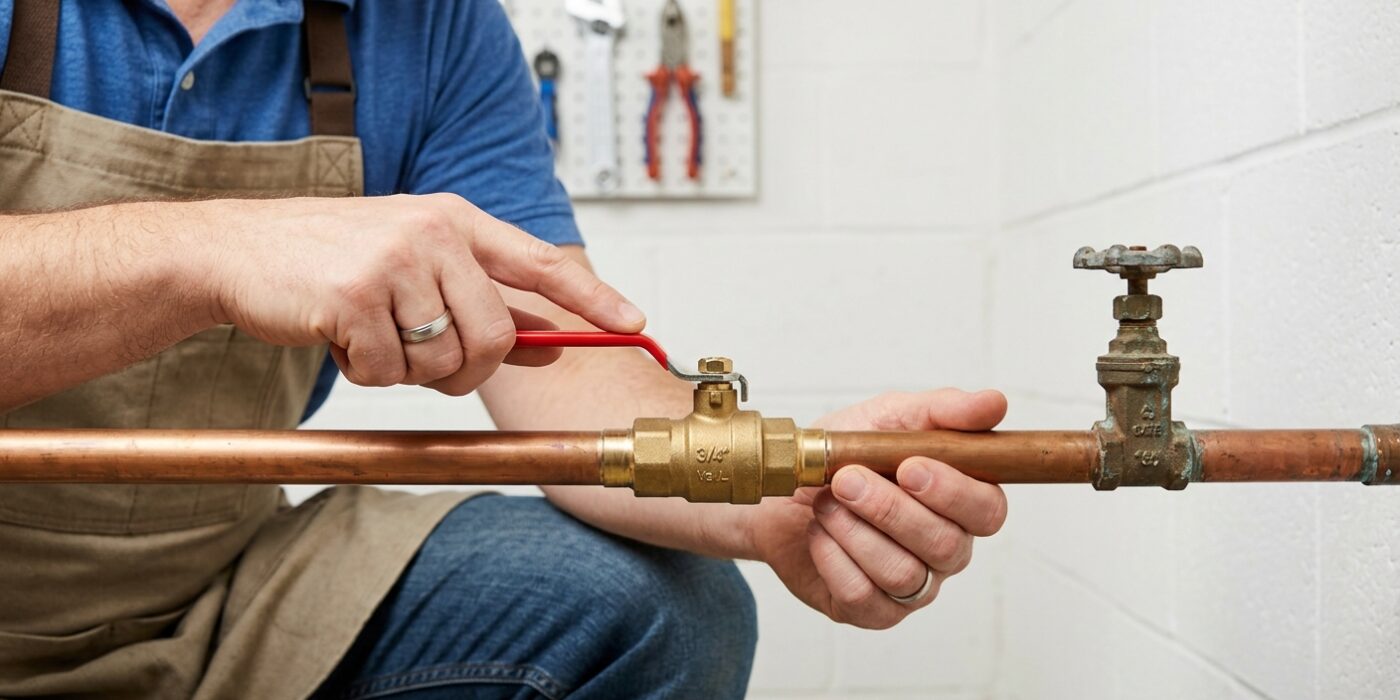
Before you turn anything, you need to identify which valve controls your home’s water. There are two common types, and knowing which one you have will dictate how much effort you need to use.
If your valve has a round, wheel-like handle, it is a gate valve. To close it, turn the wheel clockwise (to the right) multiple times. You will feel the handle get tighter as the internal gate lowers into the pipe to block the water. Keep turning until it stops firmly, but do not force it past the point of resistance.
If your valve has a long, flat lever handle, it is a ball valve. These are modern, fast, and highly reliable. When the handle is parallel to the pipe, the water is on. To shut it off, turn the handle 90 degrees (one quarter-turn) clockwise until it sits perpendicular to the pipe. When the handle is at a 90-degree angle to the pipe, the water is off.
Beginner Tip: Never use a wrench or pliers to force a stuck handle. If a gate valve feels frozen, do not push too hard, as you could snap the stem inside the pipe. If it will not budge, it is time to call a professional plumber rather than risking a major pipe break.
Pro Tip: If your valve looks dusty or hasn’t been touched in years, spray a little penetrating oil on the stem threads and let it sit for ten minutes. This lubricates the mechanism, making the turn much smoother and protecting your pipes from stress.
Step 3: Practice the Shutoff Now – Don’t Wait for an Emergency
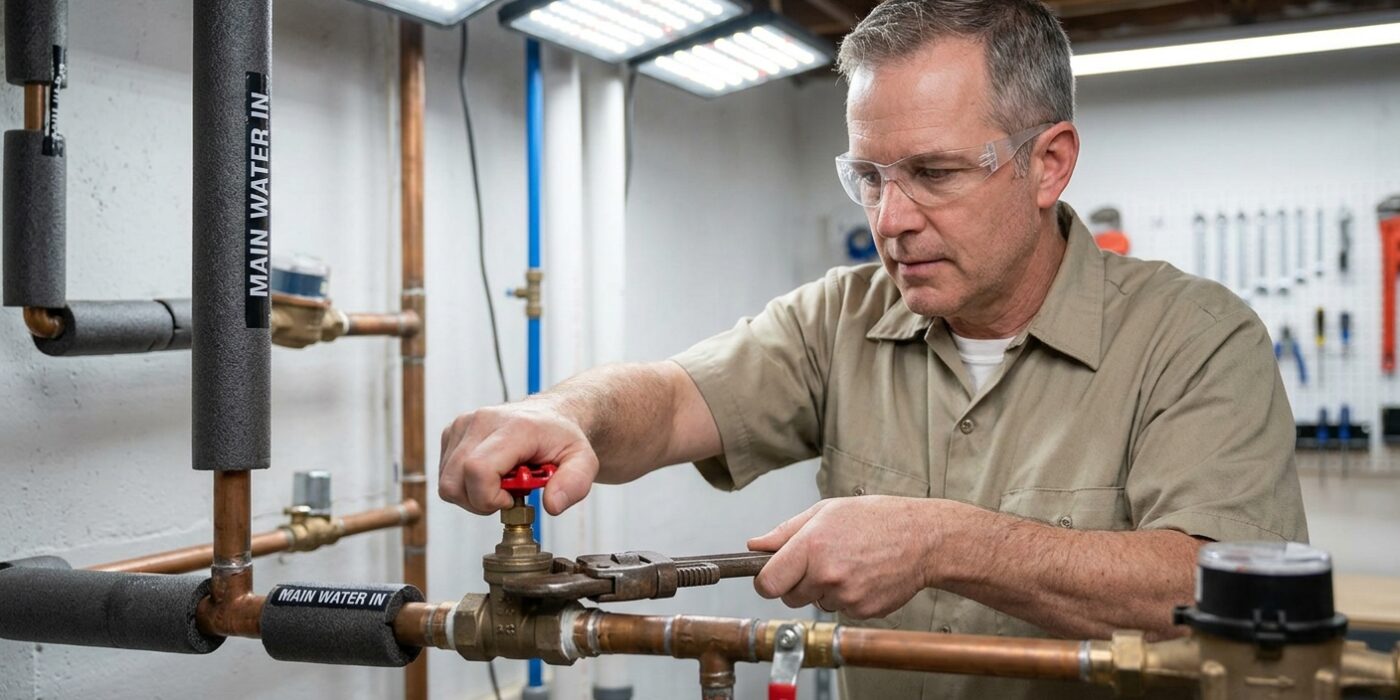
Now that you have located your main shutoff valve, it is time to test it while you are calm and prepared. You want to ensure the mechanism moves freely before a plumbing emergency forces your hand. First, turn the valve handle clockwise (to the right) until it feels snug; do not force it past its stopping point. Next, head to the nearest sink or bathtub and turn on the cold water. The flow should dwindle and stop completely within about five to ten seconds as the remaining water in the pipes drains out. Once confirmed, return to the valve and turn it counterclockwise (to the left) to restore your water supply.
Beginner Tip: A very common mistake is overtightening the valve. You only need to turn it until you feel firm resistance. If you use excessive force or a pair of pliers on a handle that is meant for fingers, you risk snapping the valve stem or damaging the internal seals, which could create a leak where none existed before.
Pro Tip: If your valve feels “frozen” or stiff, do not fight it. Spray a small amount of penetrating oil, such as WD-40, onto the valve stem where it enters the metal housing. Let it soak for ten minutes, then gently wiggle the handle back and forth – just a few degrees in each direction – to work the lubricant into the internal threads. This often breaks years of mineral buildup loose without requiring any heavy tools.
Step 4: The Water Meter Shutoff
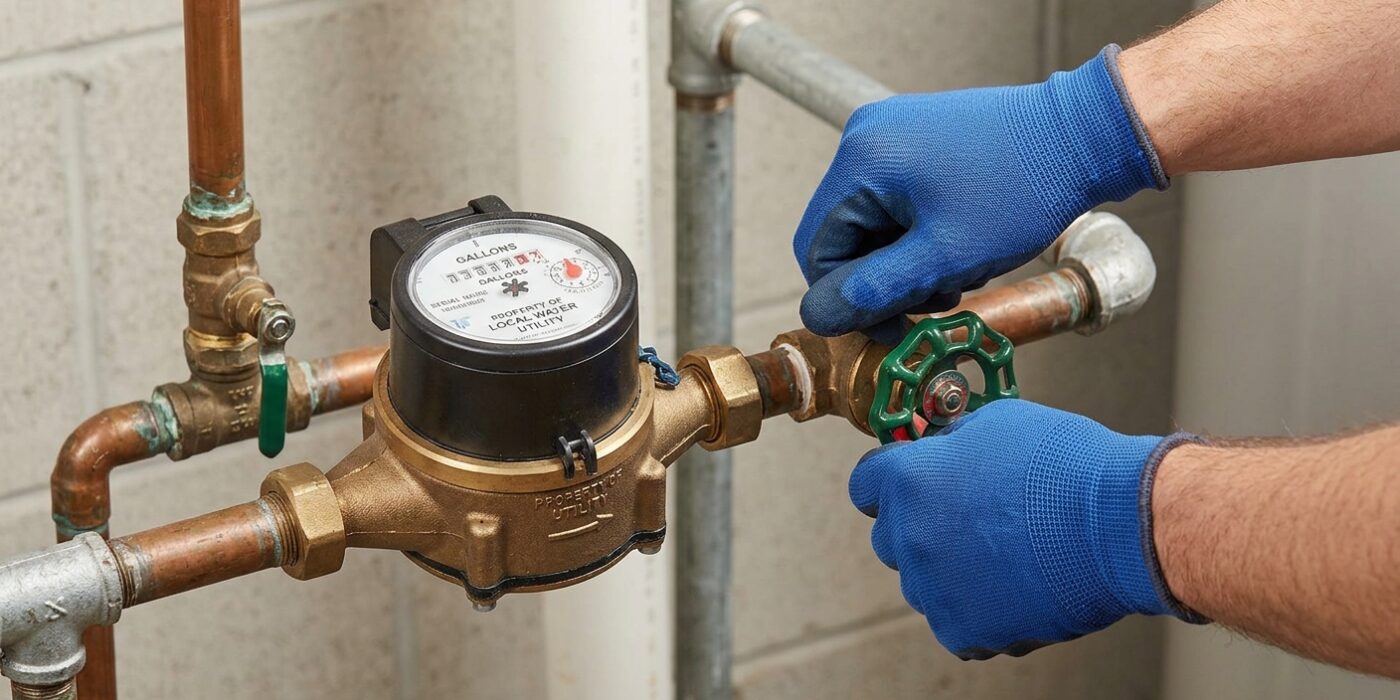
If your indoor shutoff valve is stuck, rusted, or missing, the water meter shutoff at the street is your safety net. You will typically find this located near the property line inside a heavy metal or plastic rectangular box set into the ground. Before you begin, use a flat-head screwdriver to pry the lid open; be careful, as these lids can be heavy and may hide spiders or debris.
Once the lid is off, look for the meter and a small valve. You will need a water meter key – a long, T-shaped iron tool – to reach down and grab the valve handle. Place the U-shaped end of the tool over the metal tab. Turn the tool clockwise until the hole in the valve handle aligns with the hole in the valve body; you are effectively turning the valve 90 degrees until it is perpendicular to the pipe. When the holes are lined up, the water is off.
Beginner Tip: Don’t force the valve if it feels seized. If it doesn’t turn with moderate pressure, stop. Forcing a corroded utility valve can break it, leading to a much larger problem. If it won’t budge, it is time to call your local water utility company for assistance.
Pro Tip: Before you head out, snap a picture of your meter with your smartphone. Sometimes these boxes are deep or dark, and having a zoomed-in photo helps you identify exactly which tab is the valve handle without having to keep your head inside the box.
Step 5: Label Everything
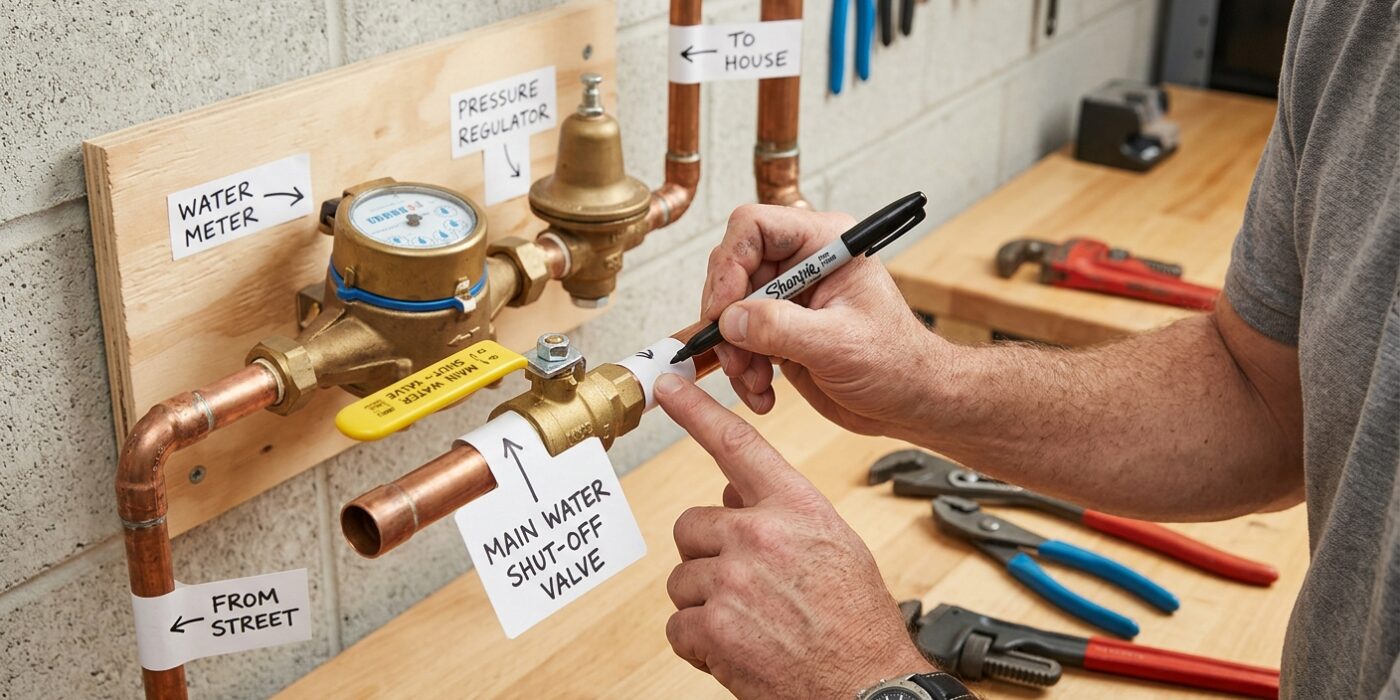
You have successfully located and tested your main water shutoff valve, but in an emergency, every second counts. Your goal here is to make this valve impossible to miss, even for someone who has never stepped foot in your utility room before. Start by attaching a bright, highly visible tag – like a luggage tag or a piece of neon-colored duct tape – directly to the valve handle. Write MAIN SHUTOFF in large, bold, permanent letters so the purpose is unmistakable.
Next, create a small, laminated reference card. On this card, write your home’s address, the exact location of your external water meter box (for example: “Under the circular metal lid near the front sidewalk”), and a note detailing exactly where the meter key is stored. Secure this card to a pipe or wall near the valve using a zip tie or a piece of string. This ensures that if you aren’t home, anyone can shut off the water safely and quickly.
Beginner Tip: Avoid using paper labels or masking tape directly on the valve, as they will quickly peel off due to the condensation that naturally forms on cold water pipes. Always use waterproof materials like vinyl tape or plastic tags to ensure your labeling lasts for years.
Pro Tip: Keep a high-quality LED flashlight attached to your shutoff valve with a heavy-duty rubber band. Pipes are often located in dark, cramped corners, and you do not want to be fumbling for a light source when you are trying to stop a leak.
Step 6: Know the Secondary Shutoffs Too
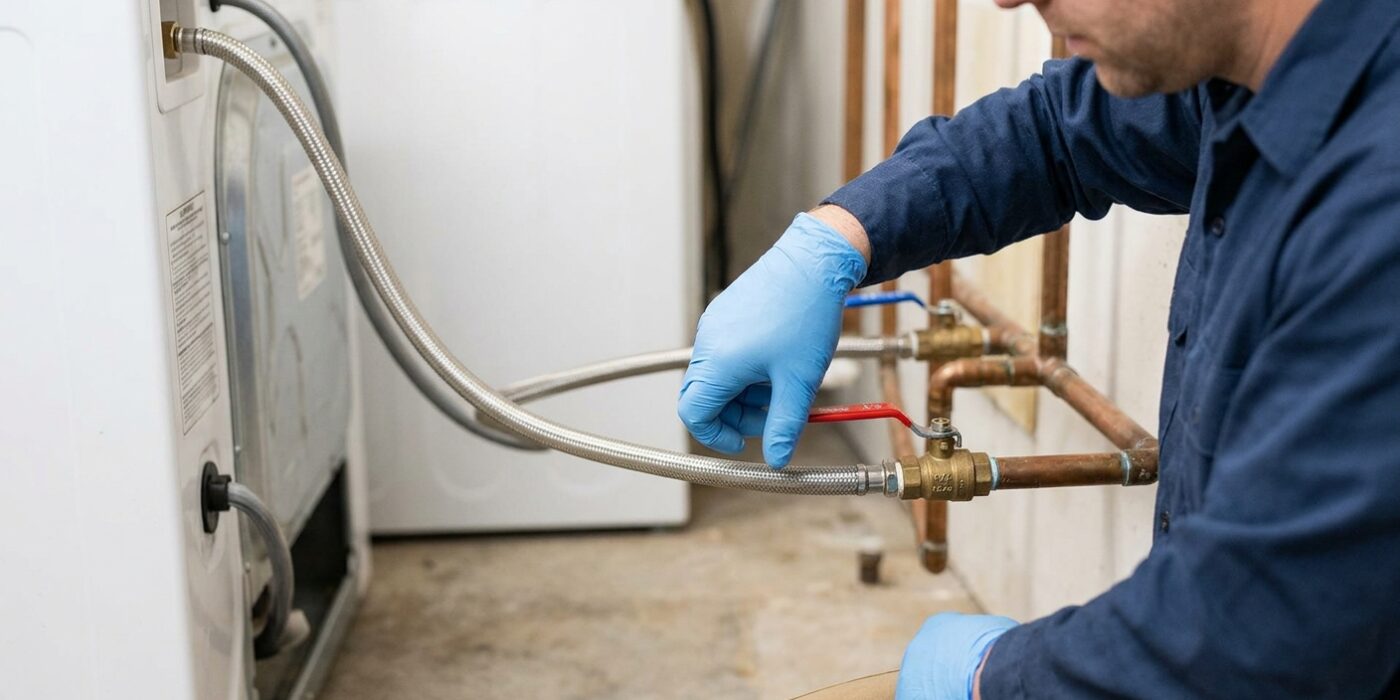
Beyond the main water shutoff, your home has smaller, individual valves located under sinks, behind toilets, and near appliances like your washing machine or water heater. These are your best friends for minor repairs. By turning these valves clockwise – usually a quarter or half-turn until the handle stops – you can stop water to a specific fixture without cutting supply to the rest of the house. Because these valves are rarely touched, the internal rubber seals can become stiff or brittle. We recommend performing a quick “exercise” on every valve in your home once a year: turn each one off and then back on. This prevents mineral buildup and keeps the internal mechanisms moving smoothly so they won’t fail when you actually need them.
Beginner Tip: Never force a stubborn valve. If a valve feels completely stuck, stop immediately. Applying too much pressure can snap a corroded handle or damage the internal stem, turning a simple maintenance check into a major plumbing headache. If it won’t budge, spray it with a light household penetrating oil and let it sit for an hour before trying again gently.
Pro Tip: Take a photo of your main shutoff valve and the primary fixture valves on your phone, then create a digital note or a “Home Maintenance” album. Label the photos with text overlays indicating which valve controls which room. In an emergency, your adrenaline will be high and your memory may blur; having a labeled visual map is the fastest way to stay calm and take control of the situation.