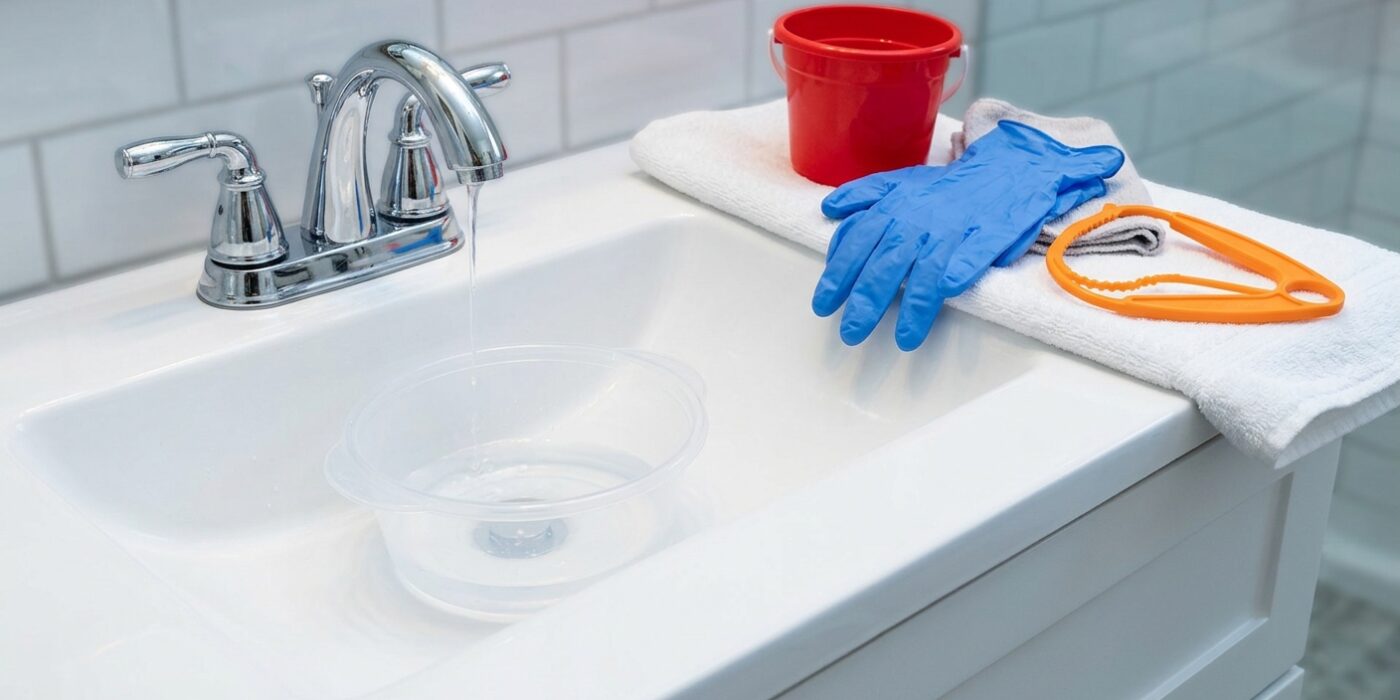
Project Shopping List
A slow-draining bathroom sink is a minor annoyance that usually becomes a full clog within weeks – and then it’s an emergency. The cause is almost always the same: soap scum and hair building up in the pop-up drain stopper assembly and just below it in the drain neck. This is a 10–20 minute job that most homeowners can handle easily, without any chemical drain products.
This guide covers the two-step process: cleaning the pop-up stopper and the area immediately below it, and using a manual drain snake for clogs that are slightly deeper. Start with Step 1 before moving to the snake – the vast majority of bathroom sink clogs are cleared by cleaning the stopper alone.
What You’ll Need
Tools
- Rubber gloves
- Needle-nose pliers or flathead screwdriver
- Manual drain snake (for deeper clogs)
- Old toothbrush
Materials
- Bathroom cleaner or dish soap
- Baking soda and white vinegar (for maintenance flush)
Step 1: Remove the Pop-Up Stopper
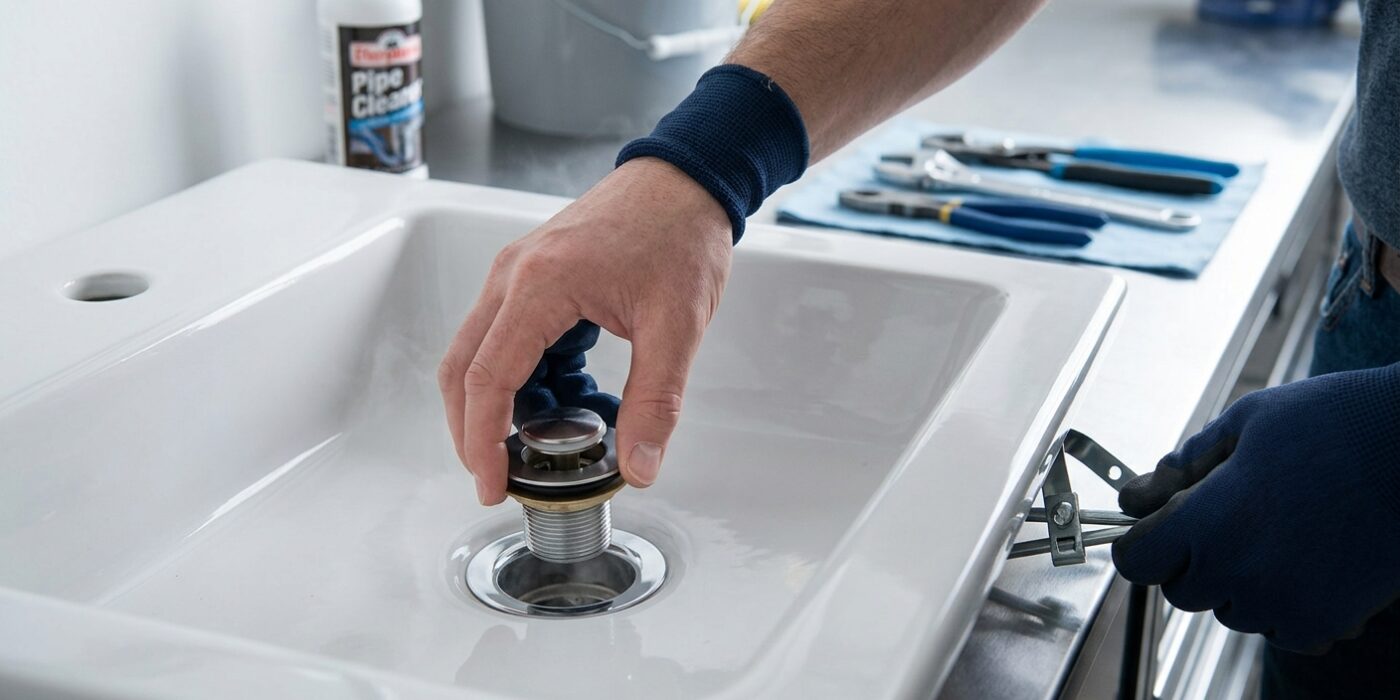
The pop-up stopper is the removable plug that keeps water in your sink. To begin, place your fingers around the rim of the stopper and pull straight upward with a steady, firm motion. Many stoppers will pop right out, but if yours feels stuck, try rotating it one-quarter turn counterclockwise to release the locking mechanism before pulling again.
If the stopper still won’t budge, it is likely held in place by a horizontal pivot rod hidden beneath the sink. Crawl underneath and locate the drainpipe. You will see a small metal or plastic nut where a rod enters the side of the pipe. Gently unscrew this nut by hand or with a pair of adjustable pliers. As you loosen it, the rod will slide out, detaching from the stopper so you can safely lift the plug out from the top of the basin.
Beginner Tip: Before you begin, place a towel or a bucket directly under the drainpipe. Even if the sink is empty, unscrewing the pivot rod nut often releases a small amount of stagnant, murky water. Having a catch-all ready prevents a messy puddle inside your vanity cabinet.
Pro Tip: Once you successfully remove the stopper, take a moment to scrub the gunk off the underside using an old toothbrush and warm, soapy water. This buildup is usually the culprit behind your slow drain, and cleaning it now saves you from having to repeat this process next month.
Step 2: Clean the Stopper
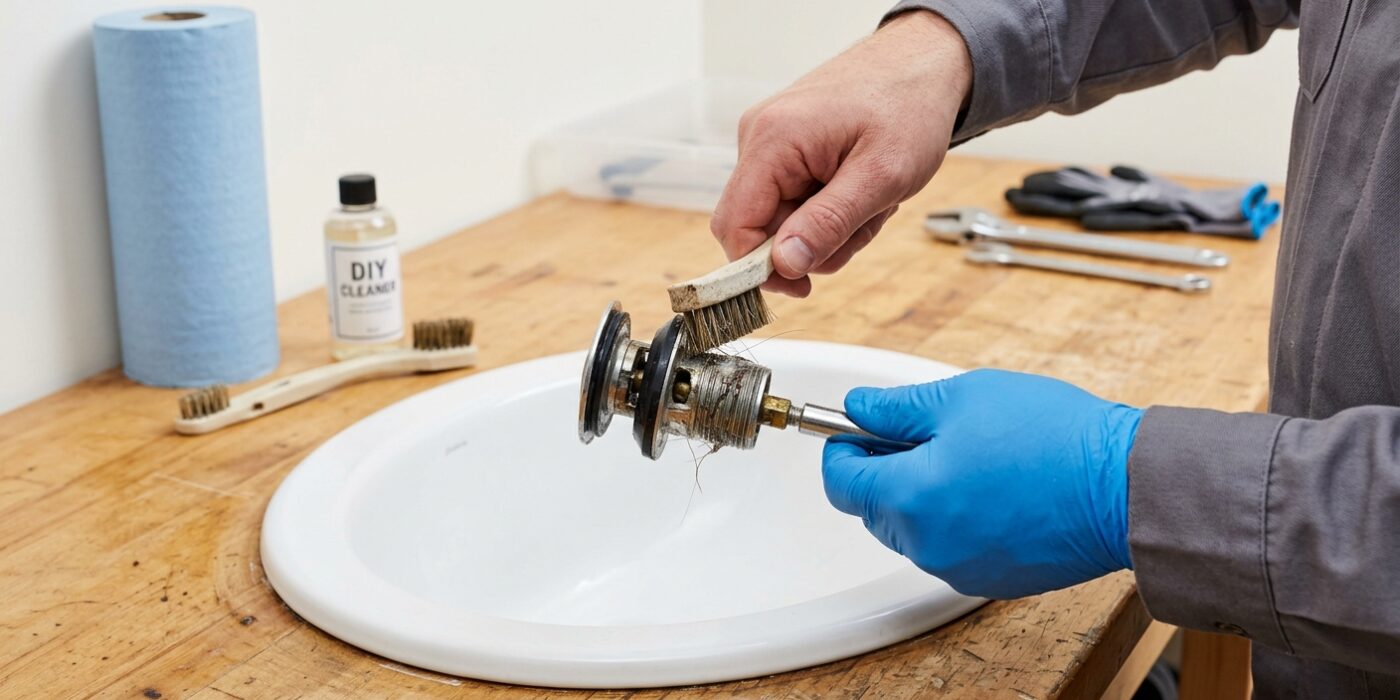
Now that the pop-up stopper is removed, you will likely see a clump of hair and gray slime clinging to it. This “gunk” acts like a net, catching everything else that goes down the drain and slowing your water flow to a trickle. Take your stopper to a well-lit area, such as your kitchen sink or a bucket, and spray it generously with a bathroom surface cleaner. Use an old toothbrush to scrub every crevice, paying special attention to the underside where the metal pivot rod connects. Use the bristles to work into the small notch or hook on the bottom; hair often wraps tightly around this point like a fishing line. Rinse it under hot water until the metal surface feels smooth and clean, not slippery or slimy. Getting this piece truly clean is the secret to preventing the drain from clogging again next month.
Beginner Tip: Avoid using a knife or sharp tool to scrape the debris off the stopper. Bathroom fixtures are often made of soft brass or thin plastic and can be easily scratched or chipped, which creates a rough surface that attracts even more gunk in the future.
Pro Tip: If the gunk is stubborn and won’t come off with a toothbrush, soak the stopper in a small bowl filled with a mixture of half white vinegar and half warm water for about 15 minutes. The acid in the vinegar will break down the soap scum and hard water deposits, allowing the residue to wipe away with almost no effort.
Step 3: Clean the Drain Neck
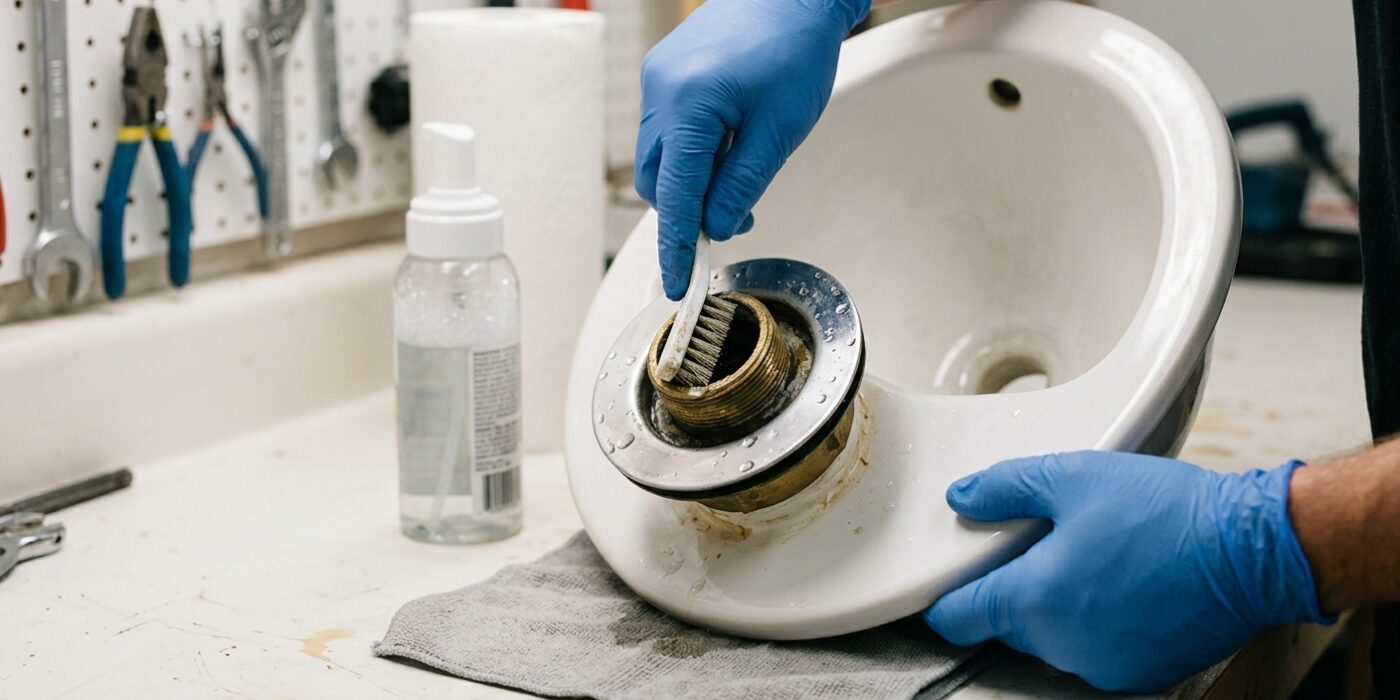
Now that your stopper is removed, it is time to clear the drain neck. This area is a common trap for hair, soap scum, and gunk, which is exactly why your sink is moving slowly. Take your flashlight and peer directly into the drain opening. You should see a small space, usually about three to four inches deep, before the pipe makes a sharp turn. This is the “neck” of your drain.
Insert your Zip-It tool or wire coat hanger straight down into the center of the drain. Once you feel resistance, gently twist the tool as you pull it upward to hook onto any debris. It might look a little gross, but don’t worry – that means you are getting to the source of the problem! Keep repeating this process, cleaning off your tool with a paper towel each time, until you pull it up and it comes out completely clean.
Beginner Tip: Be very gentle as you work. Do not push your tool forcefully if you feel a hard obstruction, as you could accidentally push the clog deeper into the pipes or damage the delicate metal components inside the drain.
Pro Tip: Before you begin, place a small piece of duct tape or masking tape over the overflow hole (the small opening near the top of your sink basin). This creates a vacuum effect that helps the debris stay within reach rather than being pushed further down the pipe as you clear it.
Step 4: Check the Pivot Rod
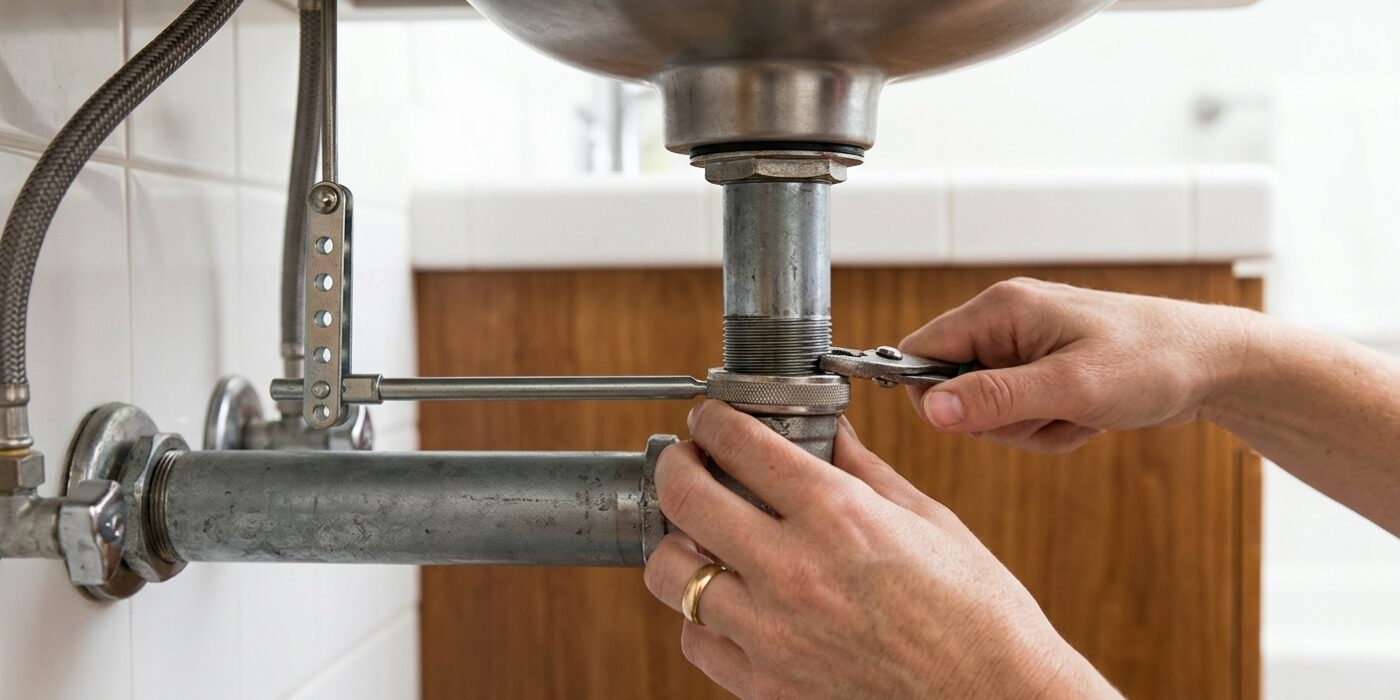
The pivot rod is the horizontal metal piece connected to the back of your drainpipe. It acts as a lever to lift your sink stopper up and down. Over time, hair and soap scum tend to snag on the end of this rod inside the pipe, creating a trap for debris. To clear it, locate the nut holding the rod in place on the side of the drainpipe. Using your fingers or a pair of pliers, turn this nut counterclockwise to unscrew it. Gently pull the rod outward until it clears the pipe. You will likely see a clump of gunk attached to the tip – simply wipe this away with a paper towel.
When reinserting the rod, you must ensure the tip passes through the loop at the bottom of the stopper. You will feel a slight mechanical resistance when it is properly positioned. Thread the nut back on by hand until it is snug, then use your tool to tighten it just a quarter-turn more. This allows the rod to pivot smoothly without leaking.
Beginner Tip: Be careful not to pull the rod out too quickly or with too much force. If you tug too hard, the small plastic washer behind the nut may fall into the drain or onto the floor, which can cause leaks later.
Pro Tip: Before you put the rod back in, shine a flashlight into the drain hole. If you see any remaining debris, use a plastic zip-tie with small notches cut into the sides to fish out the stubborn bits easily.
Step 5: Flush with Hot Water
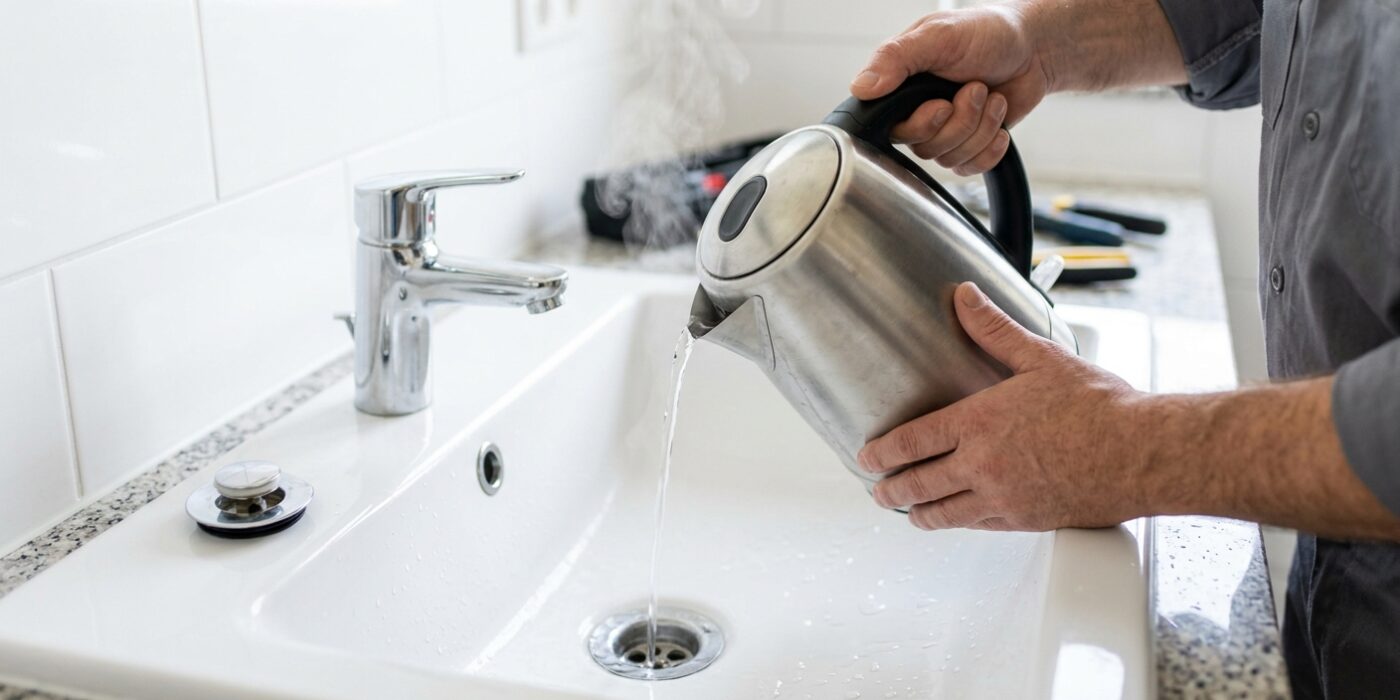
Now that you have cleared the physical blockage, it is time to perform a final maintenance flush to remove any lingering soap scum or hair residue. Start by turning your faucet to the hottest setting and letting the water run directly into the drain for two to three minutes. This clears out any loose debris. Next, pour 1/2 cup of baking soda directly into the drain opening, followed immediately by 1/2 cup of white vinegar. You will hear a loud fizzing sound – this chemical reaction is exactly what you want, as it creates a gentle bubbling action that scrubs the interior walls of your pipes. Let this mixture sit undisturbed for five minutes, then rinse the drain one last time with a steady stream of hot water. When you turn off the tap, watch the sink basin; the water should disappear instantly without leaving any pooling at the bottom.
Beginner Tip: Avoid the temptation to use harsh, store-bought chemical drain cleaners after you have already used vinegar and baking soda. Mixing these substances can create unsafe fumes or cause a chemical reaction that may damage your plumbing fixtures. Stick to the natural ingredients provided here for a safe, effective clean.
Pro Tip: If you really want to boost the effectiveness of this flush, use a teakettle to boil a small amount of water on the stove. Pouring a kettle of boiling water down the drain after the vinegar mixture works much faster and more efficiently than standard tap water at melting away stubborn grease buildup.
Step 6: Use a Drain Snake for Deeper Clogs
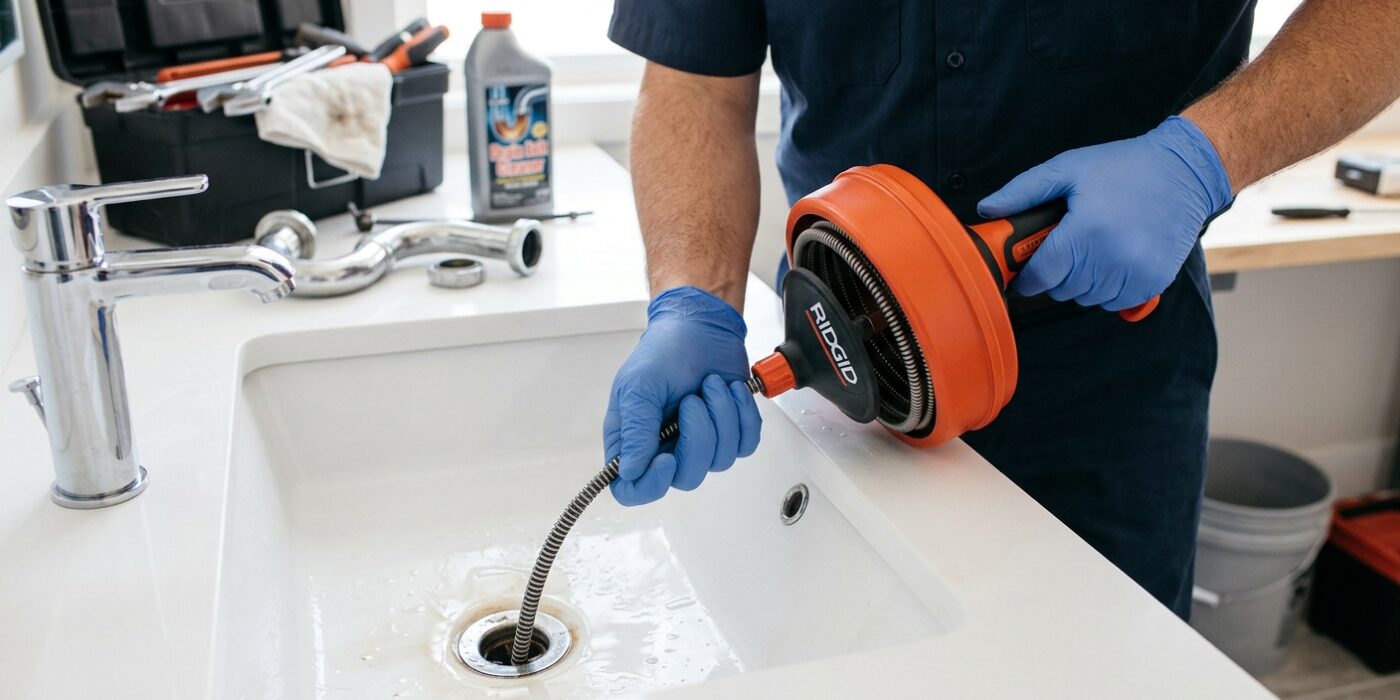
If your sink is still draining sluggishly, the blockage has moved deeper into the pipes, likely residing in the U-shaped section called the P-trap. To clear this, we will use a hand-crank drain snake. This tool is a long, flexible metal cable that can navigate the curves of your plumbing. Insert the tip of the cable into the drain opening and feed it down until you feel it stop. Tighten the thumb screw on the handle to lock the cable in place, then rotate the handle clockwise while pushing gently. This rotation allows the metal head to grab onto hair and debris. When you feel resistance, continue turning; this will either hook the clog or break it apart. Once you feel the tension change, pull the cable back slowly while still rotating. You might pull out a surprising amount of gunk, so keep a paper towel or an old plastic bag nearby to wipe the snake clean as you extract it.
Beginner Tip: Avoid pushing the cable with brute force. If you feel sudden, hard resistance, do not shove or jerk the tool. You are likely hitting a pipe fitting or a sharp bend. Back the cable up an inch, rotate it gently, and try to find the path again to avoid scratching the inside of your pipes.
Pro Tip: Before you begin, fill the sink with an inch or two of water. As you work the snake, that extra weight and pressure can help flush loosened debris through the drain pipe once you finally break the clog, leaving your pipes cleaner than before.