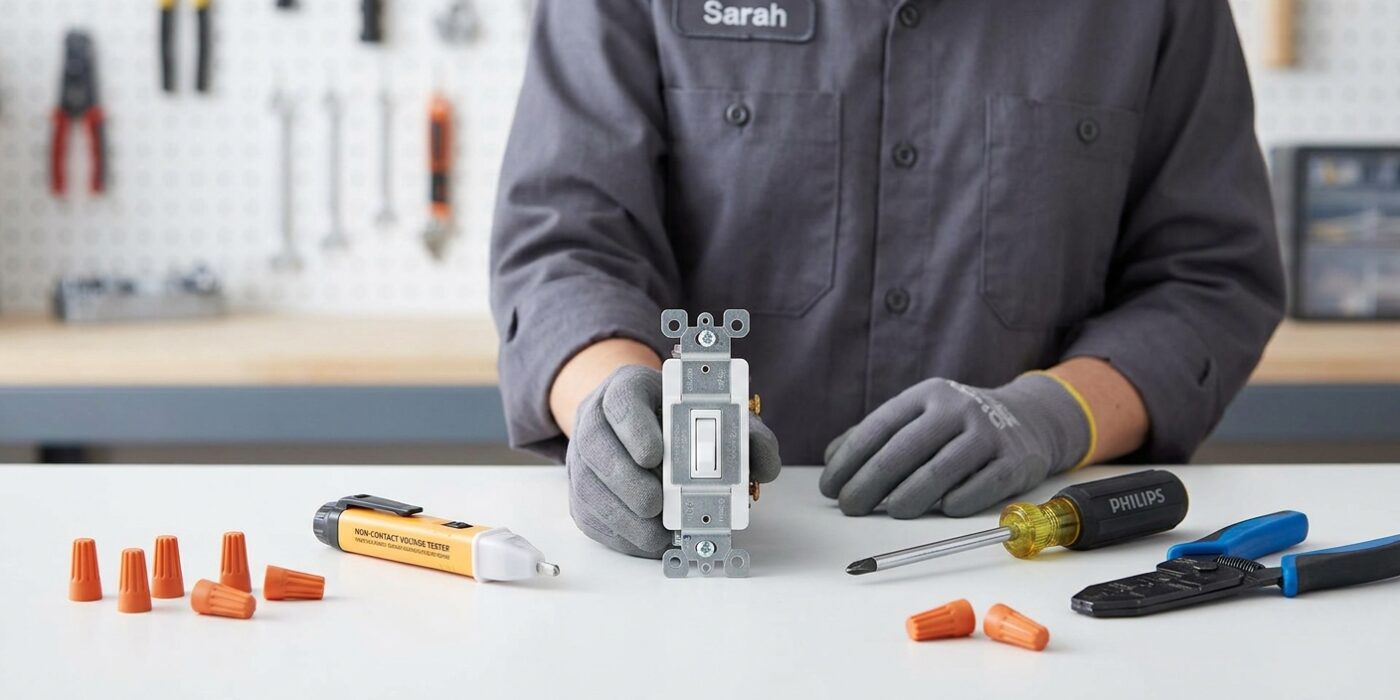
Project Shopping List
Replacing a standard wall switch with a dimmer gives you immediate lighting control – lower light levels for evening ambiance, preserve night vision in hallways, and extend bulb life. Modern dimmers are compatible with LED bulbs (with some important selection notes), are code-compliant, and most single-pole dimmers install in under 30 minutes even for first-time electrical DIYers. If you’ve replaced an outlet or switch before, you have all the skill needed for this upgrade.
This guide covers the complete installation: verifying compatibility, safe wire identification, connecting the dimmer, and troubleshooting the flicker or buzz that’s common with incompatible dimmer/bulb combinations.
What You’ll Need
Tools
- Non-contact voltage tester (essential – never skip this)
- Phillips and flathead screwdrivers
- Wire stripper
- Needle-nose pliers
Materials
- Dimmer switch – compatible with your bulb type and load (see Step 1)
- Wire nuts (usually included)
- Electrical tape
Step 1: Choose the Right Dimmer for Your Bulbs
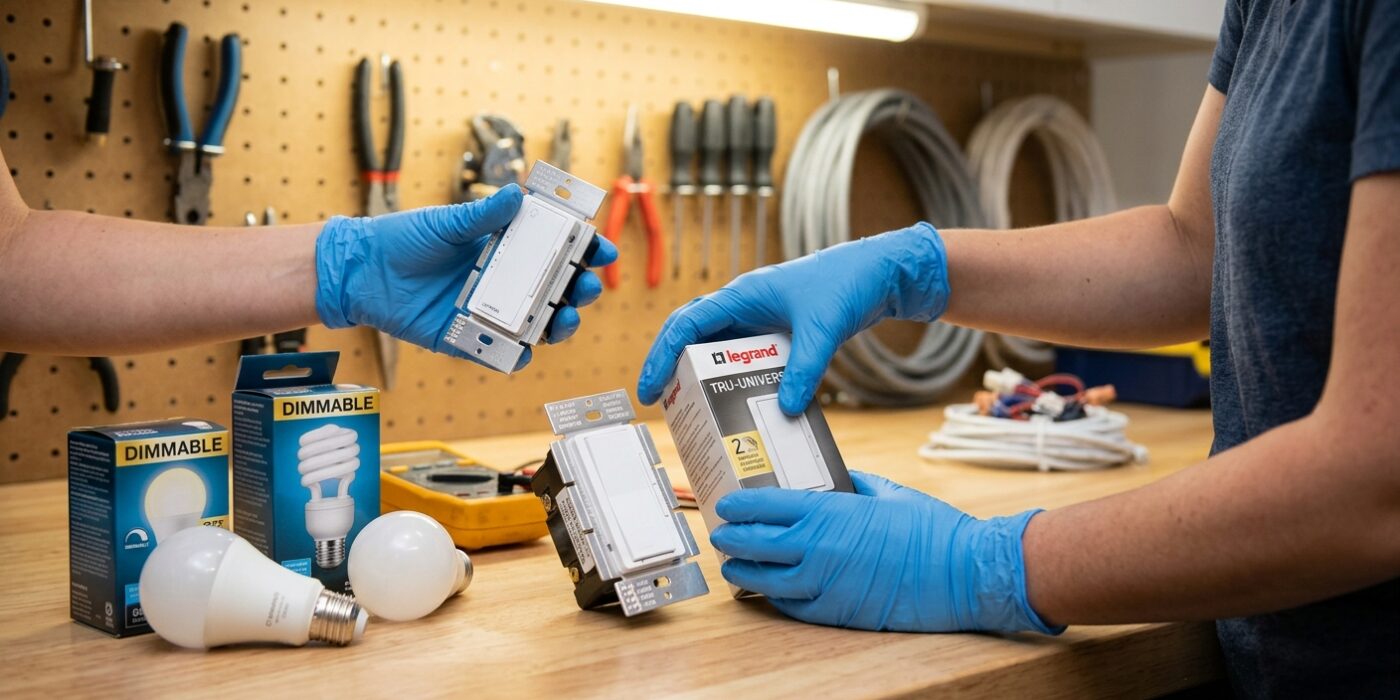
Before you purchase your new switch, you must confirm that it will play nicely with your light bulbs. This is the secret to a smooth, silent dimming experience. If you try to pair an old-fashioned incandescent dimmer with modern LEDs, you will likely experience annoying flickering, a limited dimming range, or an irritating buzzing sound that ruins the ambiance of your room.
To do this right, locate the model number on your LED bulb’s base or packaging. Visit the website of a major manufacturer like Lutron or Leviton and search for their “Compatibility Tool.” Enter your bulb’s brand and model number to see a list of tested, approved dimmer switches. By matching these exact components, you ensure your lights will dim smoothly from a soft glow to full brightness without any technical hiccups.
Beginner Tip: Never assume that a generic “LED-compatible” label on a dimmer box guarantees it will work with every bulb. Always cross-reference the specific model numbers. If you cannot find your bulb on a compatibility list, it is much cheaper and easier to replace the bulbs than it is to uninstall and return a dimmer switch later.
Pro Tip: If you are planning to update multiple rooms, buy a single “kit” of matching bulbs and dimmers from the same manufacturer. When the bulbs and the switch are designed to communicate in the same frequency, you get a much wider, more reliable dimming range that looks professional and functions perfectly every time.
Step 2: Verify Single-Pole vs Three-Way
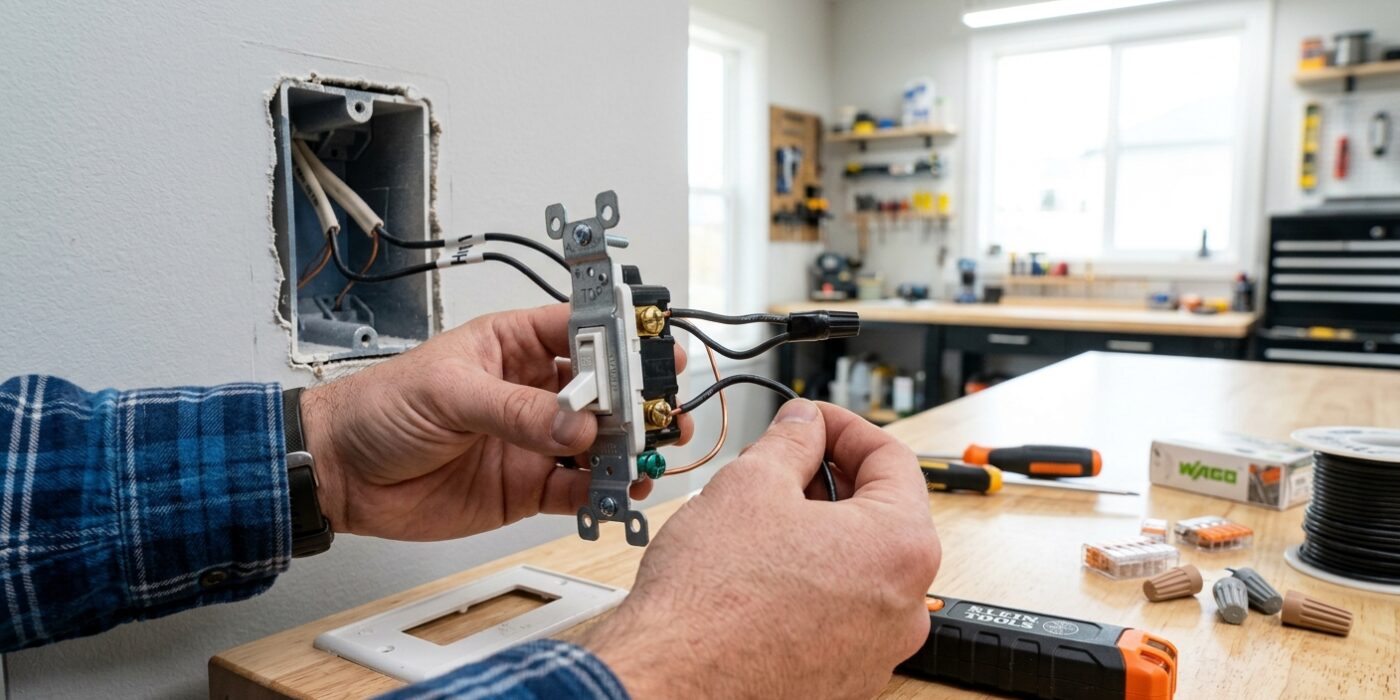
Before you purchase your new dimmer, you must confirm that your current switch is a single-pole setup. A single-pole switch controls a light from exactly one location. To verify this, carefully unscrew the wall plate and the switch itself, pulling it out just enough to see the connections without disconnecting any wires. If you see two wires (plus a bare copper or green ground wire) attached to two screws on the side of the switch, you have a single-pole configuration. If you see three wires (excluding the ground), you have a three-way switch, which requires a different type of dimmer than the one used for this project.
Beginner Tip: Never rely solely on the look of the switch plate. While two toggle switches at the end of a hallway usually indicate a three-way circuit, sometimes a single switch can be misidentified. Always count the physical screw terminals on the side of the switch itself to be 100 percent sure.
Pro Tip: When inspecting the wires, use your smartphone to take a clear, high-resolution photo of the back of the switch before you move or touch anything. This creates a foolproof visual reference that shows exactly where every wire was attached, giving you total peace of mind when it comes time to install your new dimmer.
Step 3: Shut Off Power at the Breaker
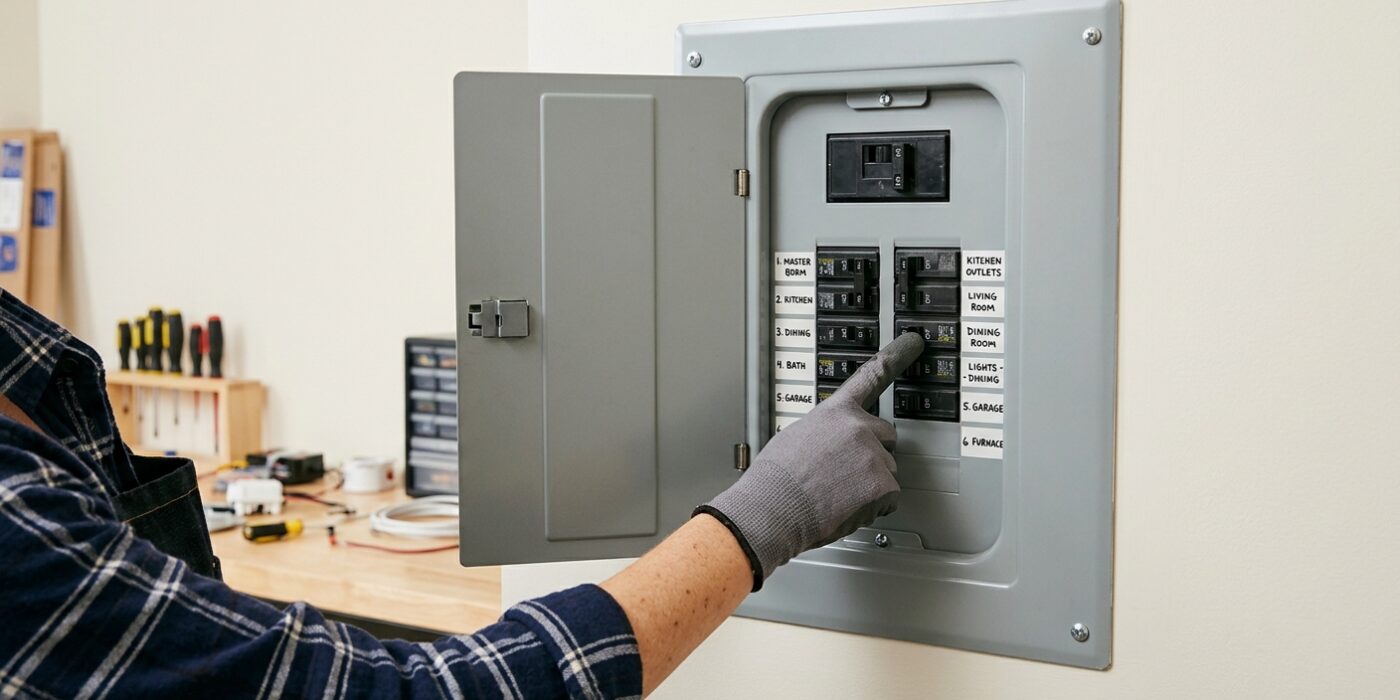
Safety is the most important part of any electrical project. Head to your home’s main service panel, which is typically a grey metal box located in your garage, basement, or utility closet. Locate the breaker that controls your light switch – it is usually marked on the panel’s index. Flip the switch to the “OFF” position. Now, return to your light switch and use a non-contact voltage tester. Hold the tip of the tool near the switch body and each individual wire; if your tool is working correctly, it should remain silent and dark. As a vital sanity check, test a nearby wall outlet to confirm your tester is picking up live power; if it beeps there but remains silent at your switch, you have successfully cut the power.
Beginner Tip: Do not rely solely on the labels written inside your breaker panel. Even in newer homes, labels are often incorrect, outdated, or completely missing. Always verify the power is off using your own tester rather than trusting the handwriting on the panel door.
Pro Tip: If your breaker panel is poorly lit, use a headlamp rather than holding a flashlight in your mouth or under your arm. Having both hands free makes it much easier to flip the breaker firmly and allows you to hold your voltage tester steady during the safety check, ensuring you don’t accidentally brush against live components.
Step 4: Remove the Old Switch
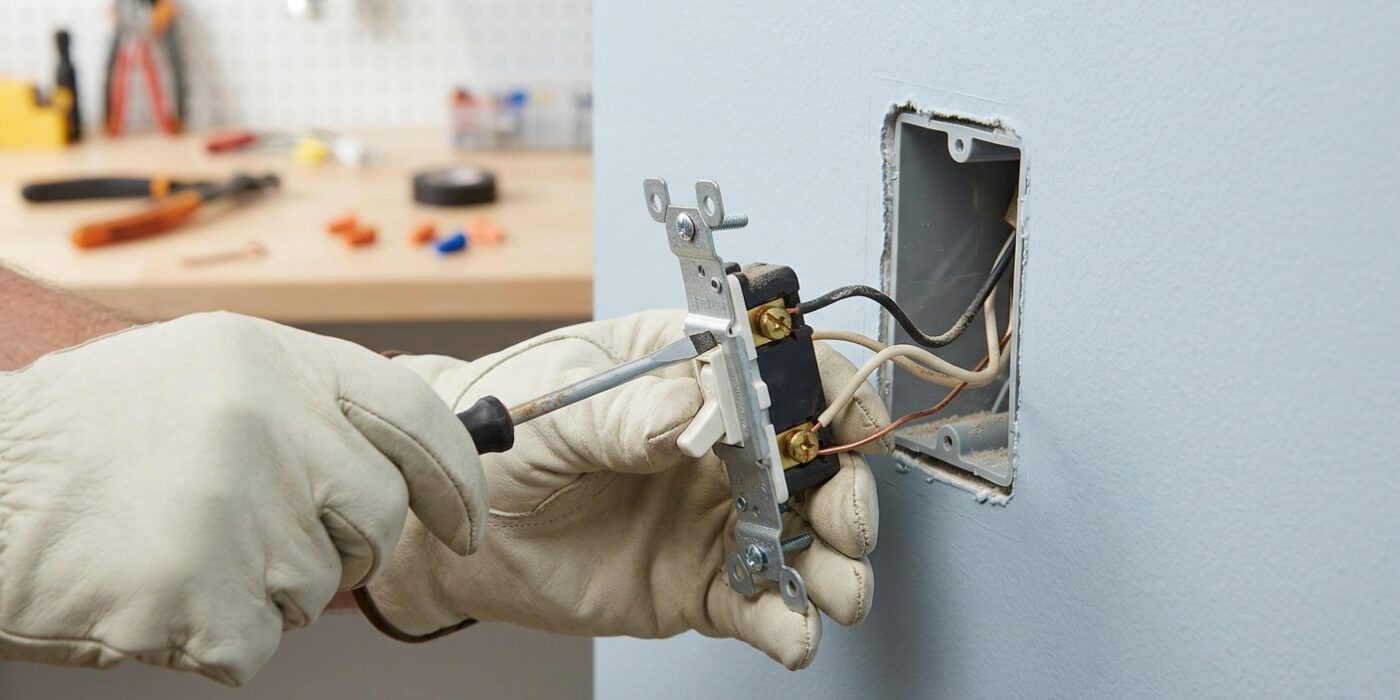
Now that your power is off, it is time to expose the wiring. First, use a flathead screwdriver to remove the single screw holding the cover plate in place; set the plate and screw aside in a safe spot. Next, you will see two mounting screws at the top and bottom of the switch itself. Unscrew these, then gently grasp the switch by its plastic edges and pull it straight out of the wall. Do not yank it – there is usually 6 to 12 inches of wire coiled neatly behind the device.
Before you remove any wires, take a clear, well-lit photograph of the current configuration. This serves as your visual map if you need to troubleshoot later. You will likely see two wires attached to brass-colored screws and one bare copper or green wire attached to a green screw. Use your screwdriver to loosen the side terminals, sliding the wires free from the old unit.
Beginner Tip: A common mistake is letting the bare copper ground wire touch the other terminal screws once the switch is pulled out. Keep those wires separated as you work to prevent any accidental contact.
Pro Tip: If the wires feel stiff and difficult to maneuver, gently straighten the ends with needle-nose pliers before you begin. Creating a clean, straight wire end makes it significantly easier to insert them into the new dimmer switch’s push-in connectors or under the new pressure plates later.
Step 5: Connect the Dimmer
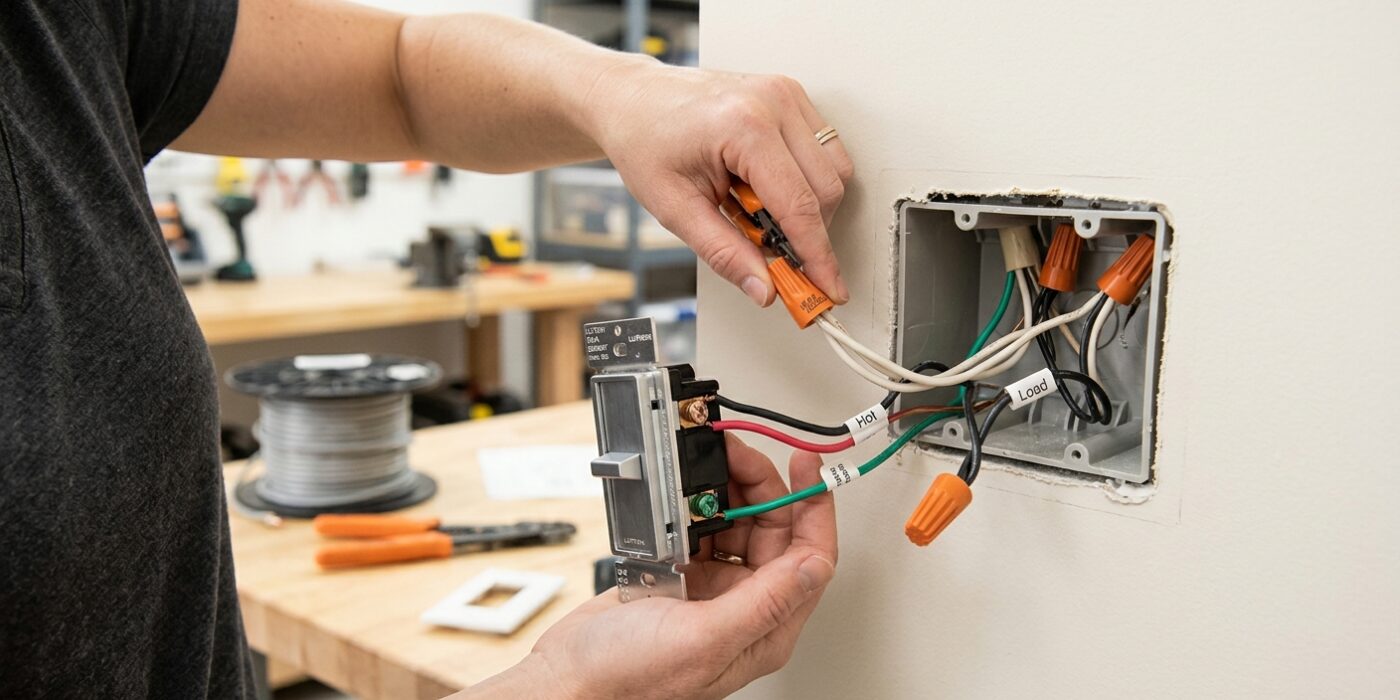
Now it is time to bring your new dimmer to life. Modern dimmers come with short, pre-attached wires called “pigtails.” To connect them, hold the two ends of the wires together side-by-side, ensuring about half an inch of bare metal is touching. Twist a wire nut clockwise over the exposed ends until you feel a firm grip and the wires are held securely. You will perform this for the two black leads from the dimmer, connecting them to the circuit wires in your wall box. Because this is a single-pole switch, the order does not matter; either black lead can connect to either circuit wire. Finally, take the green or bare copper wire from your dimmer and connect it to the bare ground wire tucked into the back of your wall box using the same twisting method.
Beginner Tip: A common mistake is leaving too much bare wire exposed under the wire nut. Make sure the plastic insulation of the wires extends just slightly into the nut. If you see any bare copper sticking out past the bottom of the cap, unscrew it, trim the excess wire with your cutters, and try again to prevent a potential short circuit.
Pro Tip: To ensure your connections are rock solid, give each wire a gentle tug after tightening the wire nut. If a wire slips out, it is not tight enough. Additionally, fold your connected wires into the box in a “Z” pattern rather than jamming them in; this keeps the space organized and makes it much easier to screw the dimmer flush against the wall.
Step 6: Fold Wires and Mount the Dimmer
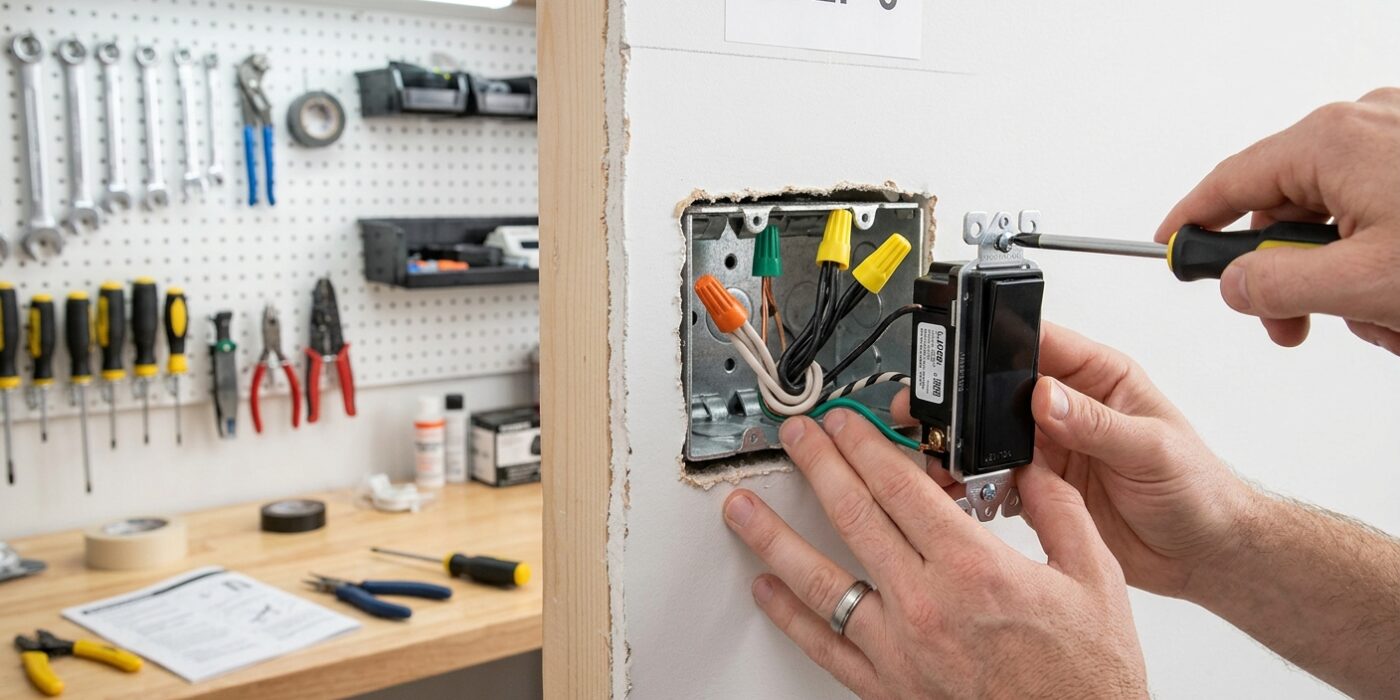
Now that your wires are secure, it is time to tuck everything neatly into the electrical box. Hold the dimmer by its edges and gently push the wires back into the wall, folding them in an accordion pattern rather than stuffing them in a tangled ball. This keeps the connections from pulling loose and prevents the wires from getting pinched. Aim to create a flat, even layer of wire behind the switch. As you push the dimmer body into the box, ensure no wires are pressing against the screw terminals on the sides of the switch.
Beginner Tip: The most common mistake is letting the wires bunch up behind the switch, which prevents it from sitting flush against the wall. If you feel significant resistance, do not force it. Pull the switch back out and rearrange the wires toward the back corners of the box to create more breathing room for the dimmer’s body.
Pro Tip: Before you tighten the mounting screws completely, ensure the switch is perfectly level. Once the switch is held in place by the screws, gently wiggle the dimmer body to align it horizontally. Tighten the screws until the switch is firm against the wall, but be careful not to overtighten, as this can crack the plastic frame or damage the drywall. Finally, snap or screw on your cover plate for a clean, professional finish.
Step 7: Restore Power and Test
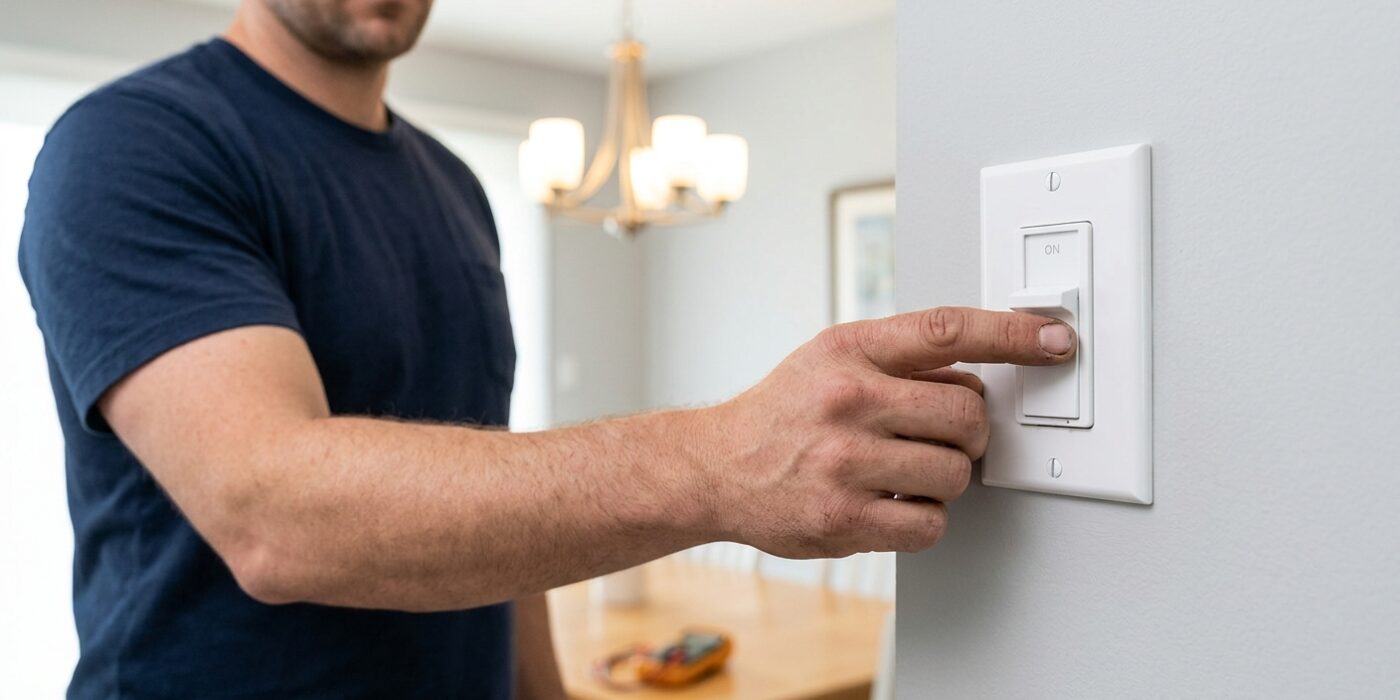
Now that your switch is securely mounted, it is time to bring your lights back to life. Head to your electrical panel, locate the breaker you flipped earlier, and switch it back to the “On” position. Return to your new dimmer and move the slider or dial slowly through its full range. You are looking for smooth, consistent light transitions. If you notice flickering at low levels or an audible buzzing sound, don’t worry – this is common and usually just means your dimmer needs a quick calibration.
Beginner Tip: A common mistake is assuming the dimmer is broken if it flickers on the lowest setting. Most modern LED-compatible dimmers have a small adjustment dial or screw on the faceplate or side. Use a tiny precision screwdriver to gently turn this trim setting until the flickering stops and your light remains steady at its dimmest point.
Pro Tip: If you hear a low hum coming from the light bulb itself rather than the switch, try swapping the bulb for a “dimmable LED” from a premium brand. Cheaper bulbs often lack the high-quality internal drivers required to handle the rapid electrical pulsing of a dimmer switch, and a high-quality bulb is often a much easier fix than rewiring the circuit.
If the light does not turn on at all, double-check that you have used “dimmable” bulbs. Standard non-dimmable LEDs will not work with a dimmer switch and may even cause the dimmer to shut itself off as a safety precaution to prevent damage.