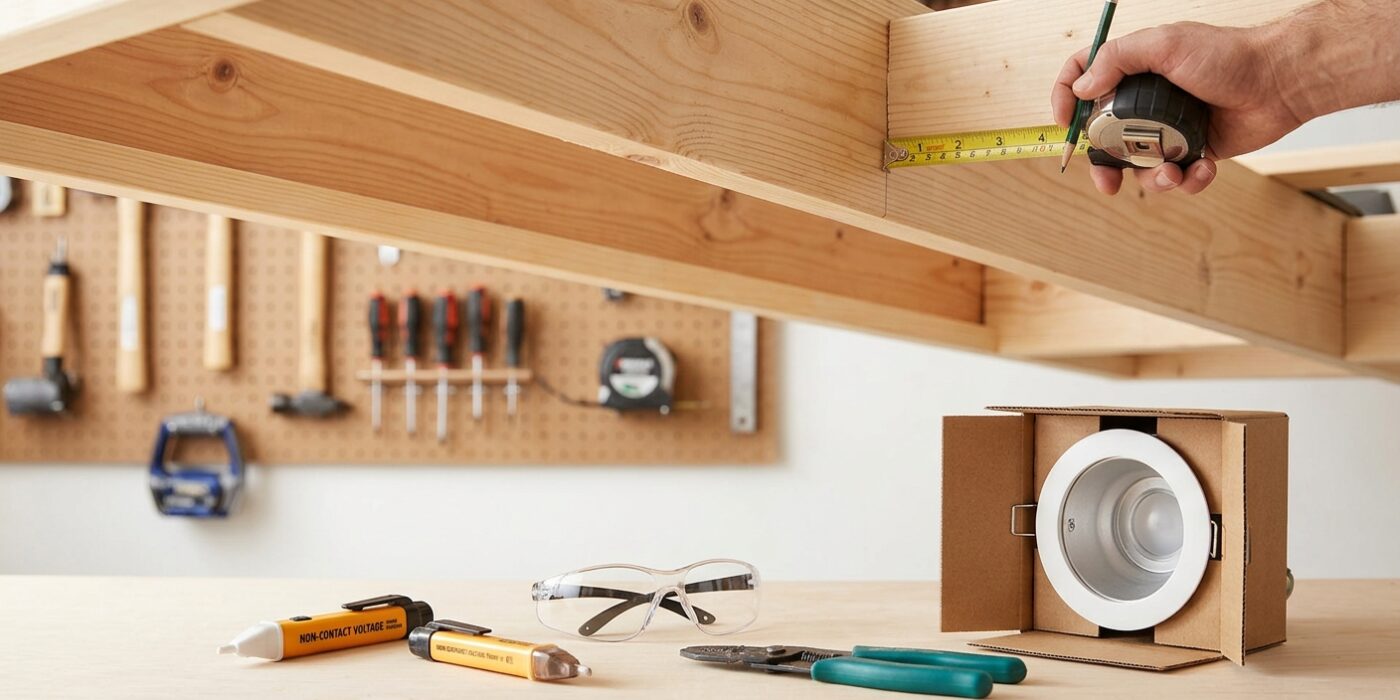
Project Shopping List
Recessed lighting – can lights – gives a space a clean, professional look and dramatically improves lighting quality in rooms that have relied on a single ceiling fixture. Installing recessed lighting in an existing finished ceiling is an intermediate project requiring attic access (or working with remodel cans designed to install from below), basic electrical knowledge, and a plan for routing wires between fixtures and to the switch.
This guide covers installing recessed LED can lights in a new or renovation installation, specifically the remodel (retrofit) style that doesn’t require attic access for each fixture – the most practical approach for finished ceilings.
What You’ll Need
Tools
- Non-contact voltage tester
- Drywall hole saw (4-inch for most recessed lights) or jab saw
- Drill and bits
- Fish tape and stiff wire
- Wire stripper
- Screwdrivers
- Stud finder
Materials
- Recessed LED lights – remodel (retrofit) style with integral LED, IC rated if ceiling has insulation above
- NM-B 14/2 or 12/2 cable
- Electrical cable staples
- Wire nuts
Step 1: Plan the Layout

Before you make your first hole, you need a solid game plan. Recessed lighting provides the best glow when evenly distributed. A good rule of thumb is to place your lights four feet away from the walls and four feet apart from each other. In a standard 12×12 room, this creates a clean grid that eliminates dark corners and harsh shadows.
Start by using painter’s tape to mark your spots on the ceiling. Once marked, grab your stud finder. It is vital to scan each spot to ensure you aren’t about to cut directly into a ceiling joist (the wooden beams supporting your floor or roof). If you find a joist, don’t worry! You can safely shift your light up to two inches in any direction without ruining the look of your grid. If you have insulation in your attic, always double-check that your chosen light fixtures are labeled “IC-rated,” which means they are safe to be in direct contact with that material.
Beginner Tip: Avoid the mistake of “eyeballing” your layout. Use a tape measure and a straight edge to ensure your grid is perfectly square. A light that is even an inch off-center will be glaringly obvious once the others are installed, so take the time to measure twice before you tape.
Pro Tip: Use a laser level if you can borrow one. By mounting it in the center of the room, you can project a perfectly straight crosshair onto the ceiling, ensuring every single light is aligned with millimeter precision.
Step 2: Choose IC or Non-IC Fixtures
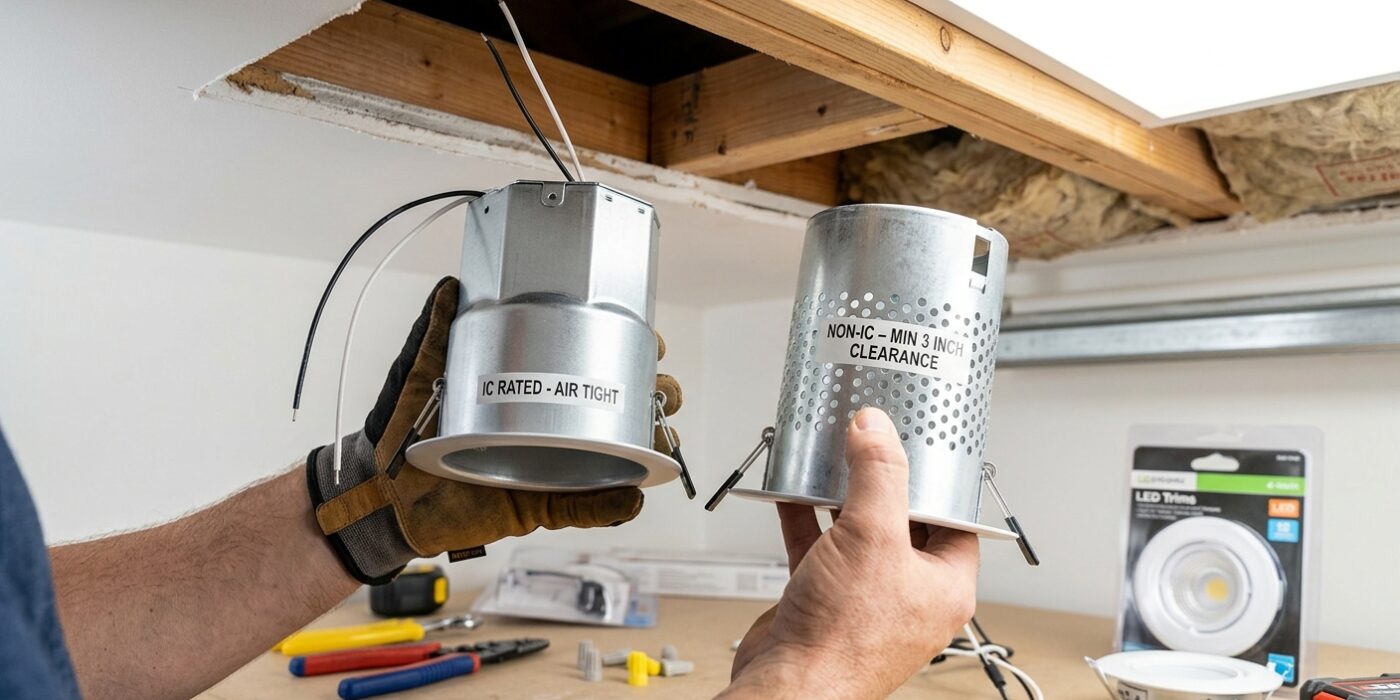
Before you buy your lights, you need to peek into your ceiling. If you are working on the top floor of your home and there is fiberglass or blown-in insulation in the attic above, you are required by electrical code to use IC-rated (Insulation Contact) fixtures. These housings are specially engineered to safely dissipate heat so they won’t ignite the surrounding material. Installing a non-IC fixture in contact with insulation creates a dangerous fire hazard.
When shopping, look for the letters “IC” printed prominently on the packaging. For most renovation projects, we recommend LED retrofit kits. These are lightweight, energy-efficient, and designed to snap directly into your ceiling cutout without needing a bulky metal housing box. They are widely available at any hardware store and are the gold standard for modern DIY installations.
Beginner Tip: Don’t guess about the insulation. If you aren’t sure what is behind your drywall, cut your hole first, then use a flashlight or your phone camera to look inside the ceiling cavity. If you see fluffy material or paper backing, stop and swap your fixtures for IC-rated versions before continuing.
Pro Tip: If your attic has deep, loose-fill insulation, install “recessed light covers” or “draft stops” over the fixtures. These simple, inexpensive plastic domes act as a barrier that prevents loose insulation from shifting against the light, keeping your ceiling cleaner and your thermal seal airtight.
Step 3: Cut the Holes and Run Wire
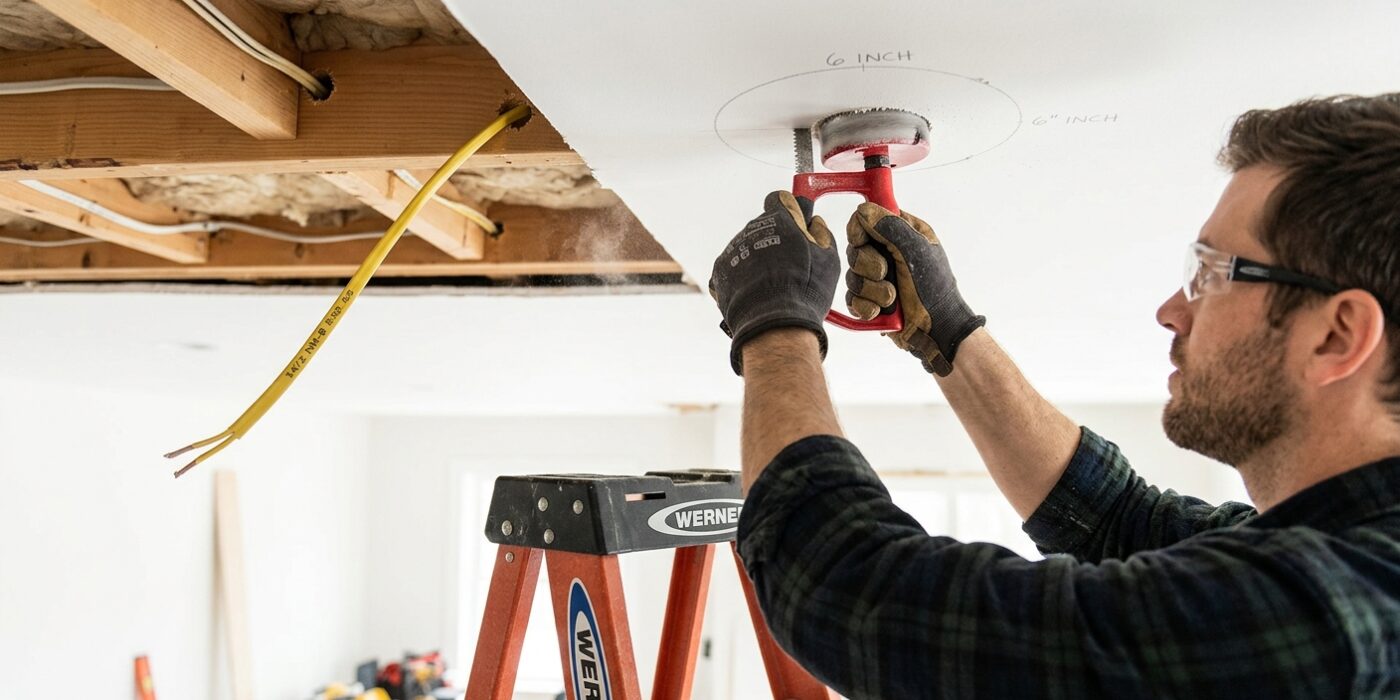
Now that your locations are marked, it is time to create the openings for your lights. Using a 4-inch hole saw attachment on your drill is the cleanest way to do this. Keep your drill perfectly perpendicular to the ceiling to ensure the hole edges are smooth, which helps the light trim sit flush later. If your ceiling is made of thick drywall or plaster, apply steady, light pressure to avoid overheating the blade.
Once the holes are cut, you need to connect them. Think of this like threading a needle: feed your flat metal fish tape into the first hole and guide it toward the next opening. Once it emerges, attach your electrical cable to the end of the tape using high-quality electrical tape, making the connection as slim as possible. Gently pull the cable through the ceiling cavity. This “daisy-chain” method ensures power travels from your switch to the first light, then continues sequentially to the others. Secure the wire to wooden joists with cable staples whenever you have access to an attic space to keep everything organized and safe.
Beginner Tip: Before you start cutting, always poke a small pilot hole with a screwdriver to double-check for hidden ceiling joists. If your screwdriver hits solid wood, you will need to shift your hole location slightly to avoid a structural obstacle.
Pro Tip: When attaching your cable to the fish tape, use a minimal amount of electrical tape. A bulky, thick “knot” of tape is the most common cause of the wire getting snagged inside the ceiling, which can turn a quick pull into a frustrating afternoon.
Step 4: Connect the Source Circuit
Now that your path is clear, it is time to bring power to your lights. First, head to your main electrical panel and flip the breaker that controls your lighting circuit to the OFF position. Use your non-contact voltage tester on the wires at the source box to confirm there is zero electricity flowing. Safety is your top priority here.
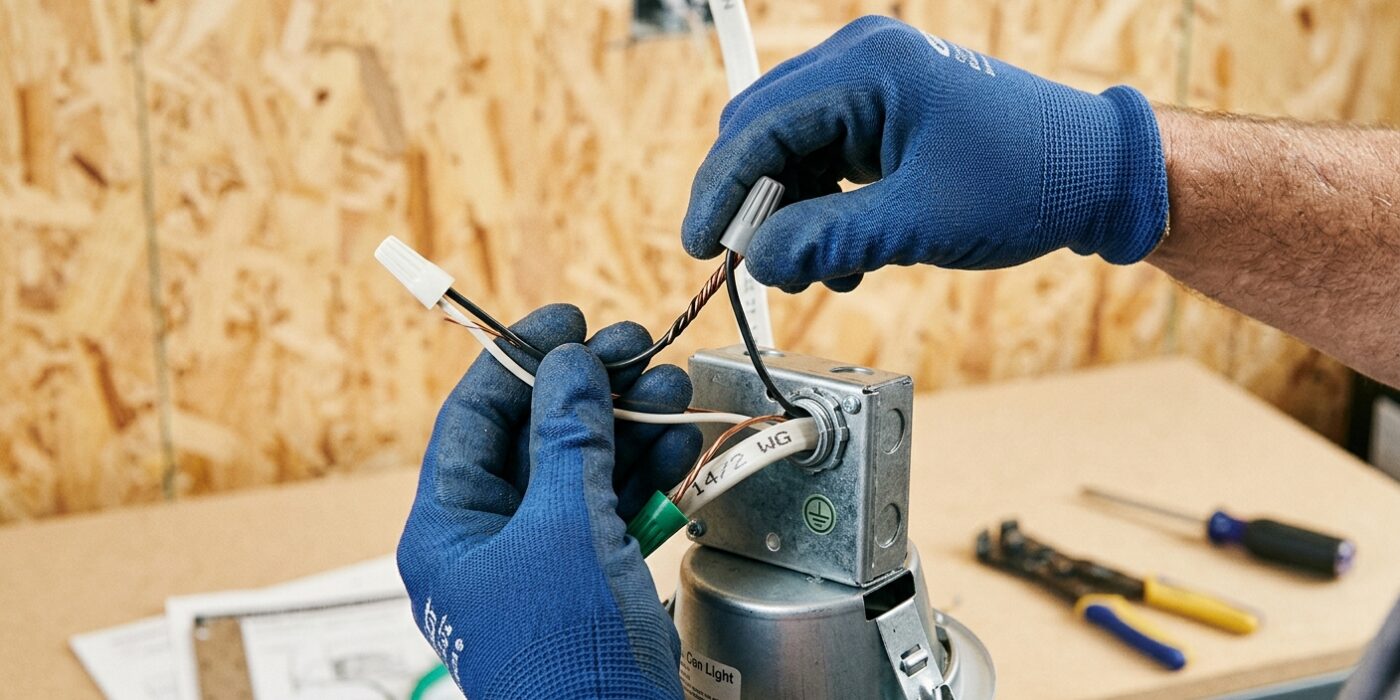
Take your fish tape – a long, flexible steel wire – and feed it through the hole in your ceiling until it reaches your source junction box. Attach the end of your new electrical cable to the fish tape loop using electrical tape, making sure it is narrow and secure so it does not snag inside the joists. Pull the tape back until your cable appears at the fixture hole. At the source, strip about 3/4-inch of insulation off the ends of the wires. Join the black (hot) wires together, white (neutral) together, and copper (ground) to ground using wire nuts. Twist them clockwise until they feel snug and cannot be pulled apart.
Beginner Tip: A common mistake is leaving too much exposed copper wire outside the wire nut. Ensure the plastic insulation on your wires goes all the way into the wire nut, with no bare metal visible outside of it to prevent accidental shorts.
Pro Tip: If your fish tape is getting stuck on wooden joists, have a partner gently tap on the ceiling near where you think the tape is snagging. The vibration often helps the tip slide right over the edge of the wood.
Step 5: Install the Remodel Fixtures

Now that your holes are cut and the wiring is routed, it is time to bring your lights to life. Each remodel fixture comes with a small junction box attached. Open this box and use wire nuts to connect the copper wires from your ceiling to the matching colors on the fixture: black to black (hot), white to white (neutral), and bare or green to green (ground). If you are daisy-chaining multiple lights, connect the outgoing cable to these same terminals. Ensure no bare wire is visible outside the wire nut. Once connected, tuck these wires neatly into the junction box and snap the cover shut.
To mount the light, locate the spring-loaded clips on the sides of the housing. Squeeze these clips upward against the fixture housing and hold them firmly. Carefully slide the fixture into the ceiling hole. Once the housing is flush with the drywall, release the clips. They will snap open on the backside of the ceiling, creating a secure, pressure-fit grip that keeps your light snug and level.
Beginner Tip: Before you squeeze the clips, double-check that no wires are hanging outside the hole. It is easy to accidentally pinch a wire between the housing and the drywall, which can cause a short circuit or prevent the light from sitting flush.
Pro Tip: If the clips feel stiff or difficult to handle, use a piece of painter’s tape to hold them in the “up” position before inserting the light. Once the housing is halfway in the hole, reach in and pull the tape off, allowing the clips to snap perfectly into place without pinching your fingers.
Step 6: Connect Switch and Restore Power
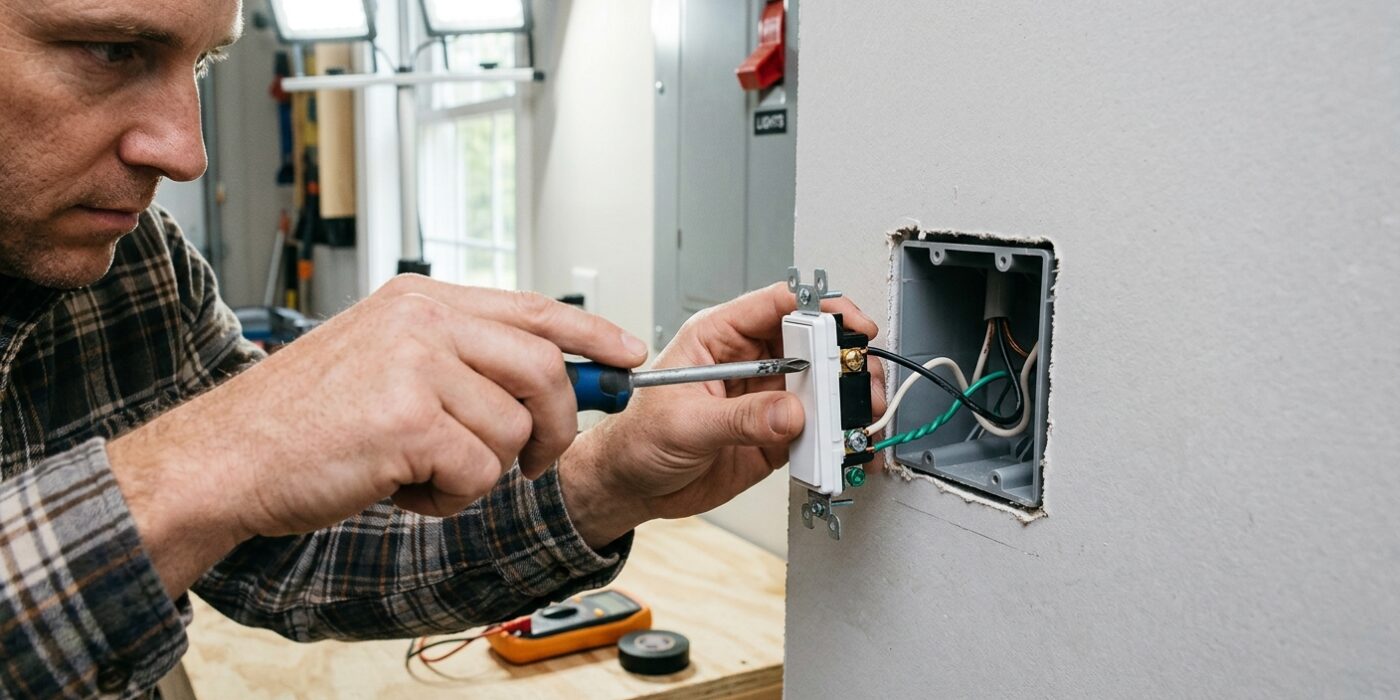
Now that your wiring is routed through the ceiling, it is time to bring your lights to life. First, connect your electrical cable to the switch. In a standard single-pole setup, connect the black (hot) wires to the brass screws on your switch and the bare copper (ground) wire to the green grounding screw. Secure all connections inside the electrical box using wire nuts, ensuring no bare copper is visible outside the connector. Gently fold the wires back into the box and screw the switch into place.
Before flipping the breaker back on, double-check that all fixture connections are securely snapped together. Once power is restored at your main panel, turn on your switch to verify that every light illuminates. If any fixture fails to turn on, double-check the wire nut connections at that specific light. Finally, slide the trim rings upward until they sit perfectly flush against the ceiling for a clean, professional finish.
Beginner Tip: The most common mistake is failing to verify the power is off before starting. Always use a non-contact voltage tester on your wires before touching them, even if you are certain the breaker is flipped. It is a quick two-second safety check that prevents accidental shocks.
Pro Tip: If your lights have a color temperature switch, set them all to the same Kelvin rating (usually 3000K for warm or 4000K for bright white) before you push the trim rings flush against the ceiling. It saves you from having to pull the fixtures back down later if you decide the room feels too yellow or too clinical.