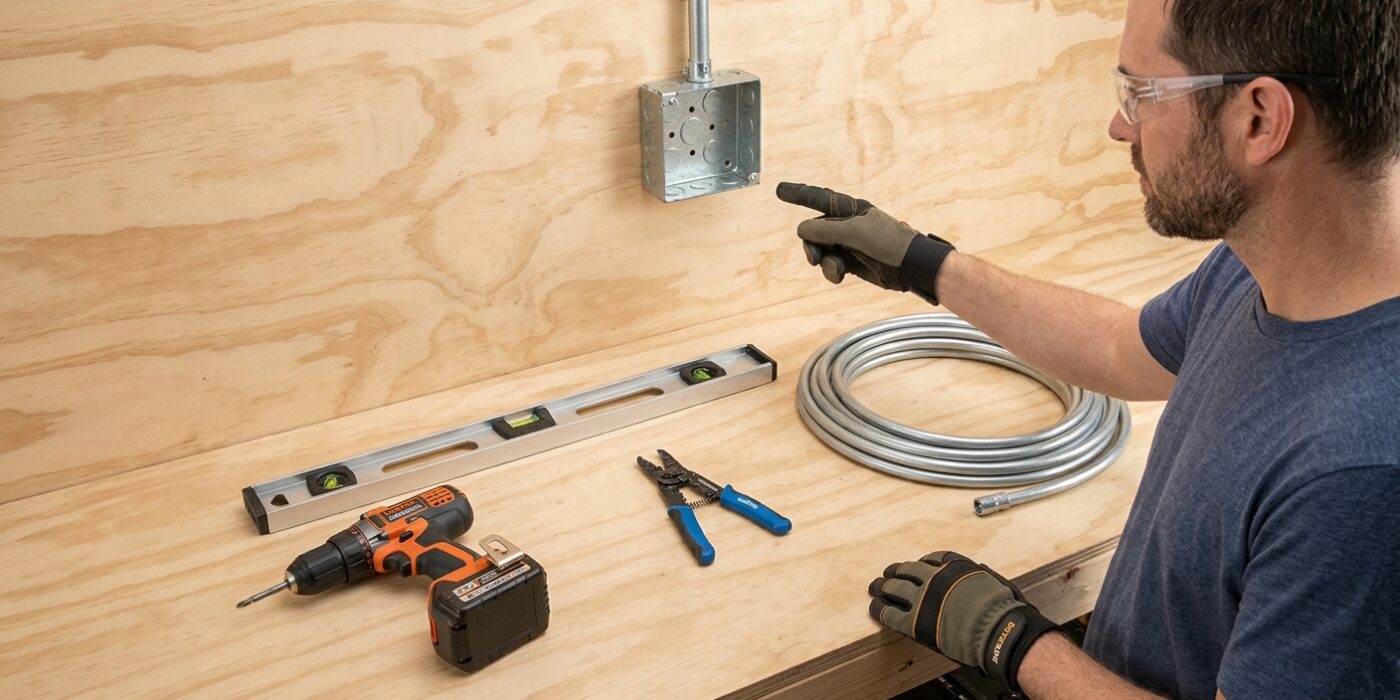
Project Shopping List
Adding an outlet to a garage using conduit is the correct and safest method for exposed electrical work in a space that sees physical activity, tools, and moisture. Surface-mounted metal or PVC conduit protects wiring from physical damage, provides a professional finish, and meets code in most jurisdictions where NM-B cable would not be permitted on exposed garage walls. This intermediate project builds real electrical skills and results in an installation that looks like professional work.
This guide covers planning the conduit run, bending and mounting EMT conduit, pulling wire, and connecting the new GFCI outlet.
What You’ll Need
Tools
- Non-contact voltage tester
- Conduit bender (EMT bender, sized for 1/2-inch conduit)
- Drill and masonry bit (if mounting to concrete)
- Hacksaw or conduit cutter
- Fish tape
- Screwdrivers and wire stripper
- Level
Materials
- 1/2-inch EMT conduit (10-foot sticks)
- EMT connectors and couplings
- EMT straps (one-hole or two-hole, for mounting to wall)
- Weatherproof electrical boxes (for outlets)
- GFCI outlet (required in garages by NEC)
- THWN wire – 12 AWG, 3 conductors (black, white, green) for 20A circuit
- Masonry anchors (if mounting to concrete block or poured concrete)
Step 1: Plan the Conduit Route
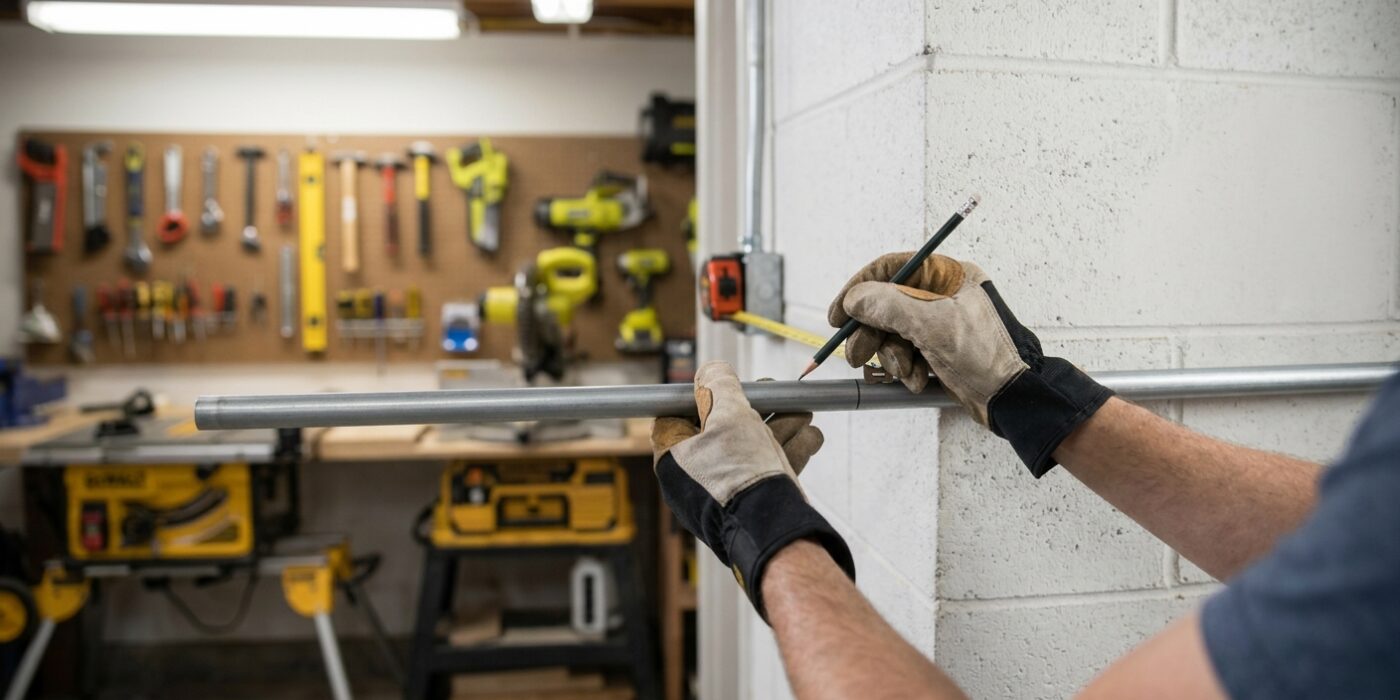
Before you make your first cut, grab a pencil, a tape measure, and a level. Your goal is to map out the path your electrical conduit will take along the garage wall. In the world of electrical work, the standard is to run conduit either perfectly horizontal or perfectly vertical. Avoid diagonal lines; they look messy and can be confusing to future homeowners trying to figure out where your wires are hidden.
Start by identifying your power source – either the main panel or an existing outlet – and mark where your new outlet box will sit. Measure the distance between these points and note where you might need to maneuver around studs, shelves, or wall obstructions. If you encounter a pipe or a structural beam, you will need to plan for “offsets” – small, Z-shaped bends in the metal tubing – to keep the conduit flush against the wall. A clean, thoughtful plan ensures you have enough materials and prevents you from wasting expensive conduit on trial-and-error bending.
Beginner Tip: A common mistake is planning a route with too many bends. Electrical code limits the total number of bends in a single run of conduit because pulling wires through tight corners is incredibly difficult. Aim to keep your path as straight as possible, with no more than four 90-degree turns between any two boxes.
Pro Tip: Use a long piece of painter’s tape to “sketch” your route directly on the wall. It is much easier to peel off and reposition a strip of tape than it is to fix a mistake once you have started drilling holes or cutting metal.
Step 2: Mount the Weatherproof Outlet Box
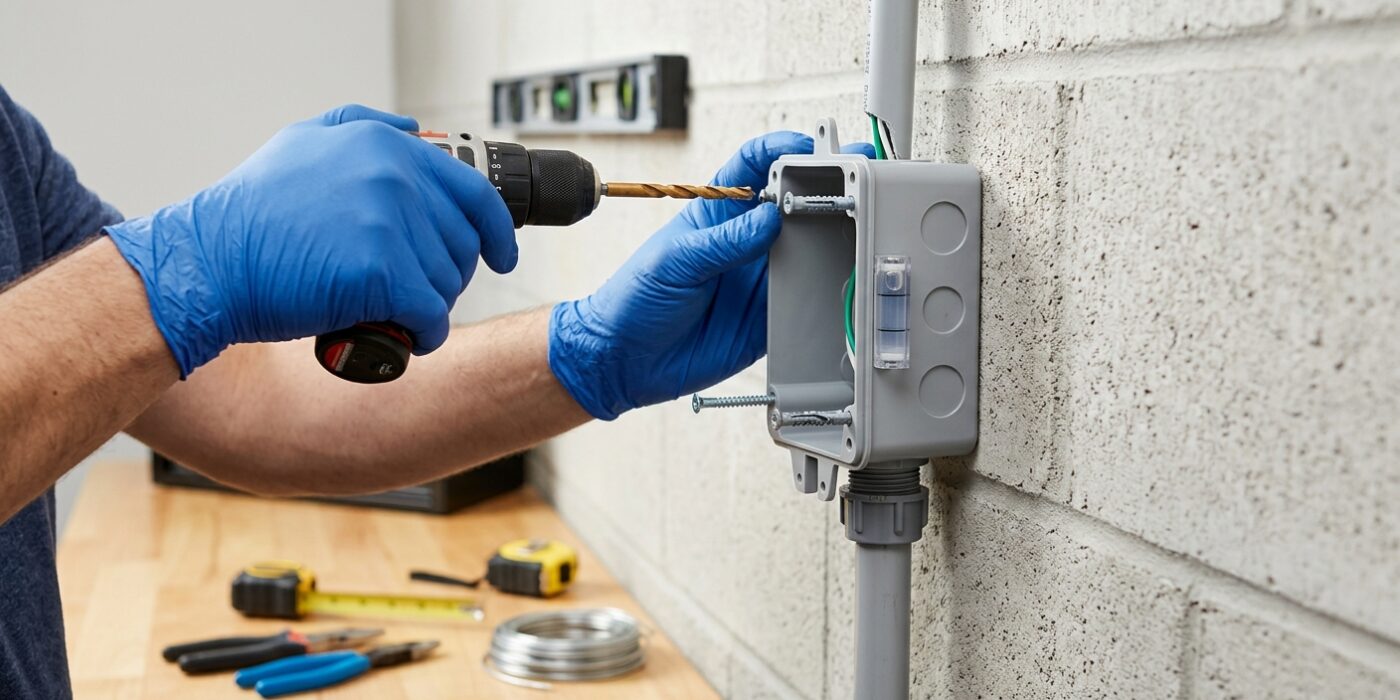
Now that you have your plan, it is time to attach your outlet box to the wall. In a garage, durability is key. Place your weatherproof metal box against the wall at your desired height – standard residential code usually requires outlets to be at least 18 inches above the floor, though you may prefer them at workbench height for easier access. Use a bubble level held against the side of the box to ensure it is perfectly plumb. Keeping the box level is not just about aesthetics; it ensures that your conduit piping will run straight and stress-free, which keeps your electrical connections secure inside the box.
If you are mounting to concrete or brick, use a masonry drill bit to create pilot holes, then insert plastic or lead anchors before driving your screws in. Tighten the screws until the box is firm against the wall. A loose box will wiggle when you plug or unplug cords, eventually loosening the conduit fittings and creating a safety hazard.
Beginner Tip: Avoid overtightening your screws if you are drilling into concrete. If you strip the masonry anchor, the screw will spin freely and never grip the wall. Stop turning the moment you feel firm resistance to keep the anchor seated securely.
Pro Tip: Before you finalize the screws, place a piece of blue painter’s tape on the wall to mark the exact perimeter of the box. This gives you a clear visual guide, so if the box shifts slightly while you are drilling, you can immediately realign it to your marks.
Step 3: Bend and Install EMT Conduit
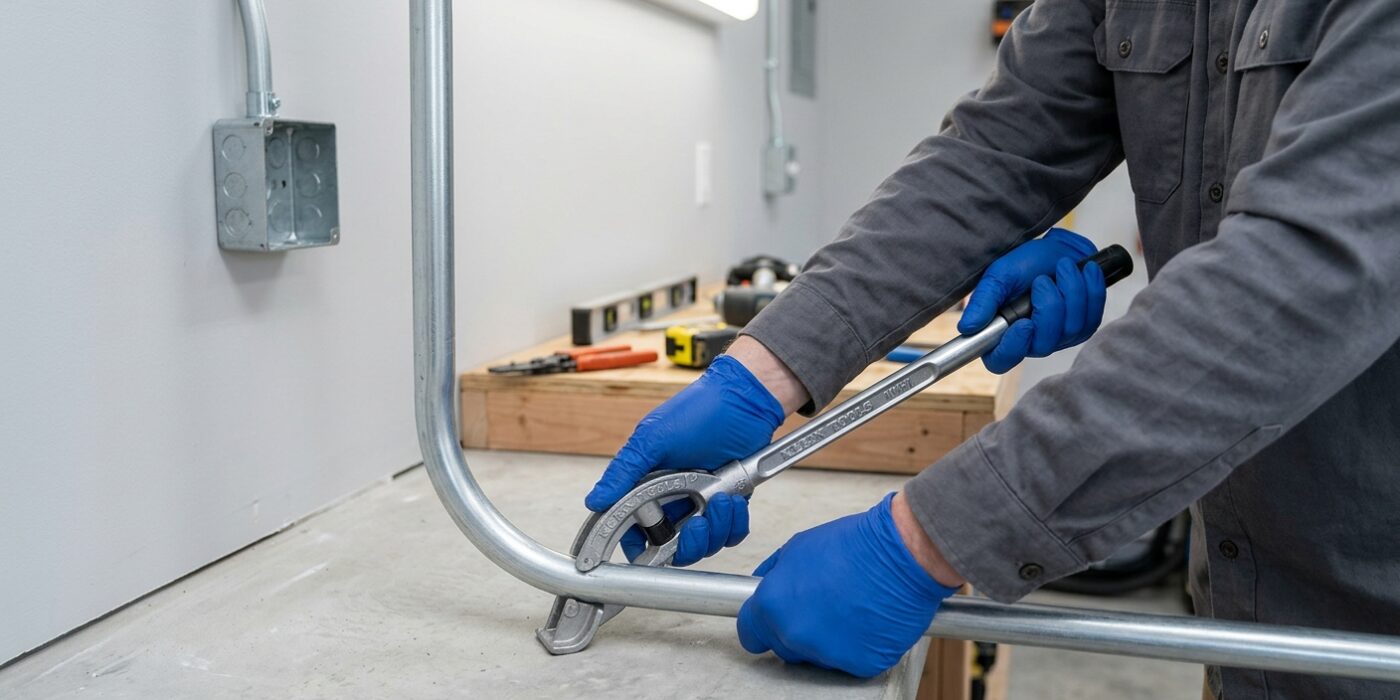
Bending EMT conduit is a rewarding skill that gives your garage a professional, clean look while protecting your wires. To create a 90-degree bend, known as a “stub-up,” place the conduit on the floor and align the arrow mark on your bender with your measured starting point. Apply firm, steady pressure with your foot on the bender’s heel while pulling the handle back until the conduit reaches the 90-degree mark. Once bent, cut your conduit to the desired length using a hacksaw. Crucially, use a file or the reamer on your bender to remove sharp metal burrs from the cut ends; these edges can slice through your wire insulation later. Once smooth, slide the conduit into your metal connectors, tighten the set screws, and thread the assembly into your electrical box knockouts.
Beginner Tip: The most common mistake is failing to apply enough “foot pressure” on the bender. If you do not push down firmly on the heel of the bender while pulling the handle, the conduit may kink or slip, ruining the piece. Keep your weight centered and stay consistent.
Alternative Method: If you are nervous about bending conduit, you can purchase pre-bent 90-degree elbows. Simply measure your runs, cut straight sections to fit between the elbows, and join them using standard couplings. This eliminates the need for a bender entirely while still providing a code-compliant, rugged installation.
Pro Tip: Before making your final bend, draw a straight line along the length of your conduit with a permanent marker. By keeping this line aligned with the groove on your bender, you ensure your bend stays perfectly straight and does not twist as you work.
Step 4: Pull the Wire
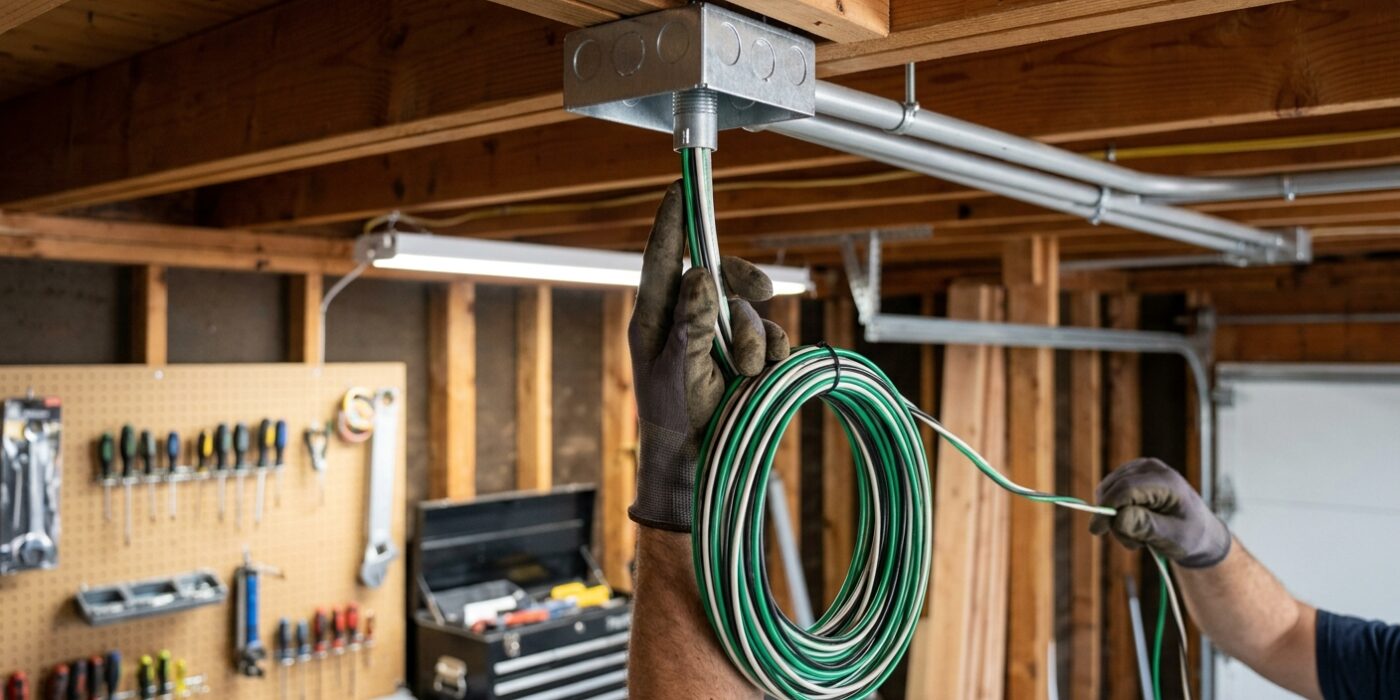
Now that your conduit is securely attached to the wall, it is time to feed your wires through. For short, straight runs under 30 feet, you can typically push your 12 AWG THWN wire directly through the conduit by hand. Because this wire is relatively stiff, it acts like a rigid rod. For longer distances or runs with bends, you will need to use a fish tape: feed the empty steel tape through the conduit until it exits the other end, hook your three wires (black, white, and green) securely to the eyelet using electrical tape, and gently pull them back through.
When navigating multiple 90-degree bends, apply a generous amount of wire-pulling lubricant to the conductors. This slick gel reduces friction, ensuring the wire slides smoothly without damaging the protective plastic insulation. Always pull all three wires at the same time to prevent them from tangling or binding inside the pipe.
Beginner Tip: Avoid the mistake of pushing too hard if you feel resistance. If the wire stops moving, stop pushing immediately! Forcing it can strip the insulation or create a kink inside the conduit that is nearly impossible to fix. If it gets stuck, pull it back a few inches, twist the wire, and try again gently.
Pro Tip: Before you begin, straighten your wires out on the garage floor so they lay flat. Kinks and coils in the wire spool will cause them to snag inside the conduit, making your job much harder than it needs to be.
Step 5: Connect the GFCI Outlet
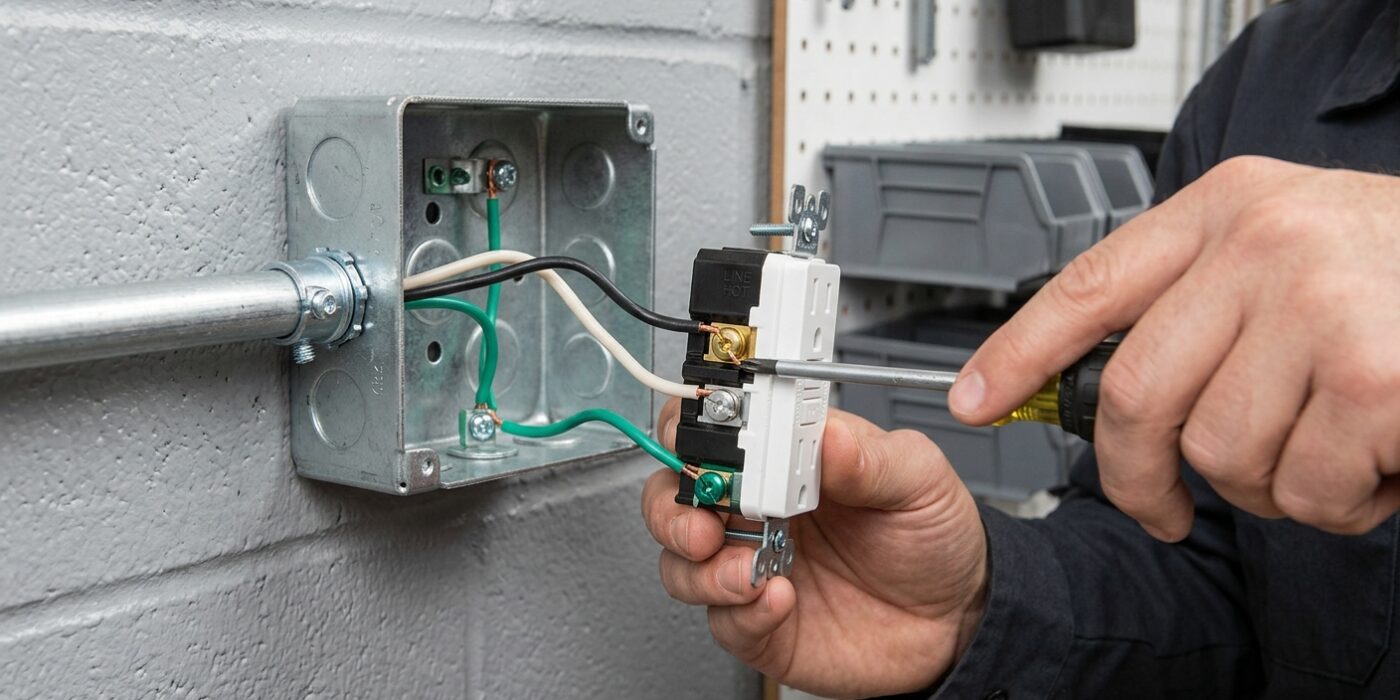
Because safety is our top priority, all garage outlets must be GFCI-protected to prevent electrical shocks in damp environments. To begin, strip exactly 3/4-inch of insulation from your wire ends using a wire stripper. Using your needle-nose pliers, form each wire into a small “U” shape – this makes it much easier to hook them securely around the screws.
Locate the side of the GFCI outlet labeled “LINE.” This is critical because the “LOAD” terminals are for additional outlets, not your incoming power. Wrap your black (hot) wire clockwise around the brass screw, the white (neutral) wire around the silver screw, and the green or bare copper wire around the green hexagonal grounding screw. Tighten each screw firmly until the wire is snug and cannot wiggle. Gently fold the wires into the back of the box like an accordion, press the outlet into place, and secure it with the provided mounting screws. Finally, attach your weatherproof in-use cover to keep moisture away from your connections.
Beginner Tip: A common mistake is wrapping the wire counter-clockwise around the screw. Always wrap the wire clockwise so that as you tighten the screw, it pulls the wire inward, creating a stronger, tighter connection rather than pushing it out.
Pro Tip: Before you finalize the cover, take a moment to “pigtail” your ground wire. By using a short extra piece of copper wire connected to the box itself, you ensure the metal housing remains grounded, adding an extra layer of protection for your workspace.
Step 6: Connect at the Source and Test
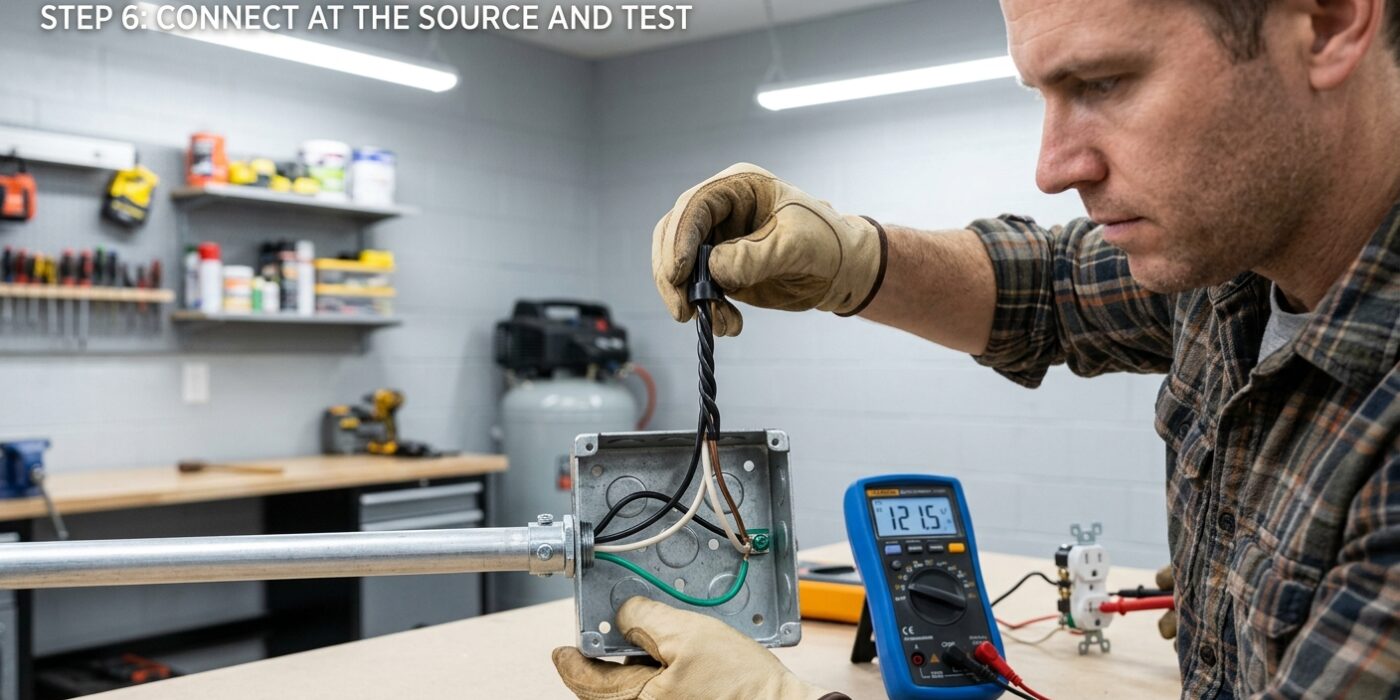
Now that your conduit is secure, it is time to make your electrical connections. First, ensure the power is completely off at your main service panel by flipping the breaker to the OFF position; verify the power is dead using a non-contact voltage tester. If you are extending from an existing outlet, carefully remove it from the box and connect your new wires to the existing wire nut connections: black to black (hot), white to white (neutral), and green or bare to the ground terminal. If you are starting from a subpanel, install a new 20A breaker and connect your wires to the appropriate terminals. Once secured, restore power at the breaker panel.
To verify your work, head to your new outlet and press the TEST button on the GFCI receptacle; the power should cut out. Then, press the RESET button to restore power. Use a simple three-prong outlet tester to confirm the lights indicate correct wiring. This final check gives you peace of mind that your home is safe and the project is a success.
Beginner Tip: A common mistake is overtightening the terminal screws. Tighten them just until they are snug and hold the wire firmly without deforming the metal loop; if the screw spins or feels loose, the connection is poor.
Pro Tip: When working with wire, use a needle-nose plier to create a “U” shape (or “hook”) on the end of the wire. Always hook the wire onto the terminal screw in a clockwise direction so that as you tighten the screw, it pulls the wire further into the connection rather than pushing it out.