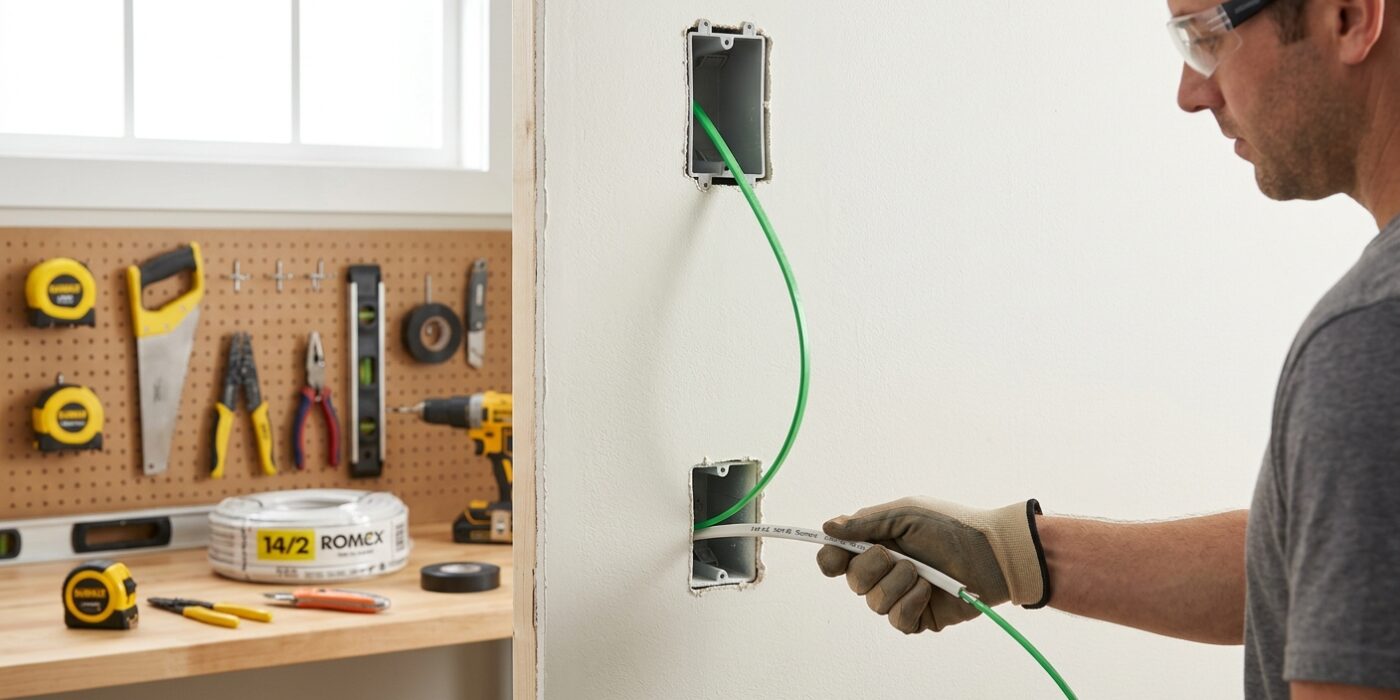
Project Shopping List
Running electrical wire through a finished wall is one of the most useful skills in residential electrical work – it enables adding outlets, switches, and fixtures without opening up walls. The challenge is navigating insulation, fireblocking, and horizontal blocking that exist in wall cavities. With the right tools and techniques, most wire runs can be made with very limited drywall cutting.
This guide covers the tools and methods for getting wire from one point to another through finished walls, including navigating top plates, sole plates, and fireblocking.
What You’ll Need
Tools
- Non-contact voltage tester
- Stud finder (electronic, with AC wire detection)
- Drill with long flex bit (18-inch, 1/2-inch diameter)
- Fish tape (25-foot minimum) or fish sticks
- Flexible drill bit extension
- Jab saw or oscillating tool (for cutting access holes)
- Wire stripper
Materials
- NM-B cable (appropriate gauge for circuit)
- Low-voltage cable staples
- Electrical boxes (old-work/remodel type – no nail-in boxes for finished walls)
- Cable plates (to protect wire through drilled holes)
Step 1: Map the Existing Wiring
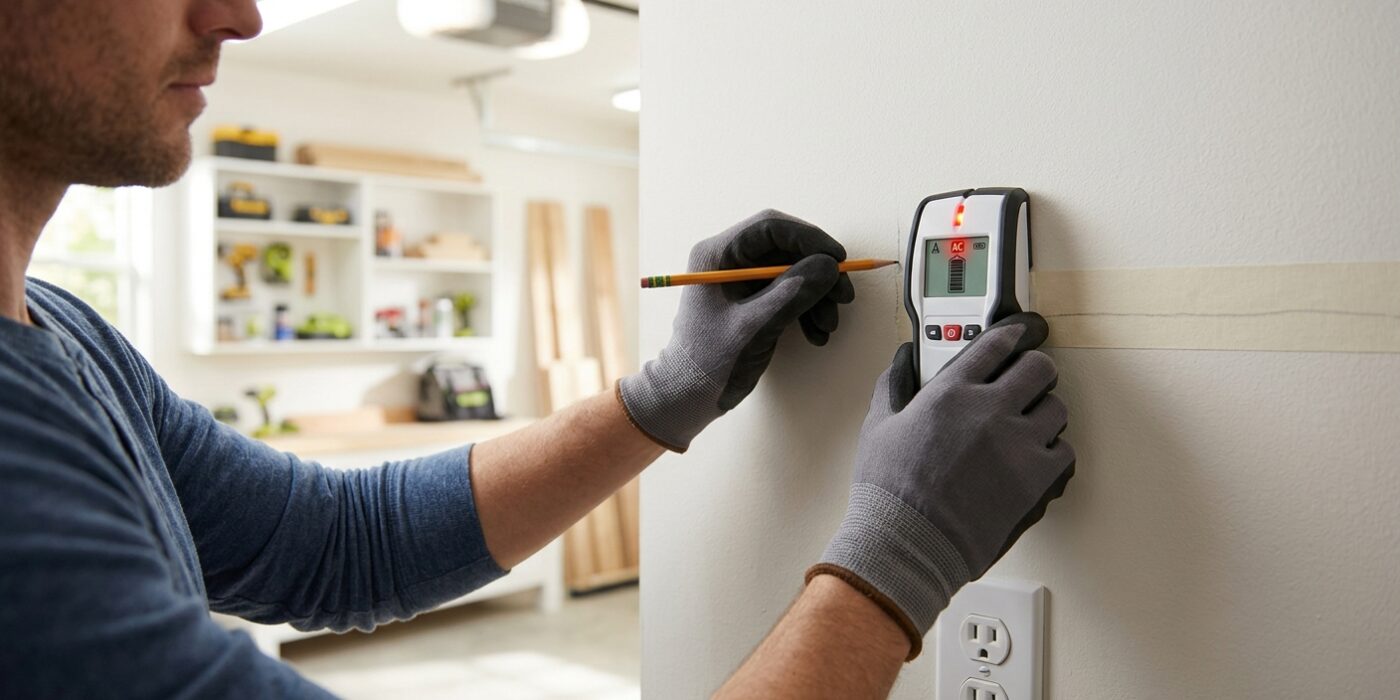
Before you make your first cut, you must map the “invisible” landscape behind your drywall. Your goal is to identify exactly where the studs are and, more importantly, ensure you aren’t drilling into hidden electrical lines. Using a stud finder with AC detection, slowly slide the device horizontally across the wall at several heights. When the device beeps or flashes to indicate an AC voltage, mark that spot with a piece of painter’s tape immediately. Next, find your wall studs; these are the vertical wooden supports spaced 16 inches apart. Mark these edges clearly with tape so you know exactly where you have clear, open space to run your wire. Identifying these hazards now protects you from accidental electrocution and saves you from damaging your home’s existing infrastructure.
Beginner Tip: A common mistake is moving the stud finder too quickly. If you sweep it across the wall like a paintbrush, the sensor won’t have enough time to calibrate correctly. Move the device slowly and steadily across the surface to ensure your markings are precise.
Alternative Method: If you don’t have a stud finder, you can often locate studs by tapping the wall with your knuckles. A hollow sound indicates empty space, while a dull, solid “thud” indicates a stud. You can also look for outlets; electrical boxes are almost always nailed directly to the side of a stud.
Pro Tip: Use a bright piece of painter’s tape to create a “no-drill zone” around any wires you detect. Since you’ll be moving around the room to plan your project, having those visual red flags will prevent you from accidentally drifting into a dangerous area once you pick up your drill.
Step 2: Plan Your Wire Route
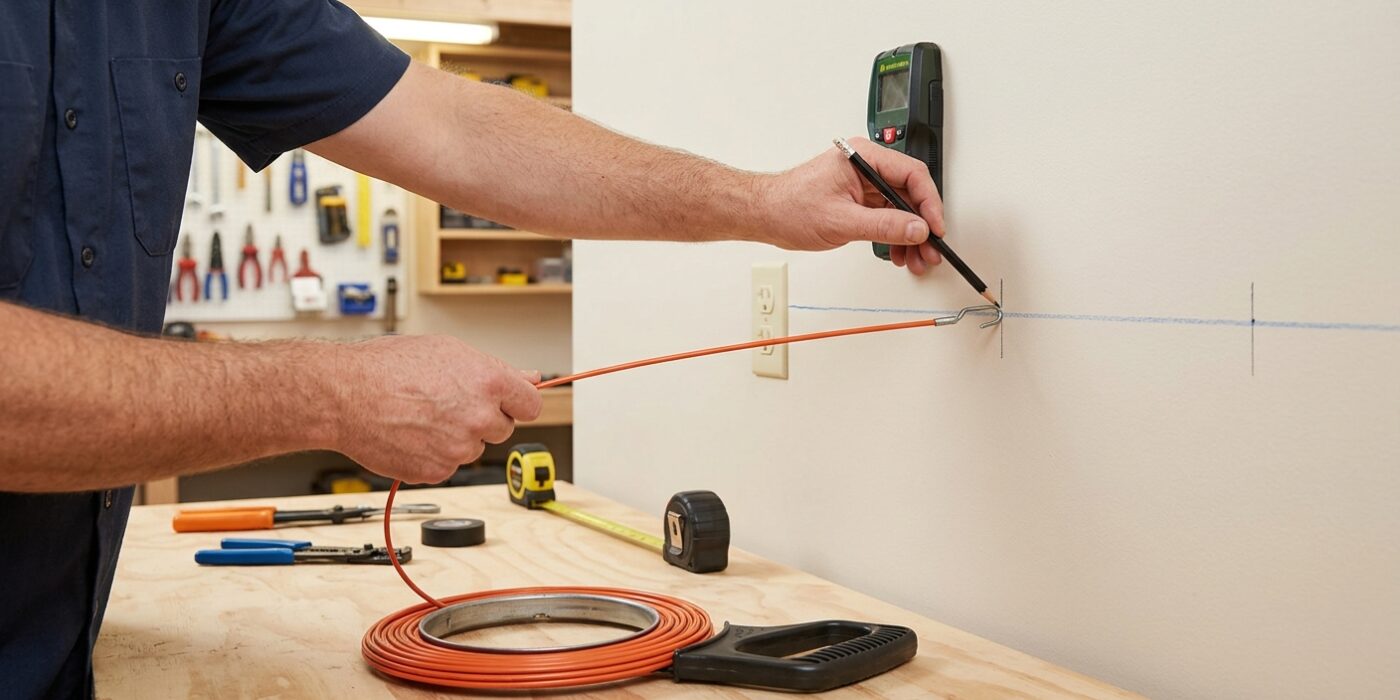
Before you make a single hole, visualize the path your wire will take. Your goal is to find the path of least resistance from your power source to your new outlet or switch. The easiest routes involve going up through the attic or down through the basement. By drilling through the top plate (the horizontal wood at the top of your wall) or the sole plate (the wood at the base of your wall), you can drop the wire directly into the wall cavity without needing to cut into the finished drywall in the middle of your room.
Avoid running wire horizontally across wall studs whenever possible. Walls are often filled with horizontal blocks called “fireblocking” placed every 8 to 10 feet. If you run horizontally, you would need to cut a hole in your drywall for every single stud you encounter, which creates a massive amount of patching work later.
Beginner Tip: Always double-check what is behind the wall before you drill. A common mistake is drilling directly into hidden plumbing pipes or existing electrical lines. Use a stud finder that features “AC detection” to scan for live wires, and gently tap on the wall – if it sounds hollow in one spot but solid in another, you might be hitting a pipe or a mounting plate.
Pro Tip: When planning your route, choose an interior wall instead of an exterior one. Exterior walls are often packed with thick insulation and house vapor barriers, making it incredibly difficult to “fish” your wire through without getting stuck or damaging the home’s weatherproofing.
Step 3: Cut Access Holes for Electrical Boxes
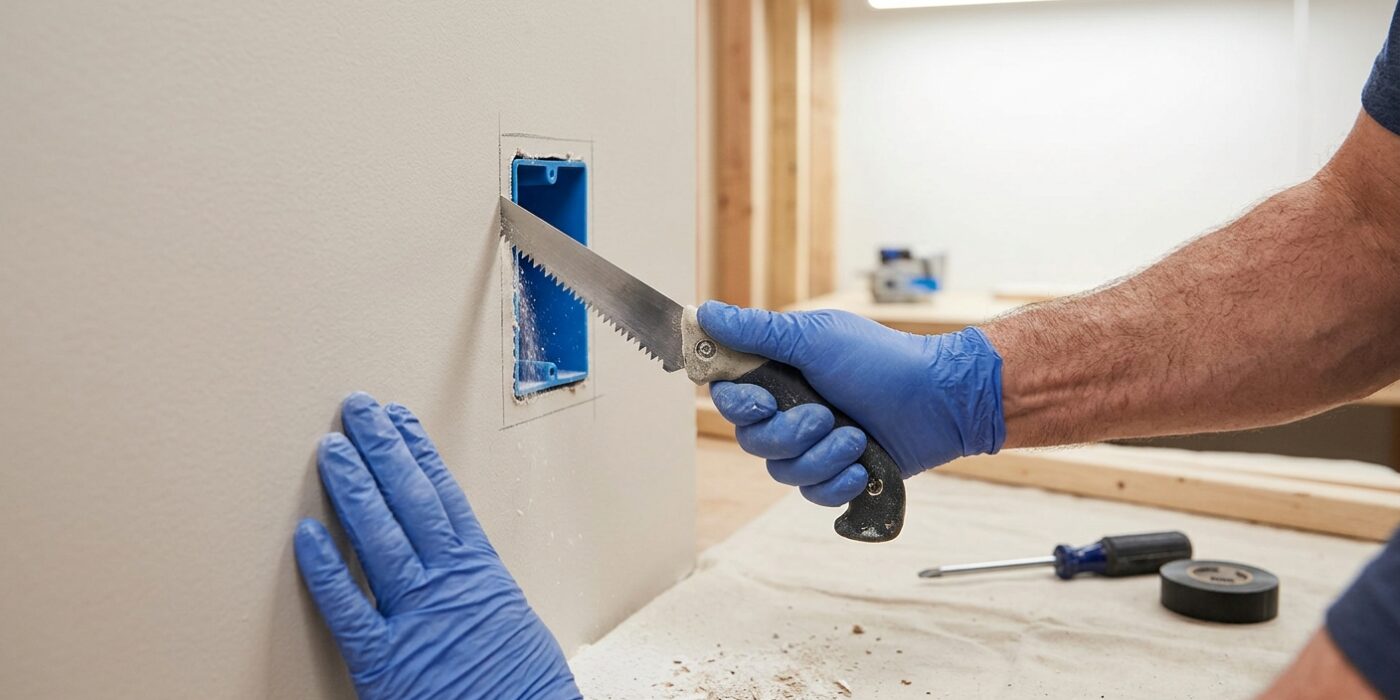
Now it is time to create the openings for your electrical boxes. Since you are working on a finished wall, you will be using “old-work” (or “cut-in”) boxes. These clever devices are designed specifically for this situation; they feature rotating wings that grip the back of your drywall, allowing you to install them without needing to drill into the wooden studs inside the wall.
First, place your box face-down on the wall at your desired height – typically 12 to 16 inches from the floor for outlets. Trace around the outside of the box with a pencil. Before you start cutting, double-check that your outline is perfectly level. Use a jab saw to carefully cut along the inside edge of your pencil lines. Take your time and keep the saw blade shallow so you do not accidentally poke any hidden wires or pipes behind the drywall.
Beginner Tip: A very common mistake is cutting the hole too large. Start by cutting slightly inside your lines; you can always shave off a little extra drywall with your saw, but you cannot add material back if the hole ends up bigger than the box flange.
Pro Tip: Before you begin cutting, use a stud finder to confirm there are no wooden studs directly behind your outline. If you hit a stud, you will have to relocate your box, as the “wings” on an old-work box require empty space behind the drywall to flip out and lock into place.
Step 4: Drill Through the Top or Bottom Plate
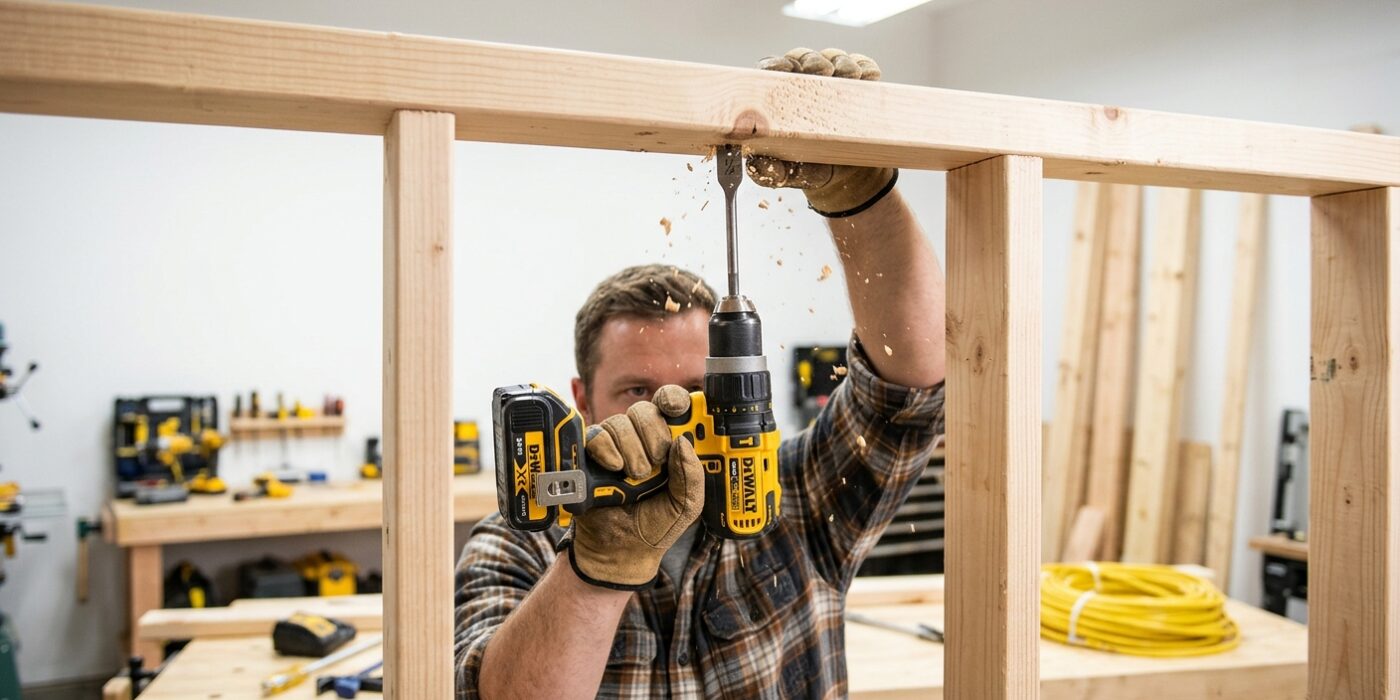
Now that you have located your target area, it is time to create the path for your wire. You will be drilling through the wood framing – known as the top plate in the attic or the bottom plate in the basement – that acts as the structural “cap” for your wall. Use a 5/8-inch flexible drill bit, which is specifically designed to bend, allowing you to drill vertically even in cramped spaces. Position your drill so that the bit enters the center of the wooden plate, angling it slightly toward the middle of the wall cavity. This ensures the bit passes through the wood and into the empty space behind your drywall, rather than hitting a stud or poking through the face of your wall.
Beginner Tip: The most common mistake is hitting a hidden nail. If your drill suddenly stops or feels like it is vibrating against metal, stop immediately! Do not force it, as you will ruin the bit. Back out, shift your position by an inch or two, and try again in a slightly different spot.
Pro Tip: To keep your hole perfectly centered, use a small piece of painter’s tape to mark the center of the plate before you begin. Additionally, if you are struggling to see where to drill in a dark attic or basement, wear a headlamp. Having both hands free to steady your drill makes the job much safer and more precise.
Step 5: Fish the Wire
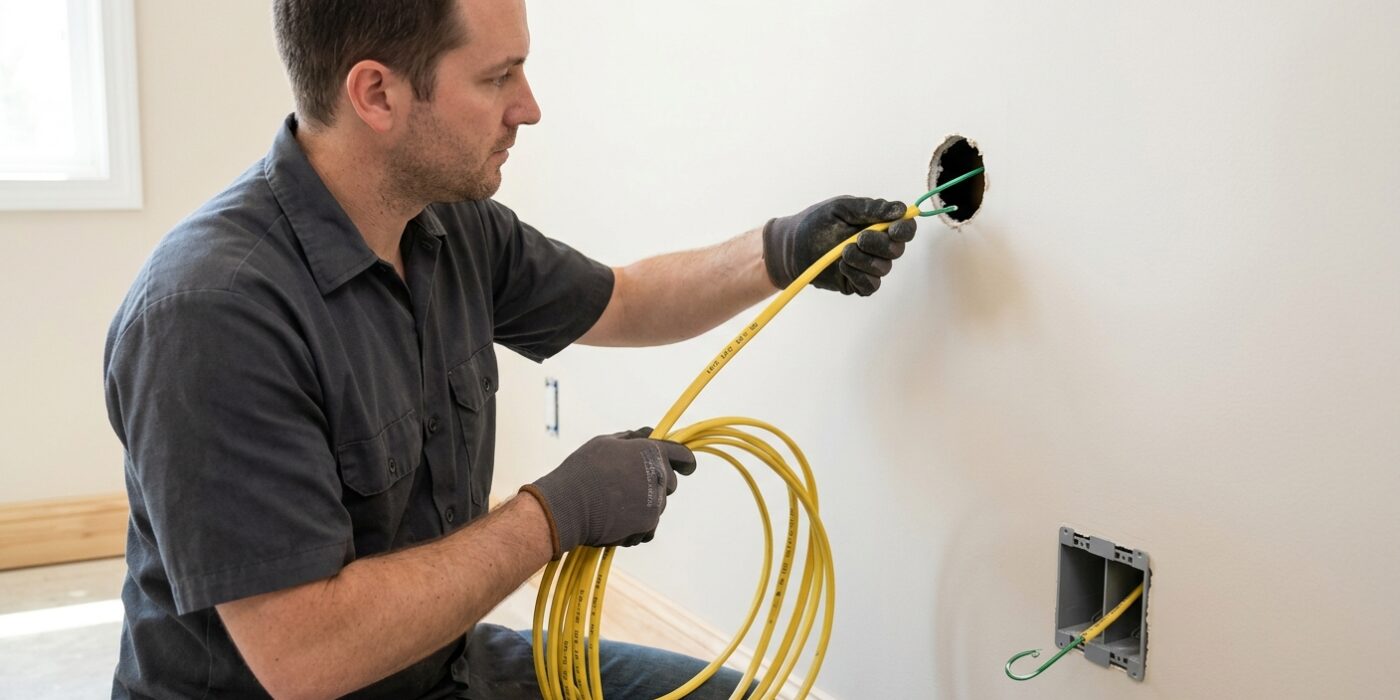
Now it is time to “fish” your wire – the professional term for snaking cable through the dark, hidden space inside your wall. If you are starting from the basement or attic, carefully feed the metal fish tape into the hole you drilled in the top or bottom plate. Keep pushing until you hear it hit the bottom of the wall cavity or see it appear through the electrical box opening. Once you make contact, secure your electrical cable to the loop at the end of the tape using high-quality electrical tape. Wrap it tightly in a tapered shape so it slides smoothly without snagging on wood splinters. Pull the fish tape back through the wall slowly and steadily, keeping tension on the cable so it follows the path without bunching up.
Beginner Tip: Do not try to pull the wire through too fast. If the cable feels stuck, stop immediately! Yanking hard can strip the wire insulation or pull your cable off the fish tape entirely, forcing you to start the whole process over. If it catches, gently jiggle the tape to navigate past internal obstacles like insulation or drywall screws.
Alternative Method: If you do not have a fish tape, use a heavy metal nut tied to a long piece of durable nylon string. Drop the weighted string down through the hole in the attic plate, let gravity carry it to your box cutout, and then use a stiff piece of bent coat hanger wire to “fish” the string out through the hole.
Pro Tip: Apply a small amount of wire-pulling lubricant to the tip of your electrical cable before you begin. This significantly reduces friction against internal studs, making the pull feel effortless even over long distances.
Step 6: Secure and Connect
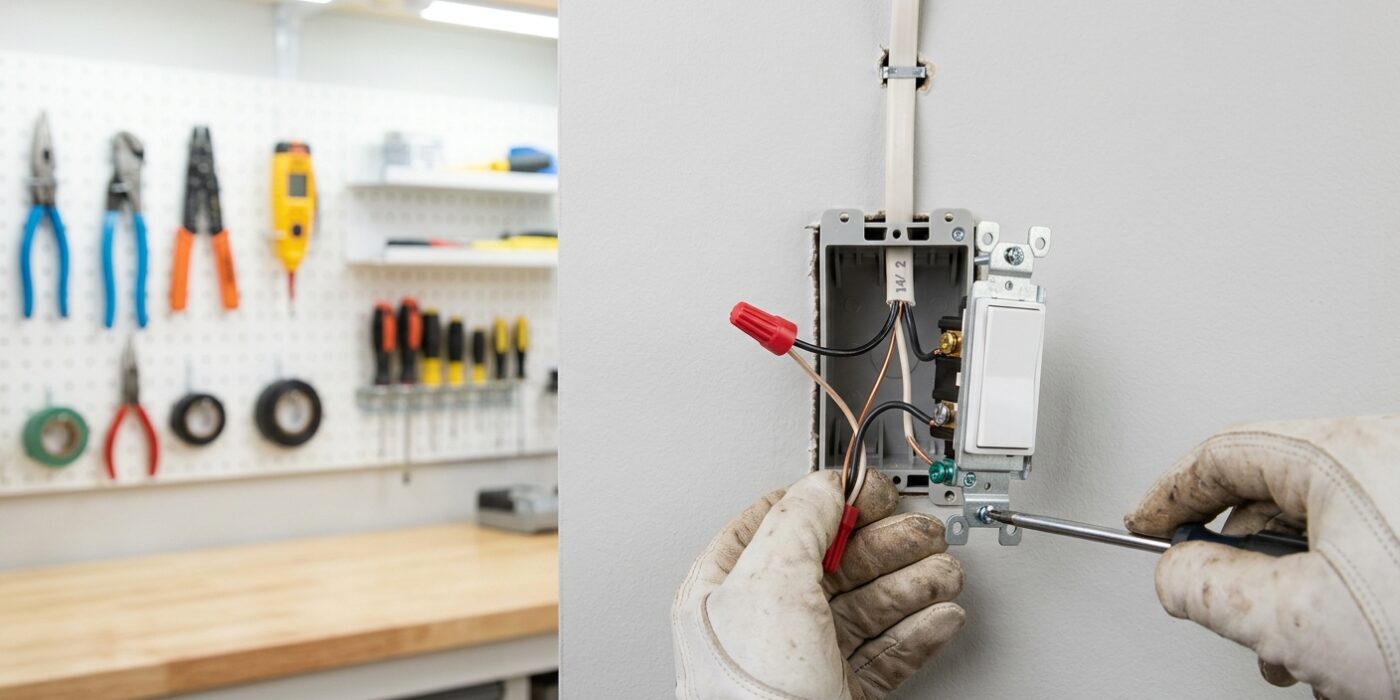
Now that your wire is successfully fished through the wall, it is time to make everything permanent and safe. Start by pulling 6 to 8 inches of cable into each box. This extra length, often called a “service loop,” is vital because it gives you enough slack to strip the wires and make your connections comfortably without fighting against the wall.
Next, secure the cable. If you have access to the studs (such as in an attic or basement), drive plastic-insulated staples to hold the wire firmly against the wood. If your drill holes are within 1-1/4 inches of the front of the stud, you must hammer a metal “nail plate” over the hole. These act as shields, preventing future drywall screws or pictures from piercing your wire. Finally, complete your electrical connections inside the boxes per your specific fixture or outlet instructions, ensuring every connection is tight and secure.
Beginner Tip: A common mistake is stripping the outer plastic sheath of the wire too far back. Only strip the outer jacket until you are about 1/2 inch inside the box. If you strip too much, you leave the fragile individual colored wires exposed to damage where they enter the box.
Pro Tip: When working with multiple wires in a box, use your needle-nose pliers to gently bend the wires in a “concertina” fold or a neat loop. This makes it significantly easier to tuck the wires behind the device without snapping them when you push the outlet back into the wall.