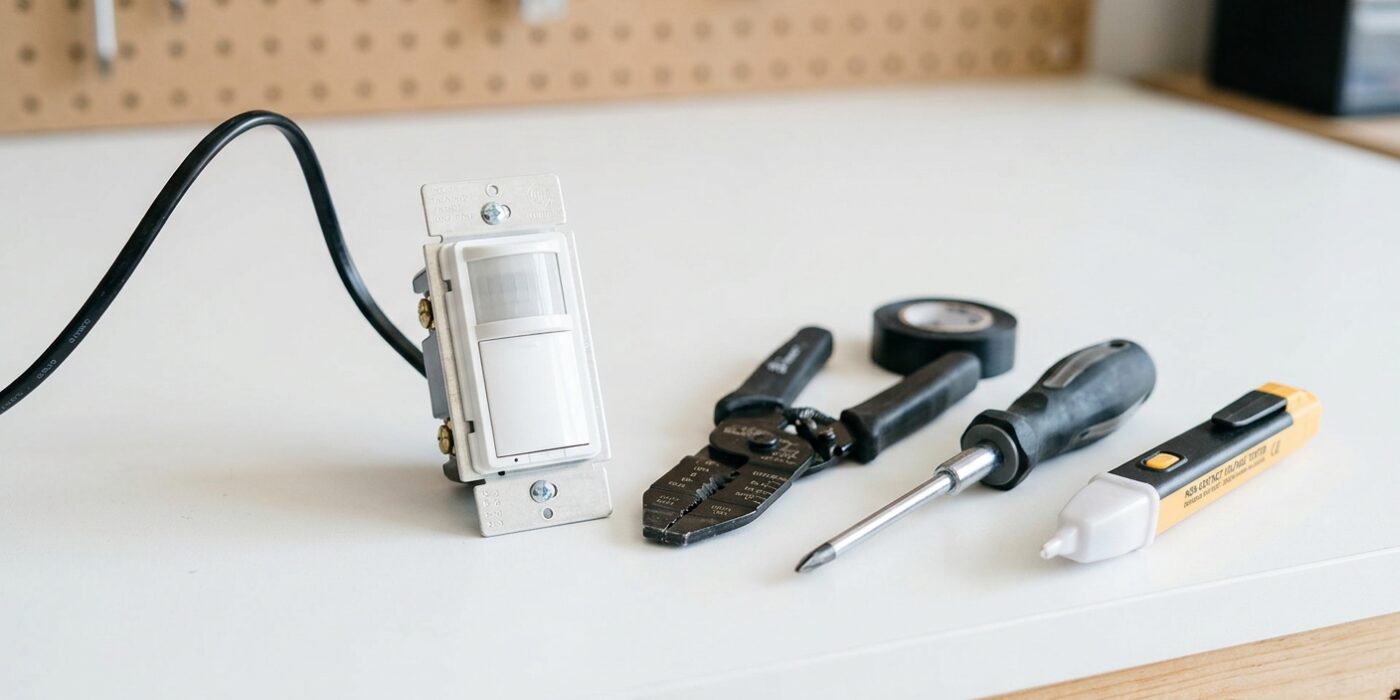
Project Shopping List
A motion-sensor light switch turns lights on automatically when you enter a room and off after a set delay when no motion is detected – perfect for closets, laundry rooms, bathrooms, garages, and kids’ rooms where lights are routinely left on. Installation is nearly identical to a standard light switch replacement, with the addition of a neutral wire connection on most motion switches (though no-neutral models exist for switch loops).
This guide covers installing an occupancy or vacancy sensor switch in place of a standard single-pole switch, including the very common situation where the existing switch box has or doesn’t have a neutral wire.
What You’ll Need
Tools
- Non-contact voltage tester
- Phillips and flathead screwdrivers
- Wire stripper
Materials
- Motion sensor switch (occupancy sensor – auto-on/auto-off, or vacancy sensor – manual-on/auto-off)
- Wire nuts (usually included)
Step 1: Choose Between Occupancy and Vacancy Sensors
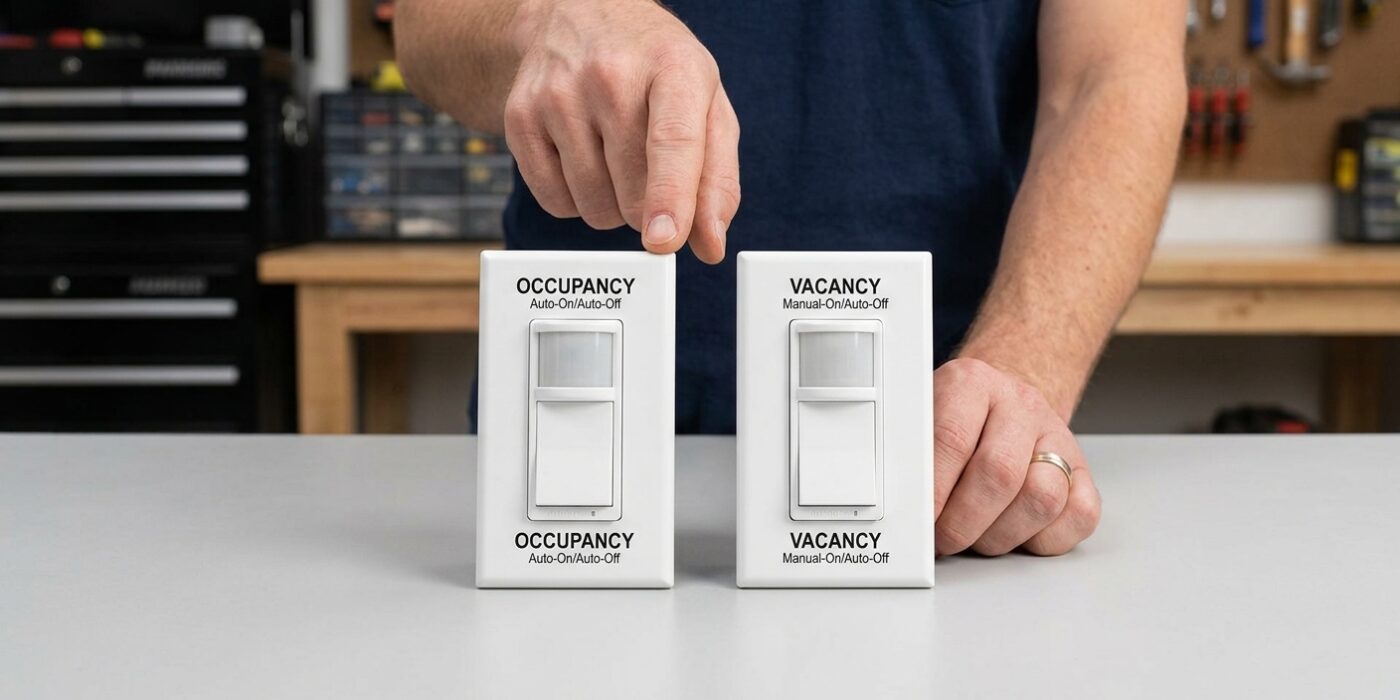
Before you dive into the electrical work, take a moment to decide how you want your room to behave. You are choosing between two sensor modes: Occupancy (fully automatic) and Vacancy (manual-on, automatic-off). An occupancy sensor uses infrared technology to detect movement within a 180-degree field of view, triggering the light the moment you step into the room. This is perfect for storage areas or basements where you might have your hands full. Conversely, a vacancy sensor requires you to physically press the switch to turn it on, but it will dutifully cut the power once you leave.
Most modern switches have a tiny “Mode” toggle on the side or under the faceplate. Simply move the slider to your preferred setting before you secure the device into the wall. If you aren’t sure, start with the vacancy setting; it is generally more energy-efficient and prevents those startling midnight light flashes in bathrooms or bedrooms.
Beginner Tip: Do not over-tighten the tiny mode-selector switch. These components are delicate, and using a bulky screwdriver can easily snap the plastic mechanism. Use a small precision screwdriver or even a sturdy toothpick to gently slide the switch into place.
Pro Tip: To get the best performance, check your sensor’s “time-out” setting once it is installed. Most units come pre-set to stay on for five minutes, but you can usually adjust this to 1, 5, 15, or 30 minutes. Set it to 15 minutes for living spaces to ensure the lights don’t cut out while you are reading or sitting still.
Step 2: Determine Neutral Wire Availability
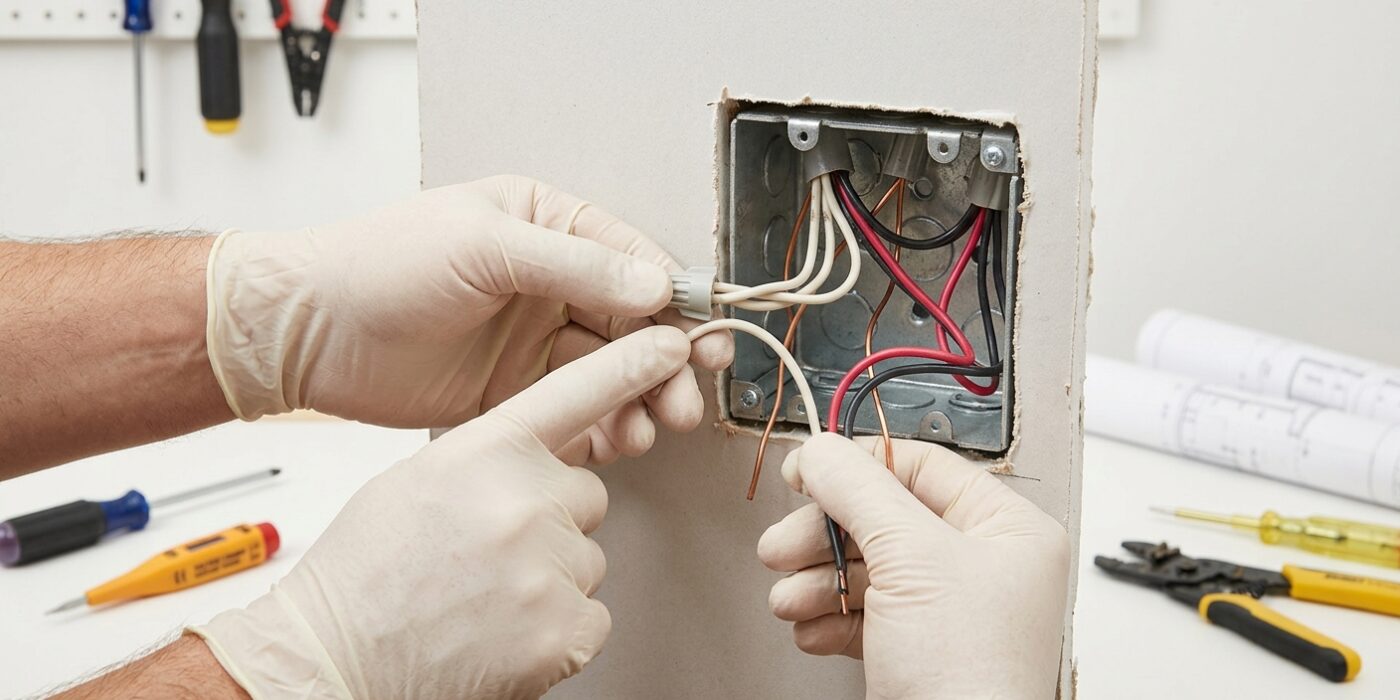
Before you get started, you need to identify if your wall box contains a neutral wire. Motion sensors are essentially small computers; unlike a standard mechanical switch that just breaks the flow of power, a sensor needs a constant trickle of electricity to stay “awake” and detect movement. In many homes, a neutral wire – which is almost always white – is tucked away in the back of your electrical box.
To check, remove the wall plate and unscrew the switch, pulling it gently forward without disconnecting any wires. Look for a bundle of white wires connected together by a plastic cap, or a single white wire connected to your existing switch. If you see white wires tucked in the back, you are in luck – you can use most standard motion sensors. If the box only contains black (or red) wires, you have a “switch loop” configuration. Don’t worry; you do not need to rewire your house. You simply need to purchase a sensor specifically labeled “No-Neutral Required.”
Beginner Tip: Never rely on wire color alone. While white is the standard for neutral, sometimes older homes use whatever color was available. Always look for a bundle of two or more wires twisted together under a wire nut at the back of the box; these are almost always your neutral bundle.
Pro Tip: If your wires are painted over or hard to identify, use a smartphone camera to take a clear photo of the inside of the box. Zooming in on the image is much easier and safer than straining your eyes in a dark, cramped wall cavity.
Step 3: Shut Off Power and Remove Old Switch
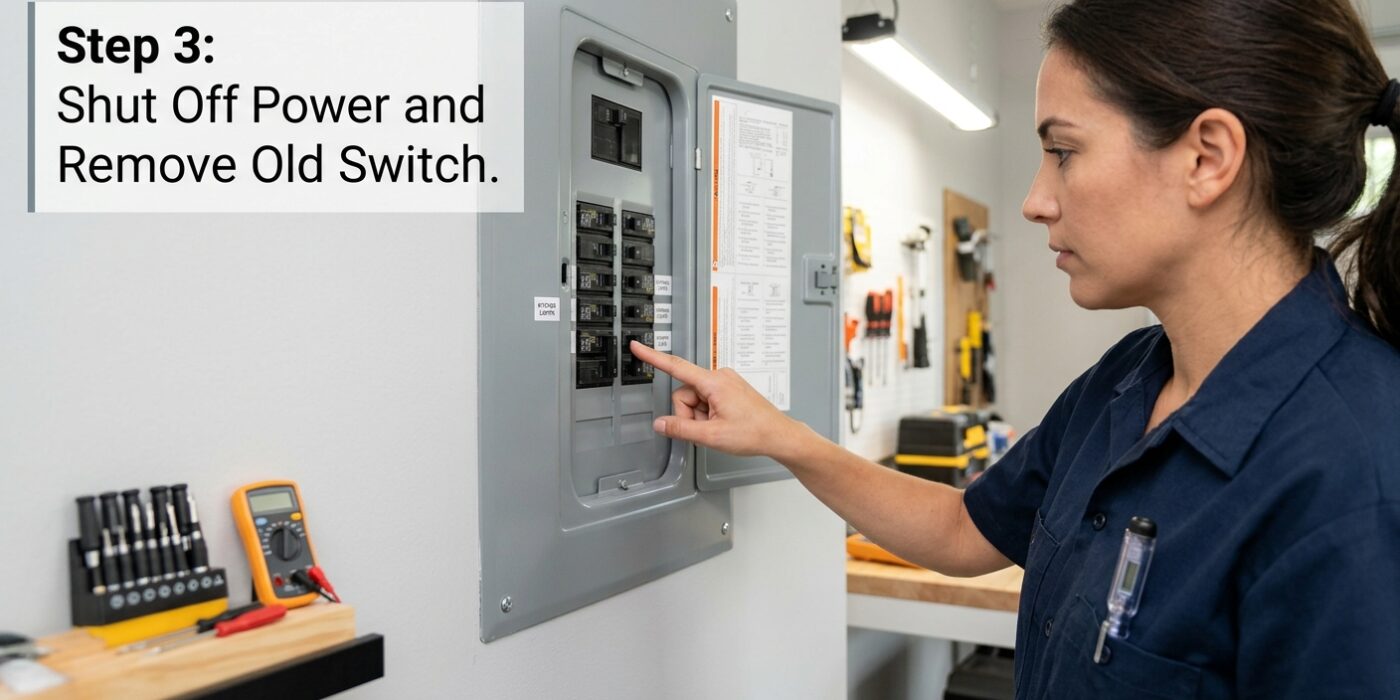
Before touching any electrical components, walk to your home’s main service panel – the circuit breaker box – and flip the breaker that controls your light to the “OFF” position. To be absolutely certain, use a non-contact voltage tester; simply hold the tip near the switch plate and wires. If it beeps or lights up, the power is still on. Once you confirm it is safe, use a flat-head screwdriver to gently pry off the cover plate, then use a Phillips-head screwdriver to unscrew the mounting screws holding the switch to the metal box. Carefully pull the switch outward by its mounting tabs. Before removing any wires, take a clear, well-lit photograph of how they are currently connected. This is your “map” for later. Finally, loosen the side terminal screws or release the push-in connectors to free the old switch.
Beginner Tip: Never rely on the labels in your breaker panel alone. If the lights in the room go out but you aren’t 100% sure you hit the right switch, plug a lamp into a nearby outlet to confirm that circuit is truly dead before proceeding.
Pro Tip: Wires can be stiff and stubborn. If the switch feels stuck in the box, don’t force it. Instead, use a pair of needle-nose pliers to gently push the excess wire loops back into the wall, which will give you more slack and room to maneuver the device out safely without damaging the insulation.
Step 4: Connect the Motion Switch
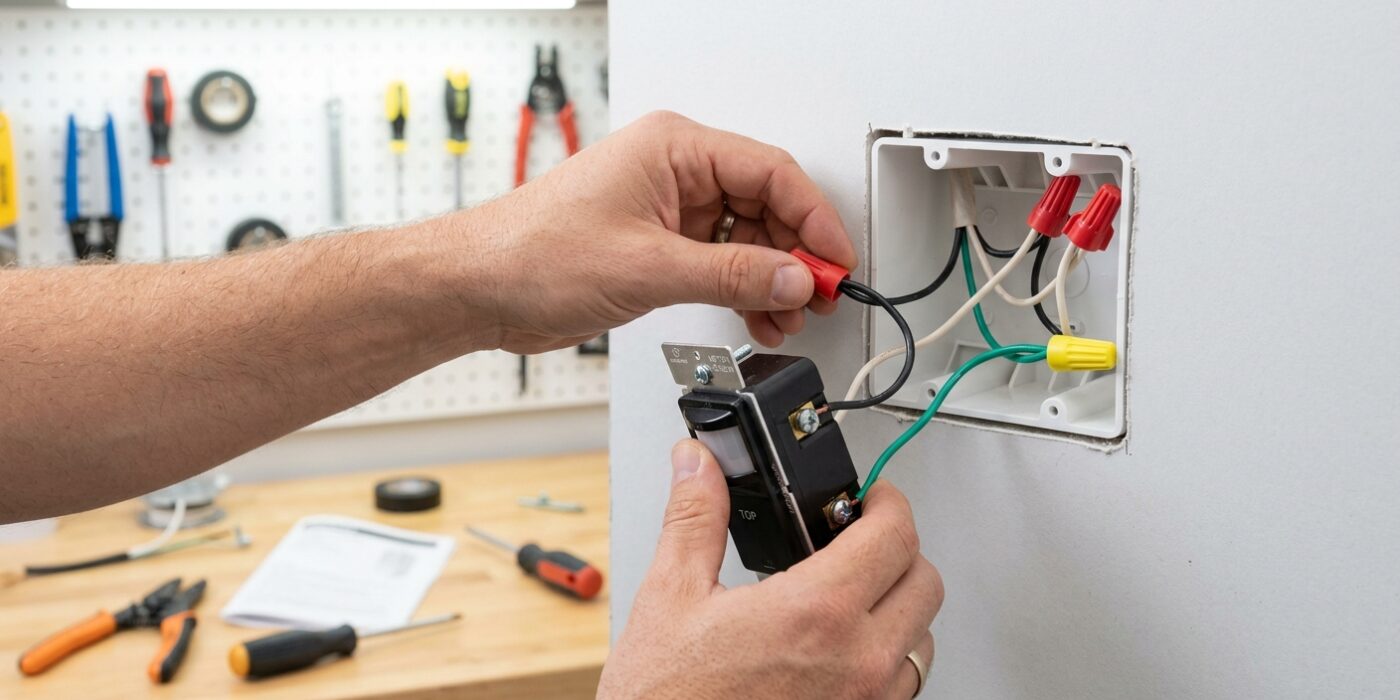
Now it is time to connect your switch. Before you begin, ensure your wire ends are stripped cleanly, with about 3/4-inch of copper exposed. If you are using a neutral wire configuration, connect the black hot wire from your wall to the switch’s black lead. Connect the red or blue load wire (which powers your light) to the corresponding lead on the sensor. Attach the white wire to the neutral lead and the bare copper wire to the green ground screw. If you have a no-neutral setup, connect the black wire to the sensor’s hot lead and the re-coded white wire (marked with black electrical tape) to the load lead. These connections complete the circuit, allowing the sensor to monitor movement and power the light fixture safely.
Beginner Tip: The most common mistake is leaving too much bare wire exposed. If more than 3/4-inch of copper is visible outside the wire nut or terminal, it can accidentally touch the metal box and cause a short circuit. If your wires look too long, simply snip the ends with your wire cutters before twisting the caps back on.
Pro Tip: To make connections easier, use a “pigtail” technique. If you have multiple wires that need to connect to a single terminal, twist them together with a small additional piece of wire first, then secure that single piece to the sensor. This reduces bulk inside the switch box and creates a much more reliable connection.
Step 5: Set Sensitivity and Time Delay
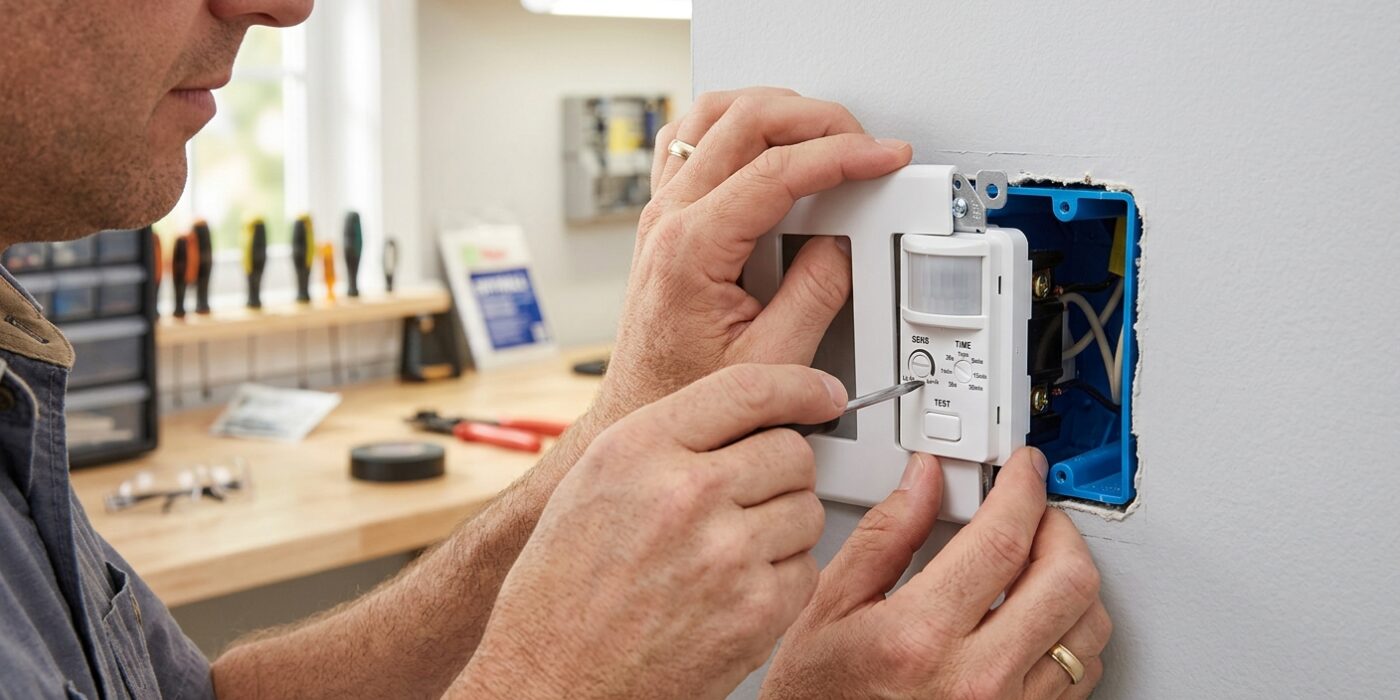
Now that your wiring is secure, it is time to customize how your switch behaves. On the front or side of the sensor, you will see two small dials or switches labeled “Time” and “Lux.”
The Time setting determines how long the light stays on after you leave the room. For a hallway or closet, 1 to 5 minutes is usually plenty. If you are installing this in a home office, try setting it to 15 or 30 minutes to prevent the lights from dimming while you are sitting still at your desk. The Lux setting controls the daylight threshold. Turning this toward the sun icon tells the switch to activate even when the room is bright; turning it toward the moon icon ensures the light only turns on when it is already dark. Adjust these now before you screw the switch into the wall, as you will want easy access to the dials for testing.
Beginner Tip: Avoid setting the time delay to the absolute minimum during your first test. If the light shuts off while you are still standing on the ladder, it can be frustrating. Start with a middle-range setting, then fine-tune it once you are comfortable with how the sensor reacts to your movement.
Pro Tip: Use a precision eyeglasses screwdriver or even the tip of a sturdy plastic toothpick to adjust the dials. Metal screwdrivers that are too large can accidentally strip the soft plastic slots on the dials, making them difficult to turn in the future.
Step 6: Mount and Test
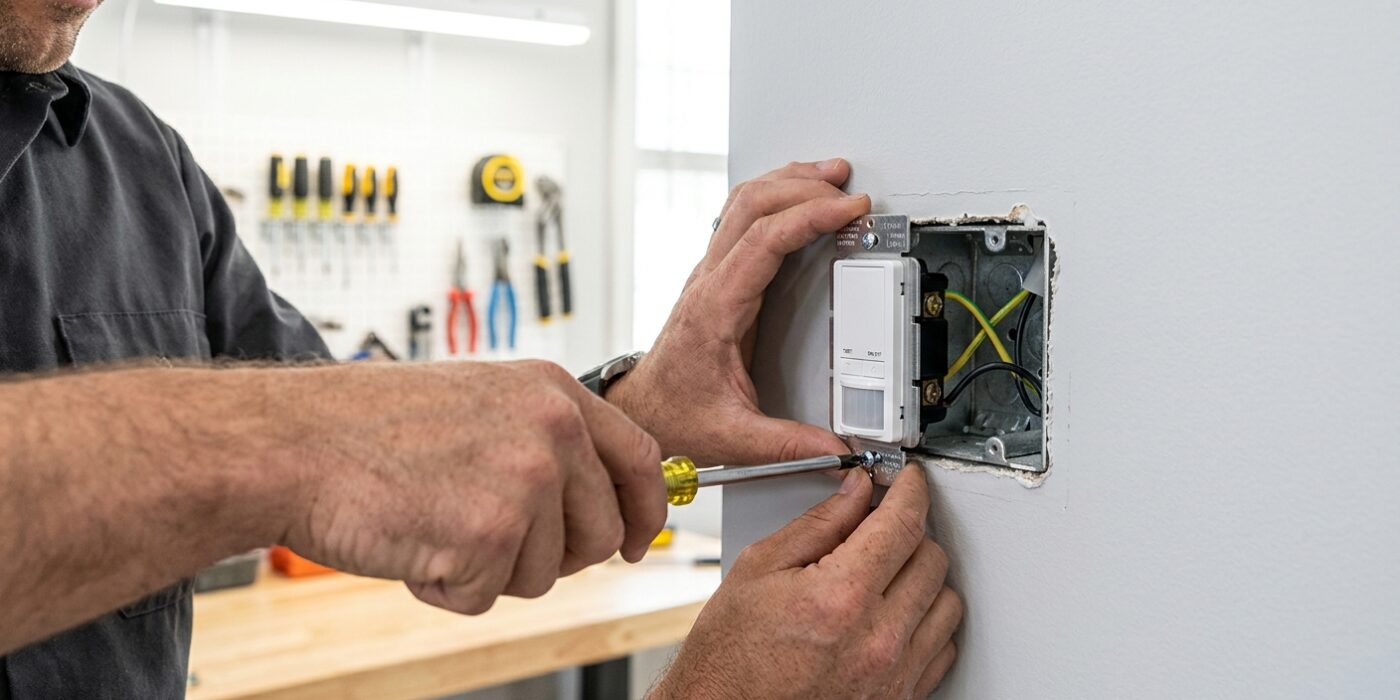
Now that your wires are safely secured, gently fold them back into the electrical box in a concertina pattern to keep them organized. Slide your motion-sensor switch into place and tighten the mounting screws until the unit sits flush against the wall. Snap the decorative cover plate over the switch. Once everything is secure, return to your breaker panel and flip the switch back to the “On” position. Walk into the room to trigger the light; if it doesn’t turn on immediately, check your sensitivity dial. PIR sensors detect lateral (side-to-side) motion best, so ensure your sensor has a clear line of sight to the doorway. If you remain still in the room and the light turns off, increase the time delay setting on the switch dial to keep the light active for longer periods.
Beginner Tip: Avoid over-tightening the mounting screws. If you force them too far, you can crack the delicate plastic cover plate or damage the mounting tabs on the switch. Aim for “snug” rather than “tight” – the switch should not move when you press it, but the plastic shouldn’t show signs of stress.
Pro Tip: Before you finalize the installation, use a small piece of painter’s tape to mark the wall directly below the sensor. This helps you track the detection zone. If you notice false triggers, you can quickly adjust the sensor’s angle or sensitivity settings without guessing where the “dead zones” are.