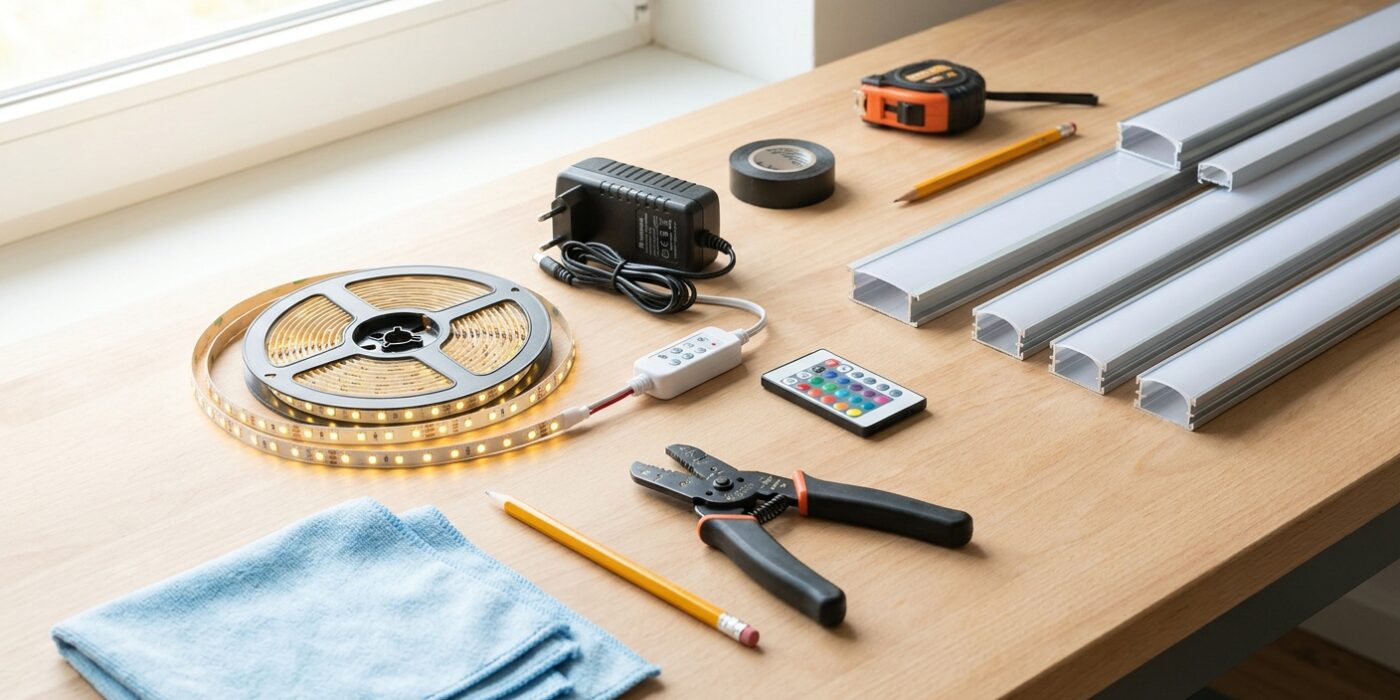
Project Shopping List
LED strip lighting is one of the most versatile and beginner-friendly home improvements you can make – it adds accent lighting under stairs, behind TVs, under kitchen cabinets, inside closets, or along ceilings as indirect cove lighting. The work is mostly planning and mounting; the electrical work is low-voltage and straightforward. A complete under-TV installation takes under an hour.
This guide covers selecting the right strips, cutting and connecting them, mounting cleanly, and powering the system – from a simple plug-in setup to a more complete installation with a dimmer or controller.
What You’ll Need
Tools
- Scissors or utility knife
- Ruler or tape measure
- Cleaning rag and isopropyl alcohol
Materials
- LED strip lights (see Step 1 for selection)
- LED power supply/driver (sized to strip wattage + 20% headroom)
- LED controller or dimmer (if desired)
- Solderless LED connectors or jumper wires (for connecting sections without soldering)
- Mounting clips or double-sided adhesive foam tape (if strip adhesive is insufficient)
- Corner connectors (for turning corners without cutting)
Step 1: Select the Right LED Strip
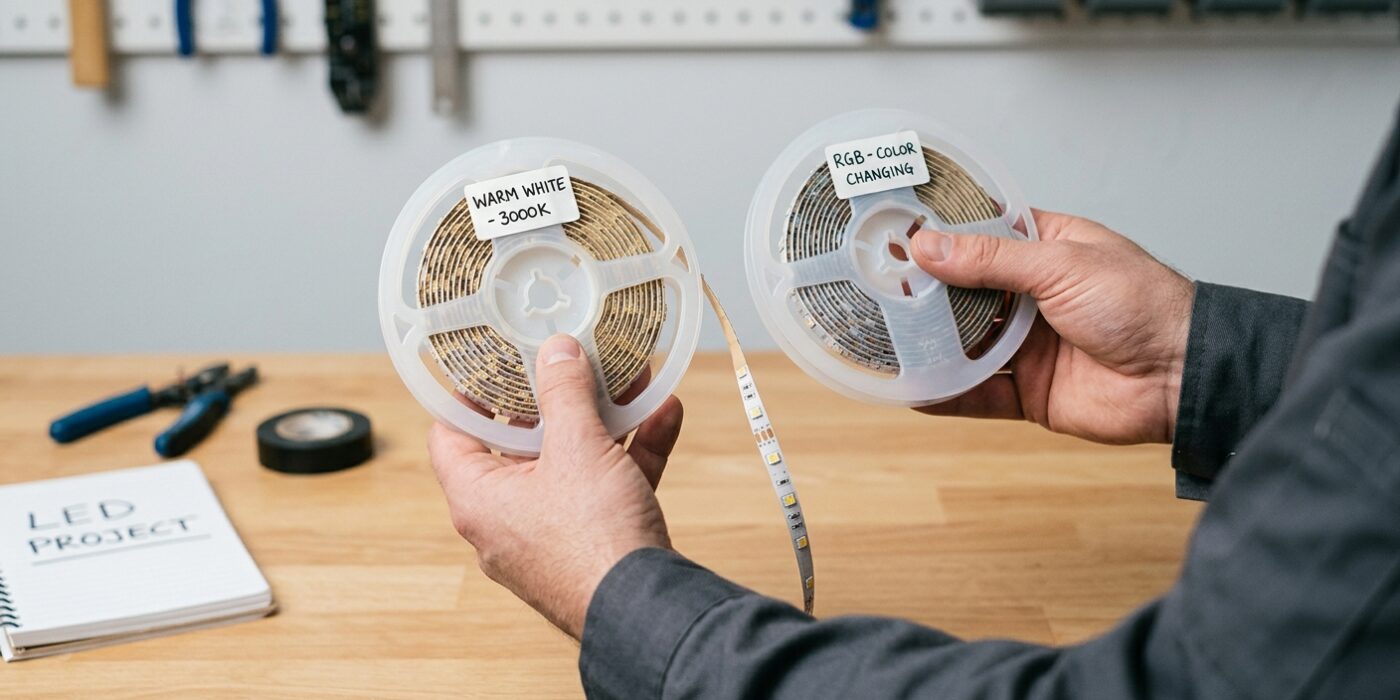
Before you purchase your lights, you need to match the technical specifications to your specific project space. Think of this as choosing the right tool for the job. First, check the voltage: choose 24V for longer runs to avoid dimming at the far end of the strip. Next, look at LED density. If your lights will be visible directly, aim for 60 or 144 LEDs per meter to get a smooth, continuous glow rather than separated, distracting dots. For hidden, indirect lighting, 30 LEDs per meter is usually plenty.
Consider your environment’s moisture levels by checking the IP rating. Use IP20 for dry bedrooms or living rooms, but upgrade to IP65 if you are installing them near a kitchen sink or bathroom vanity. Finally, select your color temperature: 2700K–3000K provides a cozy, warm atmosphere perfect for relaxing behind a TV, while 4000K offers a crisp, clean light that helps you see better while cooking.
Beginner Tip: Avoid buying a generic power supply without calculating your total wattage first. Multiply the wattage per meter by your total length in meters, then add a 20% buffer to ensure you do not overload your power adapter.
Pro Tip: If you are unsure about the color temperature, purchase a small sample pack of different light strips before committing to a full roll. Testing a few inches of light in your actual space during the evening will save you from an installation you might find too harsh or too dim later.
Step 2: Measure and Plan Cuts
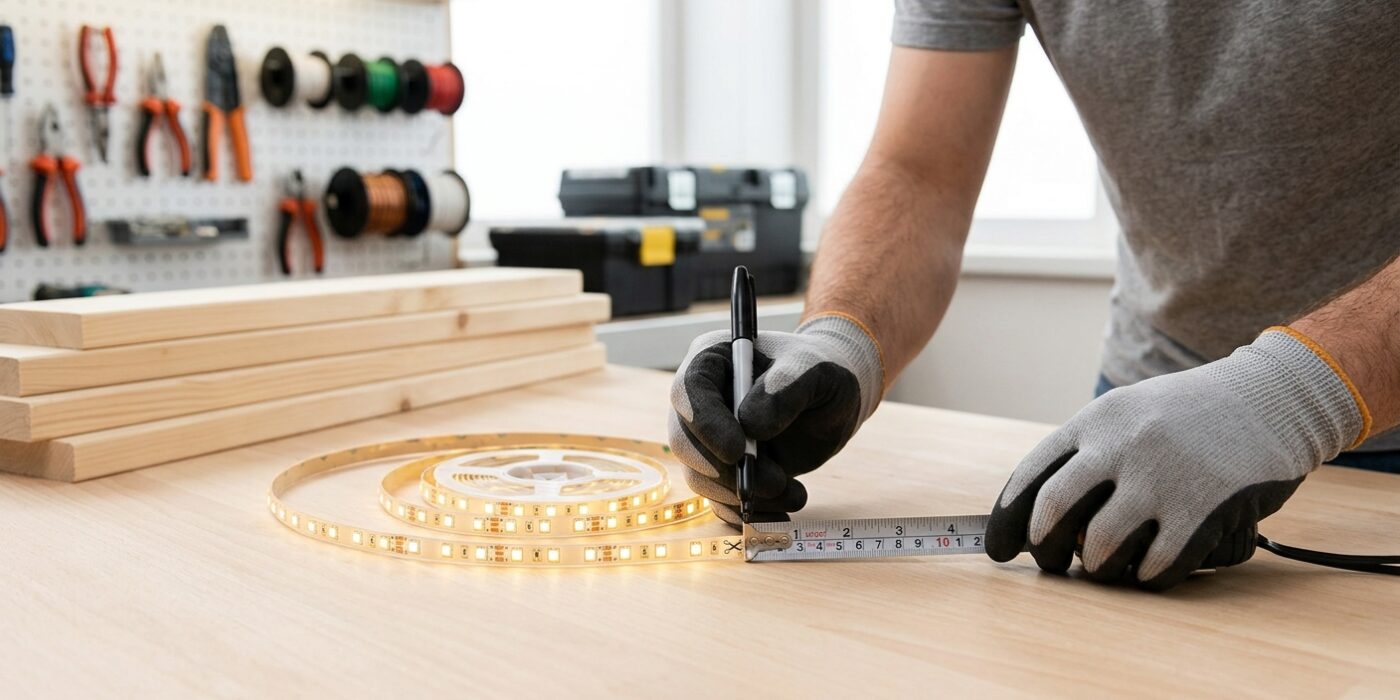
Before you begin, use a standard tape measure to find the exact length of the surface where your lights will live. Precision is key here, so measure twice to ensure you have enough strip to cover the area. As you unroll your lights, look closely for the small scissor icons or thin copper pads printed on the strip; these are the only safe places to cut. If you cut anywhere else, that section of the strip will lose power and stop working, so take your time to align your measurements with these markers.
When you reach a corner, don’t force the strip into a sharp fold, as this can damage the internal circuitry. Instead, plan to use L-shaped corner connector clips. These handy little accessories snap onto the copper pads, allowing the strip to “turn” around a corner smoothly while maintaining a continuous electrical connection.
Beginner Tip: Avoid cutting your strips too short. It is much easier to trim a little extra off later than it is to fix a gap where your lights are missing. Always leave an extra inch of slack until you are ready to apply the adhesive backing.
Pro Tip: Use a piece of painter’s tape to mark your cut points on the strip with a pen before you pick up your scissors. This visual guide prevents accidental “oops” moments and ensures every segment is perfectly sized for your project’s layout.
Step 3: Power Supply Sizing
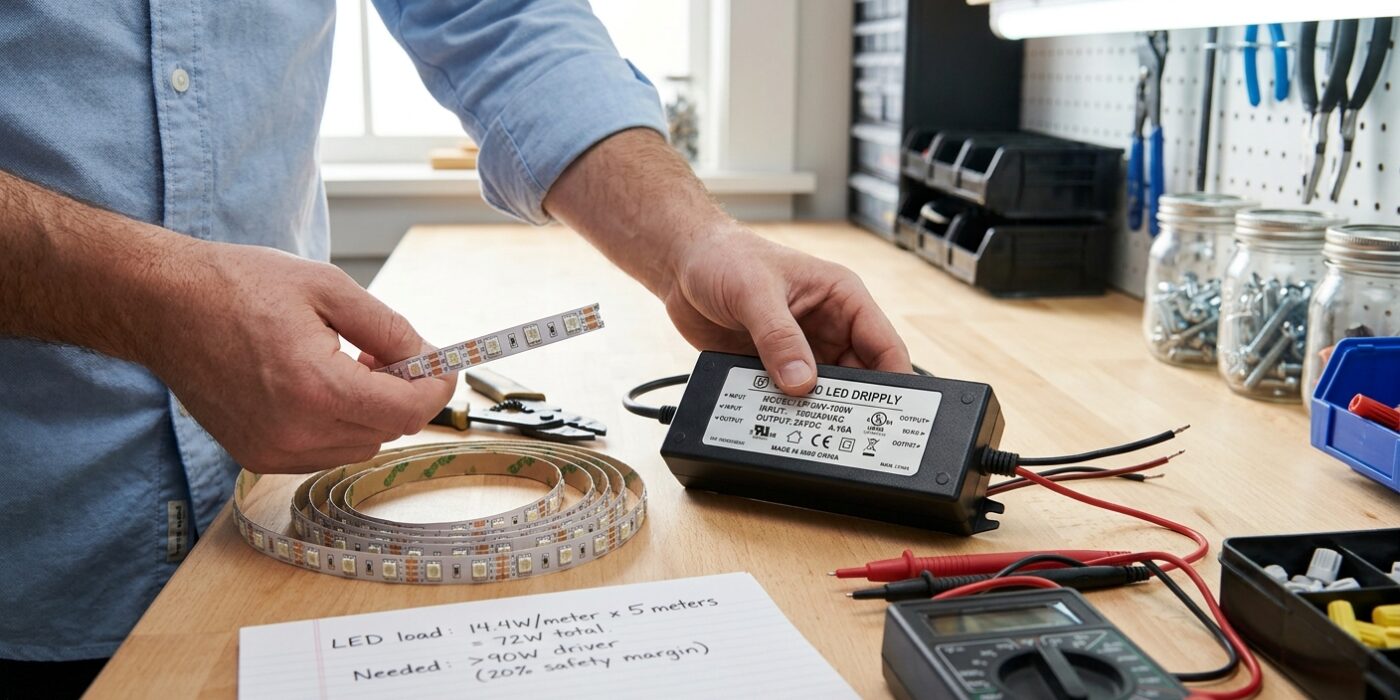
Before you plug anything in, you need to ensure your power supply (often called a driver) can handle the workload. Think of the driver like a fuel pump: if you push it to its absolute limit, it will overheat and quit working. To keep your lights shining for years, you need a little extra capacity.
First, find the wattage-per-meter rating on your LED strip’s packaging. Multiply this number by the total length of your strips in meters to find the total wattage. Next, divide that total wattage by the voltage of your strip (12V or 24V) to find the required amperage. For safety and longevity, always purchase a power supply that is 20–25% stronger than the number you just calculated. For most standard home projects, like under-cabinet or TV bias lighting under 5 meters, a 5A/12V (60W) power supply is a reliable, “set-it-and-forget-it” choice that provides the perfect amount of breathing room.
Beginner Tip: Never use a laptop charger or an old power brick you have lying around just because the plug fits. These often have different voltages or fluctuating power outputs that can permanently fry your LED strips or create a genuine fire hazard. Always use a dedicated LED driver that matches your strip’s specific voltage requirements.
Pro Tip: If your project involves a very long run of LEDs, look for a power supply that includes a built-in terminal block. This allows you to screw the bare wires directly into the driver, creating a much stronger and more permanent connection than the flimsy “barrel jacks” often found on cheaper units.
Step 4: Clean and Mount the Strip
Before you commit to sticking anything down, preparation is the most important part of the entire process. LED strips rely on a pressure-sensitive adhesive that requires a perfectly clean surface to bond correctly. Wipe your chosen area – whether it is the back of your television, under a cabinet, or along a shelf – with a cloth dampened with isopropyl alcohol. This removes invisible oils, dust, and fingerprints that would otherwise cause your lights to peel off within days. Allow the surface to air dry completely for at least five minutes.
When you are ready to mount, peel off about three to four inches of the paper backing at a time. Press the strip firmly into place using your thumb, moving slowly along the length. Do not pull or stretch the strip as you apply it, as this can damage the internal copper wiring. If you encounter a corner, do not force the strip into a sharp 90-degree bend; instead, create a gentle loop or use corner connectors to maintain the circuit’s integrity.
Beginner Tip: Never touch the sticky backing with your bare fingers. The oils from your skin will significantly weaken the adhesive’s grip, making the strip likely to sag or fall down later on.
Pro Tip: If you are mounting your lights on a rough surface like wood or textured paint, apply a line of clear silicone caulk or high-quality double-sided foam mounting tape to the surface first. This creates a smooth, leveled foundation for the factory adhesive to grab onto, ensuring your project stays put for years to come.
Step 5: Cut and Connect Sections
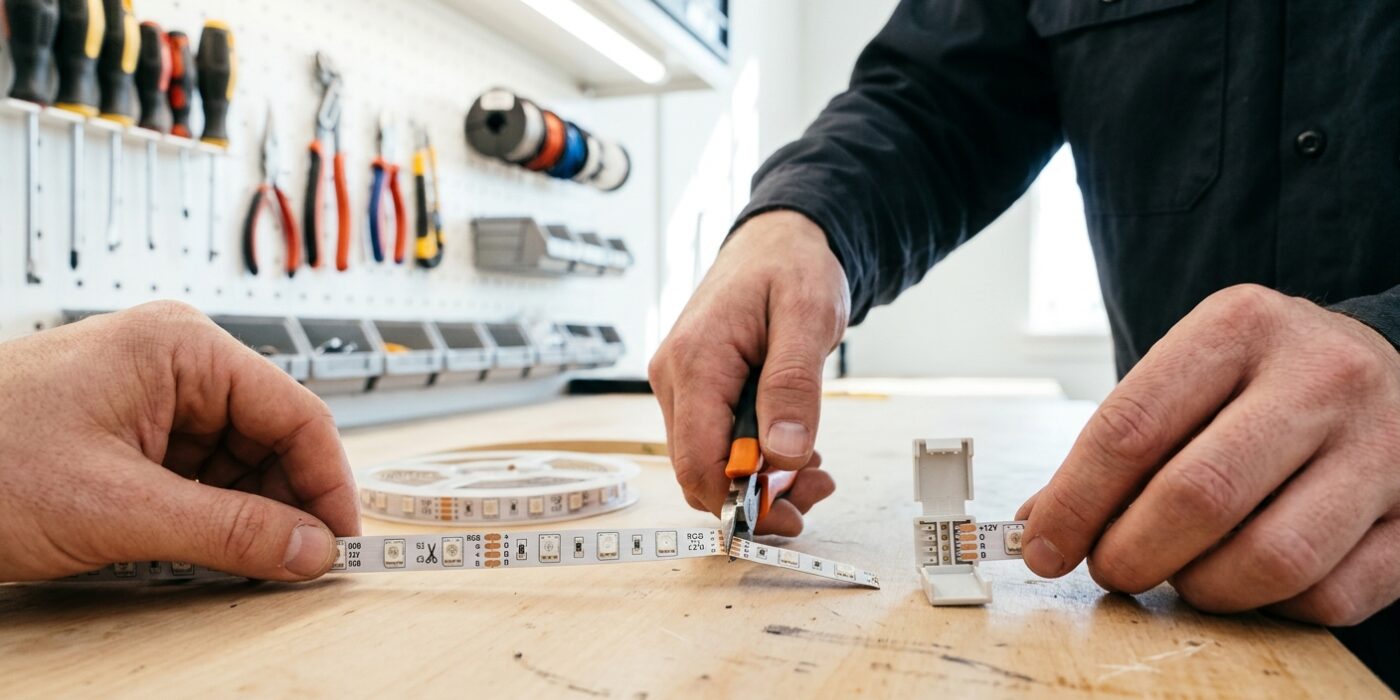
Now that your strips are measured, it is time to customize their length. Look closely at your LED strip; you will see small copper pads spaced at regular intervals, often marked with a tiny scissor icon. This is the only place you can safely cut. Using a sharp pair of household scissors, make a clean, straight cut directly through the center of these copper pads. Cutting anywhere else will break the electrical circuit, leaving that section of lights non-functional.
To join sections or create corners, we recommend using solderless snap-on connectors. These act like a bridge for electricity. To use one, open the plastic clip, slide the cut end of the strip into the housing, and ensure the copper pads on the strip align perfectly with the metal pins inside the connector. Before closing the clip, double-check that your polarity markings match: the positive (+) side of the strip must meet the positive (+) side of the connector. Snap the lid shut until it clicks; this creates a secure, low-resistance electrical connection without needing any specialized equipment.
Beginner Tip: The most common mistake is failing to peel back enough of the adhesive backing before inserting the strip into the connector. If the adhesive layer is too thick, it prevents the copper pads from making solid contact with the connector pins, causing flickering or dead sections.
Pro Tip: Before you finalize the connection, lightly wipe the copper pads with a cotton swab dipped in a tiny amount of rubbing alcohol. Removing invisible oils from your fingertips ensures a perfect electrical connection that will last for years.
Step 6: Connect to Controller and Power
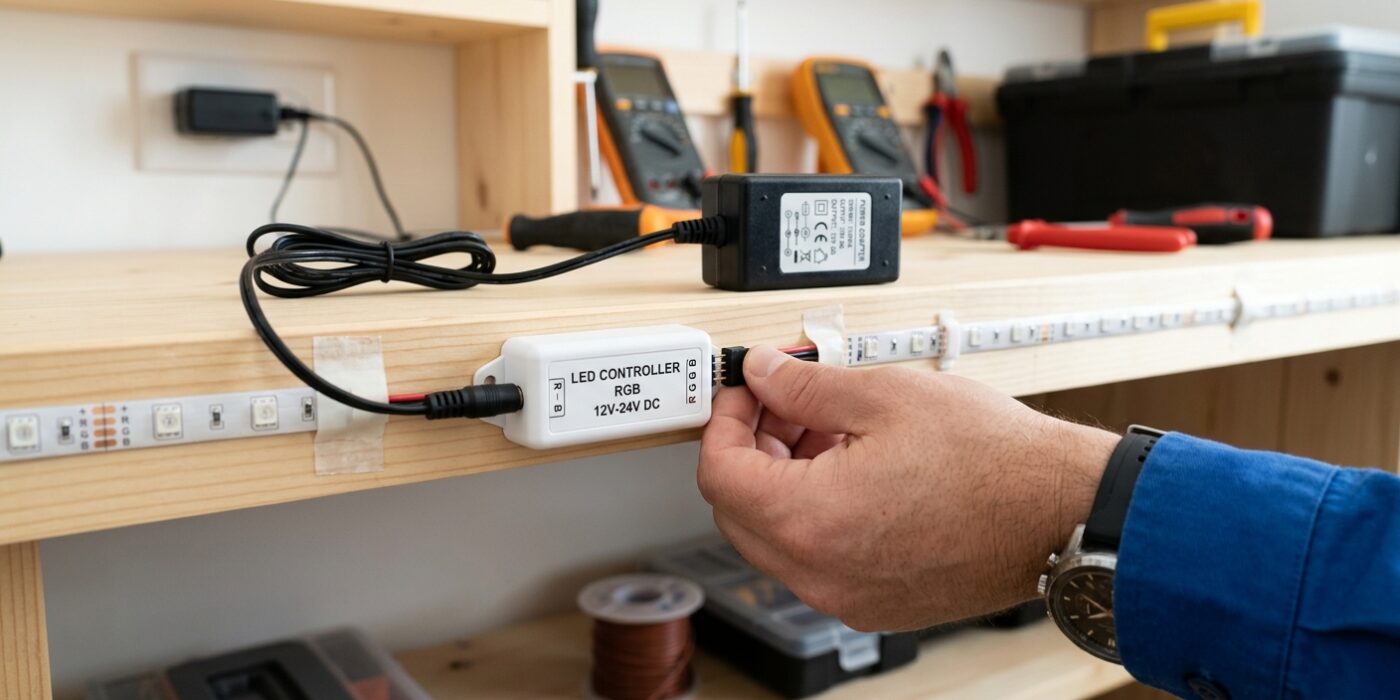
Now that your strips are mounted, it is time to bring them to life. For single-color strips, you will see two wires: red (positive) and black (negative). Use a small flat-head screwdriver to loosen the screws on your LED driver’s terminal block, insert the stripped wire ends, and tighten them firmly. For RGB (color-changing) strips, match the labeled wires – usually marked R, G, B, and V+ – to the corresponding ports on your controller. The controller acts as the brain, so ensure it is plugged into the power supply last. Once everything is secure, plug the power supply into your wall outlet. If the lights do not turn on immediately, check that the connections are tight and that the polarity (positive to positive) is correct.
Beginner Tip: The most common mistake is failing to remove enough insulation from the wire tips. Before inserting wires into the terminal block, ensure about 1/4 inch of bare copper is exposed. If the terminal is grabbing only the plastic insulation, the electricity will not flow, and your lights will not turn on.
Alternative Method: If you are uncomfortable with wiring or screw terminals, look for “plug-and-play” LED kits. These feature snap-on connectors that function like a simple wall outlet plug, completely eliminating the need for screwdrivers or wire stripping.
Pro Tip: Before hiding your power supply or mounting your controller permanently, test the entire run while the lights are stretched out on the floor. It is much easier to troubleshoot a loose wire or a faulty controller before you have tucked everything neatly behind a cabinet or television.