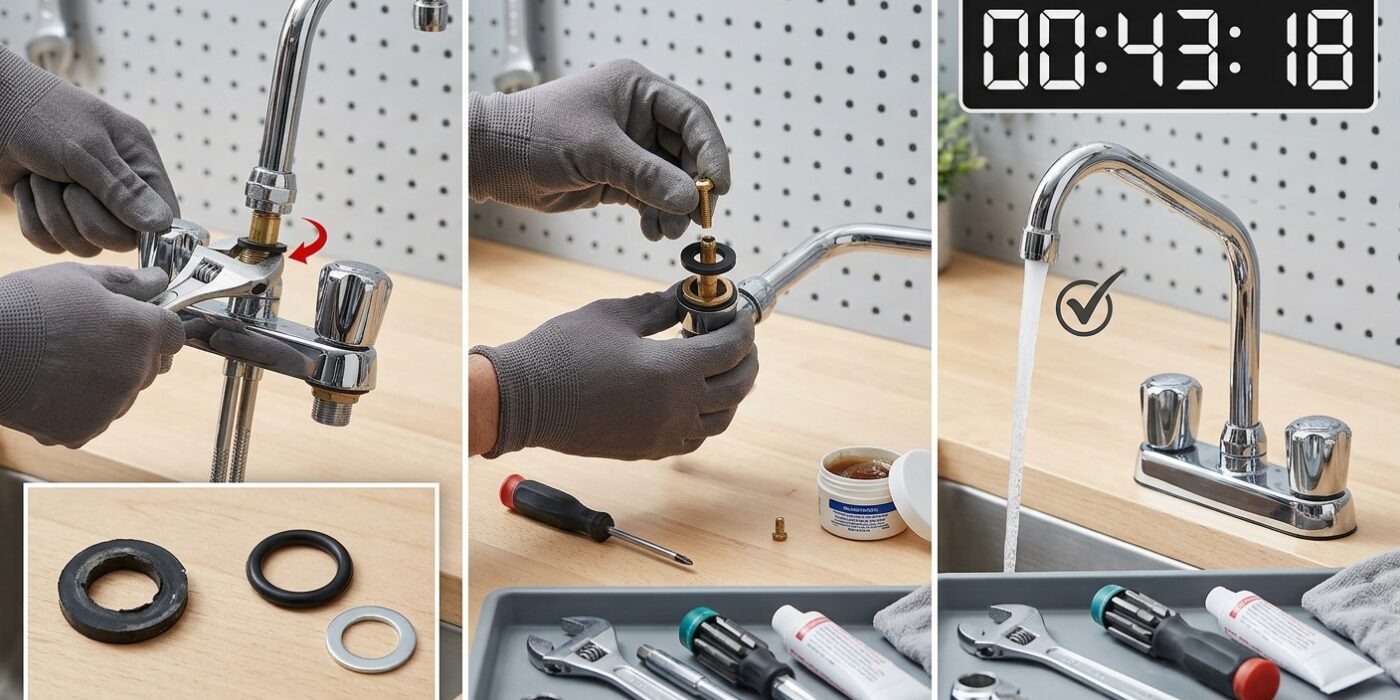
Project Shopping List
What You Will Fix
That annoying drip from your bathroom or kitchen faucet. Most leaks are caused by a worn-out washer or O-ring, a part you can replace in under an hour.
Step 1: Shut Off the Water
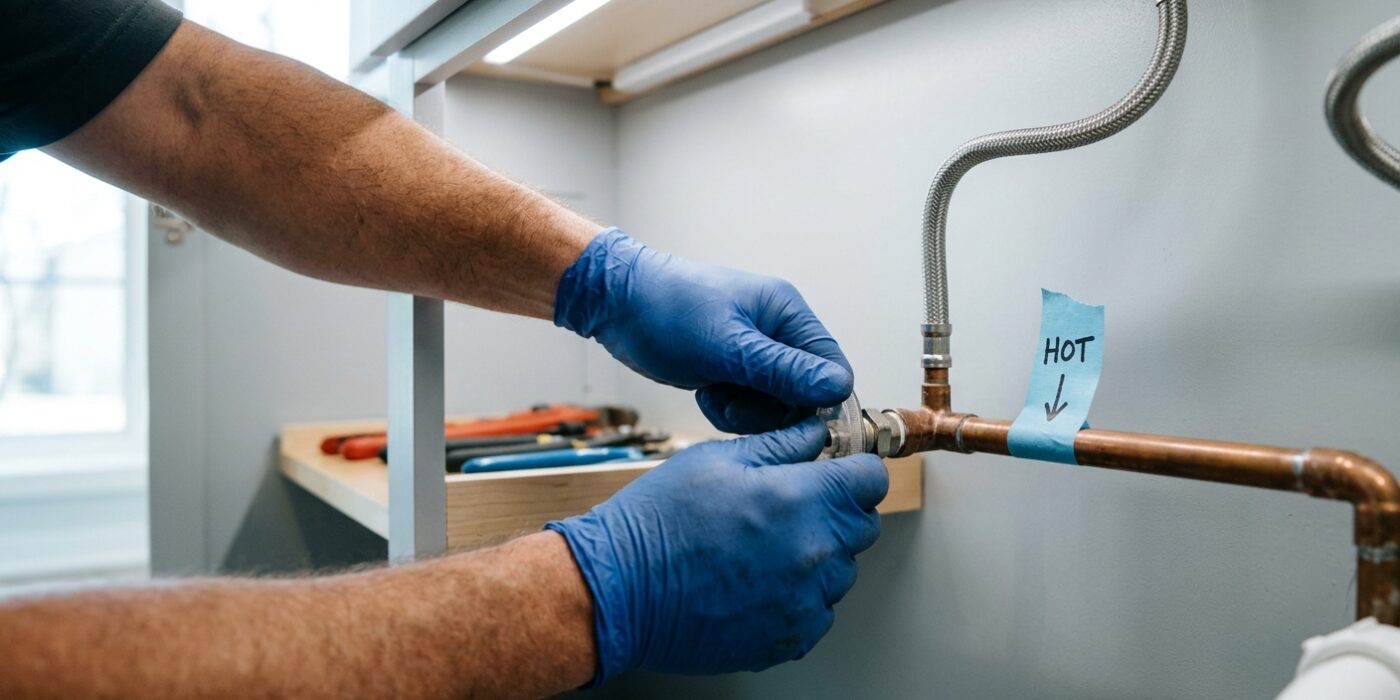
Before you begin any plumbing repair, you must stop the water flow to prevent a kitchen catastrophe. Look directly underneath your sink cabinet for two small, oval-shaped handles attached to the wall pipes – these are your shutoff valves. Turn each handle clockwise (to the right) until they feel firm and stop moving. Do not overtighten, as you only need enough pressure to close the internal seal.
Once you have turned them off, go back up to your faucet and turn the handles to the “on” position. If the water stops flowing completely after a few seconds, you have successfully isolated the supply. If you do not see valves under the sink, or if water continues to stream out, you will need to locate your home’s main water shutoff valve. This is typically located in the basement, a utility closet, or near the street meter; turning this lever perpendicular to the pipe will cut water to the entire house.
Beginner Tip: A common mistake is assuming the water is off just because the faucet stopped running. Always check both the hot and cold handles to ensure that pressure has been fully relieved from both supply lines before you start unscrewing anything.
Pro Tip: After shutting off the valves, open your faucet handles as wide as they go. This allows any residual water trapped in the pipes to drain out completely, saving you from a messy splash when you eventually remove the faucet components.
Step 2: Remove the Handle
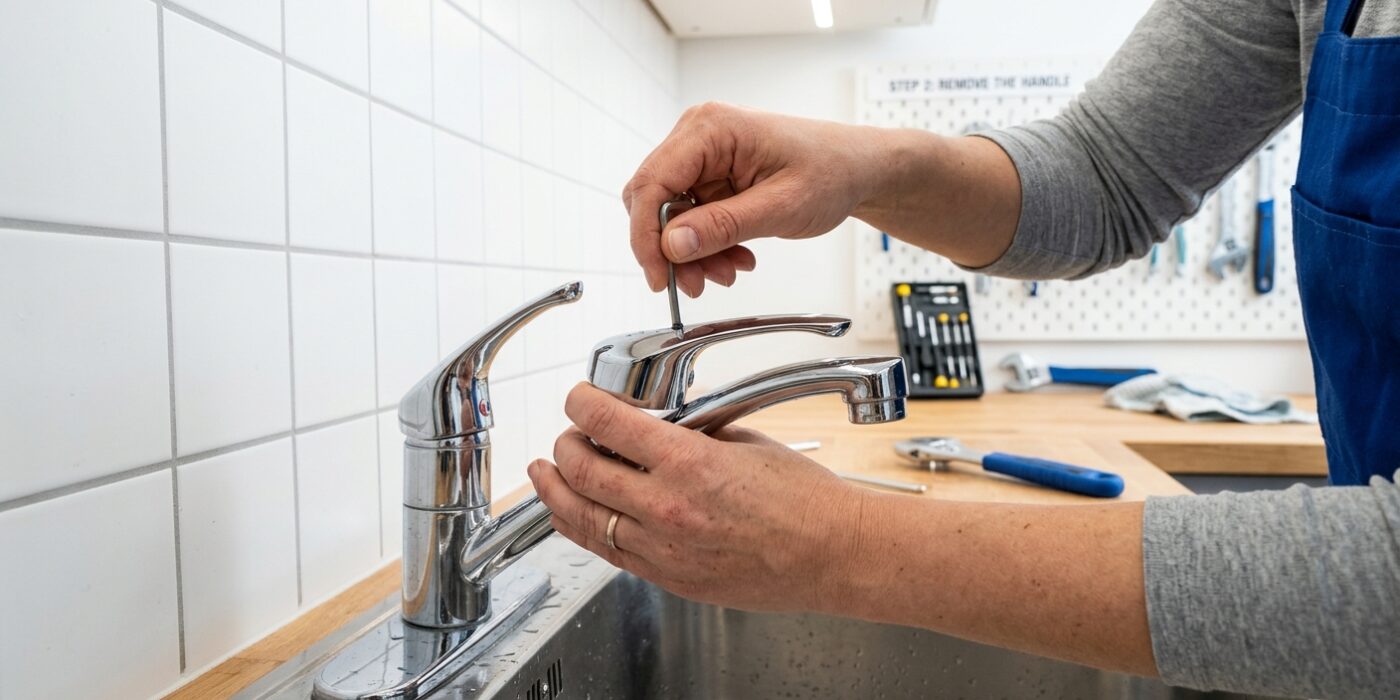
To begin disassembling your faucet, you first need to access the hidden screw securing the handle. Look for a small, circular plastic cap on the top or side of the handle – this is often color-coded red and blue. Using a flat-head screwdriver or the edge of a butter knife, gently pry this cap off. Take your time, as these caps can be brittle. Once removed, you will see a screw nestled inside the opening. Use the appropriate screwdriver (usually a Phillips head) to turn the screw counter-clockwise until it is completely loose, then set it aside in a bowl so it doesn’t roll away. With the screw removed, grip the handle firmly with both hands and pull it straight up toward the ceiling. If it feels stuck, wiggle it gently from side to side; do not force it, as you want to avoid damaging the internal cartridge.
Beginner Tip: The most common mistake is losing the tiny screw down the drain. Before you start, place a washcloth or a roll of tape over the drain opening. This creates a safety net that catches the screw if your hand slips, saving you from a frustrating search later.
Pro Tip: If the handle is seized due to years of mineral buildup, do not yank on it. Instead, apply a few drops of penetrating oil or white vinegar around the base of the handle and let it sit for ten minutes. This loosens the calcification, allowing the handle to slide off with ease.
Step 3: Replace the Washer
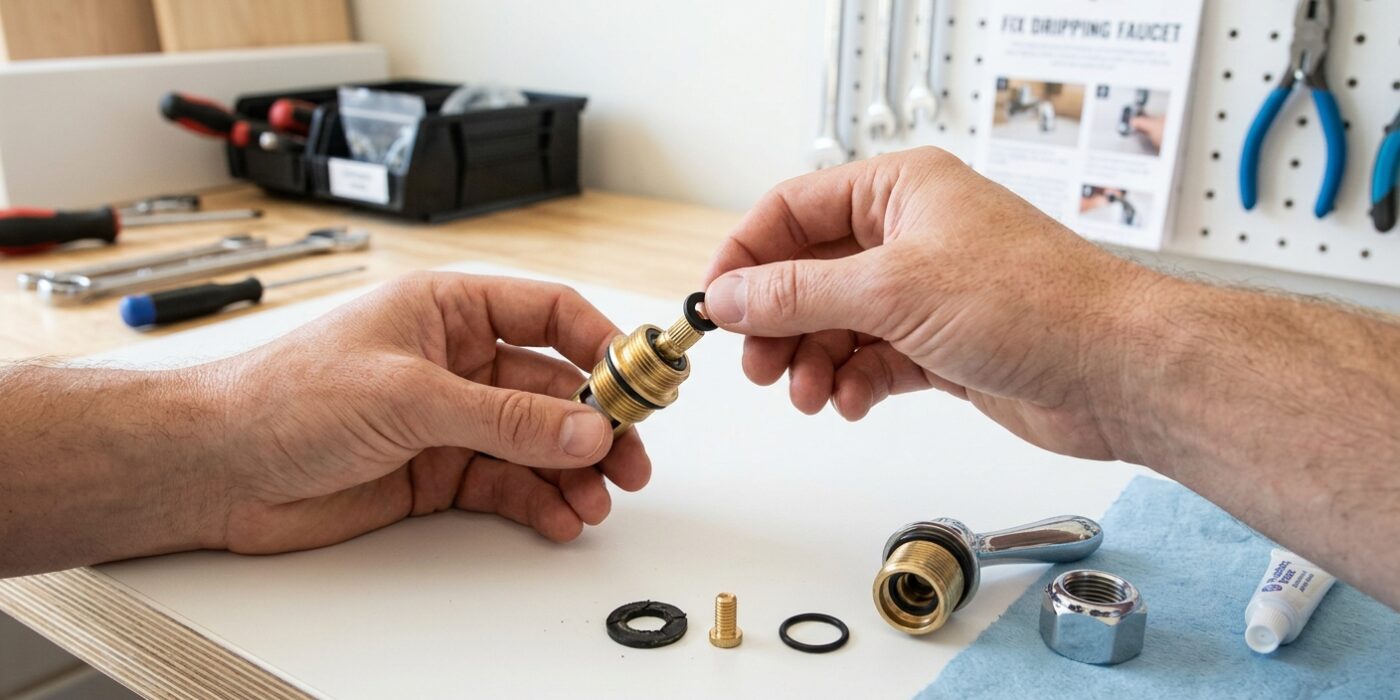
Now that you have accessed the interior of your faucet, it is time to perform the actual repair. You will see a long metal piece called the stem. Using your adjustable wrench, grip the hexagonal packing nut at the base of the stem and turn it counter-clockwise to loosen it. Once it is free, lift the entire stem straight up and out of the faucet body. At the very bottom of this stem, you will find a small, circular rubber washer held in place by a brass screw. Use a screwdriver to remove this screw, discard the old, worn-out washer, and slide your new, identical replacement onto the stem. This rubber piece is the hero of your faucet; it creates the watertight seal that stops drips, so ensuring it sits flush is vital.
Beginner Tip: Be careful not to lose the tiny screw holding the washer in place! It is very easy for this small part to tumble down the drain. Place a folded towel or a rag over the open sink drain before you start working to catch any hardware that might slip from your fingers.
Pro Tip: Take the old washer with you to the hardware store when buying replacements. Even if you think you know the size, rubber washers can slightly deform over time. Matching your old part against the new one physically ensures you get the perfect fit, saving you an extra trip to the store later.
Step 4: Reassemble and Test
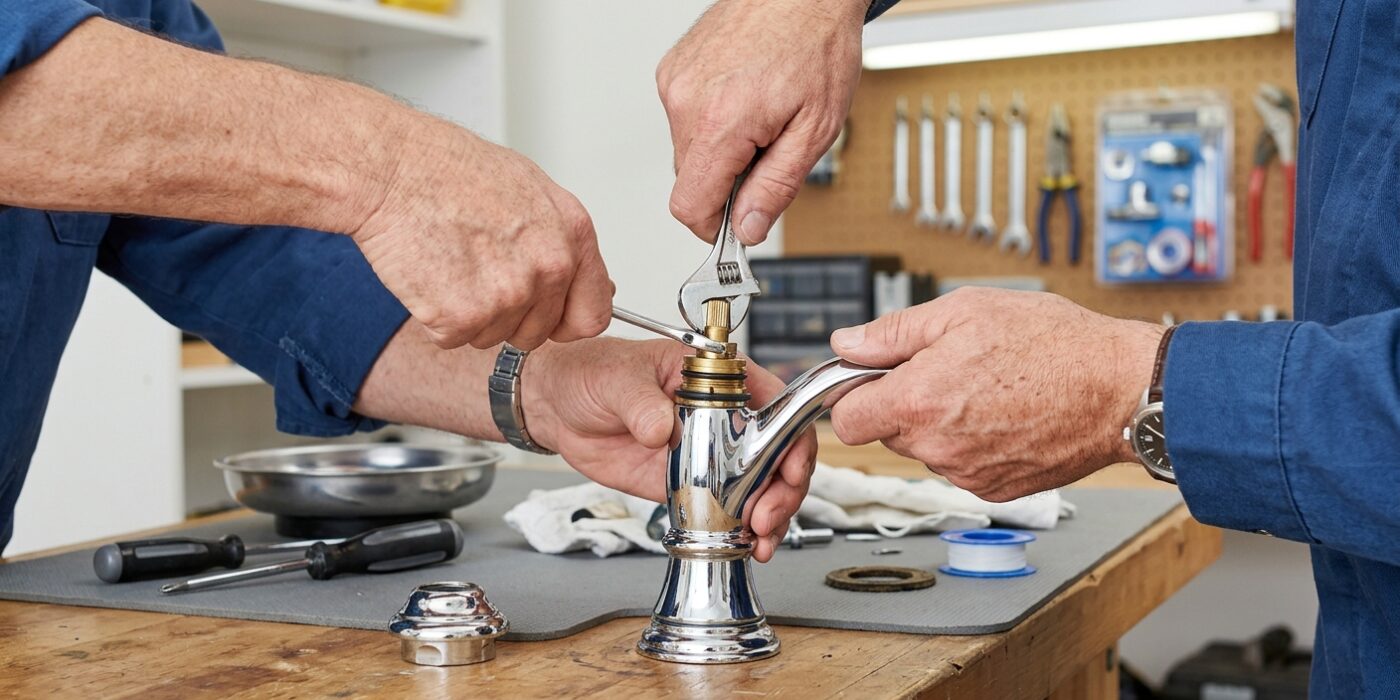
Now that you have your new washer securely in place, it is time to put your faucet back together. Carefully thread the cartridge or stem back into the faucet body by hand, turning it clockwise until it feels snug. Use your wrench to tighten it just a quarter-turn more; you want it secure, but over-tightening can crack the internal components or damage the new washer. Once the handle is reattached and the decorative cap is snapped back on, return to the shut-off valves under the sink. Turn them counter-clockwise slowly, allowing the water pressure to build up gradually rather than all at once. Finally, turn the faucet on and let the water run for 30 seconds to clear out any trapped air, then close it tightly to ensure that annoying drip has vanished.
Beginner Tip: The most common mistake here is cross-threading. If the cartridge feels difficult to screw in, stop immediately! Forcing it can permanently damage the metal threads. Back it out and start over, turning it counter-clockwise slowly until you feel a soft “click,” which indicates the threads are perfectly aligned before you start screwing it in clockwise.
Pro Tip: Before you put the parts back, apply a tiny amount of heat-proof plumber’s grease to the rubber washer and the threads of the stem. This small action reduces friction, makes the handle turn much smoother, and creates a superior water-tight seal that helps your repair last for years rather than months.