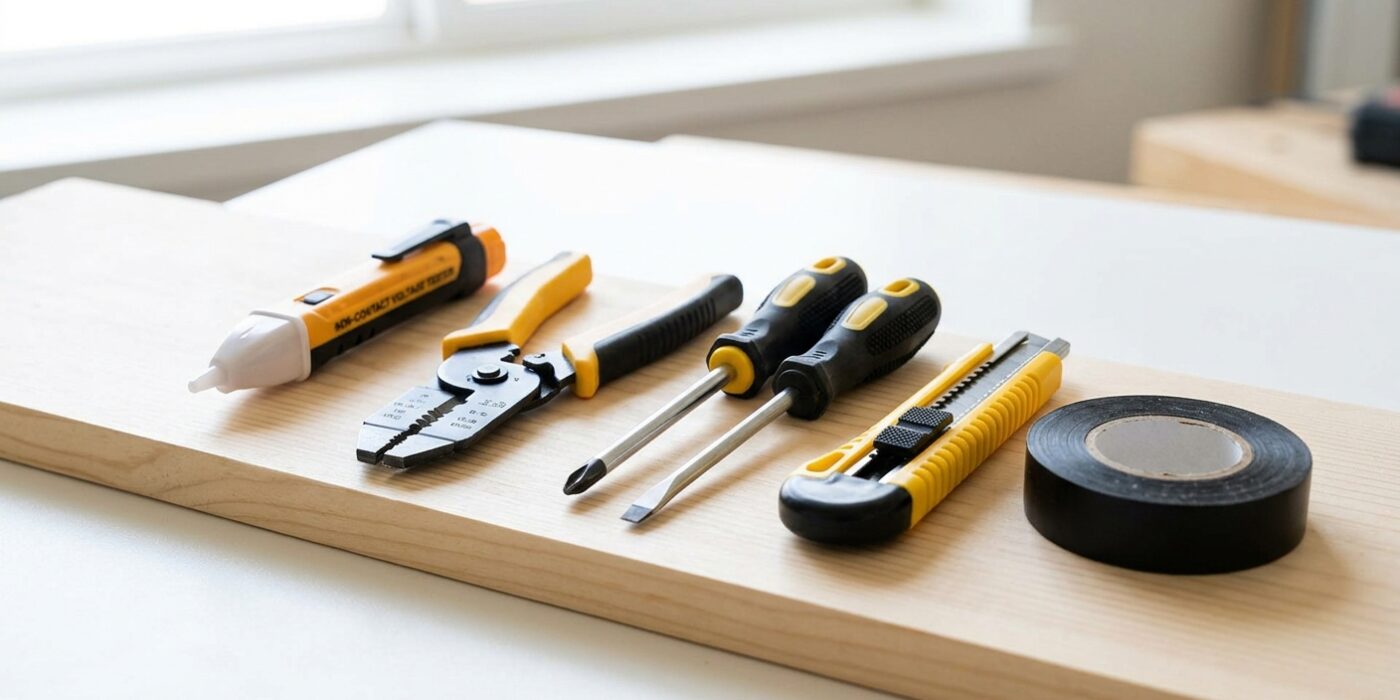
Project Shopping List
Attic lighting – adding a proper work light to a pull-down stair access or fixed attic hatch – transforms attic storage from a dark, dangerous space into a functional area where you can actually see what you’re doing. A well-lit attic also improves HVAC maintenance access, pest inspection visibility, and storage organization. The project involves running a switched circuit to the attic space and mounting an appropriate light fixture that can handle the temperature extremes an attic endures.
This guide covers adding attic lighting from a nearby circuit, wiring a switch at the attic access, and choosing a fixture that withstands attic temperature conditions.
What You’ll Need
Tools
- Non-contact voltage tester
- Drill and bits
- Fish tape
- Screwdrivers
- Wire stripper
- Staple gun for cable staples
Materials
- LED fixture rated for wet or damp locations (attics see high humidity) or a vapor-tight LED shop light
- Single-pole switch and switch box
- 14/2 NM-B cable (for a 15A circuit)
- Appropriate electrical boxes (old-work if in finished area, new-work if attic framing is accessible)
- Cable staples
Step 1: Plan the Circuit Source and Route
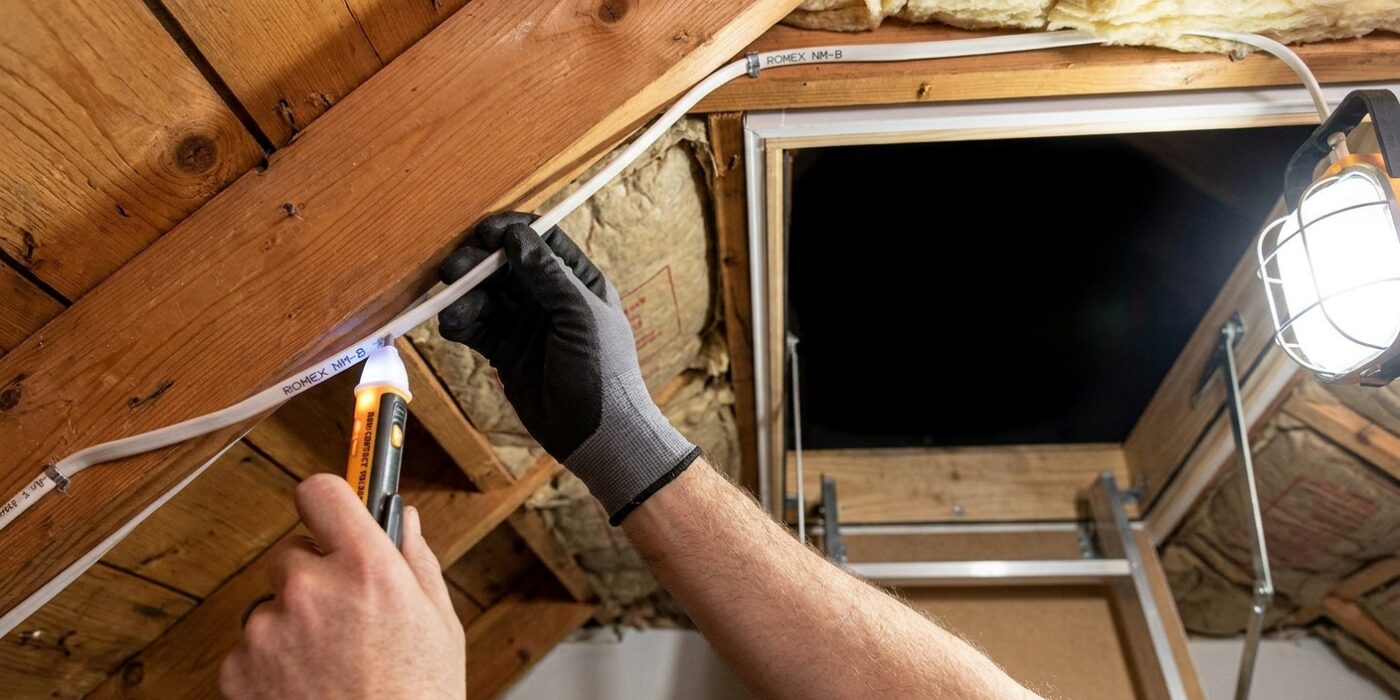
Before you pick up a drill, you need to choose where your power will come from. Think of this like finding the nearest “electrical faucet” to tap into. The easiest source is usually a light fixture or a junction box located in the hallway or closet directly underneath your attic access point. By choosing a location nearby, you minimize the amount of wire you have to pull through walls and ceilings.
To plan your route, look for a clear path from that existing box, up through the “top plate” (the horizontal wooden board that forms the top of your wall framing), and into the open attic space. Use a stud finder to ensure there isn’t a metal pipe or a fire-blocking board in your way. Once you have a clear path, you are ready to connect to that existing circuit. Just remember to check your breaker panel to ensure the circuit isn’t already overloaded – if you see 15-amp breakers with many outlets already on them, look for a different, lighter-loaded source.
Beginner Tip: A common mistake is assuming every “hot” wire is the same. Always turn off the power at the main breaker panel before opening any existing boxes and use a non-contact voltage tester to confirm the power is actually off. Never trust the light switch alone; check the wires directly inside the box.
Pro Tip: If you are struggling to visualize the path, use a small piece of stiff, straight coat hanger wire. Push it through a tiny hole in the ceiling where you plan to enter the attic. If it goes up easily without hitting wood, you have found the perfect clear route.
Step 2: Install the Switch
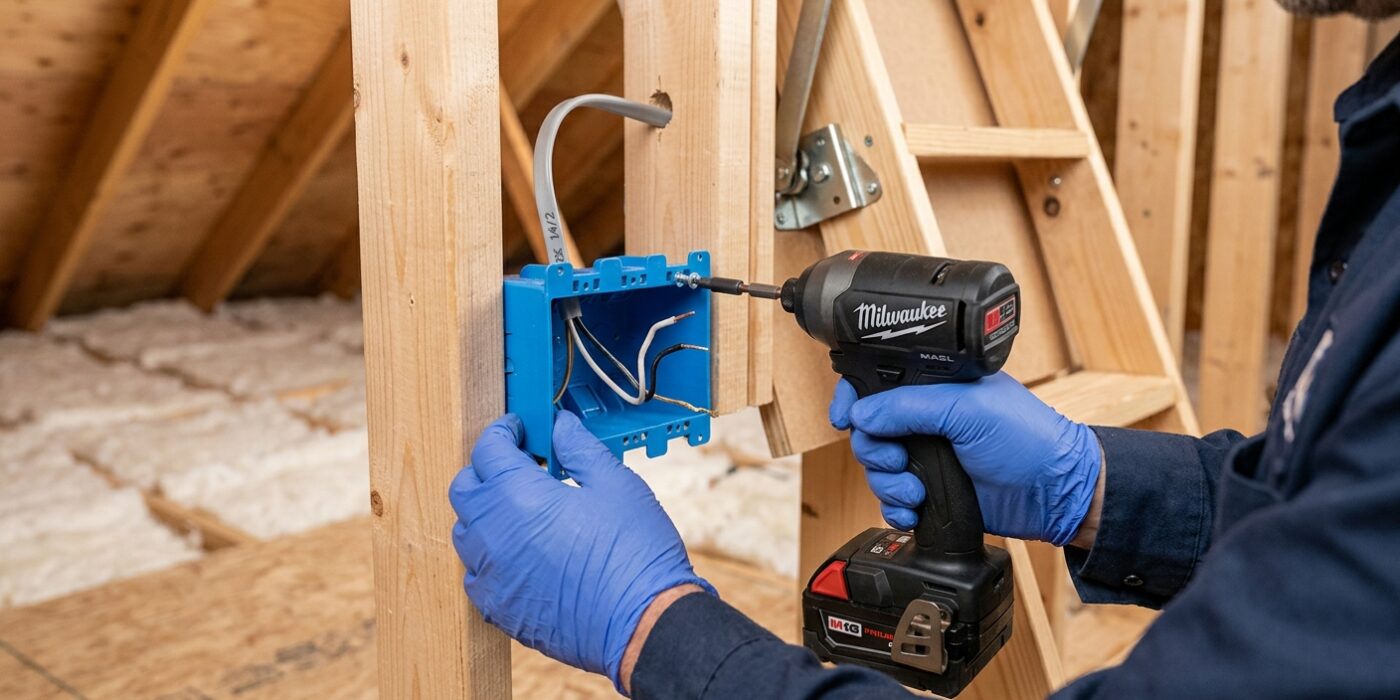
The goal here is to place your light switch exactly where your hand naturally reaches as you pull down the stairs. The best spot is typically on the wall framing directly next to the attic hatch, roughly 48 inches above the floor. This height is comfortable for almost everyone and keeps the switch clear of door trim.
You will be installing an old-work electrical box, which is designed to grab onto the drywall from behind so you don’t have to hunt for a wooden stud. First, trace the outline of your box onto the wall, then use a drywall saw to cut the hole. Once the hole is cut, you will “fish” your electrical cable (the wire) from your power source down through the wall cavity and out of this hole. Think of fishing as using a weighted string to guide the stiff electrical wire through the hidden, dark space inside your wall.
Beginner Tip: A common mistake is cutting the hole too large. Place your box against the wall and trace carefully with a pencil; if the hole is even a quarter-inch too wide, the mounting wings on the box won’t be able to grip the drywall, and your switch will feel loose or fall into the wall. Always cut slightly inside your pencil line and test-fit as you go.
Pro Tip: Before you start fishing the wire, wrap the end of it securely to a “fish tape” or even a weighted piece of heavy string using electrical tape. Taper the tape into a cone shape so the wire slides through insulation without snagging on wooden studs or stray debris inside the wall.
Step 3: Run Cable from Switch to Fixture
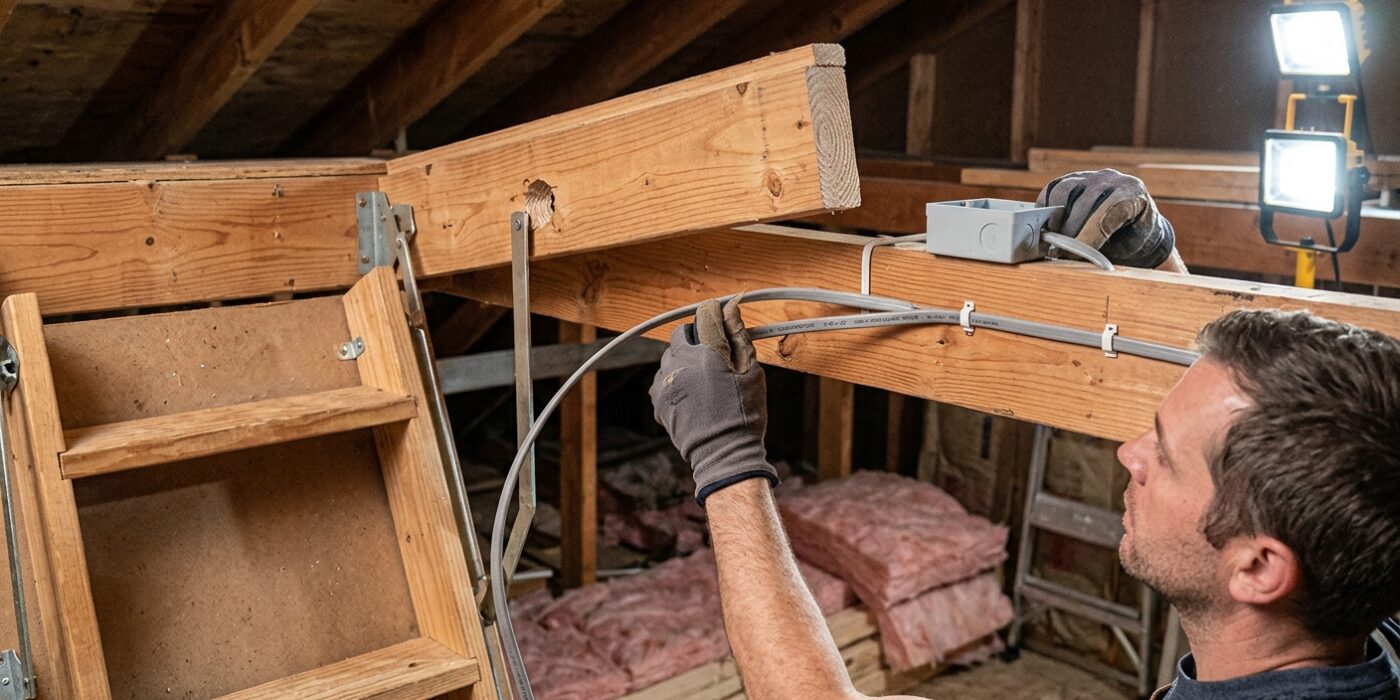
Now that your switch box is mounted, it is time to route the electrical cable into the attic. You will be using 14/2 NM (non-metallic) cable, which has a white plastic sheath. Start by pushing the cable up through the hole you drilled in the top plate (the horizontal wood frame at the top of your wall). Once in the attic, crawl carefully and lay the cable along the side of the wooden ceiling joists. Keeping the cable tucked against the side of a joist prevents it from being stepped on or snagged, which is vital for fire safety. Use plastic cable staples to secure the wire to the side of the joist at least every 4 feet, as well as within 8 inches of where the cable enters the light fixture box.
Beginner Tip: A common mistake is pulling the cable too tight. Always leave a little bit of slack – a gentle curve – between your staples. If the cable is pulled drum-tight, it can actually snap or damage the internal copper wires if the house framing shifts over time due to seasonal temperature changes.
Pro Tip: To make threading the cable through the top plate much easier, tape the end of the cable to a long, flexible fiberglass fish tape or even a sturdy piece of stiff wire. This creates a “leader” that acts like a needle, helping you guide the cable through the hole without it bending or getting stuck inside the wall cavity.
Step 4: Choose and Mount the Fixture
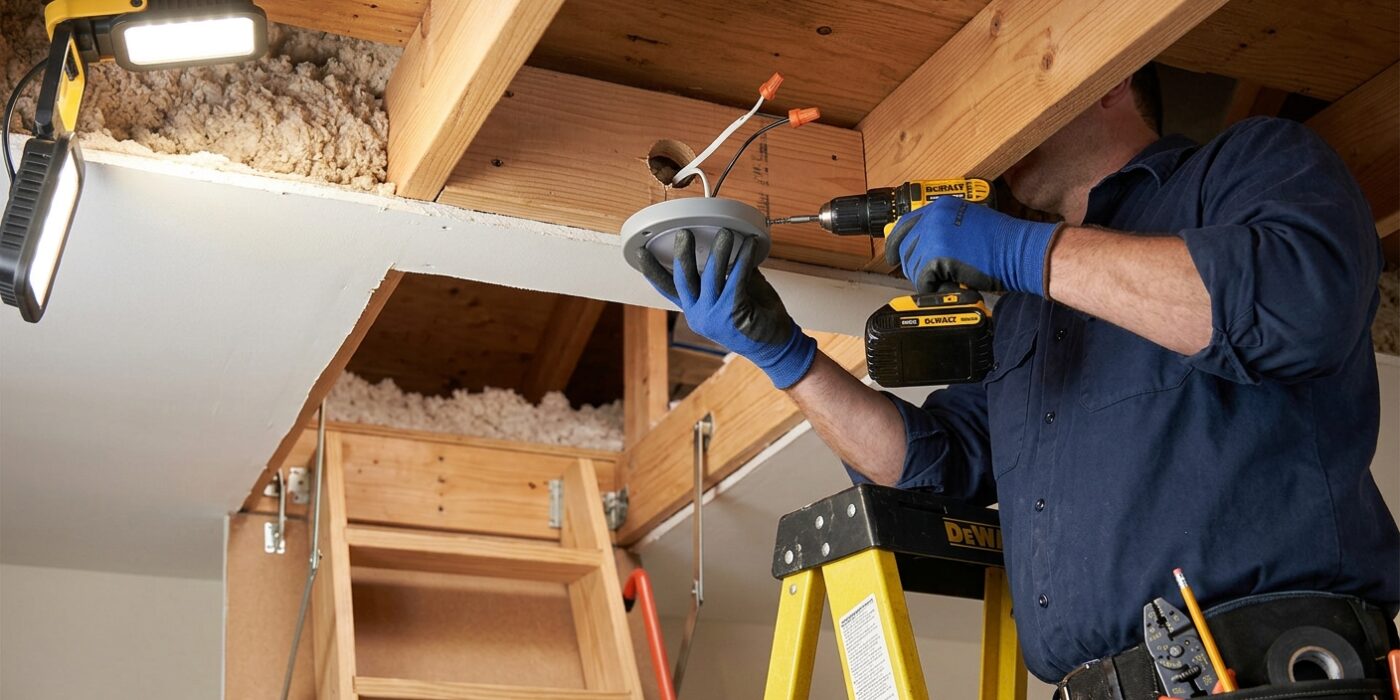
Because attics experience extreme temperature swings and high humidity, standard household light fixtures will degrade quickly. You need gear built for harsh environments. A vapor-tight LED shop light or an LED bulkhead light (rated for damp or wet locations) is your best bet; they are sealed against dust and moisture. Alternatively, a simple porcelain keyless lamp holder is nearly indestructible. Avoid any fixtures with plastic housings, as these can become brittle and crack in the attic heat.
To mount your light, locate a sturdy ceiling joist – the heavy wooden beams running across your attic floor. If your chosen fixture doesn’t align with a joist, screw a piece of scrap 2×4 lumber across two adjacent joists to create a secure mounting surface. Use an “old-work” electrical box if you are mounting a standard fixture; these have little “wings” that flip out to grip the backside of the board, holding the box firmly in place without needing access to the other side of the wood.
Beginner Tip: Never mount your light directly to the drywall or ceiling plaster. It won’t support the weight and can cause the fixture to tear out. Always drive your screws directly into the solid wood joists or your cross-mounted support board.
Pro Tip: When working in a dark attic, pre-drill your pilot holes for the mounting screws while you are still downstairs in a well-lit area. This saves you from struggling with a drill while balancing on narrow joists in dim light.
Step 5: Wire the Circuit
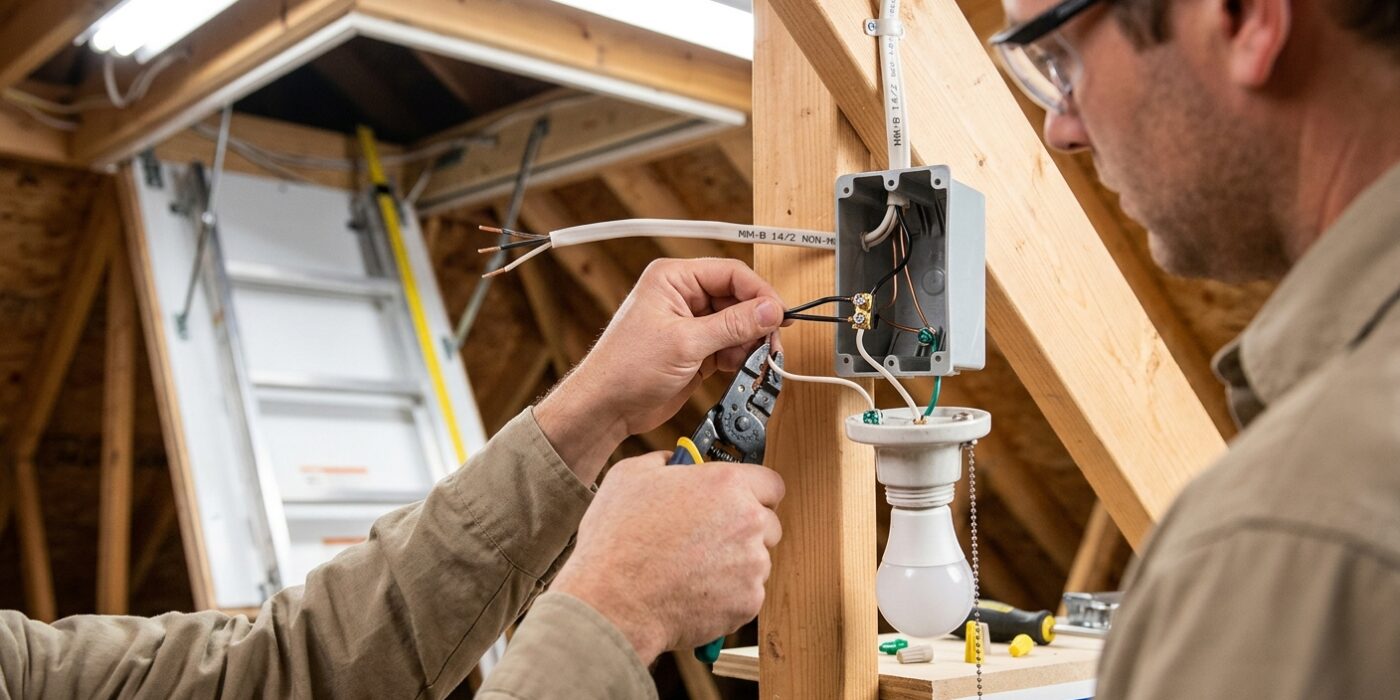
Now it is time to bring your light to life. Wiring is simply a game of matching colors: black wires are “hot” (carrying power), white wires are neutral, and green or bare copper wires are for safety grounding. Before you begin, ensure your main power breaker is turned off and double-check with a non-contact voltage tester.
At each connection point, use your wire strippers to remove about 3/4-inch of insulation from the ends of the wires. Twist the ends of matching wires together clockwise using pliers, then screw on a wire nut until you feel a firm grip. Ensure no bare copper is visible outside the wire nut. At your light switch, the black wires attach to the two side screws, while the green screw is reserved for the ground wire. For the light fixture itself, simply connect the house wires to the corresponding fixture leads using the same twisting method, then tuck the excess wire neatly into the junction box.
Beginner Tip: A common mistake is leaving too much bare wire exposed under the wire nut. If you see more than a tiny bit of copper poking out from the base of the connector, take it off, trim the wire slightly with your cutters, and re-twist. Exposed wire can cause dangerous short circuits.
Pro Tip: When connecting wires to a switch, bend the end of each wire into a small “U” shape using your needle-nose pliers. Hook this loop clockwise around the screw terminal before tightening. This ensures that as you tighten the screw, the wire is pulled tighter into the connection rather than being pushed away.
Step 6: Test
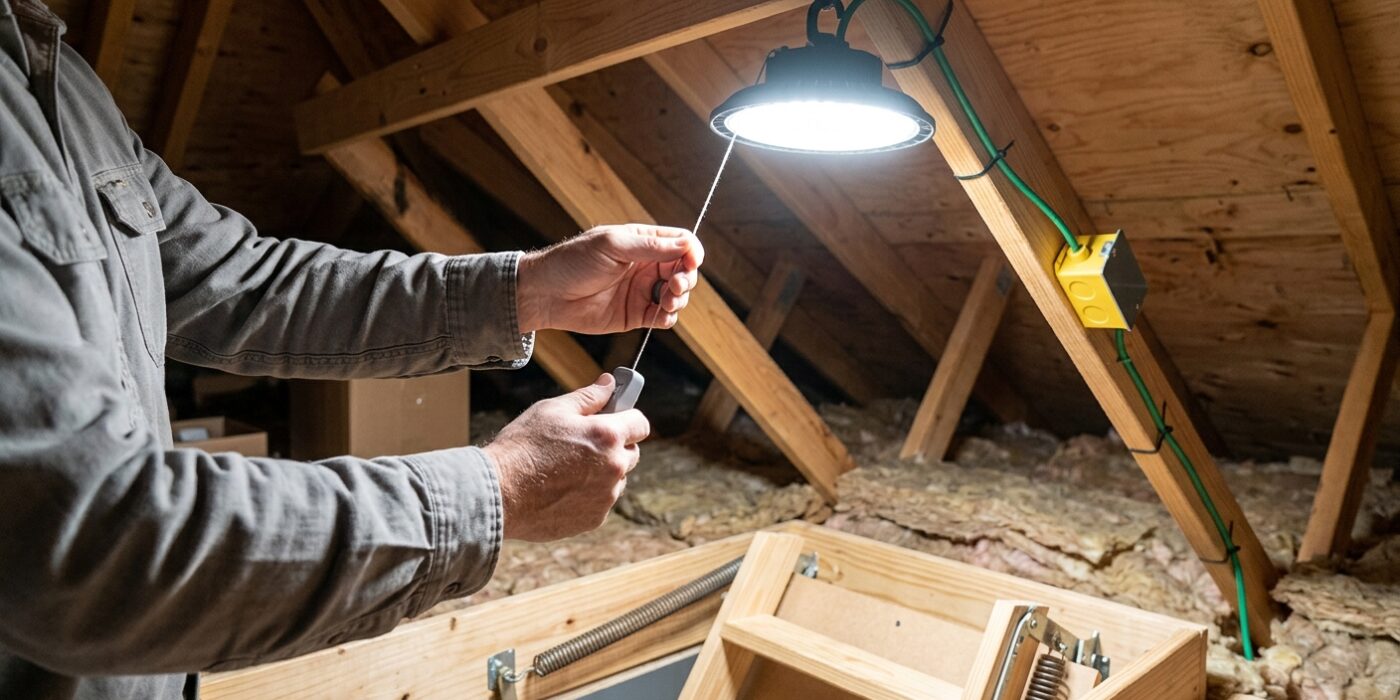
Now that your wiring is secured, it is time to bring your project to life. First, head to your main service panel and flip the circuit breaker back to the “On” position. Walk to your new switch and toggle it several times. The light should click on and off instantly without any flickering or hesitation. While the light is on, gently nudge the fixture with your hand. It should feel rock-solid; if it wobbles, tighten the mounting screws until the base is perfectly flush against the ceiling joist. A secure fixture ensures that moving heavy storage boxes won’t accidentally knock the light loose or cause a loose wire connection.
Beginner Tip: A common mistake is testing the switch while holding a live wire. Always ensure every wire nut is tight and the electrical box cover is screwed firmly into place before you restore power. Never touch the internal components of the light fixture while the circuit is live.
Pro Tip: If your attic is large, consider installing a motion-sensing light switch at the entrance. This saves you from fumbling for a toggle switch in the dark while you are carrying heavy boxes up the pull-down stairs. It is a “set it and forget it” upgrade that makes using your attic space feel professional and safe every time you visit.
Alternative Method: If you find that the switch installation is too complex for your current comfort level, you can install a screw-in motion-activated LED bulb into an existing porcelain lamp holder. This provides instant light the moment you reach the top of the stairs without requiring any changes to your home’s electrical wiring.