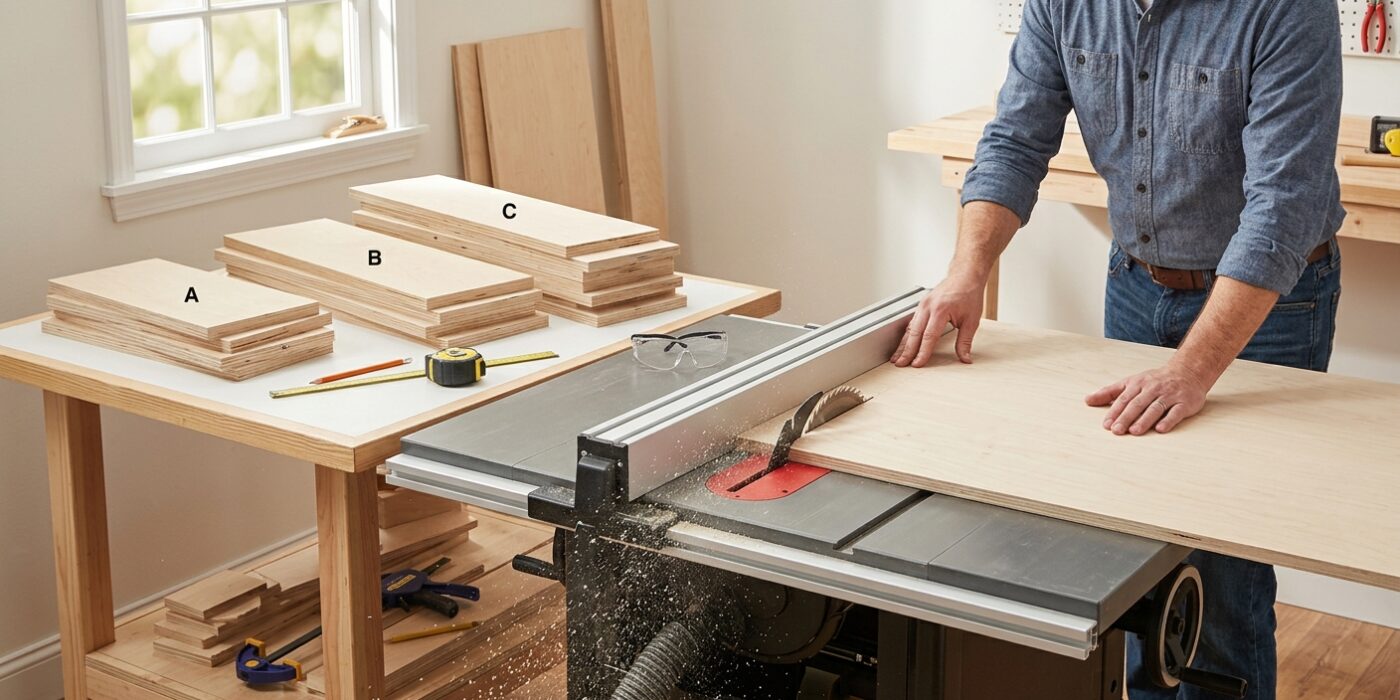
Project Shopping List
A built-in closet organizer transforms a dark box into a functional storage system tailored to your wardrobe. The standard reach-in closet – one rod and one shelf – wastes most of its vertical space. A double-rod section for shirts and jackets, a long section for dresses and pants, and fixed shelves for shoes and folded clothes doubles or triples the usable space in the exact same footprint.
This guide builds a full closet organizer from 3/4-inch plywood with a face frame, wall-mounted to studs. It installs without touching the floor, which makes it easy to paint or clean around. The design includes a double-rod tower on one side, a long-hang section, and a shelving tower with adjustable shelves. Dimensions can be adjusted to fit any closet width.
What You’ll Need
Tools
- Circular saw with guide or table saw
- Drill and bits
- Pocket hole jig
- Level (4-foot minimum)
- Stud finder
- Tape measure and pencil
- Clamps
Materials
- 3/4-inch birch plywood (vertical dividers, shelves, top panel)
- 1×3 and 1×4 poplar (face frame)
- Closet rod hardware: flanges and rods (1-3/8-inch diameter)
- Shelf pins and shelf pin jig
- 3-inch screws (for wall attachment)
- 2-inch pocket screws
- Wood glue and 1-1/4-inch brad nails
- Iron-on edge banding
- Primer and paint
Step 1: Measure and Plan
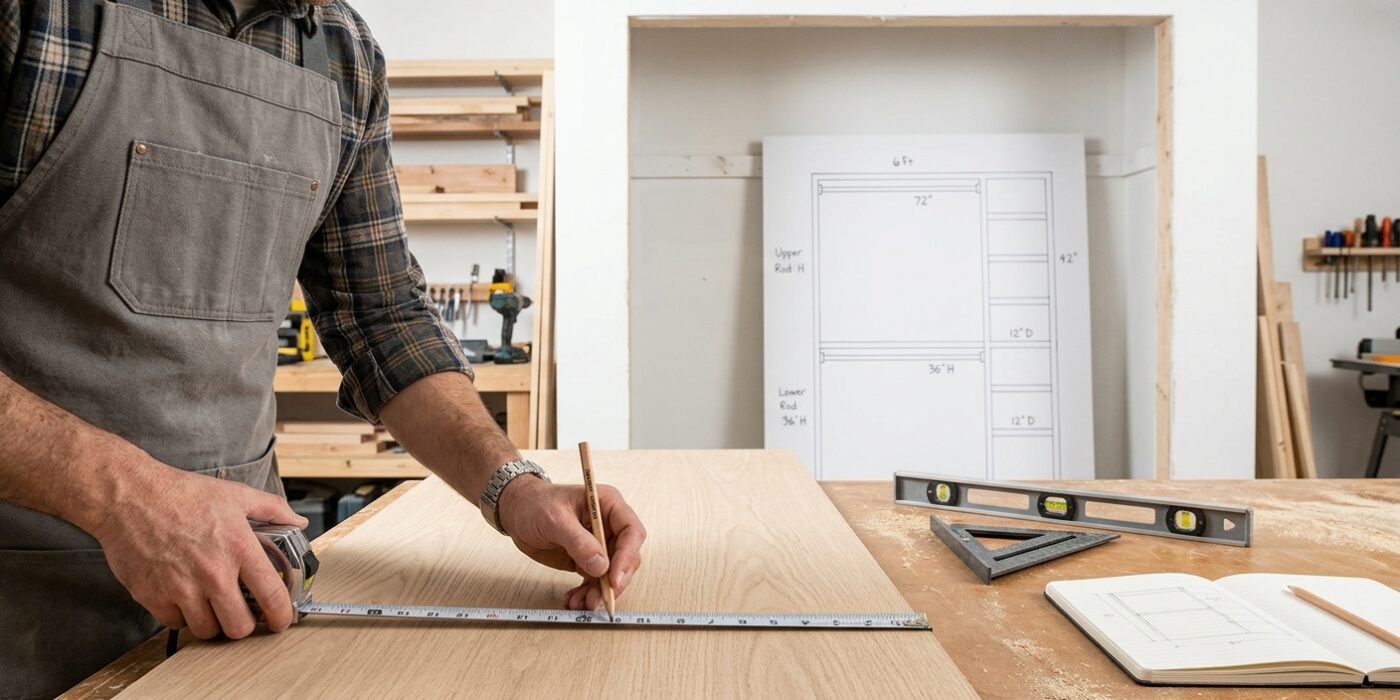
Before you make your first cut, you need a solid roadmap. Start by measuring the interior width, depth, and height of your closet. For the depth, aim for 22 to 23 inches on your wood panels. Since standard closets are 24 inches deep, this slight gap accounts for uneven drywall and ensures your clothes hang freely without rubbing against the back wall.
Next, sketch your layout on paper. For a double-rod setup, vertical space is key: allow 42 inches of clearance for each rod section. This ensures your shirts hang comfortably without bunching at the bottom. If you need a section for dresses or long coats, reserve 66 to 70 inches of vertical room. Start by drawing your vertical dividers first; these are the foundation of your entire organizer and will dictate where your shelves and rods attach.
Beginner Tip: Don’t measure just once! Walls are rarely perfectly square, so measure the width at the top, middle, and bottom of the closet. Always use the smallest number you find to ensure your organizer actually fits into the space.
Pro Tip: Use blue painter’s tape to mark your proposed layout directly on the back wall of the closet. This acts as a full-scale visual guide, allowing you to see exactly how much space you have before you commit to cutting any expensive wood.
Step 2: Install a Top Cleat
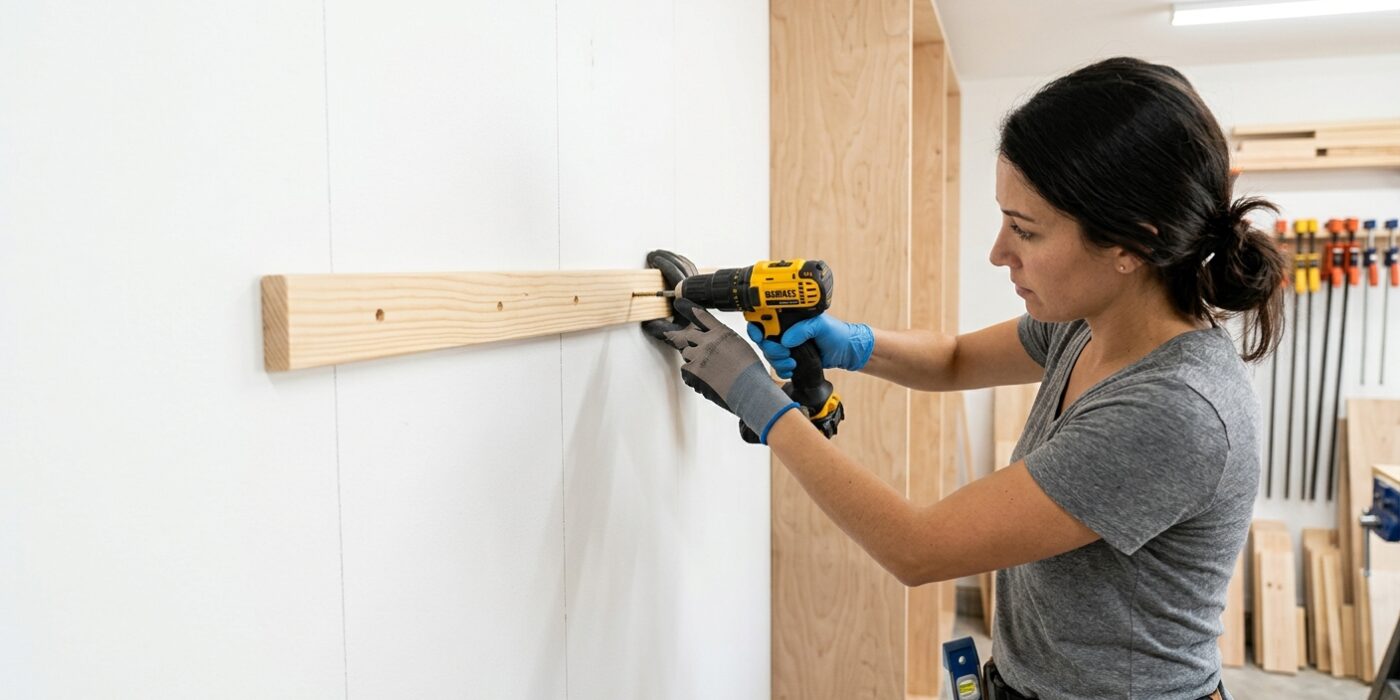
The top cleat acts as the structural backbone of your new closet. Because this board will carry the weight of all your clothes and shelves, it must be anchored securely into the wooden studs hidden behind your drywall. First, use a stud finder to locate the center of every stud along your back wall. Mark these locations clearly with a pencil.
Position your 1×4 or 2×4 board at your desired height – typically 80 to 84 inches from the floor. Use a 4-foot level to ensure the board is perfectly horizontal; if this line is crooked, every shelf you install later will also be crooked. Once level, drive two 3-inch wood screws through the board and into each stud. This double-screw technique prevents the board from twisting or pivoting over time as you load the closet with heavy winter coats or storage bins.
Beginner Tip: Avoid drilling directly into the drywall without finding a stud. Drywall alone is soft and will crumble under weight, causing your entire organizer to collapse. If your screw feels like it is spinning in thin air rather than biting into solid wood, stop immediately, back it out, and use your stud finder to double-check your alignment.
Pro Tip: To keep the board from sliding while you reach for your drill, drive a single screw partially into one stud first to create a temporary “shelf.” You can then rest the board on this screw to hold it in place, allowing you to easily adjust the level and drive the remaining screws with both hands free.
Step 3: Cut Vertical Dividers
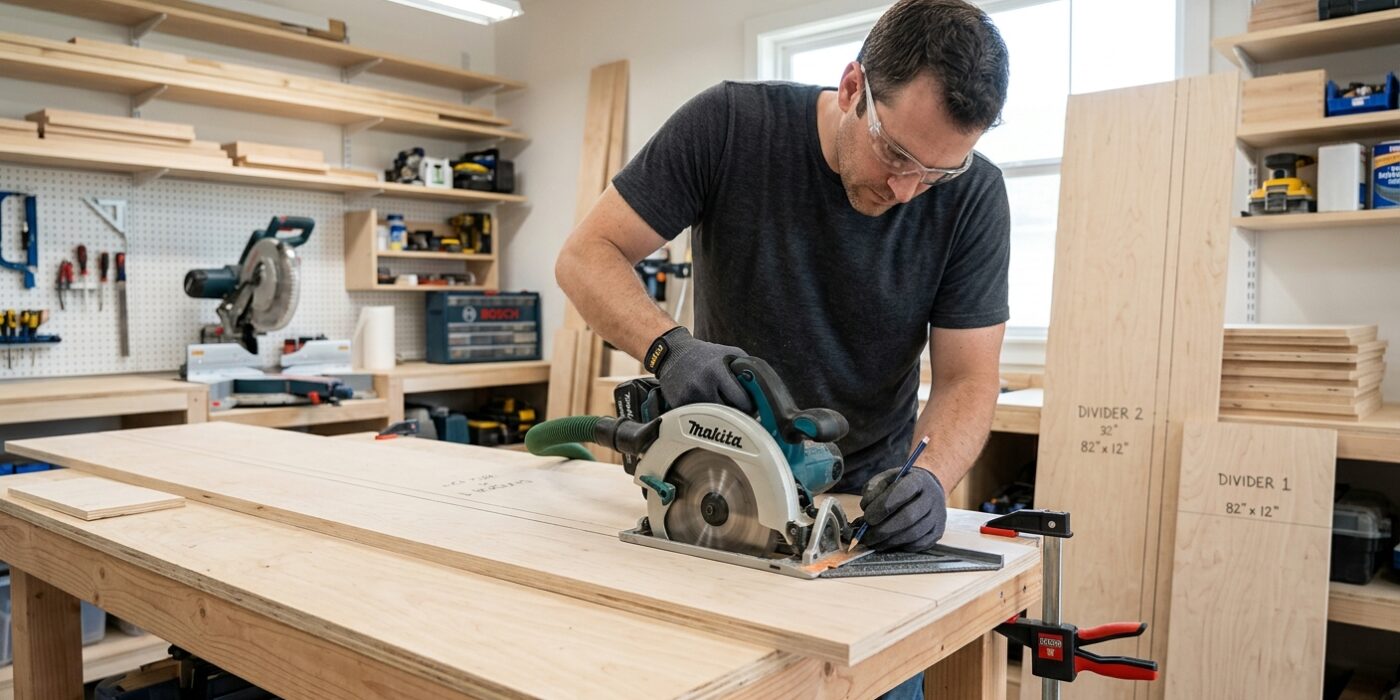
Now it is time to create the vertical dividers that give your closet its structure. These panels act as the walls for your shelves and the anchor points for your clothing rods. Measure and cut your 3/4-inch plywood to match the depth of your planned closet system, typically 12 to 16 inches, and cut them to a height of 72 to 84 inches. The height depends on your preference; a higher divider leaves more room for a hamper or shoe rack on the floor, while a lower one makes the top shelf easier to reach.
Before you install these in the closet, you must apply iron-on edge banding to the front, exposed edge of each divider. If you wait until the boards are screwed into the wall, the tight corners will make applying the heat-activated tape nearly impossible. Simply iron the banding onto the raw plywood edge, trim the excess with a utility knife, and sand it lightly with 220-grit sandpaper until it feels perfectly smooth to the touch.
Beginner Tip: When trimming the excess edge banding, always hold your utility knife at a slight angle away from the plywood surface. It is very easy to accidentally gouge the wood if you hold the blade perfectly flat, which will leave a permanent scar on your beautiful new project.
Pro Tip: To get a professional, seamless finish, use a dedicated edge-trimming tool or a block of wood wrapped in sandpaper to press the banding firmly while the adhesive is still warm. This ensures a tight bond that won’t peel over time.
Step 4: Install Dividers
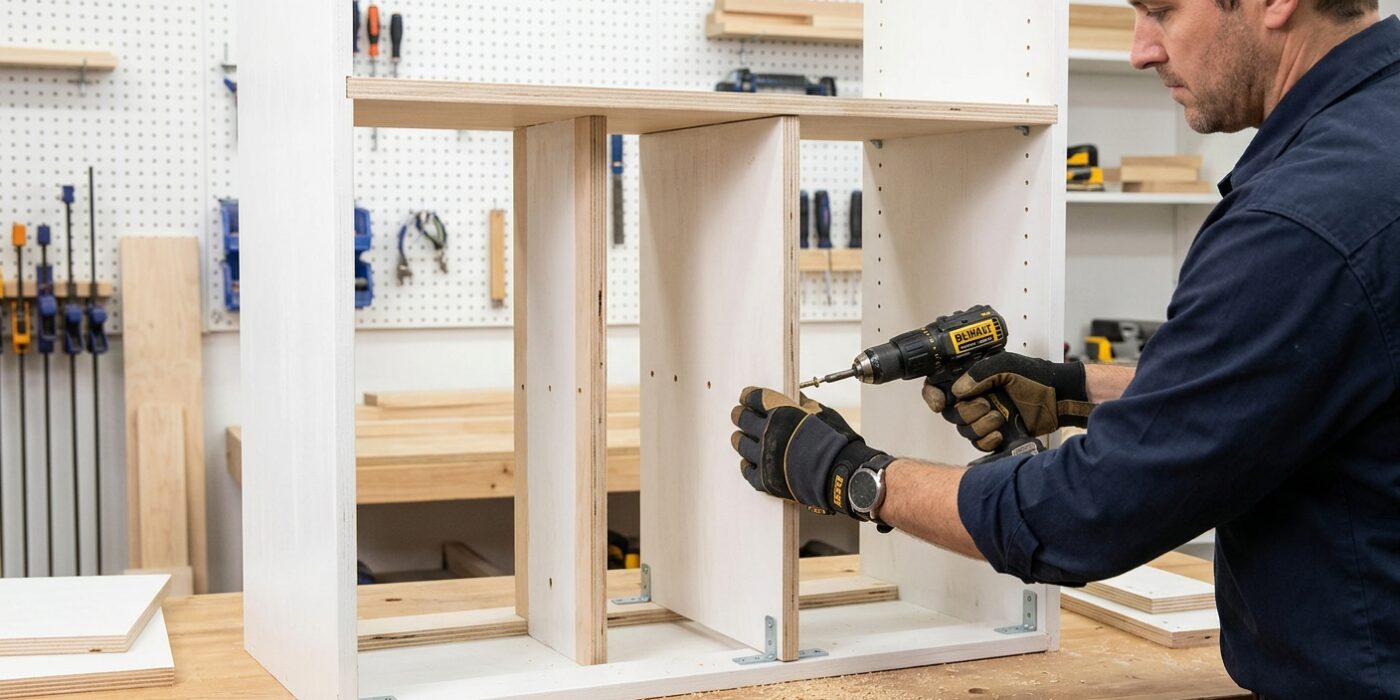
Now it is time to give your closet structure by installing the vertical dividers. These pieces act as the backbone for your shelves and rods. Start by positioning your vertical divider against the top cleat you previously installed. Because pocket screws are hidden on the back or underside of joints, you will drill through the top edge of the divider at a 15-degree angle directly into the face of the cleat. Using a drill set to a medium-low torque setting prevents the screw from splitting the wood.
Before you drive the second screw, place a bubble level against the side of the divider. If the bubble is centered between the lines, your board is perfectly vertical, or “plumb.” If the closet floor is uneven, do not let the board rest directly on it. Instead, cut a small scrap piece of wood to the exact height you want the divider to sit and use it as a temporary prop to hold the board perfectly in place while you work.
Beginner Tip: The most common mistake is letting the divider tilt while driving the screw. If the board moves even a fraction of an inch while you are drilling, the entire shelf unit will be crooked. Always use a clamp to hold the divider against the cleat before you pick up your drill.
Pro Tip: To keep your hands free and your alignment perfect, use a “spacer block.” Cut a piece of wood to the exact width you want your shelf sections to be. Press this block against the wall to gauge the distance for each divider; this ensures all your compartments are identical in width without needing to measure every single time.
Step 5: Install Shelves in the Shelf Tower
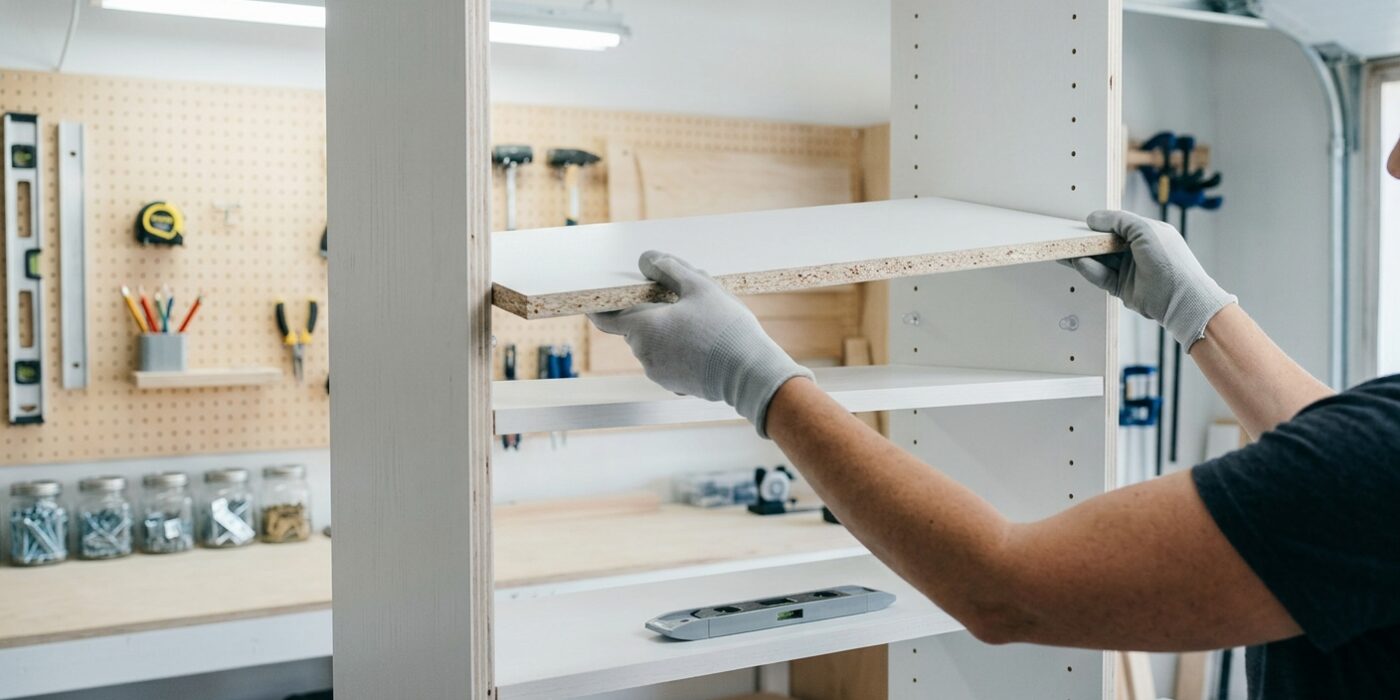
Now it is time to create the flexible storage core of your closet. To ensure your shelves sit perfectly level, you will use a shelf-pin jig. Clamp this plastic guide to the inside face of your dividers, aligning it with the top or bottom edge so your holes are perfectly mirrored on both sides. Drill into the holes provided by the jig; this ensures that your shelf pins won’t wobble later.
Once the holes are ready, cut your shelves to width. For bulky folded sweaters or jeans, aim for a depth of 22 inches, while 12 to 14 inches is perfect for shoe storage. Before installing, iron on a strip of edge banding to the front of each shelf to hide the raw plywood edge, giving it a professional, finished look. Simply place four metal shelf pins into your drilled holes at your desired heights and slide each shelf firmly into place.
Beginner Tip: The most common mistake is drilling too deep. Wrap a small piece of painter’s tape around your drill bit to act as a depth stop, marking exactly how far you need to go so you do not accidentally poke a hole through the other side of your cabinet wall.
Pro Tip: To keep your shelves from rattling or sliding, apply a tiny dab of silicone adhesive or place a small rubber furniture bumper on top of each shelf pin before resting the board on it. This creates a secure, non-slip friction fit that makes the entire unit feel much more premium and stable.
Step 6: Install Closet Rods
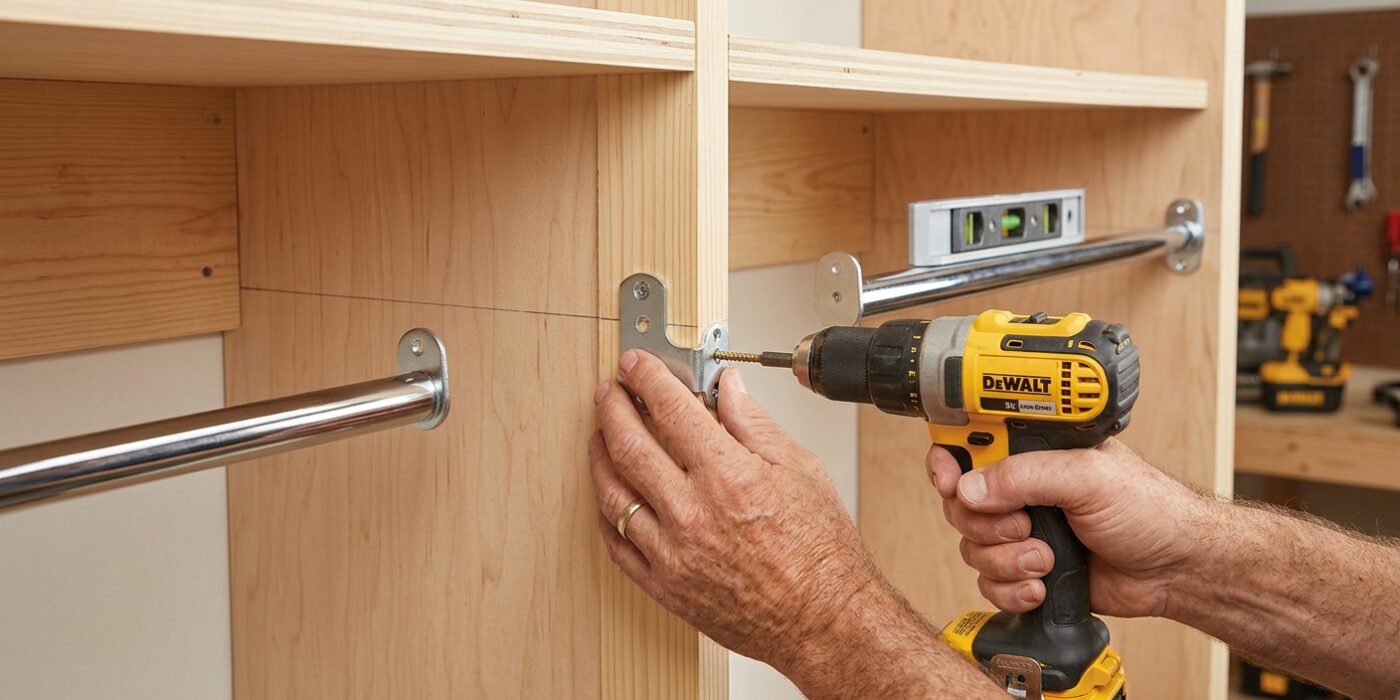
Now it is time to install your closet rods. Think of these as the backbone of your storage. In sections designed for two rods, place the upper rod 82 to 84 inches from the floor and the lower rod 40 to 42 inches. For areas where you want to hang long coats or dresses, mount a single rod between 66 and 68 inches high. You will use rod flanges – the small, cup-like hardware – to hold the poles in place. Attach these flanges to the inside walls of your closet dividers using wood screws. If your rod span exceeds 48 inches, you must install a center support flange; ensure this is screwed directly into a wall stud to prevent the rod from bowing under the weight of your clothes.
Beginner Tip: A common mistake is installing the flanges while the rod is already inside them. Instead, screw the flanges to the walls first. Once they are secure, slide one end of the rod into a flange, then gently pivot the other end into the second flange. This prevents you from struggling to reach a screwdriver in a cramped space.
Pro Tip: To get perfectly level rods every time, use a laser level or a long spirit level to mark your height across the entire wall before you pick up your drill. If you do not have a helper, place a small piece of painter’s tape on the wall to hold the flange in place while you drive in your first screw.
Step 7: Apply Face Frames
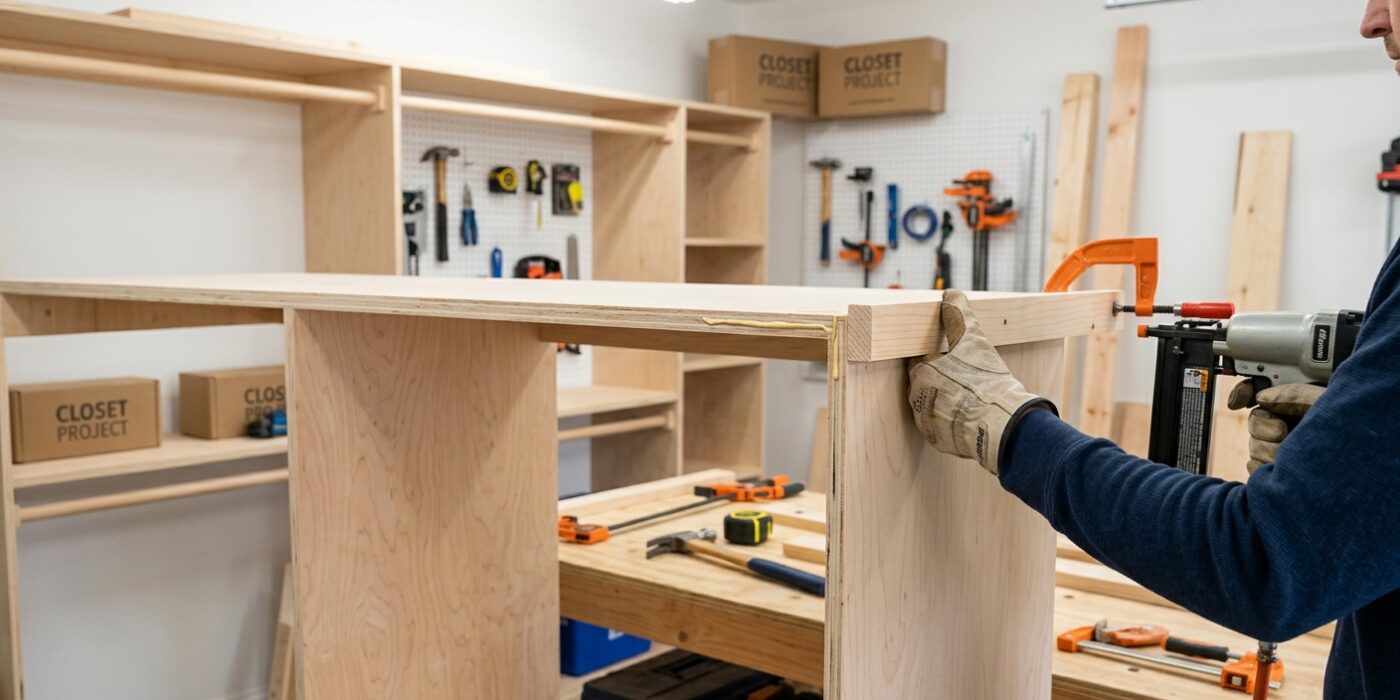
Now that your dividers are installed, it is time to add the “face frame.” Think of this as the final trim that covers the raw, ugly edges of your plywood and turns your project into a high-end built-in. You will need 1×3 boards (which actually measure 3/4 inch by 2 1/2 inches). Measure the exact height of your vertical dividers and cut your boards to match. Apply a thin bead of wood glue to the front edge of the plywood, align your board perfectly flush with the inside corner, and secure it with 1 1/4-inch finish nails. Once your vertical “stiles” are on, measure the space between them to cut your horizontal “rails” for the top. This frame creates a seamless look, hiding the internal layers of the plywood and giving your closet that heavy, custom-cabinet feel.
Beginner Tip: The most common mistake is letting the board shift while nailing. Use a piece of masking tape to hold the board in place before you pick up your nailer. If your board slides even an eighth of an inch, it will be visible once you start painting, so double-check that your edges are perfectly flush before firing that first nail.
Pro Tip: To get that professional, gap-free look, hold your face frame boards just a hair (about 1/32 of an inch) proud – or slightly sticking out – past the front of the dividers. Once the glue is dry, you can lightly sand that tiny overhang until it is perfectly flush with the wood. It is much easier to sand a bump down than it is to fill a gap where the board was slightly too short.
Step 8: Prime and Paint
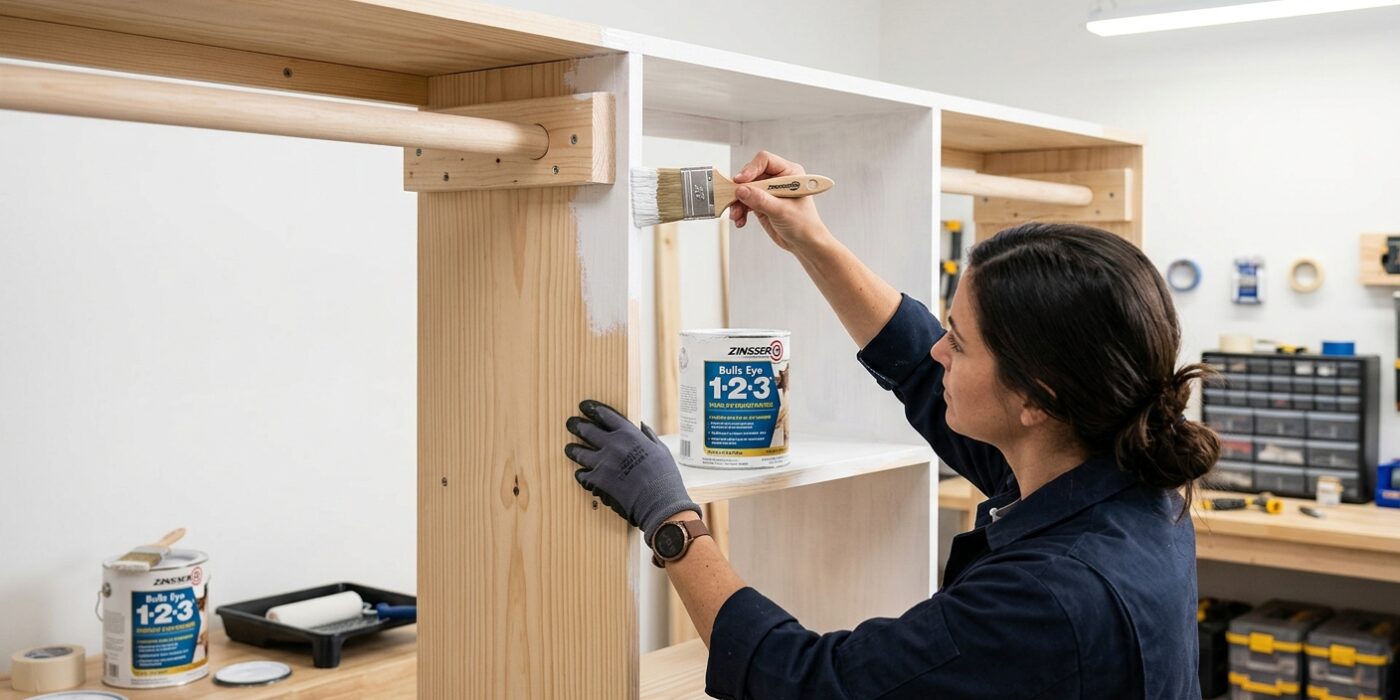
Now that your structure is assembled, it is time to give it a professional finish. First, use a small amount of wood filler to cover any exposed nail heads. Once the filler is completely dry, sand the entire surface with 220-grit sandpaper until it feels smooth to the touch. This prep work is essential because paint highlights imperfections rather than hiding them.
Next, apply a high-quality shellac-based primer. This seals the wood fibers and prevents the wood from “drinking” your paint, ensuring an even, durable finish. Once the primer dries, apply two coats of semi-gloss white paint. We recommend semi-gloss because it is highly moisture-resistant and easy to wipe clean, plus the light-reflecting sheen helps brighten up a dark closet interior. Lightly sand with 220-grit paper between the first and second coats to remove any tiny bubbles or dust nibs, resulting in a buttery-smooth finish.
Beginner Tip: Avoid the urge to rush the drying process. If you apply a second coat of paint before the first is fully cured, you risk dragging the tacky paint underneath and creating clumps. Patience here is the difference between a amateur look and a custom, store-bought finish.
Pro Tip: To keep your painting area clean, use a high-quality “angled sash” brush for the corners and inside edges where your shelves meet the dividers. If you get paint on the wall behind the organizer, simply use a damp rag to wipe it away immediately before it sets.