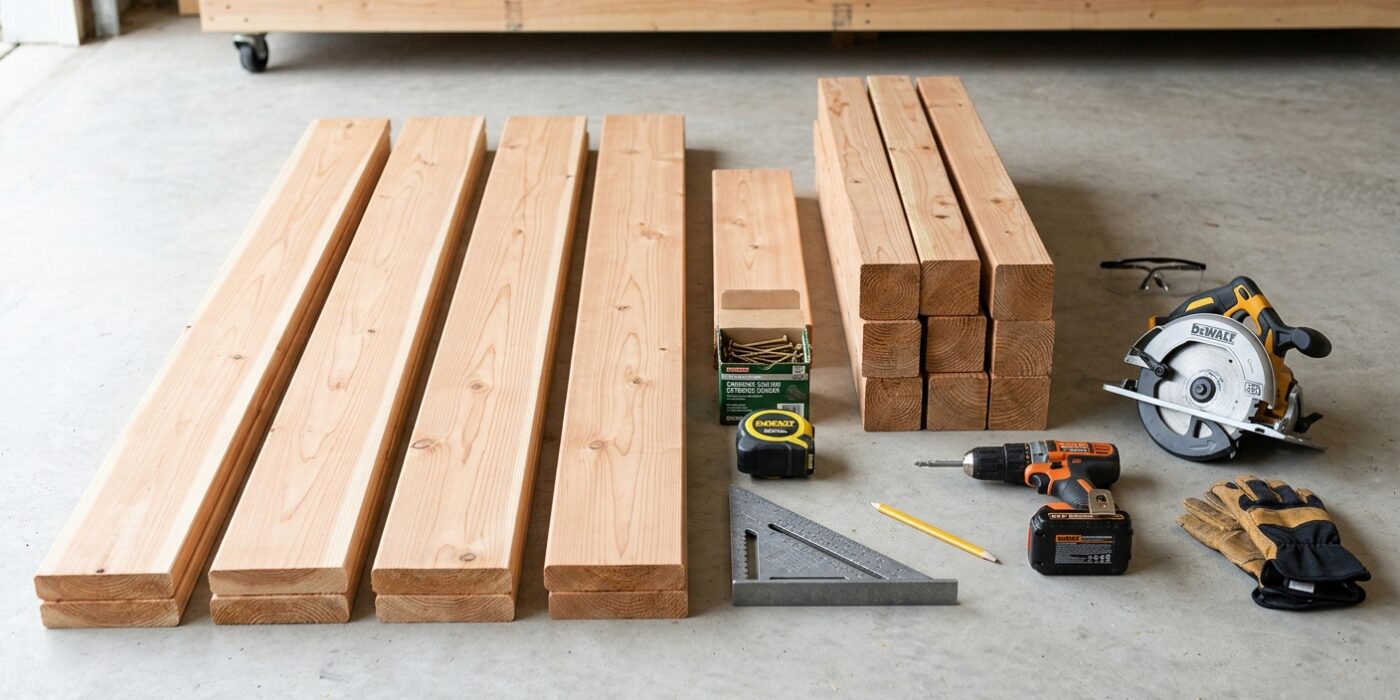
Project Shopping List
A large raised planter box transforms a patio, deck, or yard with a custom growing space for vegetables, herbs, or ornamentals. Cedar and redwood are the best materials — naturally rot-resistant, attractive, and safe for food growing. A 4×8-foot box gives maximum growing space while remaining accessible from both sides without stepping in. This guide builds a box approximately 4 feet wide by 8 feet long by 18 inches tall — large enough for serious vegetable growing, small enough to fill with a few trips to the garden center.
What You Need
- Cedar or redwood 2×6 boards (sides and ends)
- 4×4 cedar or redwood corner posts
- Galvanized or stainless deck screws (3-inch)
- Landscape fabric (liner)
- Optional: 1/4-inch hardware cloth (wire mesh) for base if gophers are a concern
- Drill and circular saw
- Level and square
Step-by-Step Instructions
Step 1: Choose a Location
Vegetables need 6-8 hours of direct sun. Place the box where it will get full morning sun and some afternoon shade in hot climates. Keep it close to a water source. The box will be heavy when filled with soil — place it where you want it permanently before filling. On a deck, check that the deck structure can support the weight: a 4x8x18-inch box filled with moist soil weighs 1,500-2,000 lbs.
Step 2: Cut All Parts
Long sides: three 2×6 boards at 96 inches each (two sides = 6 boards total). Short ends: three 2×6 boards at 45 inches each (24 inches + 1.5 + 1.5 = actual end dimension for flush corners; adjust for corner post method). Corner posts: four 4×4 pieces at 18 inches (the finished box height). Label all pieces before cutting.
Step 3: Assemble the Corner Posts
The 4×4 corner posts anchor the side boards and provide structural rigidity. Attach the first 2×6 side board to two corner posts using two 3-inch screws per board end — drive screws through the board into the post face. Stack the remaining side boards above the first, maintaining flush alignment. Work on a flat surface and check square at each corner after the first board is attached.
Step 4: Connect End Boards
Attach the end boards to the remaining two faces of the corner posts, fitting between the two long sides. Use two screws per board end into the post. Check that the box is square: measure both diagonals — they must be equal. Rack the box until it is square before adding any additional boards. Once square, add the remaining end boards.
Step 5: Add Internal Supports (Boxes over 4 Feet Long)
For an 8-foot box, add one or two internal cross supports to prevent the long sides from bowing outward under soil pressure. Cut a 2×6 to span the interior width and attach it with screws through the long side boards at mid-span. These internal supports do not divide the growing area — soil and roots grow right past them. For boxes under 4 feet long, internal supports are not needed.
Step 6: Install Liner and Optional Hardware Cloth
Line the interior with landscape fabric — staple it to the inside walls and fold corners. The liner allows water to drain while preventing soil from washing through any gaps. If gophers or moles are a problem in your area, staple 1/4-inch hardware cloth across the bottom before adding the landscape fabric. The hardware cloth is stiff enough to exclude burrowing animals.
Step 7: Level the Box and Fill with Soil
Set the box in its final location and check that it is level in both directions. Shim corners with cedar shims if needed. Fill with a mix of 60% topsoil and 40% compost, or a purpose-made raised-bed soil mix. Do not use native soil from the yard alone — it compacts in a raised bed and does not drain well. Fill to 2 inches below the top of the box to prevent soil from washing out when watering.
Pro Tips
- Stainless steel or hot-dipped galvanized screws are essential — plain steel or zinc screws corrode within a year in contact with cedar and wet soil.
- Leave a 1/2-inch gap between boards when assembling the sides — this allows the wood to expand in rain without the boards buckling outward.
- Apply a food-safe exterior oil (linseed oil or tung oil) to the outside of the box for a richer appearance and to slow weathering without introducing chemicals near food plants.
Frequently Asked Questions
How deep should a raised planter be for vegetables?
Twelve inches is the minimum for most vegetables. Eighteen inches is ideal and allows carrots, tomatoes, and deep-rooted plants to thrive. If the box sits on soil rather than a deck or patio, roots can extend into the native soil below, making even a 12-inch box productive for most crops.
Should I use pressure-treated lumber?
Modern pressure-treated lumber (ACQ or copper-based) is considered safe for raised food garden beds by most agricultural extension services. However, cedar and redwood are naturally rot-resistant and completely free of any treatment chemicals — they are the preferred choice if budget allows. Never use old green chromated copper arsenate (CCA) treated lumber, which is no longer available but may be found on older structures.