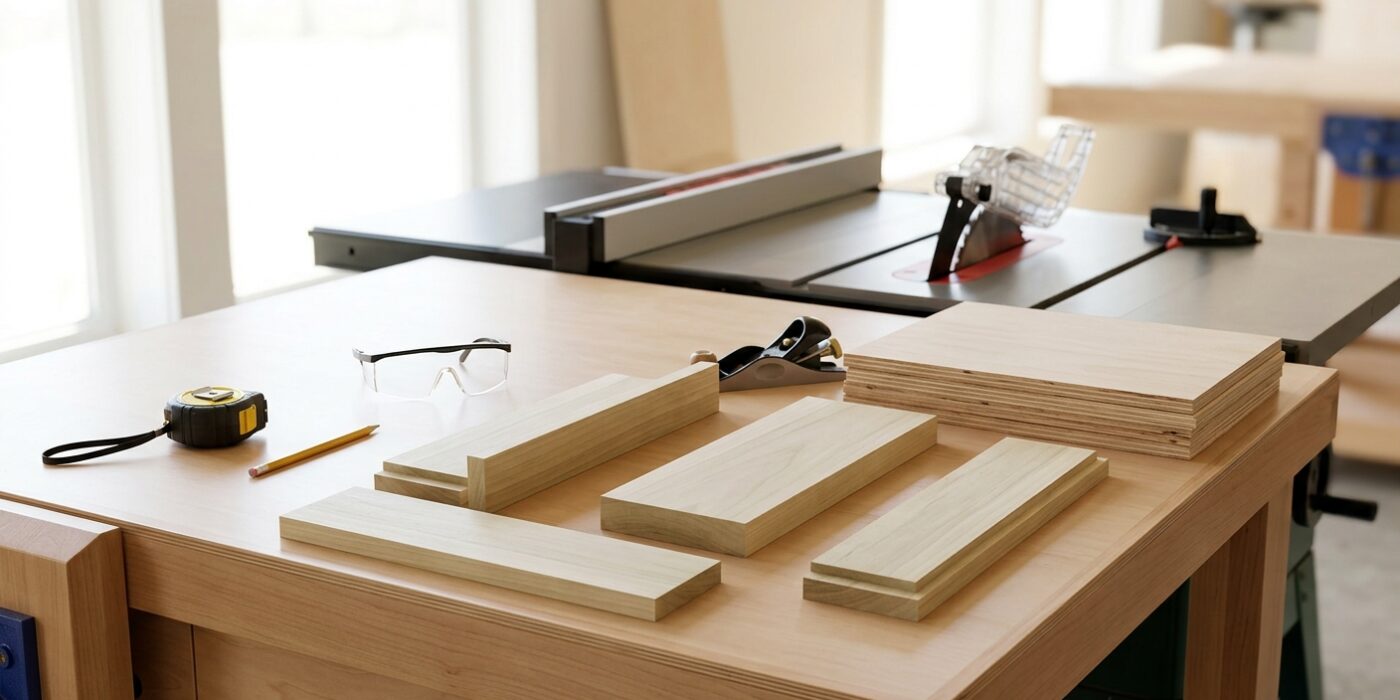
Project Shopping List
A drawer is a fundamental cabinet and furniture component, and building one from scratch teaches the most important skills in case work: precise measurement, square assembly, and fitting moving parts. This guide builds a simple drawer box from 1/2-inch plywood sides and a 1/4-inch plywood bottom — the same construction method used in production cabinetry. Once you can build a square drawer box that slides smoothly, you can build any cabinet.
What You Need
- 1/2-inch birch or Baltic birch plywood (sides, front, back)
- 1/4-inch plywood (bottom panel)
- Pocket hole jig and 1-inch pocket screws
- Wood glue
- Drawer slides (undermount or side-mount)
- Table saw or circular saw with straight edge
- Clamps and square
Understanding Drawer Dimensions
Drawer box dimensions depend on the drawer slide type and the opening size. For standard 1/2-inch side-mount slides, the drawer box width equals the opening width minus 1 inch (1/2 inch per side for the slide). The drawer box height is typically 1/2 to 1 inch shorter than the opening. The drawer box depth equals the slide length (typically 16 or 22 inches). Write out all four dimensions — width, height, depth, and bottom size — before cutting.
Step-by-Step Instructions
Step 1: Cut All Parts
Cut the two side panels at drawer depth by drawer height. Cut the front and back panels at drawer width minus 1 inch (the sides overlap the front and back, so the front and back are shorter by the combined thickness of both sides — 1 inch for 1/2-inch plywood on each side). Cut the bottom at drawer width by drawer depth. Label each piece: left side, right side, front, back, bottom.
Step 2: Cut the Bottom Groove
The bottom panel floats in a groove cut in the bottom inside face of all four box pieces. Set the table saw fence to 1/4 inch from the blade and cut a groove 1/4 inch wide by 1/4 inch deep along the bottom inside face of all four panels. This groove holds the bottom panel without gluing it — the floating bottom allows seasonal movement. If you do not have a table saw, use a router with a 1/4-inch straight bit and a fence.
Step 3: Drill Pocket Holes
Drill two pocket holes at each end of the front and back panels — set the jig for 1/2-inch material. The pockets face into the drawer box interior (invisible when the drawer is assembled). Alternatively, use brad nails and glue if you do not have a pocket hole jig — the joint is adequate for light-duty drawers.
Step 4: Assemble the Box
Apply glue to the ends of the front panel. Slide the bottom panel into the groove in the front panel first, then bring up the sides and the back, sliding the bottom into all four grooves. Do not glue the bottom — let it float. Clamp the assembly and drive pocket screws through the front and back into the sides. Check for square by measuring both diagonals — they must match. An out-of-square drawer box will bind in the opening.
Step 5: Confirm the Bottom is Floating
Verify the bottom panel can shift slightly side to side and front to back in the grooves — a small amount of float (1/8 inch) is correct. If the bottom is glued or pinned solid, it will cause the box to rack and bind as wood expands in humid weather. A single brad nail or staple through the back panel into the bottom edge is acceptable to keep the bottom from rattling — do not fasten the sides.
Step 6: Install Drawer Slides
For side-mount slides: mount the cabinet member of the slide to the inside of the cabinet opening, 1/2 inch up from the bottom of the opening. Mount the drawer member to the outside face of the drawer side, flush with the bottom of the drawer box. Slide the drawer members onto the cabinet members and test the action — the drawer should slide smoothly with no binding. Adjust the cabinet slide up or down to correct any tilt.
Step 7: Attach the False Front
The false front (the visible face of the drawer) attaches to the front of the box after the box is installed and aligned. Open the drawer, hold the false front in its final position (centered in the opening with consistent reveal gaps), and use double-sided tape or a clamp to hold it temporarily. Drive two screws from inside the drawer box into the back of the false front. Confirm the reveal is even, then add remaining screws. Attach a pull or knob through pre-drilled holes in the false front.
Pro Tips
- Baltic birch plywood is worth the slight extra cost for drawer boxes — it has more plies, voids are uncommon, and it holds screws much better than standard birch or ACX plywood.
- Apply a coat of paste wax to wooden drawer slides (if using wood-on-wood rather than metal slides) — it dramatically reduces friction and lasts years.
- Cut all drawer parts for a bank of drawers from the same sheet of plywood in sequence — this ensures consistent color and grain direction across all boxes.
Frequently Asked Questions
What drawer slide should I use?
For most shop and utility drawers, basic epoxy-coated side-mount slides (Blum, Accuride, or equivalent) at 100 lb rating work well and cost $5-15 per pair. For kitchen and furniture drawers, undermount slides (Blum Tandem or equivalent) are invisible from the side and close softly. For very heavy drawers (tool storage), use heavy-duty full-extension slides rated for 150 lbs or more.
My drawer binds when I push it closed. How do I fix it?
Binding almost always means the drawer box is out of square, the slides are not parallel to each other, or the false front is slightly too large for the opening. Check the box diagonal measurement first. Then check that both slide members are at the same height inside the cabinet. Finally, check that the false front does not overhang into the adjacent drawer opening.