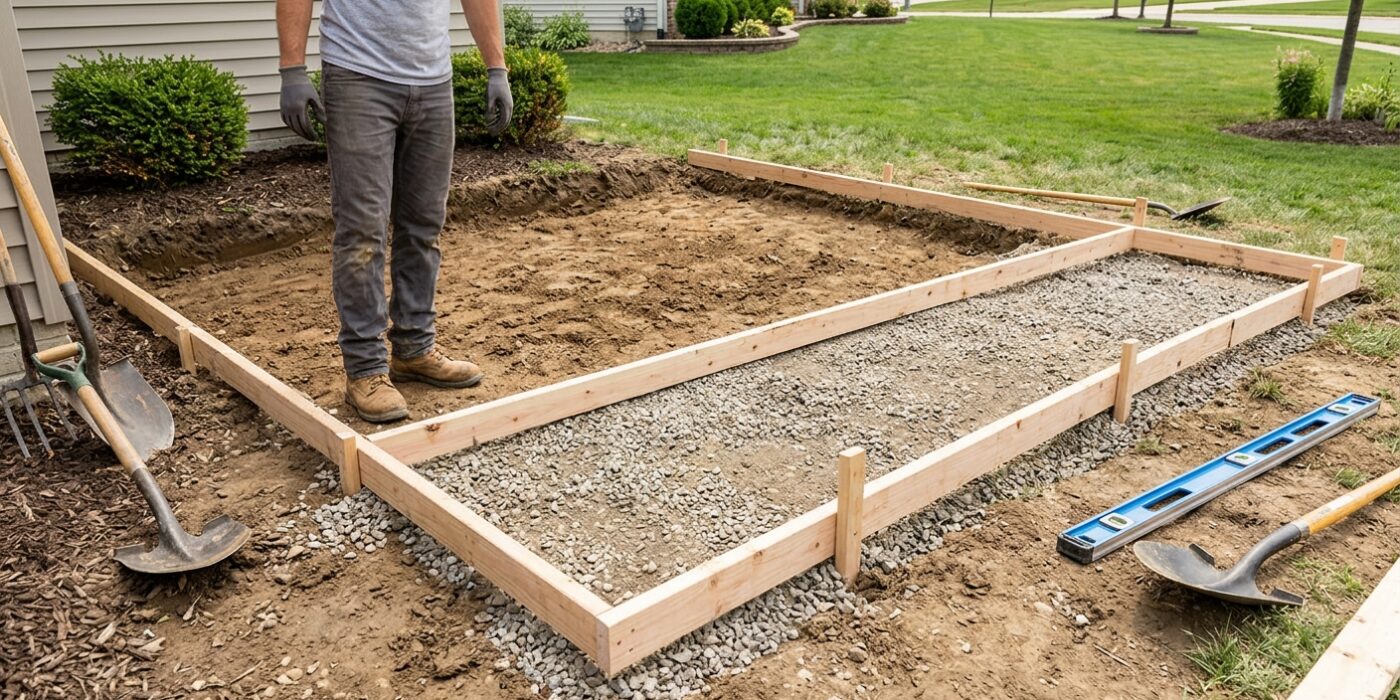
Project Shopping List
A concrete patio is one of the most permanent and cost-effective outdoor improvements you can make. Poured correctly, it lasts 30 years with minimal maintenance and provides a flat, stable surface for outdoor furniture, grills, and gatherings. The work is physically demanding and the timing is critical, but the actual skills are learnable in a single project. The key is preparation: a solid base, proper forming, and having enough help on pour day.
This guide covers a standard residential patio: 12 to 16 feet wide, 3.5 to 4 inches thick, with fiber reinforcement and control joints. Larger slabs (over 200 square feet) require a concrete pump truck for placement, which adds cost but is well worth it. For slabs under 200 square feet, a ready-mix truck with a chute can typically reach most backyard locations.
What You’ll Need
Tools
- Circular saw with concrete blade (for cutting forms)
- Shovel and wheelbarrow
- Plate compactor or hand tamper
- Screed board (straight 2×4 cut to span your forms)
- Bull float or darby
- Edger and groover tools
- Trowels (magnesium and steel float)
- Level, string line, and stakes
Materials
- Form lumber: 2×4 for 3.5-inch slab, 2×6 for 5.5-inch slab
- Form stakes: 12-inch minimum
- Crushed gravel base: 4-inch compacted depth
- Ready-mix concrete: 3,000 PSI minimum (order 10 percent extra)
- Fiber reinforcement (added at plant or on-site)
- Expansion joint board: 1/2-inch foam or wood fiber strips
- Concrete sealer (cure and seal product)
Step 1: Lay Out and Excavate
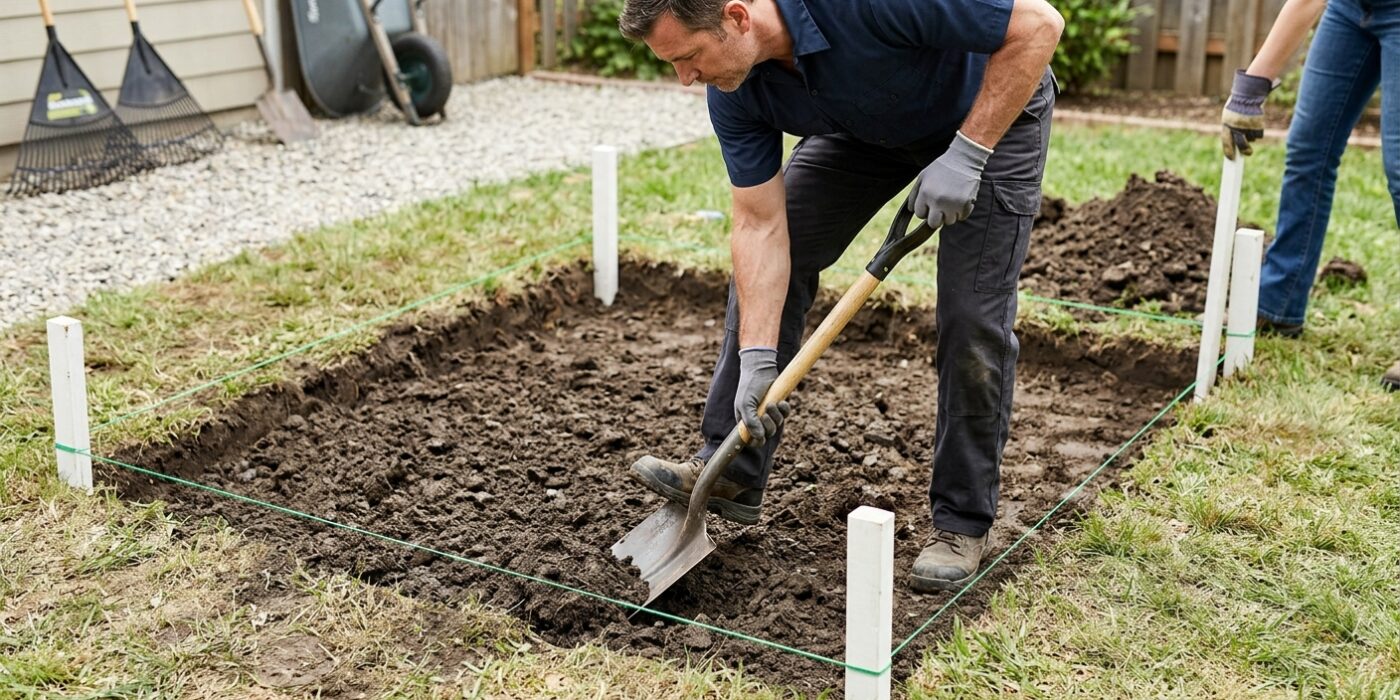
Before you pour any concrete, you must prepare the foundation. Start by marking the footprint of your patio using wooden stakes driven into the ground at each corner, connected by tightly pulled mason’s string. This string line acts as your blueprint. Crucially, you must account for drainage by sloping the patio away from your home; aim for a drop of 1/4 inch for every foot of distance. This ensures rainwater flows away from your foundation rather than pooling against it.
Next, it is time to dig. You need to remove the soil to a total depth of 8 inches: 4 inches for a compacted gravel base and 4 inches for the concrete slab itself. As you excavate, ensure you clear away all grass, roots, and organic matter. If you leave these behind, they will eventually decompose, creating hollow pockets under your patio that lead to unsightly cracks or uneven settling.
Beginner Tip: Resist the urge to dig too wide. Start by digging exactly to your string lines. It is much easier to widen a hole later than it is to fill in and re-compact soil you have already removed.
Pro Tip: Use a simple line level – a small plastic tool that hooks onto your string – to ensure your slope is accurate. By adjusting the string height at the outer stakes, you can visualize the perfect slope before a single shovel of dirt is moved.
Step 2: Compact the Subgrade
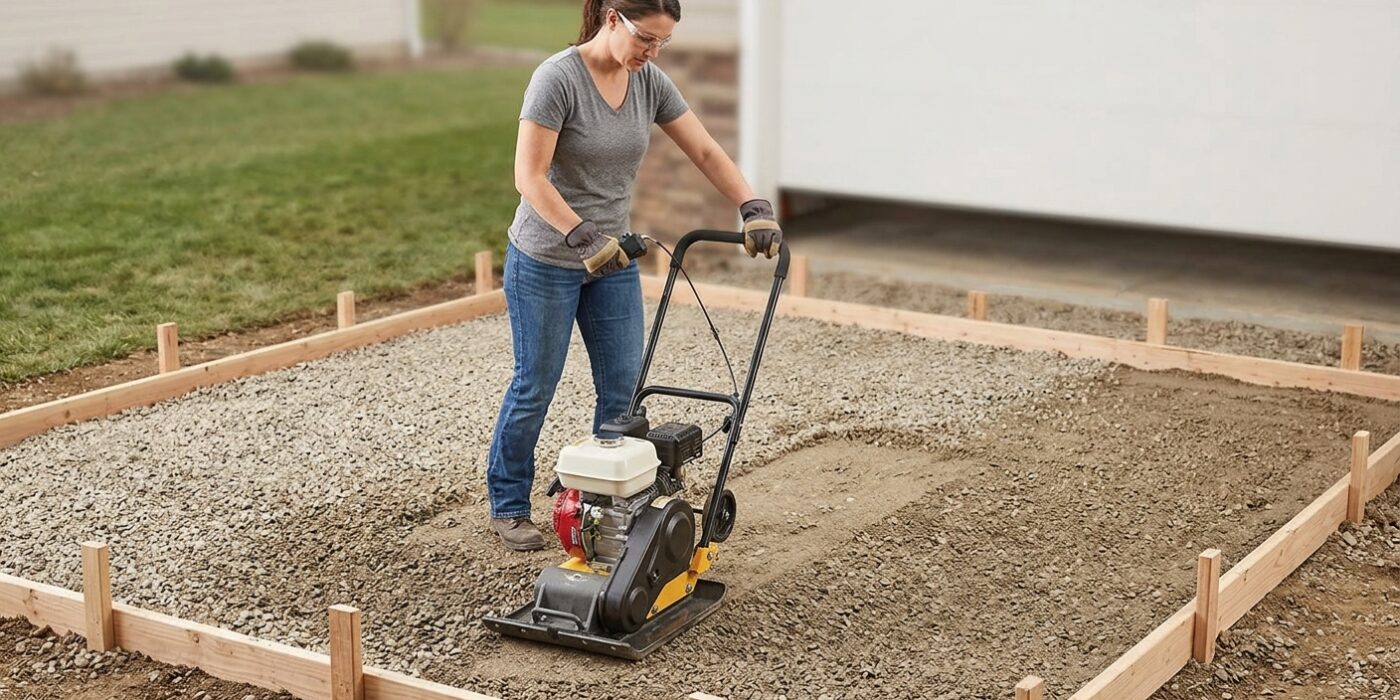
Now that your area is excavated, it is time to create a rock-solid base. This step is the secret to a patio that stays level for years; if your base is squishy or uneven, your concrete will eventually crack as the ground shifts. You will use a plate compactor, which is a heavy machine that uses vibration to pack the soil particles tightly together.
To start, make three to four complete passes over the entire area. Walk slowly, ensuring you overlap your previous path by about four inches. Change your direction with every pass – go north-to-south first, then east-to-west – to ensure the ground is pressed evenly from all angles. If your soil is very dry or sandy, lightly mist it with a garden hose before you begin; the moisture helps the particles lock together like glue. The goal is to reach a surface so firm that your heel does not leave a deep print when you walk on it.
Beginner Tip: A common mistake is rushing the process. Do not try to sprint behind the compactor! Let the machine do the heavy lifting. If you walk too fast, the plate won’t have enough time to vibrate the soil into a tight state, leaving you with hidden “soft spots” that cause future dips.
Alternative Method: If you are working on a very small space and cannot justify renting a heavy plate compactor, you can use a hand tamper. This is a heavy metal square on a long pole. It requires more physical effort, but by lifting and dropping the weight repeatedly, you can achieve similar results on a smaller footprint.
Pro Tip: Before you start, check your local rental shop for a compactor with a rubber mat attachment or a water tank. The water tank helps prevent the machine from sticking to damp soil, which makes the work go much faster and leaves a smoother, more uniform surface.
Step 3: Install and Compact the Gravel Base
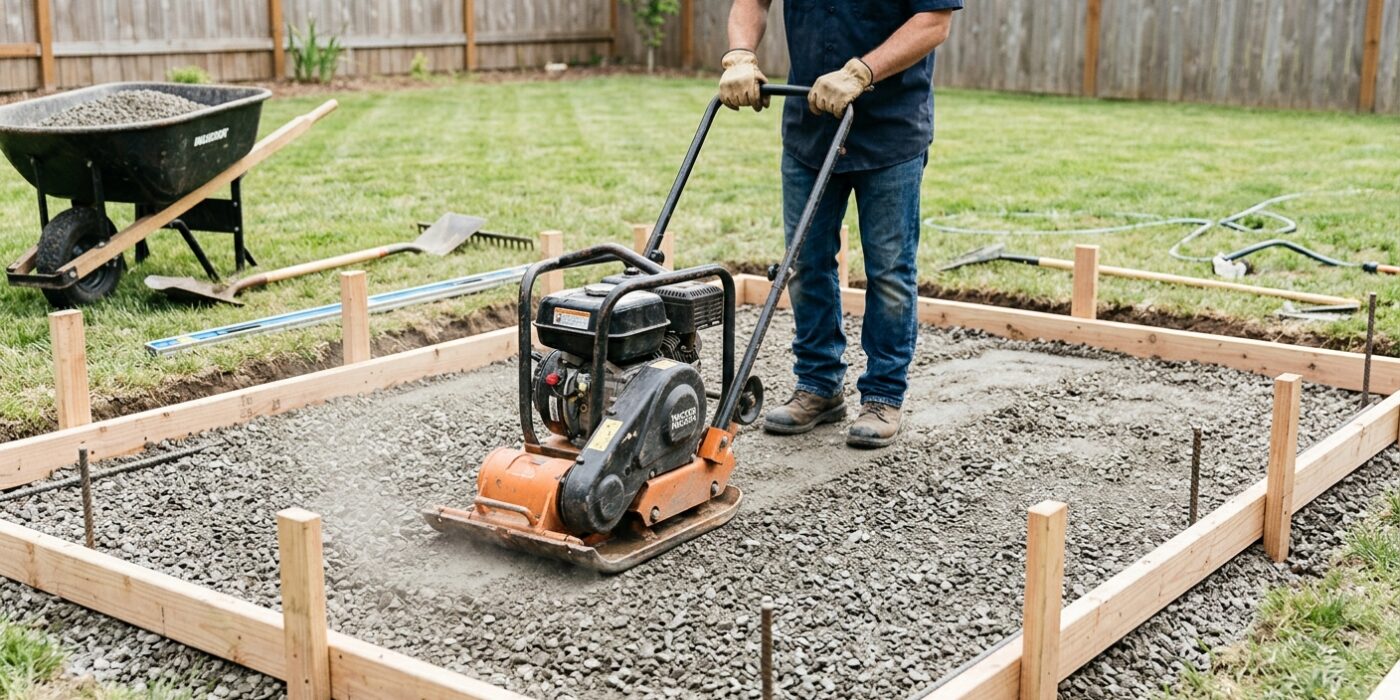
Now that your area is excavated, it is time to create a rock-solid foundation. Spread a 4-inch layer of 3/4-inch crushed stone across the entire space. This gravel layer is essential because it allows water to drain away from beneath your concrete, which prevents the slab from cracking during freeze-thaw cycles and ensures the weight is distributed evenly. Once spread, use a plate compactor to press the gravel down until it is firm and dense. As you work, lay a long level or a straight 2×4 board across the surface to check for consistency. You want the surface to slope away from your home at a pitch of 1/8 to 1/4 inch per foot to ensure rainwater runs off properly.
Beginner Tip: Avoid the mistake of leaving the gravel loose. If you do not compact it thoroughly, your patio will likely settle and crack shortly after the concrete cures. It should feel like a solid road, not like walking on a beach.
Alternative Method: If renting a heavy power plate compactor feels overwhelming, you can use a heavy-duty hand tamper, which is an affordable, square steel plate attached to a long handle. Simply lift it and drop it repeatedly over the entire surface. It requires a bit of “elbow grease,” but it is perfectly effective for smaller patio projects.
Pro Tip: Spray the gravel lightly with a garden hose before you begin compacting. A small amount of moisture helps the smaller stone dust settle and lock the larger rocks together, creating a much harder, more stable base.
Step 4: Set and Brace the Forms
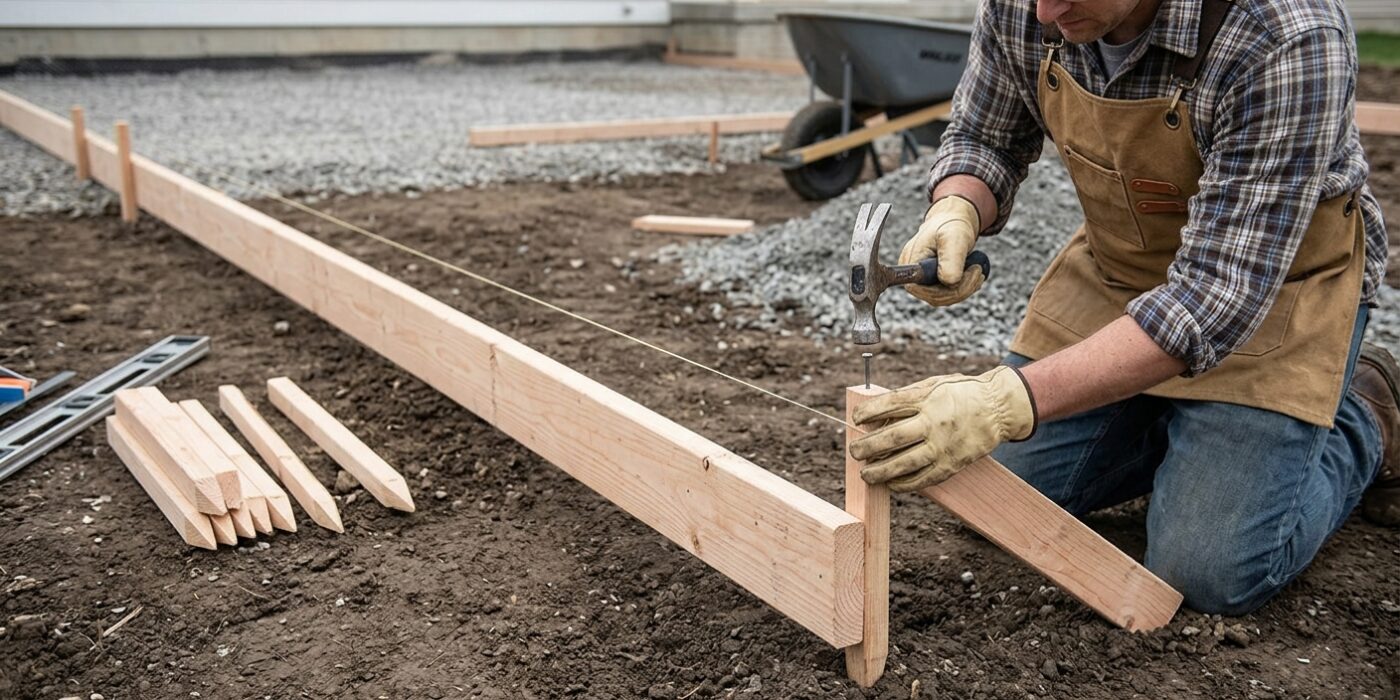
Now it is time to build the mold for your concrete. Use 2×4 lumber to outline your patio perimeter. These boards act as a guide for your concrete’s height and shape, so precision here is vital. Drive wooden stakes into the ground every 2 feet along the outside of the boards, and every 12 inches near the corners to keep everything rigid. Use exterior-grade screws to attach the stakes to the boards, ensuring the screw heads are flush so you can easily remove them later.
You must ensure your patio has a slight slope away from your house – about 1/4 inch of drop for every foot of length – so rainwater drains properly. Place a level on top of your boards to verify this pitch. Finally, reinforce your corners by driving extra stakes at a 45-degree angle against the outside of the form. This prevents the heavy weight of the wet concrete from pushing the boards outward and bowing your edges.
Beginner Tip: The most common mistake is failing to secure the forms tightly enough. Wet concrete is incredibly heavy and exerts immense pressure. If your stakes are loose or spaced too far apart, the forms will bulge, leaving you with wavy, unattractive edges that are very difficult to fix once the concrete sets.
Pro Tip: To get a perfect slope every time, attach a string line to your house at your desired height and pull it taut to the outer form. Use a torpedo level on that string to confirm your downward angle before you permanently screw the boards to the stakes.
Step 5: Install Expansion Joints at the House
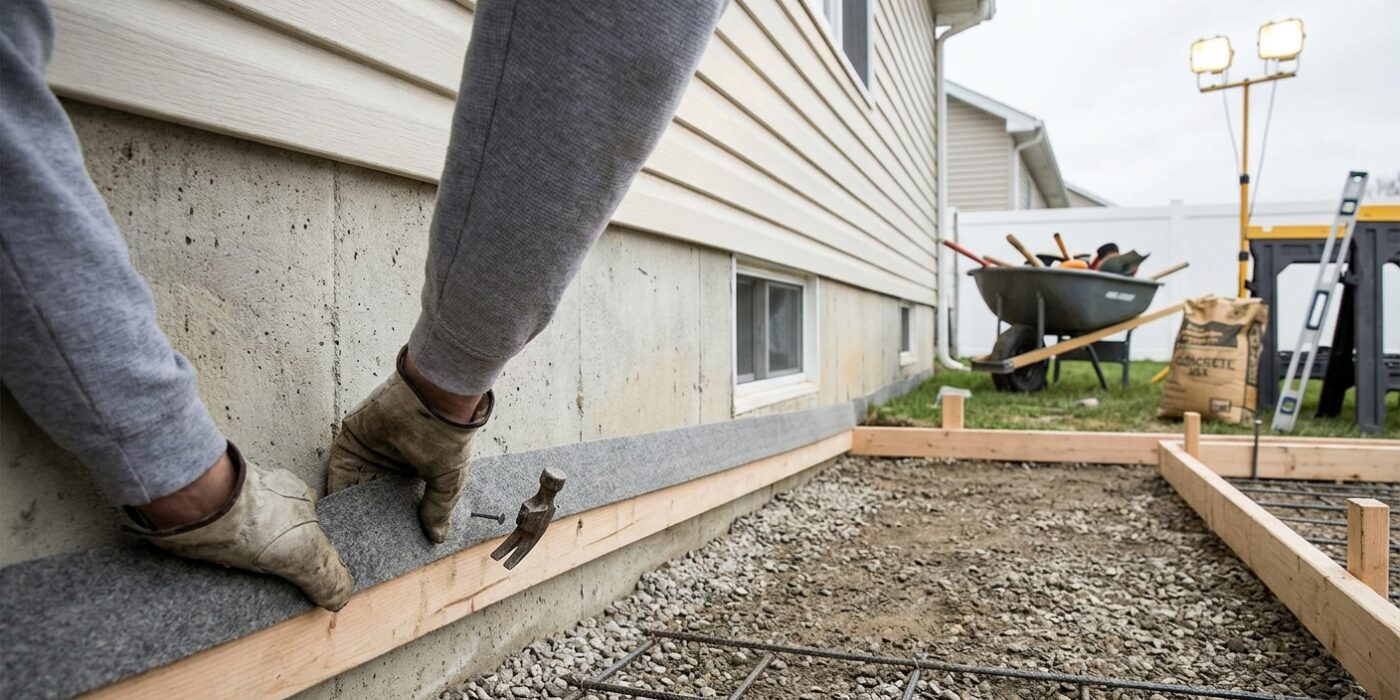
Now that your base is ready, it is time to install an expansion joint where your new concrete will touch your house foundation. Think of this as a soft, flexible buffer. Concrete expands and contracts with changing temperatures, and if it is pressed directly against your home, that movement can cause unsightly cracks in your siding or foundation. By placing a half-inch thick, flexible joint board along the entire length of the connection, you provide a “cushion” that allows the slab to breathe without putting pressure on your house.
Measure the height of your wooden forms and trim your expansion board so the top edge sits perfectly flush with the top of those forms. Once cut, press the board firmly against the foundation wall. Secure it in place using a few concrete nails or by driving small wooden stakes into the ground directly against the board to hold it upright. You will leave this material in place permanently, so ensure it is straight and steady.
Beginner Tip: A common mistake is letting the expansion board lean inward toward the center of the patio. If the board is angled, your concrete slab will be uneven or too thin at the edge. Use a level to ensure the board is standing perfectly vertical before you pour.
Pro Tip: If your foundation wall is slightly uneven, use a little bit of spray adhesive or a few dabs of construction adhesive to tack the board to the wall. This keeps it from shifting or “floating” when you start pouring the heavy, wet concrete.
Step 6: Pour and Consolidate the Concrete
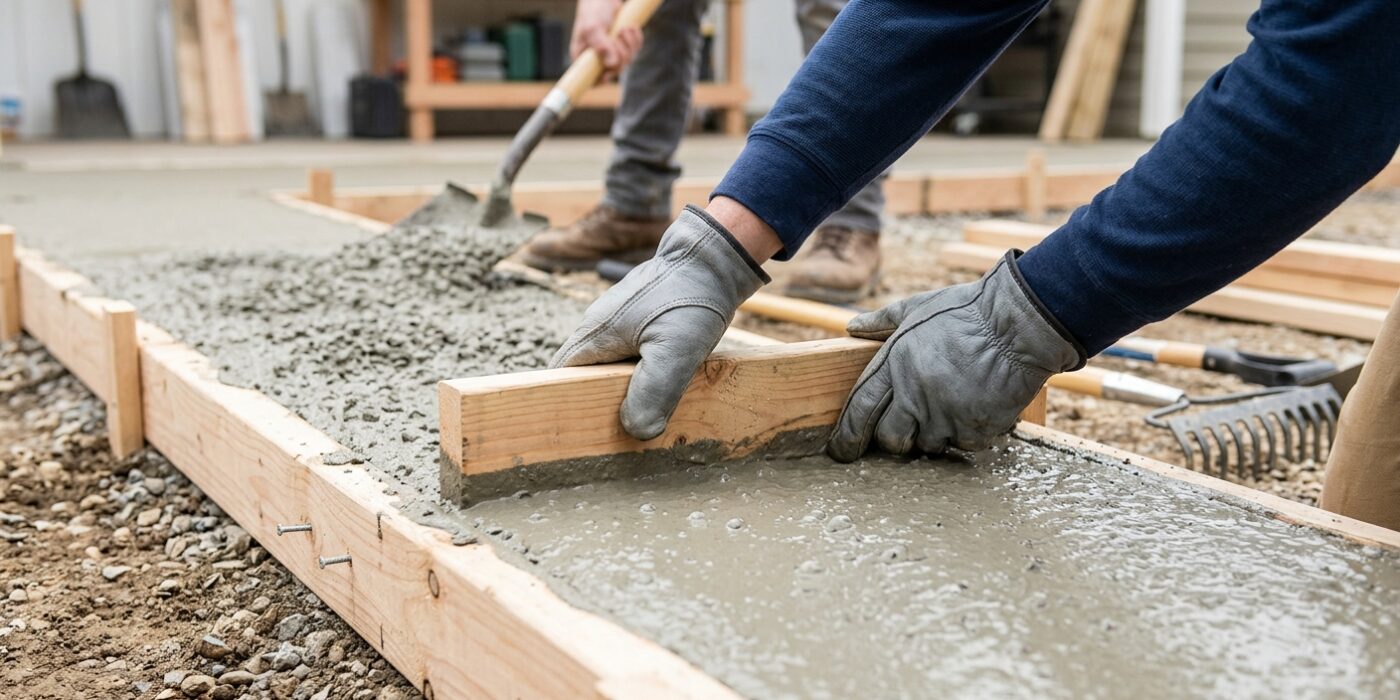
Pouring concrete is an exciting milestone, but it is a race against time. With your team ready, have the concrete truck driver slowly release the mixture starting at the furthest corner of your frame. As the concrete spills out, use a sturdy rake or shovel to push the wet concrete into the corners, ensuring there are no air pockets hidden near the edges of your wooden forms.
Once the section is full and slightly mounded above the top of your frame, it is time to screed. Grab a straight, flat 2×4 board that is longer than your patio is wide. With one person on each side, rest the board on the top edges of your forms. Pull the board toward you using a steady, back-and-forth sawing motion. This levels the concrete to the exact height of your forms, leaving a flat surface. You must work quickly, as most mixes begin to set in under 45 minutes.
Beginner Tip: Avoid the temptation to over-work the concrete. Beginners often rake or trowel the surface too much, which pulls all the fine sand and water to the top and weakens the final finish. Aim to screed it once and move on.
Pro Tip: Before you begin, lightly coat your screed board and the inside of your wooden forms with a thin layer of vegetable oil. This prevents the concrete from sticking, allowing you to lift the forms away cleanly once the concrete has cured.
Step 7: Float and Finish the Surface
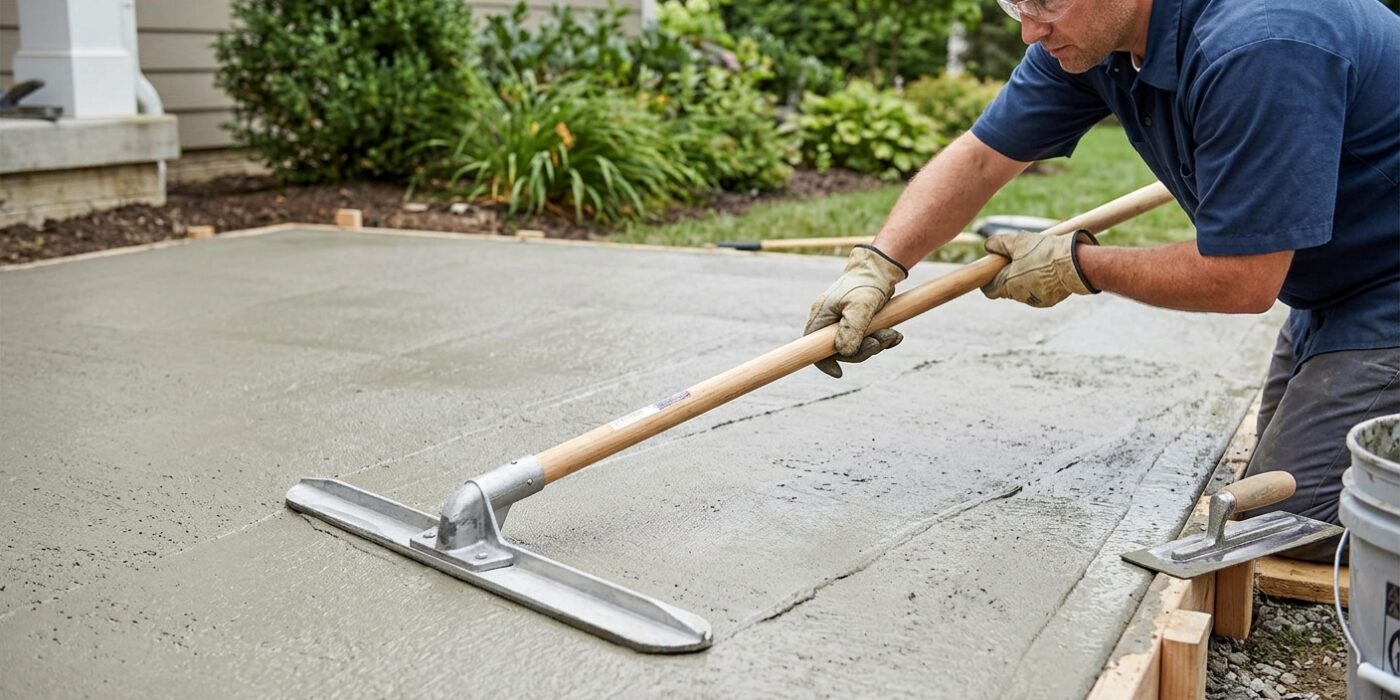
Now that your concrete is screeded flat, it is time to refine the surface. First, take your bull float – a wide, flat blade on a long pole – and push it across the wet concrete. Hold the handle so the leading edge of the float is slightly raised. This action embeds large gravel (aggregate) deeper into the mix and brings a “cream” of fine material to the surface. Avoid overworking the concrete, as this pulls too much water to the top and weakens the slab. Keep your passes steady and slightly overlapping.
You must wait for the “bleed water” – the thin layer of water that rises after leveling – to completely disappear before performing your final finish. Once the surface looks matte, use a handheld magnesium float in a circular motion to smooth out any remaining humps. For a classic, slip-resistant patio, gently drag a stiff-bristled push broom across the surface in one straight direction. Apply light pressure; you want to create shallow, uniform grooves, not deep trenches.
Beginner Tip: The most common mistake is starting your final broom finish too early. If the concrete is still shiny or wet, the broom will tear the surface and leave messy, uneven marks. Be patient and wait for that dull, matte look.
Pro Tip: Keep a clean, damp sponge or a spray bottle filled with water nearby. If your float starts to drag or stick to the concrete, mist the surface lightly or wipe the tool clean. A clean, smooth tool is the secret to a professional-looking patio finish.
Step 8: Cut Control Joints and Cure
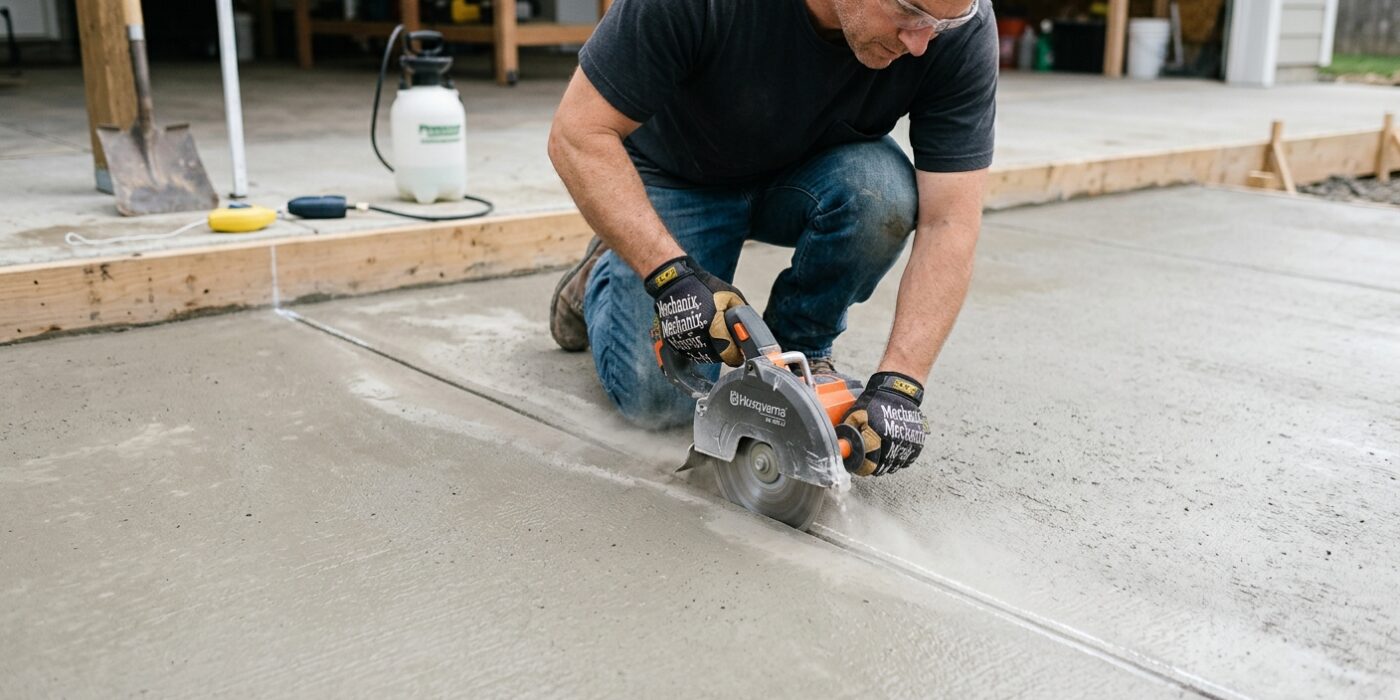
Now that your concrete is poured and leveled, it is time to focus on finishing and curing. Control joints are essential “intentional cracks.” Concrete naturally shrinks as it dries, and without these joints, it will crack randomly across your beautiful new patio. By cutting grooves every 8 to 10 feet in both directions, you encourage the concrete to crack neatly along these lines rather than in unsightly, jagged patterns.
You can create these joints while the concrete is still pliable using a hand groover. Simply slide the tool along a straight board – used as a guide – to press a clean groove about one-quarter of the slab’s depth into the surface. Once finished, keep the slab moist for seven days by covering it with burlap or plastic sheeting. Proper moisture retention is the secret to a slab that is up to 50 percent stronger.
Beginner Tip: Don’t wait too long to use your hand groover. If the concrete becomes too hard or starts to “set” (when it loses its shine and becomes firm to the touch), the groover won’t be able to penetrate the surface cleanly, and you will be forced to use a saw later.
Pro Tip: To get perfectly straight lines without frustration, screw a scrap piece of 2×4 lumber to your outer forms. Use this as a fence to guide your groover across the entire span, ensuring your joints are professional, crisp, and parallel.