Project Shopping List
A garbage disposal that makes a loud humming sound when switched on but the grinding plate doesn’t move is a jam – and it’s usually caused by a hard object (a piece of bone, a bottle cap, a fruit pit) that’s gotten lodged between the spinning plate and the grinding ring. This is one of the most common disposal problems and also one of the safest to fix yourself – because the motor is trying to spin but can’t, there’s no active blade movement even with the power on.
But never rely on that – always cut power before working on a disposal. This guide walks through the complete unjamming process, including how to handle the case where the jam keeps returning.
What You’ll Need
Tools
- Allen wrench (typically 1/4 inch – or use the wrench that came with the disposal)
- Long wooden spoon or broom handle (never hands or arms)
- Needle-nose pliers or tongs
- Flashlight
Materials
- None required
Step 1: Immediately Cut Power
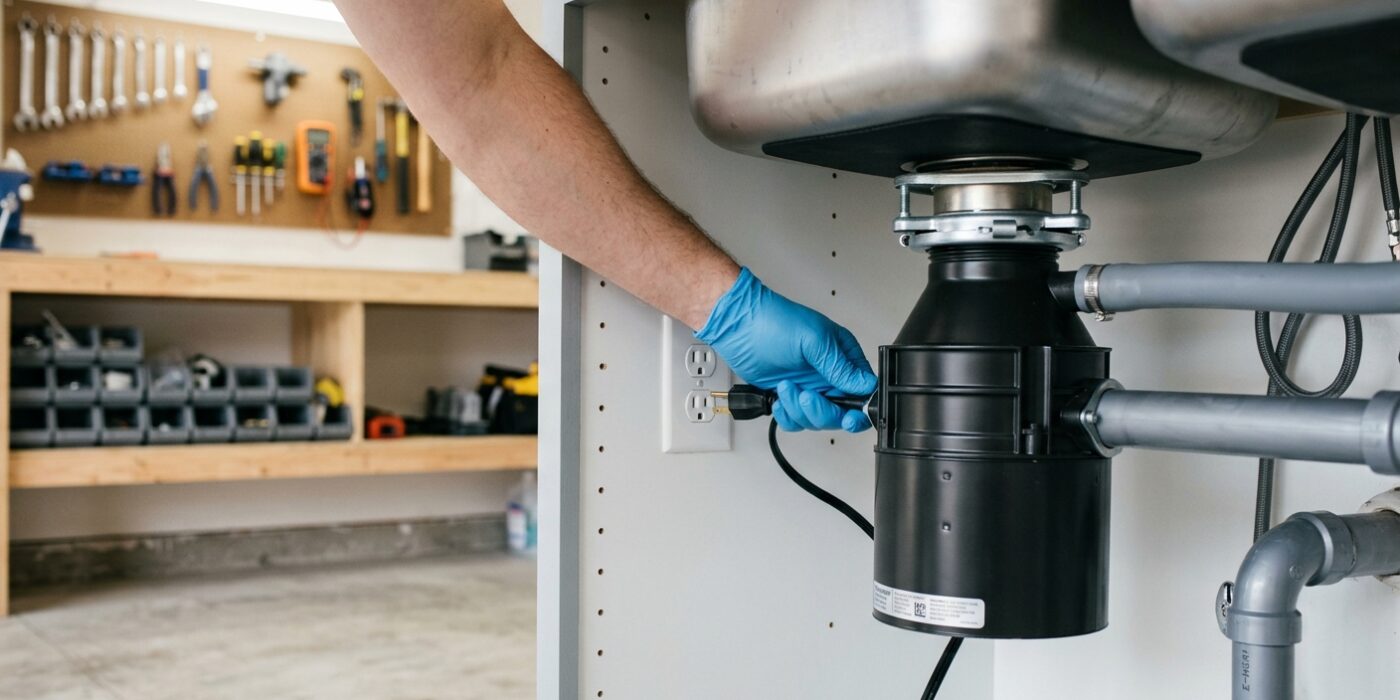
Your first and most important task is to silence that humming noise by turning the wall switch to the OFF position immediately. When a garbage disposal hums but refuses to spin, the internal motor is receiving electricity but cannot move, causing it to draw an immense amount of current. Without the cooling airflow that normally happens when the blades are spinning, the motor will overheat rapidly. If left on, the unit will trip its internal thermal overload switch within 30 to 60 seconds, and in worse cases, it can permanently burn out the motor windings, turning a quick fix into a total replacement.
Beginner Tip: Do not just rely on the wall switch. Because you will be working with your hands near the drain, it is best practice to also flip the circuit breaker in your home’s main electrical panel to the OFF position. Simply unplugging the unit from under the sink, if your disposal is equipped with a standard plug, is another excellent way to ensure zero power is reaching the device while you troubleshoot.
Pro Tip: Place a piece of bright masking tape over the wall switch or put a sticky note over it that says DO NOT TOUCH. This creates a visual barrier that prevents a family member or roommate from accidentally flipping the switch back on while you have your hands inside the sink area, keeping you perfectly safe during the repair process.
Step 2: Wait for the Thermal Overload to Reset
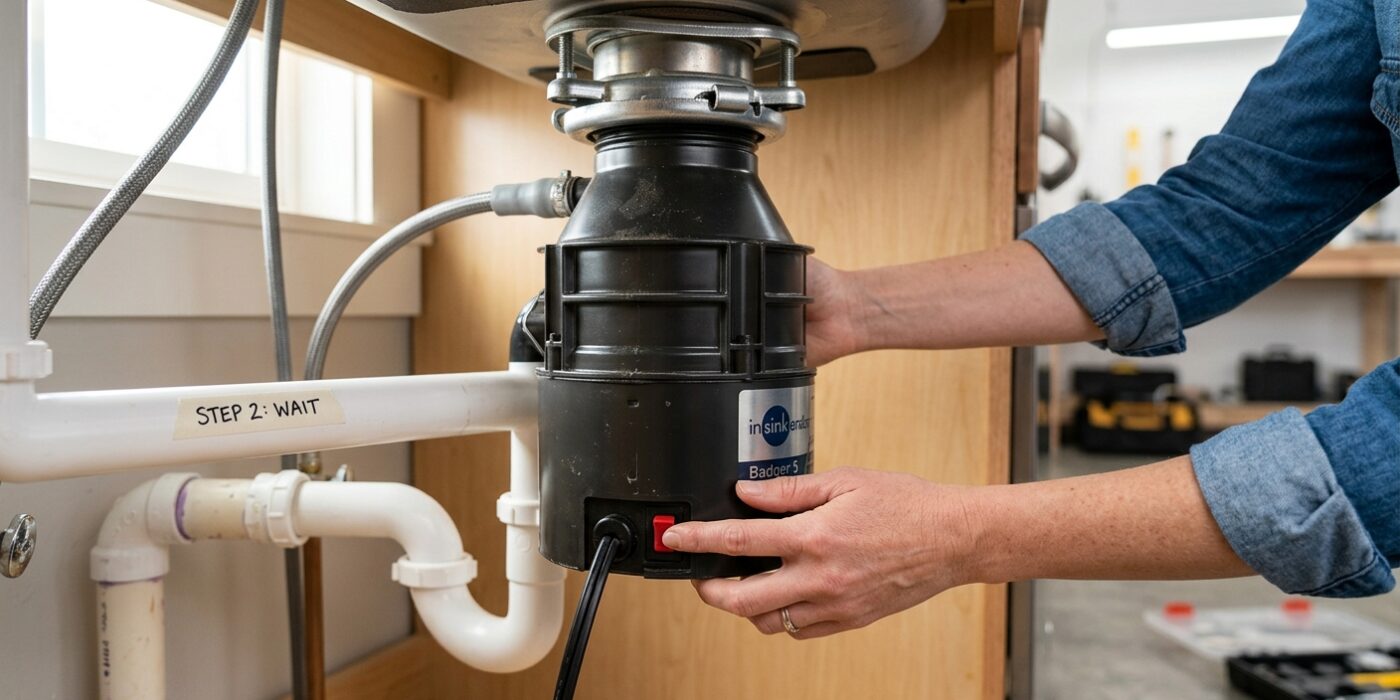
Your garbage disposal is equipped with a built-in safety feature called a thermal overload protector. Think of it like a circuit breaker for the unit; if the motor gets too hot from being stuck or overworked, this protector automatically cuts the power to prevent the unit from burning out. You will find a small, square button – usually red or black – located directly on the bottom center of the disposal unit. Since this is tucked underneath the sink, you may need a flashlight to spot it clearly.
After letting the motor cool down for about 10 to 15 minutes, reach under the unit and press this button firmly with your thumb. You are looking for a satisfying, mechanical “click” sound or a physical pop that indicates the switch has set back into its locked position. If the button feels loose or immediately pops back out, the internal components are still too hot. Simply give it another five minutes and try again. Patience here is key to protecting your appliance.
Beginner Tip: Avoid using a screwdriver or any metal tool to press the button. Because the button is plastic, using a hard tool can accidentally crack or damage the housing. Use your thumb or the fleshy part of your palm to ensure you apply even pressure without causing structural damage.
Pro Tip: If your sink cabinet is cramped and you cannot see underneath the unit, use your smartphone’s camera to snap a photo or record a short video of the bottom of the disposal. This allows you to locate the button easily on your screen before you reach blindly into the dark space.
Step 3: Manually Rotate the Plate
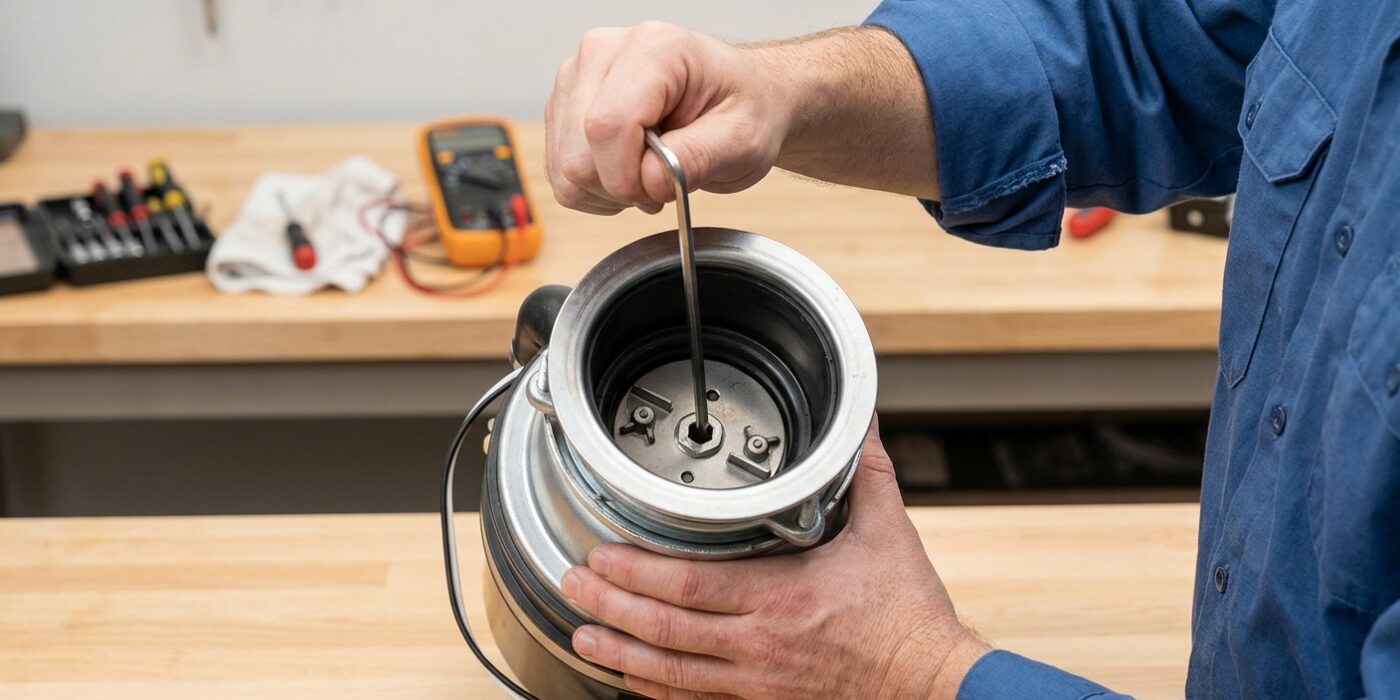
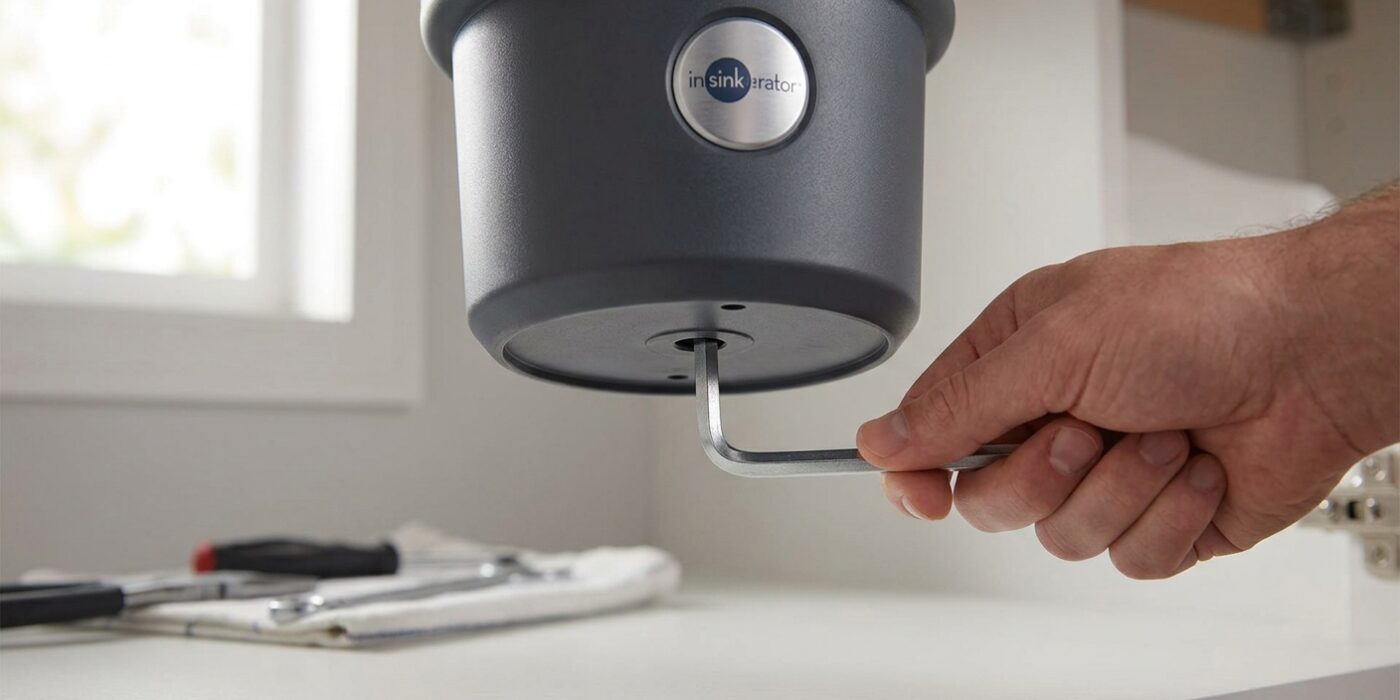
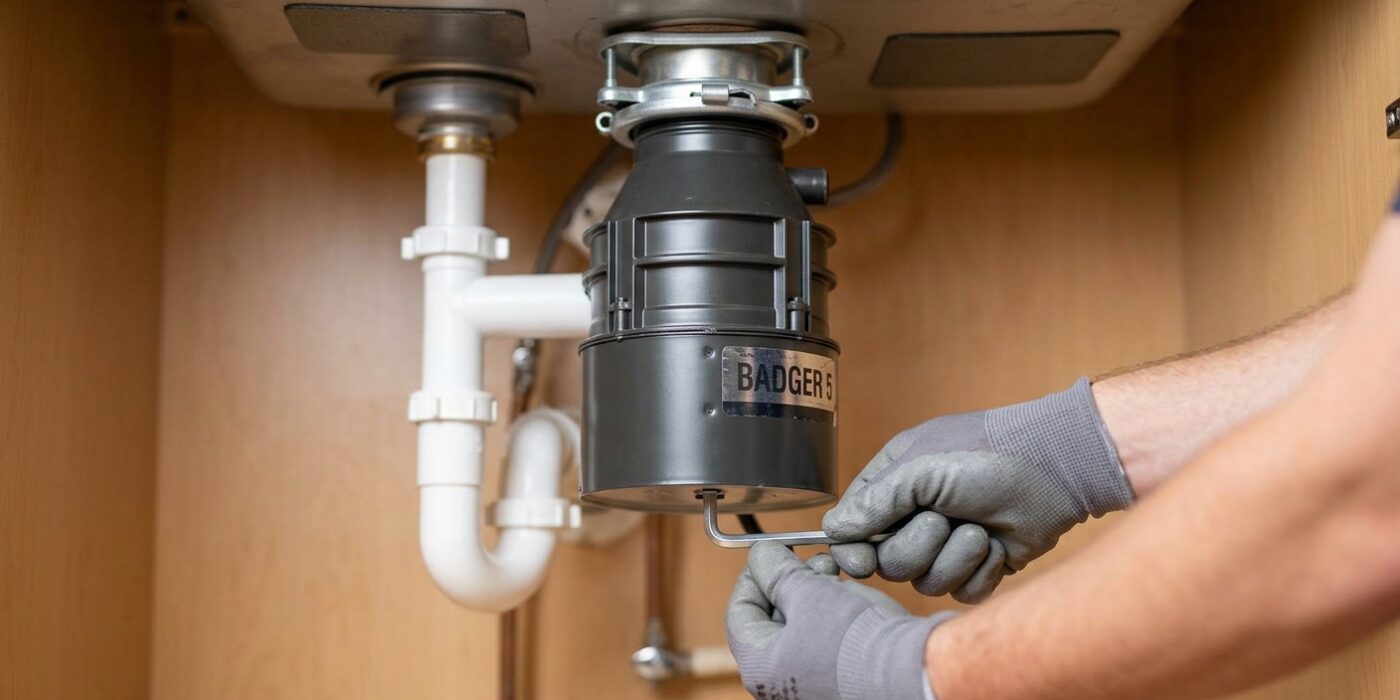
Now that you have confirmed your disposal is powered off, it is time to manually clear the blockage. Locate the center of the disposal unit underneath your sink. You will see a small, circular hole – this is a 1/4-inch hex socket designed for an Allen wrench (also known as a hex key). Insert your Allen wrench into this socket. If it feels loose, double-check that you are using a standard 1/4-inch size, which fits the vast majority of residential garbage disposals.
Once inserted, use the wrench as a lever to gently rotate the grinding plate back and forth. Begin by pushing clockwise, then pull back counterclockwise. You are not trying to force the plate to spin wildly; rather, you are performing a gentle rocking motion to dislodge whatever is jammed in the impellers. Keep repeating this rhythmic motion. You will know you have succeeded when the wrench begins to move smoothly in a full, 360-degree rotation without any resistance. This process usually clears the jam within two minutes.
Beginner Tip: Do not use a “cheater bar” or a pipe to extend the handle of your Allen wrench for extra leverage. If the plate feels stuck, do not force it aggressively, as you could accidentally snap the bolt head inside the unit, turning a quick fix into a full replacement job.
Pro Tip: If your Allen wrench is short, it can be difficult to get a good grip under the cramped conditions of a sink cabinet. Use a pair of locking pliers to clamp onto the handle of the Allen wrench at a 90-degree angle; this creates a makeshift “T-handle” that provides significantly better torque and control with much less effort.
Step 4: Remove the Jamming Object
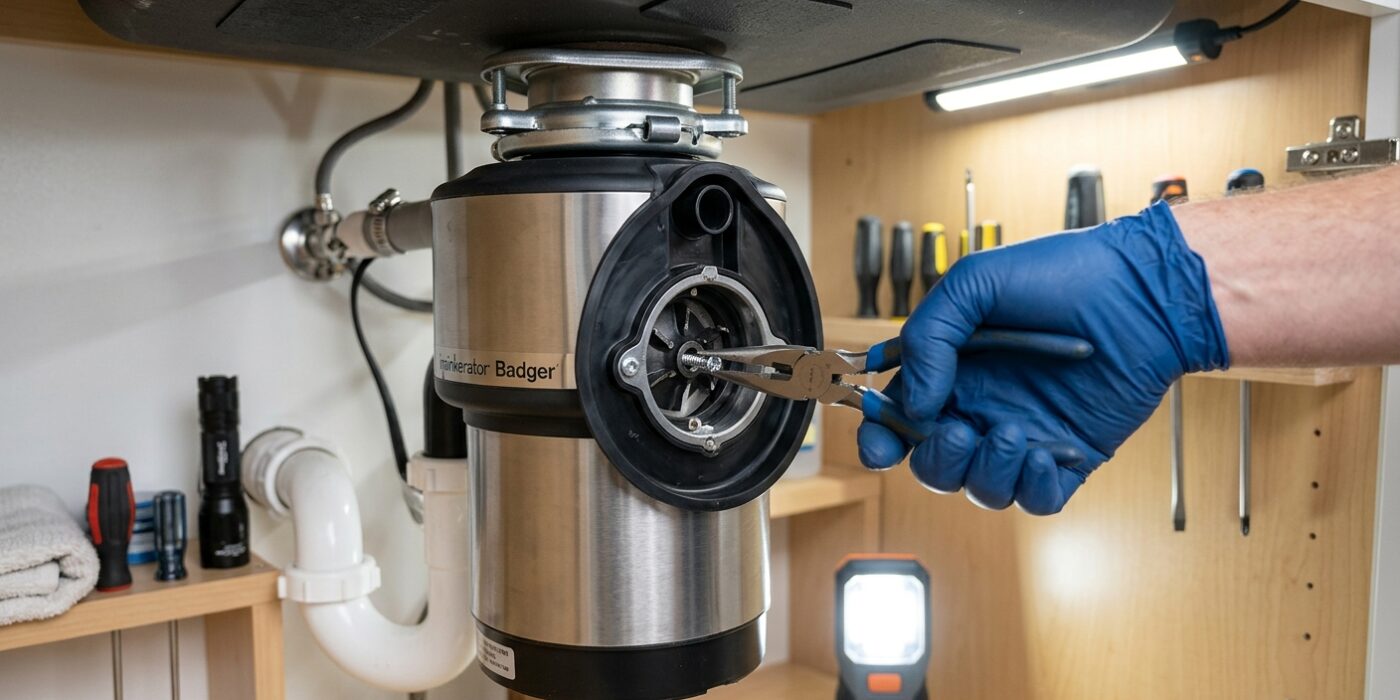
Now that your grinding plate is moving freely, you are ready to clear the obstruction. First, ensure the power is completely cut at your home’s circuit breaker panel; simply flipping the wall switch is not enough to keep you safe. With the power off, shine a bright flashlight directly down into the drain. You are looking for the culprit – often a small bone, a coin, or a piece of silverware – wedged between the spinning plate and the outer metal shredder ring.
Using a pair of needle-nose pliers or kitchen tongs, reach down into the unit to grasp the object. Avoid tilting the pliers at a harsh angle; try to approach the item vertically so you have the best grip. Once you retrieve the object, use your light to inspect the entire bottom circumference of the unit, specifically checking the gap where the plate meets the wall of the disposal, to ensure no small debris remains.
Beginner Tip: A common mistake is using your fingers to “feel” for the object. Even with the power off, the internal metal blades are incredibly sharp and can cause deep cuts. Always use your tool as an extension of your arm, and never place your hands or fingers inside the grinding chamber.
Pro Tip: If the object is wedged tightly and won’t budge with pliers, try using a long, sturdy wooden spoon handle to gently push or nudge the debris while simultaneously wiggling the Allen wrench at the bottom of the unit. This two-handed technique often frees stubborn jams that seem stuck in place.
Step 5: Test the Disposal
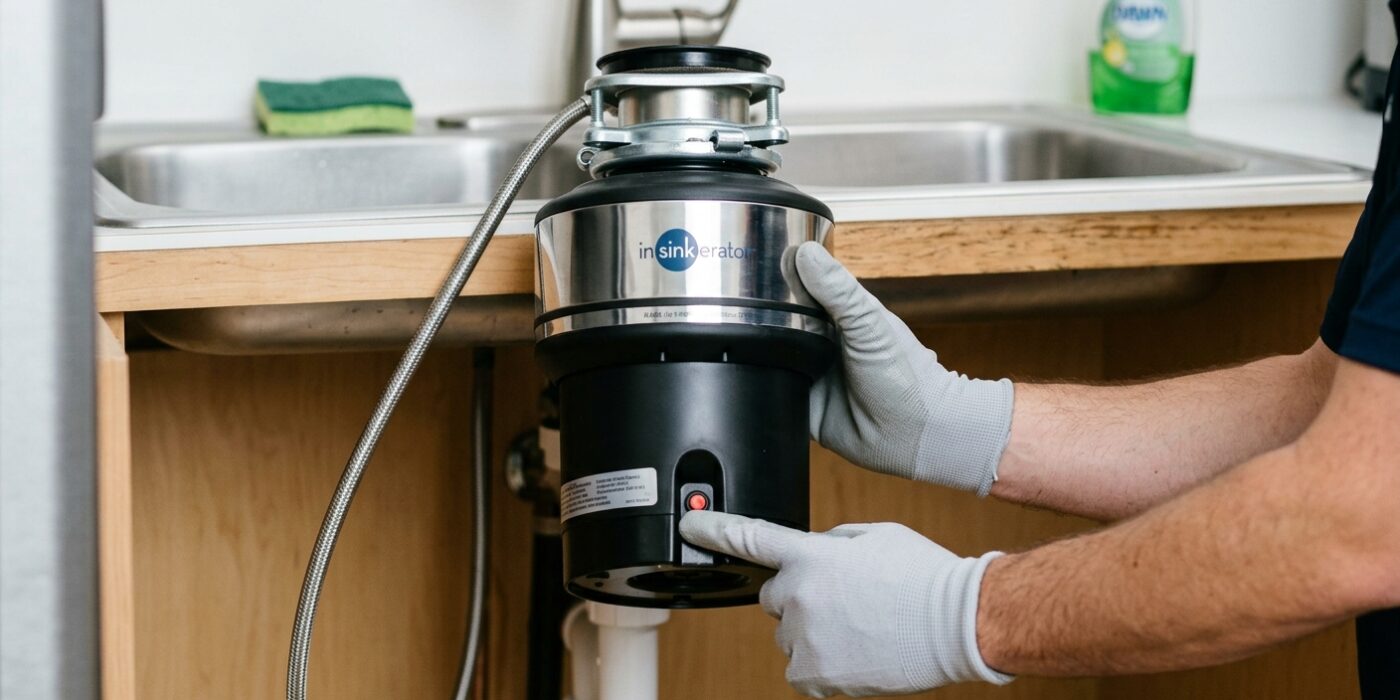
Now that you have cleared the obstruction, it is time to see if your hard work paid off. First, head to your electrical panel and flip the circuit breaker back to the “On” position. Return to the sink and look underneath the disposal unit for a small, usually red, reset button; give it a firm press to ensure the internal thermal protector is engaged. Next, turn on your cold water faucet to a steady, medium stream. It is important to keep the water running because it helps lubricate the blades and flushes waste through the pipes. Finally, flip your wall switch. You should hear the smooth, steady whir of the motor rather than the previous hum. Let the unit run for at least 30 seconds with just the water flowing to clear out any remaining debris before you introduce any food scraps.
Beginner Tip: Never flip the disposal switch “on” while looking directly into the drain. Even if you believe the unit is clear, always stay a safe distance away and keep your hands and tools completely out of the sink while the motor is running.
Pro Tip: To keep your disposal running smoothly for years to come, toss a handful of ice cubes into the drain once a month while the water is running. The ice acts as a natural abrasive, scrubbing the blades and the inside walls of the grinding chamber to remove buildup without needing any harsh chemicals.
Step 6: Address Recurring Jams
If your disposal is humming but refusing to spin, you might be dealing with a chronic jamming issue. Think of your disposal as a specialized grinder, not a trash can. It thrives on soft food scraps but struggles with anything fibrous or starchy. To keep it running smoothly, avoid putting celery, potato peels, banana peels, or artichokes into the unit. These items turn into a tough, stringy paste that acts like glue, binding the spinning plate to the grinding ring.
Beginner Tip: The most common mistake is using hot water while grinding. Always run cold water before, during, and for at least 15 seconds after you turn the disposal off. Cold water keeps fats and oils in a solid state, allowing the blades to chop them into small pieces. Hot water melts fats, turning them into a liquid that coats your pipes and solidifies later, creating a stubborn clog deep in your plumbing.
Alternative Method: If you don’t have the specialized disposal wrench, you can often reach inside the sink drain (with the power completely unplugged!) and use a wooden broom handle to apply gentle pressure to the spinning plate. Position the handle against one of the metal impellers on the plate and push firmly to rotate it manually. This gives you the leverage you need to break a stuck jam without needing fancy tools.
Pro Tip: To keep the grinding ring sharp and clear, occasionally toss a few small, hard ice cubes into the disposal while running cold water. As the ice is crushed, it acts as a scouring agent, knocking away built-up food residue and buildup from the grinding teeth, effectively cleaning the unit from the inside out.