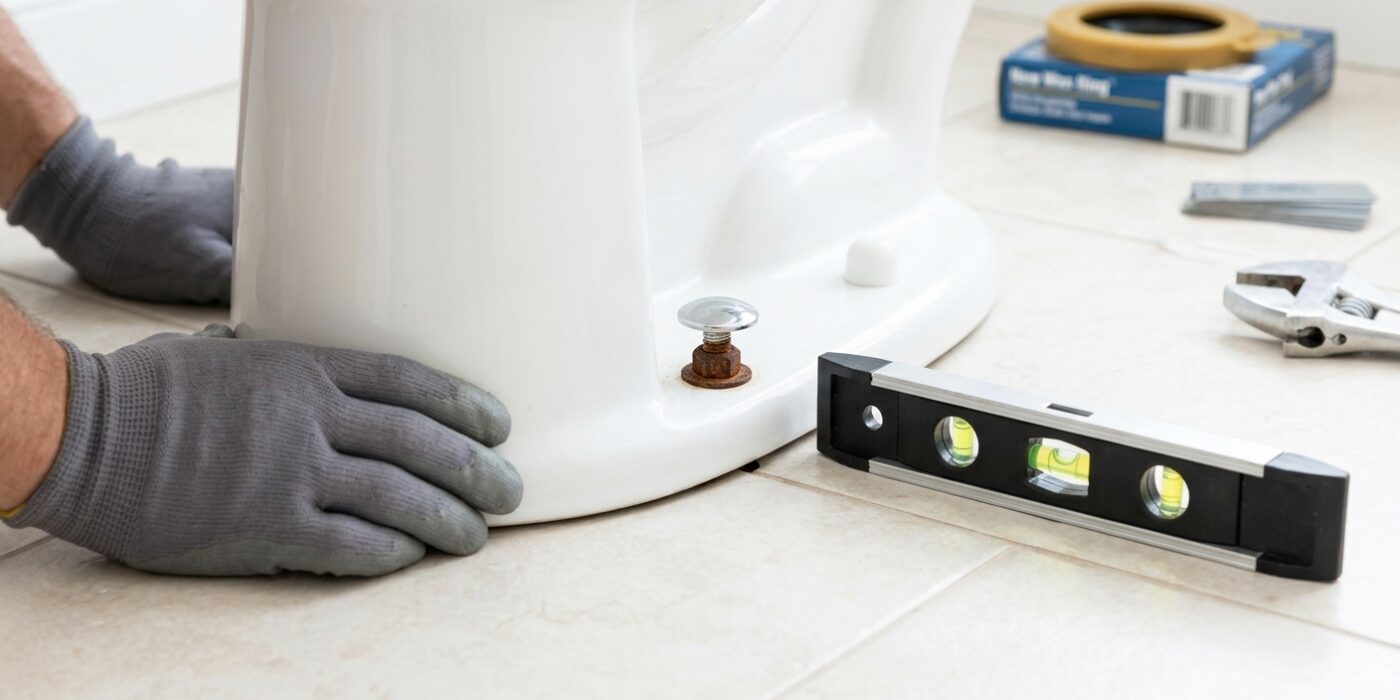
Project Shopping List
A toilet that rocks or shifts when you sit on it isn’t just uncomfortable – it’s breaking the wax ring seal underneath every time it moves. Eventually that seal fails completely, allowing sewer gas to escape and water to leak into the subfloor. The rock almost always comes from two causes: loose floor bolts or an uneven floor surface. Both are straightforward fixes that take about an hour.
This guide covers diagnosing which cause you have, tightening the flange bolts correctly, and shimming an unlevel toilet so it sits solid without over-stressing the porcelain base.
What You’ll Need
Tools
- Adjustable wrench
- Level
- Utility knife
Materials
- Plastic toilet shims (come in multi-packs, $3–$5)
- Plumber’s caulk or silicone caulk
- Replacement wax ring (have on hand; replace if toilet has been rocking for a while)
Step 1: Diagnose the Cause
Before you dive into repairs, it is vital to understand why your toilet is unstable. Start by kneeling on a towel beside the base. Place your hands on the porcelain bowl and gently shift your weight from left to right, then front to back. Pay close attention to whether the toilet shifts against the floor or if the entire base seems to flex. You are looking for the source of the movement to determine your next move.
Next, locate the two closet bolts at the sides of the base. If your toilet has decorative plastic covers, gently pry them off with a flathead screwdriver. If the metal nuts beneath are loose, or if the bolt spins when you try to turn the nut, the connection to the floor flange has weakened. If those nuts are completely tight but the toilet still rocks, the gap is likely caused by an uneven bathroom floor, which requires shims to bridge the space.
Beginner Tip: Avoid overtightening the closet bolts in an attempt to stop the rocking. If you force a tight nut onto a rocking toilet, you risk cracking the porcelain base, which is an expensive mistake. Stop turning as soon as the nut is snug.
Pro Tip: Place a level across the top of your toilet bowl while you rock it. This helps you visualize exactly where the high spots are on your floor, making it much easier to know exactly where to slide your shims later in the process.
Step 2: Tighten the Closet Bolts (If Loose)
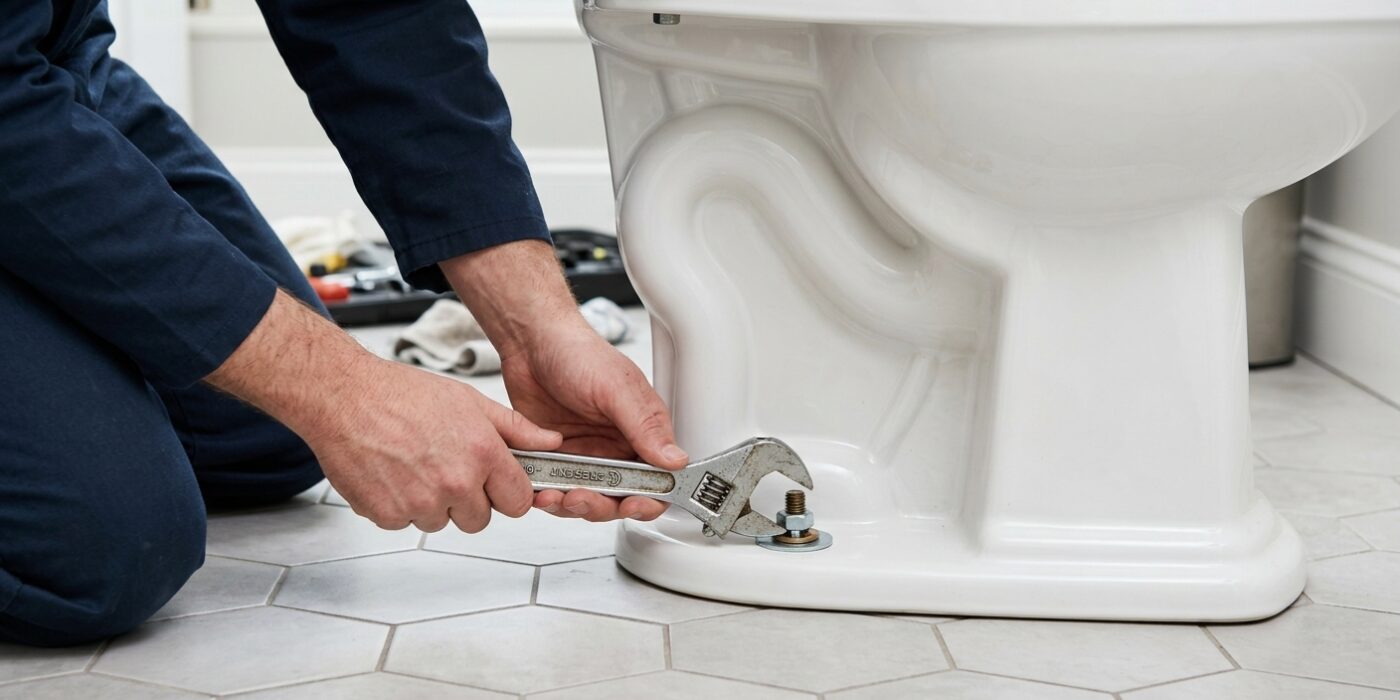
Now that you have exposed the closet bolts, it is time to stabilize your toilet. Take your adjustable wrench and fit the jaws snugly around the nut. You are aiming for a tight fit, but be gentle; you are simply removing the slack that causes the rocking motion. Rotate the wrench clockwise in tiny, quarter-turn increments. Always alternate between the left and right sides to ensure the pressure remains balanced. Think of this like tightening lug nuts on a car tire – moving back and forth keeps the base level.
Beginner Tip: The biggest mistake people make is treating these bolts like they are holding a structure together rather than just keeping the toilet seated. Do not force the wrench once you feel resistance. Porcelain is surprisingly fragile, and overtightening will cause a hairline fracture in the base, which is a much bigger problem than a wobbly toilet. If the toilet stops rocking, stop turning.
Pro Tip: If the bolt spins in place while you try to tighten the nut, it means the bolt itself is loose or stripped. Grab a pair of pliers and grip the exposed threads of the bolt above the nut to hold it steady while you use your other hand to turn the wrench. This simple counter-pressure technique ensures the bolt stays put so the nut can actually travel down the threads.
Step 3: Check If the Bolts Are Too Long
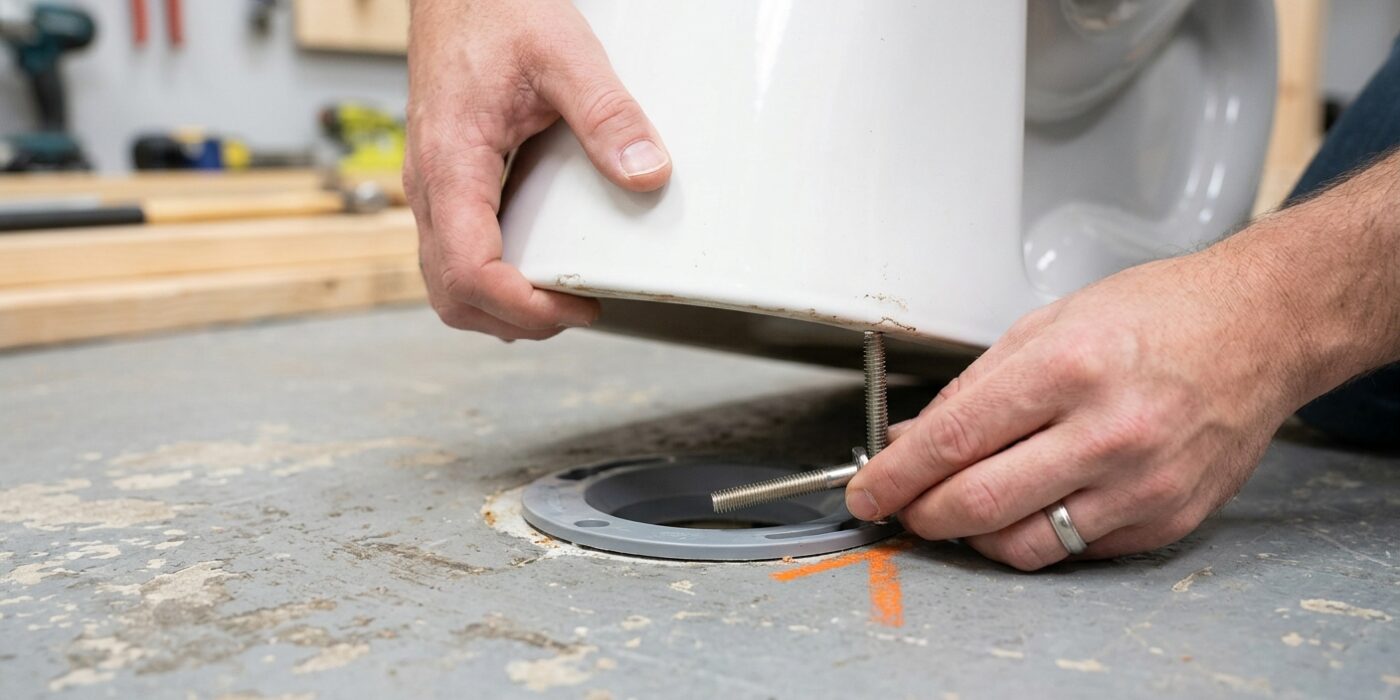
Now that your bolts are tightened, take a moment to look at how much of the bolt is poking out above the nut. Ideally, you want about 1/2 inch of thread showing. If you have significantly more than that, the decorative plastic cap won’t be able to snap down into place. More importantly, extra-long bolts can sometimes be a sign that your toilet flange sits too low or that your floor has settled, creating a gap that requires a shim or a reset later on. If the excess length prevents your cap from sitting flush, you will need to trim the bolt using a hacksaw or a pair of heavy-duty bolt cutters. Hold the saw blade parallel to the floor, resting it just above the nut, and use steady, long strokes to carefully remove the extra metal.
Beginner Tip: Before you start cutting, place a thick rag or a piece of cardboard around the base of the bolt. This catches any metal shavings or sparks, making cleanup much easier and ensuring you do not accidentally scratch the porcelain finish of your toilet.
Alternative Method: If you do not have a hacksaw or bolt cutters, you can purchase a “bolt cap extender” or a deeper toilet bolt cap from any hardware store. These are inexpensive plastic accessories designed to snap over taller bolts, allowing you to hide the excess metal without needing to cut anything at all.
Pro Tip: If you must cut the bolt, screw a spare nut onto the bolt before you start sawing. Once you finish the cut, unscrewing that nut will automatically “chase” or clean the threads, making it much easier to screw the decorative cap onto the bolt afterward.
Step 4: Shim an Unlevel Toilet
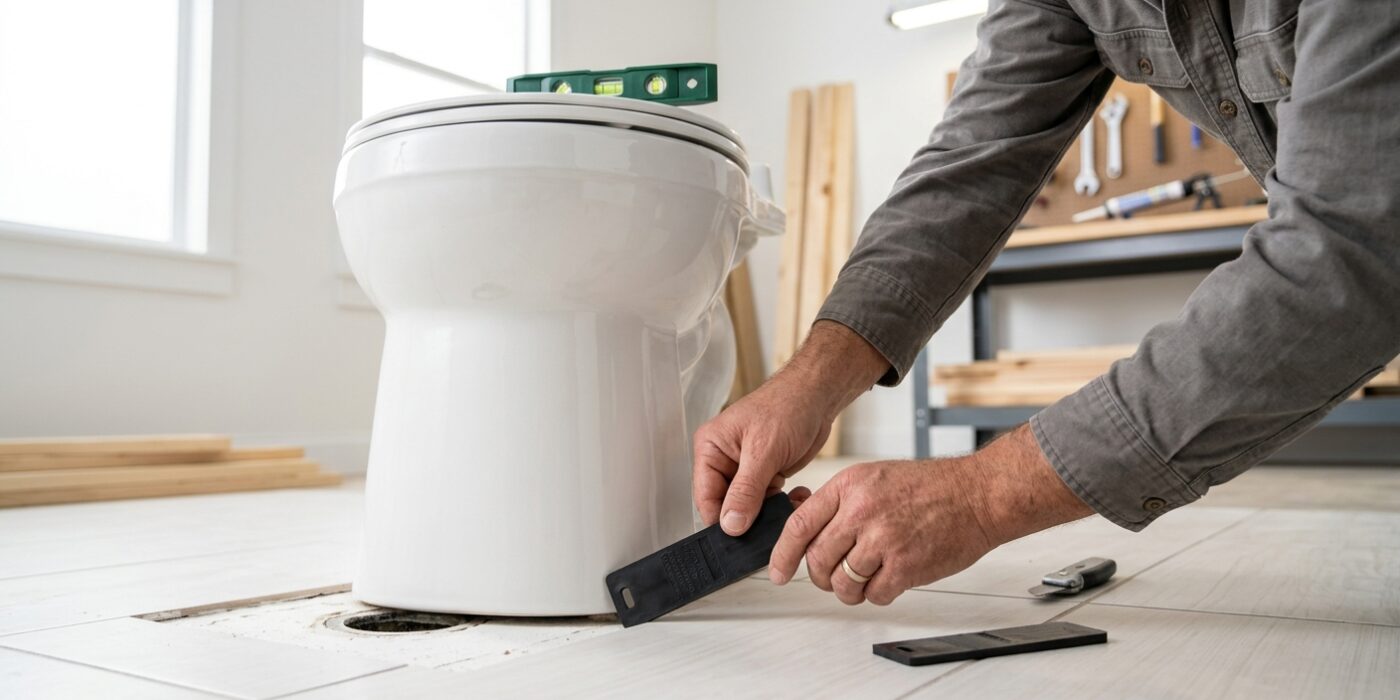
If your toilet still rocks after tightening the bolts, the culprit is almost certainly an uneven floor. Because a toilet is rigid, it cannot conform to dips or high spots in your tile. To fix this, place a bubble level across the top of the bowl rim or the tank lid. If the bubble isn’t centered, note which side sits lower. You will need to insert plastic toilet shims – inexpensive, tapered wedges – under the base on that low side to bridge the gap.
Slide the shims into the space between the floor and the porcelain base. Tap them in gently with a hammer or the handle of a screwdriver until they feel snug. Do not force them, as you don’t want to lift the toilet off the wax ring seal. Once the toilet is level in both directions, double-check your work by carefully sitting on the seat; if you feel even a tiny wobble, add another shim or adjust the current one. Once stable, trim the excess plastic from the shims using a utility knife so they are flush with the base.
Beginner Tip: Avoid using wooden shims. Bathrooms are naturally humid and prone to water leaks, and wood will eventually rot, compress, or grow mold, forcing you to redo this entire project in a few months.
Pro Tip: Before you begin, place a small bead of bathroom-safe silicone caulk around the base of the toilet. This hides the shims, prevents water from seeping underneath, and provides an extra layer of structural stability once it cures.
Step 5: Trim and Caulk the Shims
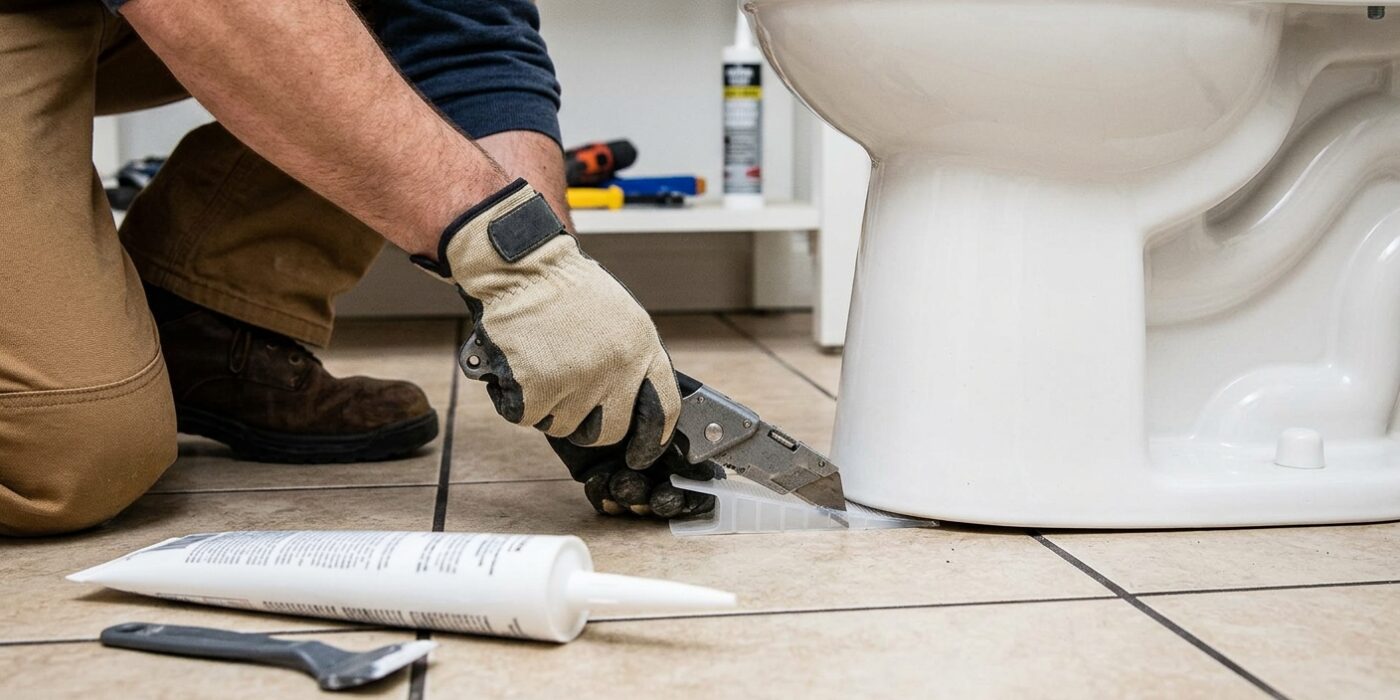
Now that your toilet is stable, it is time to tidy up the base. First, use a sharp utility knife to trim the excess plastic from your shims. Press the blade firmly against the base of the toilet and use a slow, sawing motion to score the plastic until it snaps off flush with the porcelain. Once trimmed, apply a thin, consistent bead of silicone or plumber’s caulk around the base where the toilet meets the floor. Be sure to leave a one-inch gap at the very back of the toilet; this is crucial because it allows you to spot water immediately if your wax ring ever leaks, rather than letting moisture rot your subfloor in secret.
Beginner Tip: Don’t try to caulk the entire perimeter in one go. Instead, start from the front and work your way toward the back on each side. Keep a small bowl of water and a drop of dish soap nearby; dipping your finger in this mixture before smoothing the caulk prevents it from sticking to your skin, giving you a smooth, professional-looking line.
Pro Tip: To get a perfectly crisp edge, place a strip of blue painter’s tape on the floor about an eighth of an inch away from the toilet base before you begin. Once you have smoothed your caulk bead, peel the tape away immediately while the caulk is still wet. This leaves a clean, straight edge that makes your bathroom look like a luxury hotel.