Project Shopping List
A running toilet wastes 200 gallons of water per day – that’s roughly $70 per month added to your water bill if left unchecked. The sound of water trickling into the bowl or a toilet that cycles on briefly every hour are both signs of the same category of problem: water is escaping the tank when it shouldn’t be. There are exactly three parts that cause this, and fixing any of them costs less than $15.
This guide walks you through diagnosing which of the three components is at fault – flapper, fill valve, or float – then gives you the specific fix for each. You’ll use basic tools and no special plumbing knowledge.
What You’ll Need
Tools
- Adjustable pliers
- Sponge and bucket
- Towels
- Permanent marker or pencil
Materials
- Universal flapper (Fluidmaster 502 or equivalent)
- Fill valve replacement (Fluidmaster 400A or equivalent)
- Food coloring (for diagnosis)
Step 1: Diagnose the Cause with the Dye Test
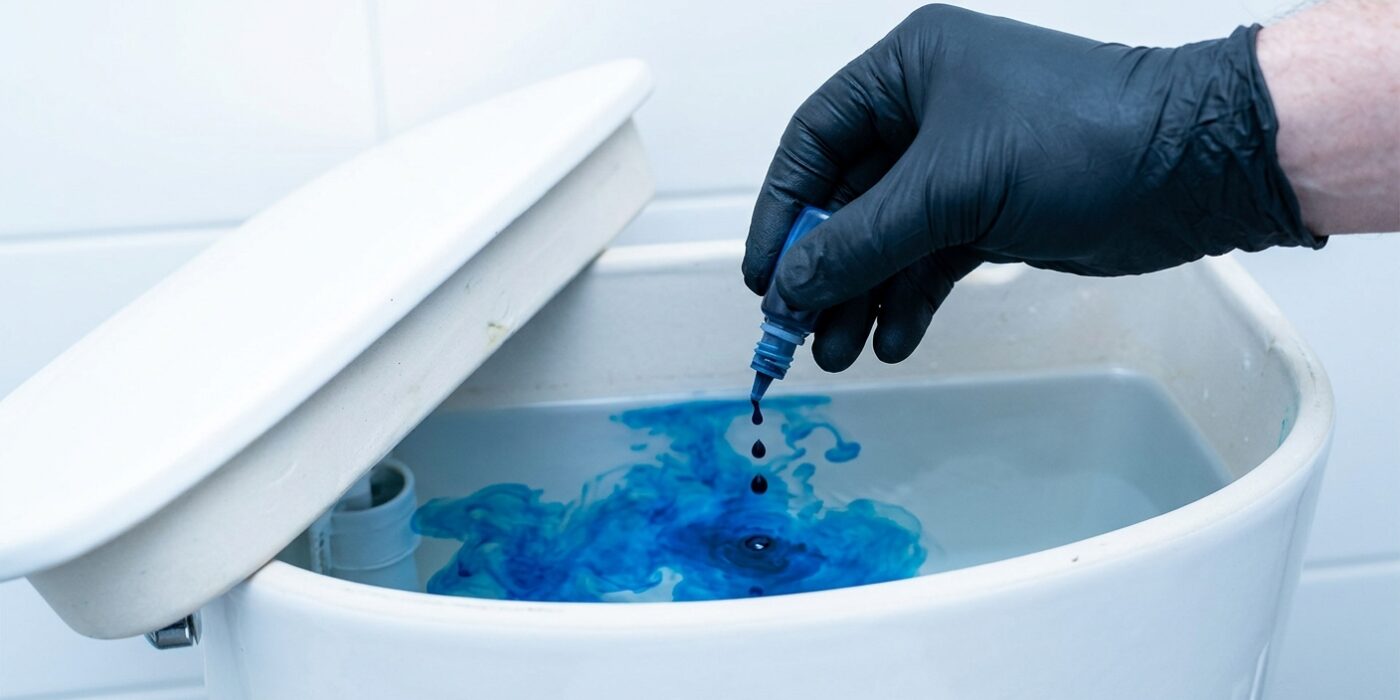
Before you start taking parts apart, it is important to know exactly which component is misbehaving. The dye test is the gold standard for pinpointing the source of a running toilet. Carefully remove the heavy porcelain lid from the tank and set it aside on a soft towel to prevent it from cracking. Squeeze 10 drops of food coloring into the water in the tank and set a timer for 20 minutes; do not flush or use the toilet during this time.
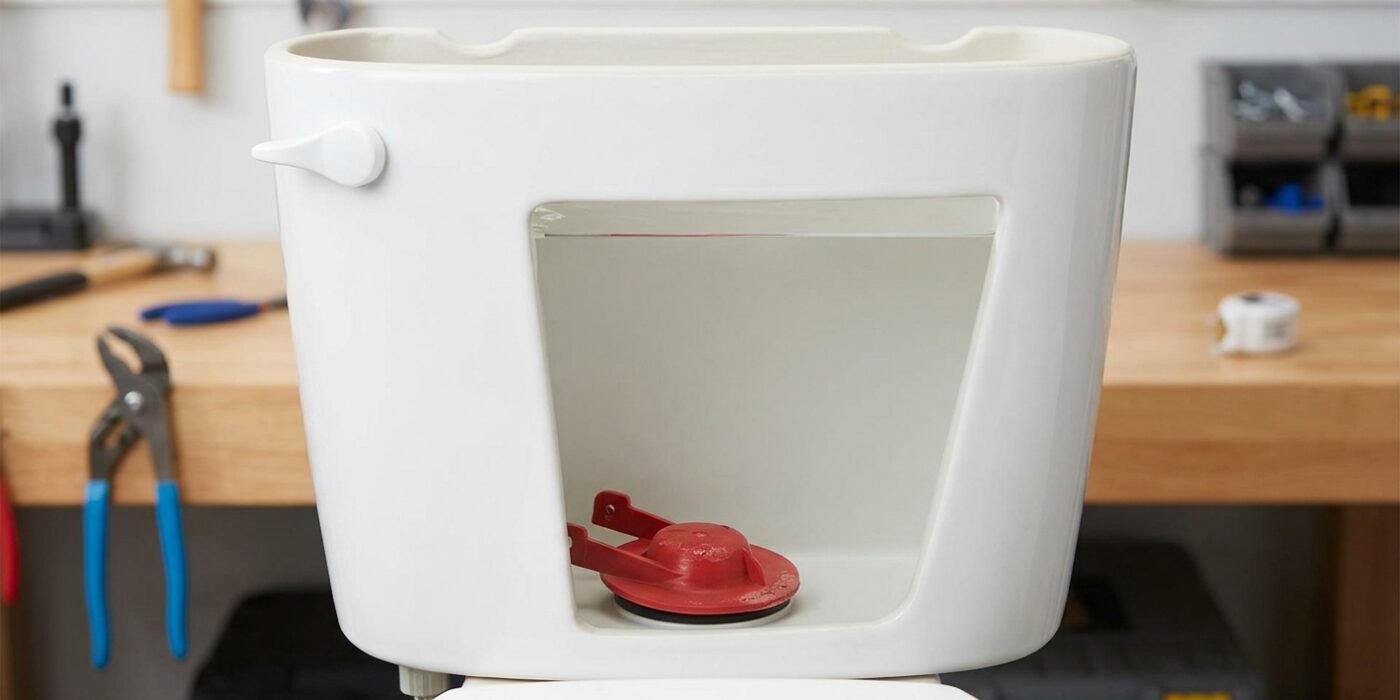
If you see colored water appearing in the bowl, the rubber flapper at the bottom of the tank is failing to create a tight seal, allowing water to trickle out constantly. If the water in the bowl remains clear, your issue lies with the water level inside the tank. In this case, your fill valve or float is likely set too high, causing water to spill over the top of the open overflow tube and continuously refill the tank.
Beginner Tip: Don’t be tempted to use permanent dye or dark coffee, as these can stain your porcelain bowl. Stick to standard food coloring, which is water-soluble and rinses away easily once you flush the toilet after the test is complete.
Pro Tip: Before you add the dye, take a quick photo of the inside of your tank with your phone. Having a clear “before” picture makes it much easier to remember how the chain and flapper are connected when you eventually go to replace them.
Step 2: Check the Overflow Tube Level
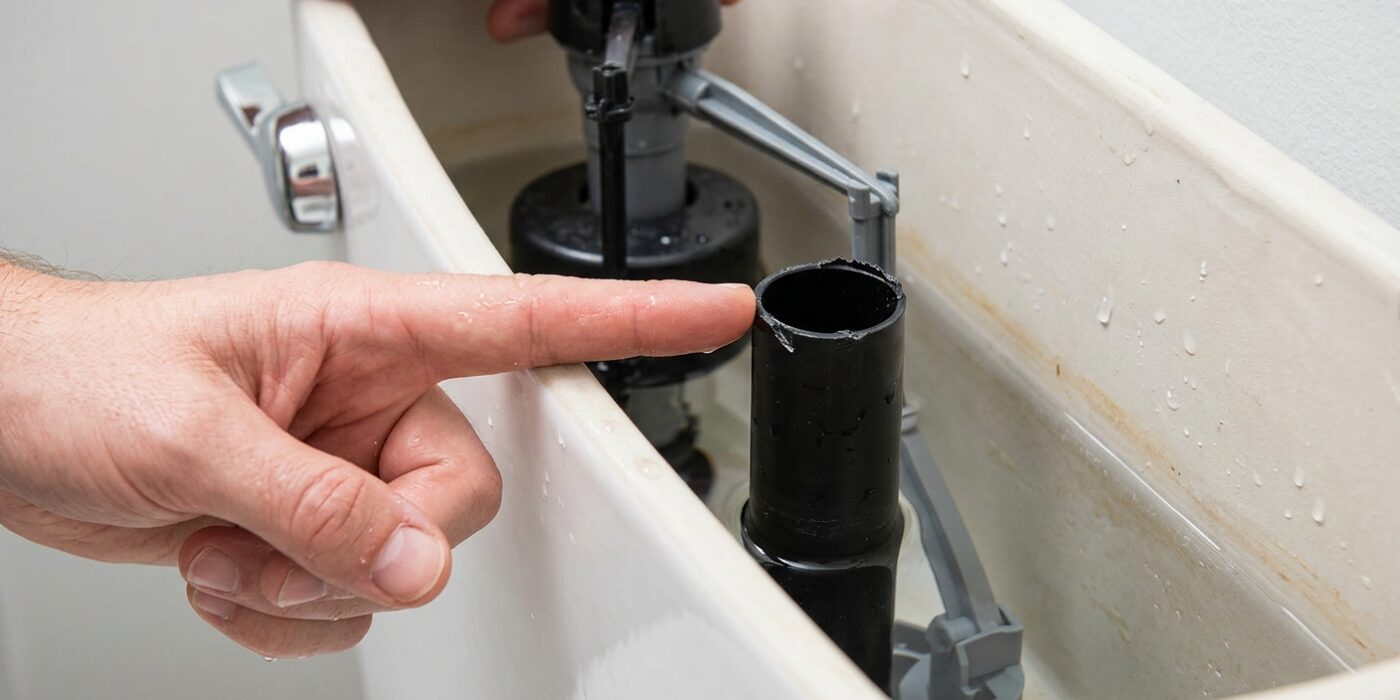
Start by removing the toilet tank lid and setting it aside in a safe, flat spot where it won’t get bumped. Locate the overflow tube, which is the hollow plastic pipe standing upright in the center of the tank. This tube acts as a safety drain; if the water level gets too high, it channels the excess directly into the bowl rather than letting it spill onto your bathroom floor.
Look at the water level relative to the top of this tube. Ideally, the water should stop exactly one inch below the rim. If the water is touching the rim or trickling into the tube, your fill valve is set too high. This constant drainage creates a “phantom flush,” forcing the toilet to refill repeatedly. To fix this, locate the adjustment screw or the sliding float cup on the fill valve. Adjust it downward in small, quarter-turn increments until the water settles at that perfect one-inch mark below the tube’s top.
Beginner Tip: Don’t panic if the water level doesn’t drop immediately after you turn the screw. You must flush the toilet after every small adjustment to allow the tank to refill to the new, lower shut-off point. Take your time; rushing this process often leads to over-adjusting.
Pro Tip: Use a permanent marker to draw a small line on the inside of the tank where the water currently sits before you make any adjustments. This gives you a clear visual reference point, making it much easier to see exactly how much you have lowered the water level with each turn of the screw.