Project Shopping List
Squeaky hardwood floors are one of the most common and most annoying home problems. Every time someone walks across the room, the squeak announces their path like a built-in alarm system. The good news is that most squeaks are fixable – the approach depends entirely on whether you have access from below (basement or crawlspace) or only from above (slab on grade, or above a finished ceiling).
This guide covers both approaches: the fast, reliable from-below methods using construction screws and shims, and the from-above methods using break-away specialty screws and injected lubricants. Knowing which method applies to your situation is the first step.
What You’ll Need
For Fixing from Below
- Construction screws (1 1/4-inch – not longer or they’ll poke through the floor)
- Drill with bits
- Thin wood shims
- Construction adhesive
- Flashlight or headlamp
- Helper walking above to identify squeak location
For Fixing from Above
- Squeeeeek No More kit (specialty break-away screws and depth stop bit)
- Counter-Snap kit (alternative system with countersinking jig)
- Powdered graphite or dry Teflon lubricant
- Drill
- Wood stain marker to match floor color
Step-by-Step Instructions
Step 1: Locate and Understand the Squeak
Walk the squeaky area slowly and mark every squeak location with painter’s tape. Try to identify the cause: does the squeak happen in the same spot every time (a single loose board), or across a zone of several boards (subfloor issue)? Squeaks happen when wood rubs against other wood or against a nail. Common causes: a plank rubbing against an adjacent plank at the tongue-and-groove joint; a nail that’s worked loose so the plank moves up and down on it; a subfloor panel that’s separated from the joist below and flexes under weight.
Step 2: Identify Your Access Options
Look at what’s below the squeaky floor area. If you have an unfinished basement or crawlspace directly below, from-below repair is fast and highly effective – you can see the joists and work with good mechanical advantage. If the squeaky floor is above a finished ceiling, above a slab, or above another floor level, you must fix from above – this is harder but still works for most squeaks.
Step 3 (From Below): Identify the Gap Between Subfloor and Joist
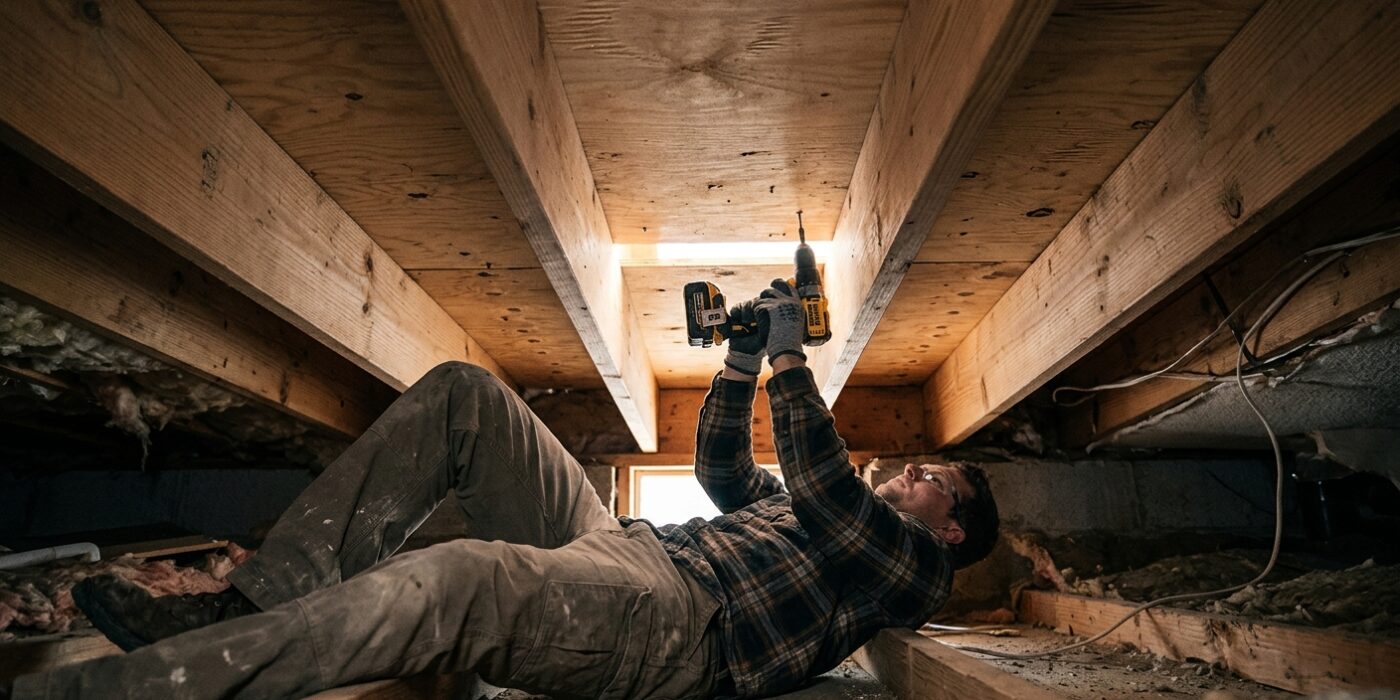
Have a helper walk on the floor above while you watch from below. You can often see or feel the subfloor panel flexing at the joist – look for slight movement between the subfloor and the joist top. A gap here is the most common cause of over-joist squeaks. Where the subfloor panel edges fall between joists (between two joists rather than over one), the panel itself flexes and rubs against its neighbor.
Step 4 (From Below): Shim Gaps at Joists
For a gap between subfloor and joist, drive a thin wood shim coated with construction adhesive into the gap from below. The shim fills the space and stops the subfloor from flexing. Don’t drive the shim so far that it lifts the subfloor – you’ll create a hump in the floor above. The shim should be snug in the gap, not forced tight. This method eliminates the vast majority of squeaks caused by subfloor-to-joist separation.
Step 5 (From Below): Add Screws Through Subfloor into Hardwood
For squeaks where the hardwood itself is moving against the subfloor, drive 1 1/4-inch construction screws up through the subfloor into the hardwood floor from below. Mark the squeak location from above, then drill up through the subfloor (not through the hardwood – use a depth-stop bit set to stop just inside the hardwood). The screw pulls the hardwood down tight to the subfloor. Use the correct screw length – too long and the screw tip will poke through the floor face.
Step 6 (From Above): Use Break-Away Screws
The Squeeeeek No More kit includes a special jig that guides screws at the right angle and depth through the hardwood floor into the subfloor and joist below. The screw snaps off below the surface with a special tool, and the small hole left behind is filled with a color-matched putty crayon. This is the from-above equivalent of the from-below screw method and works well on most hardwood floor squeaks. Follow the kit instructions precisely – the break-away point must be below the surface or it leaves a metal stub that’s visible and a trip hazard.
Step 7 (From Above): Lubricate Board-to-Board Squeaks
If the squeak is caused by adjacent planks rubbing at their edges (you can hear it specifically between two boards, not under them), apply powdered graphite or dry Teflon lubricant into the joint. Use a playing card or putty knife to work the powder into the gap between the boards. Avoid liquid lubricants like WD-40 – they attract dust, stain the wood, and the effect is temporary. Dry powder lasts years. This technique works for most above-joist board-rub squeaks without any screws.
Step 8: Verify Results
Walk the repaired areas immediately after repair to confirm the squeak is gone. If it persists, try an additional shim or screw closer to the squeak location – sometimes the exact squeak point is a few inches from where you think it is. Have your helper stand directly on the squeak while you observe from below to get precise location data if the squeak is hard to pin down.
Pro Tips
- A piece of chalk rubbed onto the squeaky joint from above can help locate the exact board-to-board location – the chalk leaves transfer marks showing where the movement occurs.
- Cold and dry conditions make floor squeaks worse because wood contracts slightly, creating more play in joints. Many squeaks that seem severe in winter disappear in summer as the wood swells with humidity.
- Construction adhesive injected between the subfloor and a loose joist blocking (blocking between joists at the squeak location) is extremely effective and long-lasting – the adhesive bonds permanently rather than just filling the gap temporarily.
- For radiant heat floors, squeaks are more common because the temperature cycling expands and contracts the floor material repeatedly. Dry lubricant in the joints is the most appropriate solution – mechanical fasteners work too but need to account for the floor’s movement patterns.
Frequently Asked Questions
Can I fix a squeak without access from below?
Yes – the Squeeeeek No More system and dry lubricant methods work entirely from above. They’re not quite as reliable as from-below methods for every type of squeak, but they handle most cases without any access to the floor structure from below.
Why do floors squeak more in winter?
Wood shrinks in dry winter air as the moisture content drops. This creates slight gaps between the floor boards and between the subfloor and joists that weren’t there in summer. The gaps allow more movement under foot traffic, which creates squeaks. Running a humidifier to keep indoor humidity above 35% during winter reduces wood movement and reduces squeaking.
My floor has a squeak that covers a whole section of the room – what does that mean?
Large-area squeaks that span several feet usually indicate the subfloor is separating from the joists over a wide zone – common in homes with older floor systems where the glue between subfloor panels and joists has failed. The fix from below is to add construction screws through the subfloor into every joist across the affected area, often combined with construction adhesive in the gaps. This is more extensive work than fixing a single board squeak but is very effective.