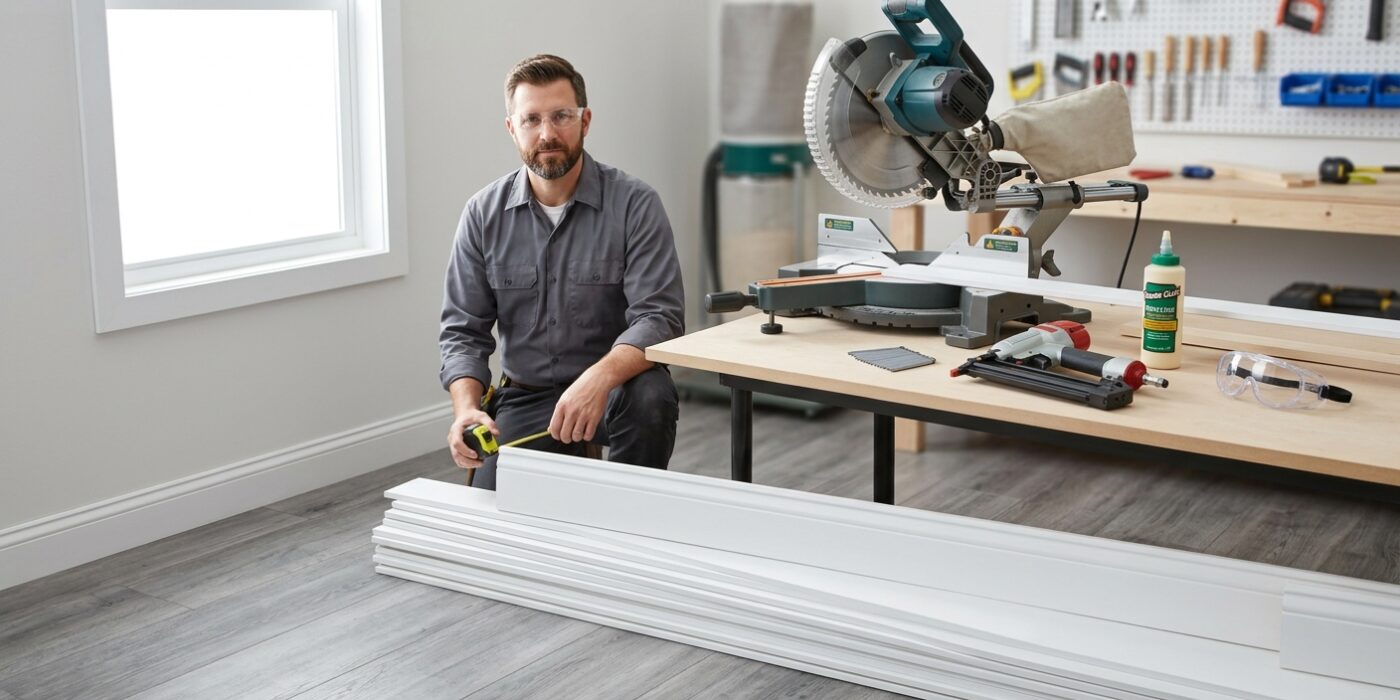
Project Shopping List
Baseboards tie the room together – they cover the expansion gap at the bottom of hard flooring, protect the drywall base, and give the room a finished, intentional look. Installing them after new flooring is actually easier than working around existing baseboards during a floor install, which is why many pros remove and reinstall baseboards as part of any flooring project.
This guide covers measuring, cutting, coping inside corners, mitering outside corners, nailing, and finishing baseboards to a clean, professional standard. It’s a beginner-level project in terms of tools required, but the coped corner technique takes a bit of practice to master.
What You’ll Need
Tools
- Miter saw
- Coping saw
- Nail gun (finish nailer, 15 or 16 gauge) or hammer and finish nails
- Tape measure
- Pencil
- Stud finder
- Level
- Caulk gun
Materials
- Baseboard molding (pre-primed MDF or solid wood)
- 2-1/2-inch finish nails
- Wood glue
- Painter’s caulk
- Sandpaper (120 and 220 grit)
- Paint to match walls or trim
Step-by-Step Instructions
Step 1: Find the Studs and Mark Them
Mark each stud location on the wall above baseboard height with a light pencil mark – you’ll nail baseboard into studs, not just drywall. Most walls have studs every 16 inches. Also mark any areas with double studs (corners, door rough openings) since these are your most secure nailing points. A stud finder makes this quick; alternatively, look for nail patterns in the drywall.
Step 2: Measure Each Wall Carefully
Measure each wall from corner to corner. Check each corner with a square to determine if it’s exactly 90 degrees – most residential corners are close but not precise. Measure the angle of each corner with a digital angle finder or use test cuts on scrap to dial in your miter saw angle. A corner that’s 91 degrees rather than 90 requires adjusting your miter angles or the joint will have a visible gap.
Step 3: Plan Inside Corners – Cope, Don’t Miter
Professional trim carpenters cope inside corners rather than mitering them. Here’s why: a mitered inside corner opens up visibly as the house settles or wood moves seasonally. A coped joint stays tight because one piece is cut to follow the profile of the other. To cope: cut the first piece square (butting into the corner), then cut the second piece at a 45-degree outside miter, and use a coping saw to cut along the profile the miter reveals. That profile then sits over the face of the first piece.
Step 4: Cut and Install the First Piece
Start with a wall that has two inside corners – cut both ends square. Measure carefully and cut to length. Nail it to the wall at every stud location with two nails – one near the top of the baseboard into the stud, one lower into the bottom plate. The lower nail keeps the bottom from bowing away from the wall. Don’t nail within 2 inches of the ends – this causes splitting.
Step 5: Cope the Adjoining Pieces
Cut a 45-degree outside miter on the end of the adjoining piece that will meet the installed piece. The miter reveals the profile of the molding. Clamp the piece in your vise or hold it firmly and use a coping saw to cut along the profile line revealed by the miter, angling the blade slightly behind the face (about 5 degrees) to give the joint a back cut – this ensures the face of the cope sits tightly against the installed piece even if the corner angle isn’t perfectly square.
Step 6: Outside Corners – Miter Joint
Outside corners (where walls protrude into the room) use mitered joints. Cut each piece at 45 degrees, making sure the miter angles are correct for the direction – the long point of the miter should be on the face of the baseboard, not the back. Dry-fit first, then apply a small amount of wood glue to the miter joint, nail both pieces to the wall, and clamp the joint together while the glue cures. This creates an extremely strong corner that won’t open up.
Step 7: Nail All Pieces to Wall
With all pieces cut and fitted, nail each piece systematically into studs. Set nail heads slightly below the surface with a nail set. Check that the top of baseboard lies flat against the wall – any gap here will be filled with caulk, but more than 1/8 inch of gap looks sloppy. If the wall has a significant bow, scribe the baseboard to match it rather than leaving a large caulk gap.
Step 8: Fill Nail Holes and Sand
Fill all nail holes with spackling compound or paintable wood filler. Slightly overfill and let dry, then sand flush with 120-grit paper. Wipe clean with a tack cloth before painting.
Step 9: Caulk the Top Edge
Apply a thin bead of painter’s caulk along the top edge of the baseboard where it meets the wall. This seals any gap and gives the installation a factory-finished look. Smooth the bead with a damp finger in one continuous stroke per section. Wipe excess with a damp cloth immediately. Do not caulk the bottom edge – leave the expansion gap uncovered for floating floors, or caulk lightly after confirming the floor is fully settled.
Step 10: Paint
Apply two coats of trim paint (semi-gloss or gloss is standard for baseboards – the higher sheen makes them easier to wipe clean). Cut in at the top against the wall and bottom against the floor. A quality angled brush makes the most difference in finish quality on detailed profiles.
Pro Tips
- Buy 15% extra baseboard – waste from coped joints, test cuts, and measurement errors adds up fast, and you don’t want to be short and unable to match the profile later.
- Pre-prime and paint the backs of MDF baseboards before installing – unprimed MDF absorbs moisture from the floor surface and swells along the bottom edge over time.
- For long straight runs, use scarf joints (two pieces joined at a 45-degree miter over a stud) rather than trying to source single pieces longer than 16 feet. Scarf over a stud so both pieces are nailed.
- On uneven concrete floors, don’t fight the floor – scribing the baseboard to the floor’s contour with a compass gives a clean line without gaps. This is especially important in basements.
Frequently Asked Questions
Should I install baseboard before or after painting the walls?
After. Install baseboard after walls are painted, then paint the baseboard. This eliminates the need to cut in at the baseboard line when painting walls, and ensures you can caulk the top joint after installation for a clean gap. The alternative – painting walls after baseboard – requires careful masking and typically looks less clean.
My walls aren’t plumb and the baseboard gaps at the top. How do I fix this?
Up to 3/16 inch of gap fills fine with caulk and is invisible after painting. Larger gaps require either scribing (marking and cutting the back of the baseboard to follow the wall contour) or adding a thin wedge shim behind the baseboard at the gap location. For walls with major out-of-plumb issues, a second smaller molding piece (like a shoe molding) at the top can cover larger gaps with a more finished look.
What’s the best way to cut baseboard returns on an open staircase?
At a stair landing or open stair end, the baseboard needs to be returned – it turns and runs back to the wall rather than ending with a raw cut. Cut a 45-degree return on the end of the main piece, then cut a short return piece at 45 degrees and mitered to match, which butts against the wall. Glue this return piece in place – it’s too small to nail reliably.